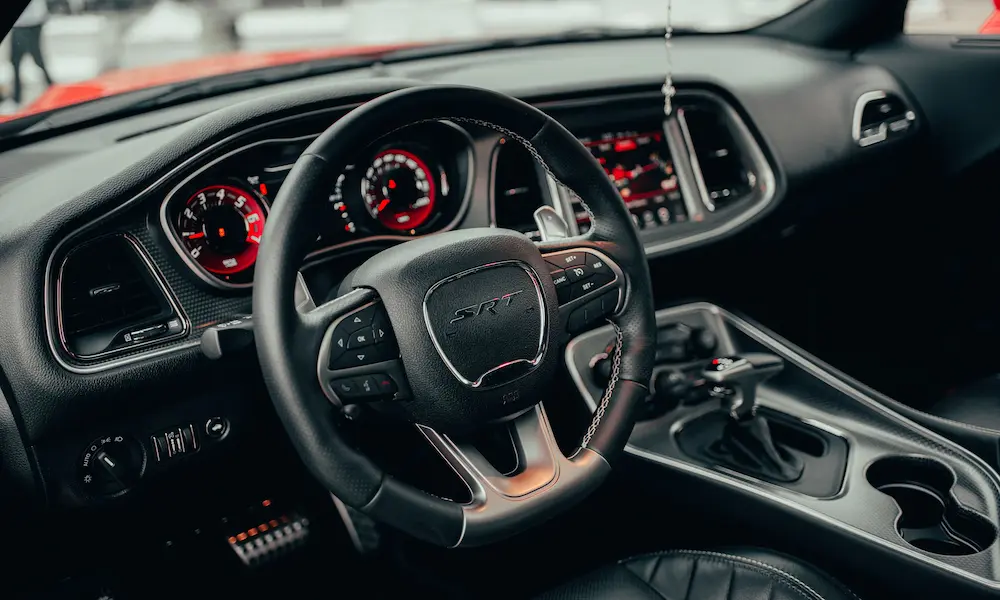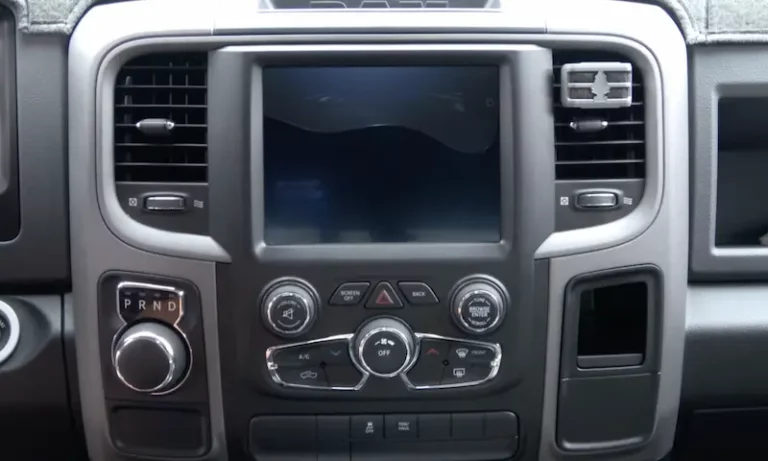
The Uconnect 8.4 touch screen is part of the infotainment central system that Chrysler automakers have introduced to their models. This system controls your vehicle settings, including climate controls, navigation, AC, radio, Bluetooth, phone, map, and many more. The system makes driving pretty easy and dash control a lot more seamless.
As useful as it is, this Uconnect LCD panel can also be occasionally unreliable in some instances. When they start to fail, you’ll notice ghost button pushes.
The buttons will start to tune to different radio stations or randomly dial phone numbers without finger controls.
These symptoms, properly called, are delamination. When the issue deteriorates, you’ll notice some bubbles inside the Uconnect touchscreen.
Delamination is damaging and improper, you know! What causes the Uconnect screen delamination? What fixes can you apply? Guess what? The fix is pretty cheap and quick.
What You Should Know about Uconnect Screen Delamination
In simple terms, screen delamination is when one or more layers that make up the front display of a screen separate from the lower layers. This results in a mica-like surface on the screen, distorting the display experience with an awful look on the screen. Several devices suffer from this deformity.
However, I will focus on Uconnect in this article. First, you may wonder what Uconnect is. Uconnect is a top-notch innovation built to make a driver’s life easier by assisting with several functions. This device boasts high-end connectivity, navigation, entertainment, and communication.
With Uconnect, drivers can easily make phone calls and send text messages hands-off once integrated with the vehicle system. Currently, Uconnect is available on Chryslers, Wagoneers, RAMs, Fiats, Jeeps, and Dodge vehicles.
Therefore, it’s Crystal clear that Uconnect is shaping a new world of digital driving, but what happens when a delaminated screen mars this very useful device?
Undoubtedly, the beautiful experience it’s supposed to give the driver will become frustrated because of an awful screen. So, in this article, I will highlight what causes screen delamination and how to fix it.
Causes of Screen Delamination
Screen Delamination occurs for various reasons; for devices like MacBook, cyclic stress and impact can result in a delaminated screen. Also, oily residue on the fingertips can slip into the device through the keyboard.
However, for Uconnect, the cause could be a software glitch or hardware issue. Meanwhile, there is no specific cause of the delamination; some believe it is a manufacturer error.
Others, on the other hand, are more concerned about the glue that drips from the delaminated screen that could damage other parts of their vehicles.
But since the Uconnect is like many other screens suffering from this widespread malfunction, the cause could be similar to other devices.
How to Fix Uconnect Screen Delamination
When a Uconnect Screen begins to delaminate, it forms bubbles, often starting in tiny dots, but if not repaired, it can grow into big circles. These bubbles make it hard to use the Uconnect device because they cause it to misbehave. I will highlight how to fix a delaminated U-connect screen in a few simple steps.
- First, lose down the steering wheel to create space
- Gently remove the dash cover to get a clearer view of the UConnect device. Make sure you take out the steering wheel as far as possible. This will help create space to take off the face plate.
- Next, gently remove the plastic trim covering the dashboard. However, note that using metal-like objects like a screwdriver to remove the plastic trim can damage it because of its texture. Therefore, use only plastic trim remover tools.
- You have enough space to remove the Uconnect device. Four screw bolts hold it down to the vehicle and lose it. Next, the pulla connector links it to the car and gently severs it by popping off the connector.
- Now that the device is lost, the next thing to do is remove the clip interface on the screen. But beware of the tiny wire in between.
- Lose the adhesive holding the screen interface (also called digitize) down.
- Adhesive will likely cover the main screen after removing the interface. Next is to clean it out with isopropyl alcohol.
- The next thing to do is to add a thermal barrier on the surface of the screen interface. You can either use the regular or black top bond tape.
- Trim out the excess on the edges. Then, place the digitizer back on the screen surface.
- The tape holds down the interface and acts as a thermal break between the screen and the interface. So, the bubble resulted from the weakened state of the thermal break.
- Cover the screen with the clip interface and return to your car to fix it.
- So that’s it! Your delaminated screen filled with bubbles should be back in perfect order. Without the bubbles, of course.
However, note that those steps are for our DIY peeps; therefore, another way to fix your car, Uconnect, is to return it to the manufacturer. Or you can take it to a skilled professional who will work on it. Notwithstanding, at times you may need to replace the old Uconnect with a new one when it is beyond repair.
Final Thoughts
What’s the fun of looking at a bubble on the screen of your vehicle? Uconnect is no joke because it can be frustrating, apart from the fact that it is unsafe. It may begin to execute a command at will or fail to respond to a command on touch. So fixing it is imperative for a superb car experience.
If you cannot be careful when pulling out the face plate from your dash, I recommend that you drive to a mechanic workshop. A professional will do a better job. Hope you find this article helpful.