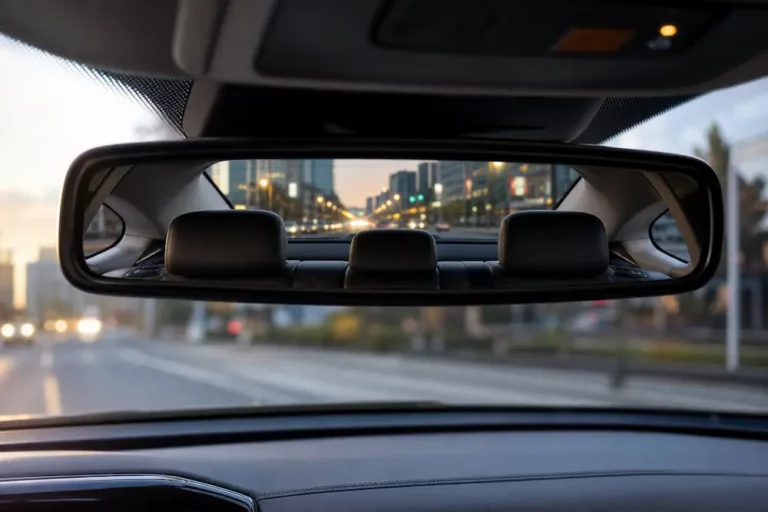
Your rear view mirror fallen off the windshield is more than just annoying — it’s a safety issue. The good news? You can likely fix it yourself in under an hour. But use the wrong glue, skip one prep step, or rush the cure time, and you’ll be doing it all over again next week. Read this first.
Why Your Rear View Mirror Keeps Falling Off
Before you grab any glue, understand why it fell off. The answer usually points directly to the fix.
Your mirror doesn’t glue directly to the glass. It clips onto a small metal button (also called a mounting tab) that’s bonded to the windshield. That button faces brutal conditions daily:
- Extreme heat — A windshield parked in direct summer sun can get hot enough to soften most adhesives
- Freezing cold — Winter temperatures make rigid glues brittle and crack
- Constant vibration — Every bump, pothole, and rough road tugs at that bond
- UV radiation — Sunlight breaks down generic adhesives over months
Most failures happen because someone used the wrong adhesive, skipped surface prep, or didn’t wait long enough for it to cure. All three mistakes are easy to avoid.
The Right Adhesive Makes or Breaks This Repair
This is the single most important decision you’ll make. Generic super glue, household epoxy, and double-sided tape all fail on windshields — sometimes within days. Here’s what actually works:
Two-Part Methacrylate Adhesive (The Standard Choice)
Brands like Permatex, Loctite, 3M, and Versachem make purpose-built kits for this exact job. They come with two components: a chemical activator and an adhesive resin. The activator goes on the glass first, dries, and then triggers the resin to cure hard when oxygen gets squeezed out.
These kits reach initial handling strength in about 60 seconds and full strength in 30–60 minutes. They’re designed specifically for metal-to-glass bonds and handle both temperature extremes and UV exposure well.
One critical warning: These rigid acrylics work great on bare, transparent glass. If your button sits on the black painted border around the windshield edge — called the ceramic frit band — don’t use them. That black enamel expands at a different rate than the glass underneath. A rigid adhesive on frit can literally rip a chunk of your windshield off when temperatures spike.
Flexible Polyurethane Adhesive (For Frit-Area Mounting)
If your button sits on the black frit band, you need a flexible urethane adhesive. Its elasticity absorbs the thermal movement between the metal button and the heat-absorbing enamel, protecting the glass. The trade-off is time — you’ll need to tape the button in place for several hours while it cures.
What to Skip
| Adhesive Type | Why It Fails |
|---|---|
| Super glue (cyanoacrylate) | Brittle, shatters under thermal cycling and vibration |
| Standard epoxy | Softens in extreme cabin heat; UV degradation turns it yellow and weak |
| Silicone gasket maker | Takes up to 48 hours to cure; not ideal for standard installs |
| Double-sided foam tape | Splits under the mirror’s weight and heat |
Does Your Button Have a Plastic Base?
Check it before you buy anything. Most mounting buttons are sintered metal, but some older vehicles use high-density plastic. Standard acrylic mirror adhesive kits are engineered for metal-to-glass bonds only. They’ll fail on plastic. If yours is plastic, you either need a proper two-part epoxy formulated for dissimilar materials, or swap it out for a metal replacement button from any auto parts store.
Step-by-Step: How to Reattach a Rear View Mirror
This takes about 30 minutes of active work, plus waiting time. Don’t rush the waiting.
Step 1: Remove the Button From the Mirror Assembly
Don’t try to glue the whole heavy mirror assembly back at once. The weight makes it nearly impossible to hold perfectly still during curing. Separate the small mounting button from the mirror arm first. Most buttons release with a small Allen wrench or Phillips screwdriver on a hidden set screw. Others use a spring-loaded clip — press a small flathead into the release slot and slide the button out.
Step 2: Mark the Exact Target Spot on the Glass
Once you start scraping old glue, you’ll lose track of exactly where the button belongs. Before anything else, use a dry-erase marker or small strips of masking tape to outline the old adhesive footprint on the outside of the windshield. That exterior mark gives you a targeting guide when pressing the button from inside.
Step 3: Scrape Off Every Trace of Old Adhesive
New adhesive won’t bond over old, oxidized glue. Both surfaces need to be completely bare.
On the glass: Use a brand-new single-edge razor blade held nearly flat against the windshield. Shave the old adhesive off in thin passes. For stubborn residue, soak a rag in isopropyl alcohol or acetone and press it against the glue for a few minutes to soften it first. Don’t use a heat gun — a sudden thermal hot spot will crack your windshield.
On the metal button: Lay a piece of fine-grit sandpaper flat on a hard surface and rub the mounting face of the button in firm circular motions. You’re doing two things at once: removing old glue down to bare metal, and creating microscopic surface texture that gives the new adhesive something to grip. Keep going until the surface feels rough and looks uniformly matte.
Step 4: Clean Both Surfaces With Isopropyl Alcohol
Skip the Windex. Ammonia-based glass cleaners leave a microscopic film that blocks adhesive bonding. Wipe both the glass target area and the sanded button with high-purity isopropyl alcohol and a clean, lint-free cloth.
After this step, don’t touch either surface with your bare hands. Skin oils are enough to ruin the bond.
Step 5: Check Your Temperature
The Permatex technical data sheet specifies a working temperature range of 50–75°F. Too cold, and the adhesive stalls mid-cure and stays gummy. Too hot — like a windshield baking in direct summer sun — and the resin flashes solid before you can position the button correctly.
Work in a shaded, temperature-controlled space. If it’s cold outside, warm the glass gently with your car’s defroster first.
Step 6: Apply the Activator and Let It Dry Completely
Apply the activator to the glass target area following your kit’s instructions. Cover an area slightly larger than the button’s footprint. Many kits also recommend wiping the activator onto the sanded button face.
Now wait. The activator’s carrier solvent needs to fully evaporate before you apply the resin. This takes 2–5 minutes. Rushing this step traps solvent vapors in the bond line, creating microscopic bubbles that destroy holding strength. Be patient.
Step 7: Apply One Single Drop of Adhesive Resin
This surprises most people. More glue doesn’t mean a stronger bond — it actually means a weaker one. Anaerobic adhesives need the two surfaces pressed tightly together to cure. Excess resin prevents full compression and creates a thick, weak polymer mass.
Apply exactly one drop to the center of the metal button’s mounting face. Don’t spread it.
Before you press anything — draw a small arrow on the back of the button pointing up. Installing it upside down is a very common mistake, and removing a cured button is a nightmare that often ends in a cracked windshield.
Step 8: Press, Hold, and Wait
Press the button firmly against the glass, using your exterior marks to center it. You’ll feel it slide slightly at first. Within seconds, it’ll start to grip.
Hold firm, perpendicular pressure for a full 60 seconds without any movement. Any sliding or shifting during this window breaks the polymer chains as they form.
After 60 seconds, you can let go — but don’t attach the mirror yet. Experienced glass technicians recommend waiting 24 hours before hanging the full mirror weight on the button. The adhesive is still cross-linking, and the heavy mirror arm creates real shear force. Give it time.
Why Your Fix Failed Last Time
If you’ve done this before and the mirror fell off again within days, here’s the most likely culprit:
| Symptom | Root Cause | Fix |
|---|---|---|
| Adhesive stayed gummy or liquid | Applied in cold temps, or activator wasn’t fully dry | Redo in a warm space; wait the full 5 minutes after activator application |
| Adhesive hard on button, bare glass underneath | Glass cleaner left a chemical film | Strip and reclean with IPA only — no ammonia products |
| Adhesive bonded to glass but peeled off the button | Button wasn’t sanded to bare metal | Sand aggressively until completely matte and textured |
| Bond held but failed when mirror attached | Mirror hung before full cure | Wait 24 hours after pressing the button before attaching the mirror |
| Button pulled a chunk of glass off the windshield | Rigid acrylic used on ceramic frit band | Windshield likely needs professional replacement |
If Your Car Has a Forward-Facing Camera Near the Mirror
Modern vehicles often integrate forward-facing cameras, rain sensors, and lane departure systems into the same bracket area as the rear view mirror. These are part of your car’s Advanced Driver Assistance Systems (ADAS).
If the camera bracket came off with the mirror — or if your windshield needs replacing because the button tore out a chunk of glass — don’t just reglue and drive away. ADAS cameras are calibrated to precise tolerances. Even a 1mm shift in camera angle can cause false emergency braking alerts or — worse — prevent the system from detecting a real hazard at highway speed.
Any physical disturbance to a windshield-mounted camera bracket requires professional static or dynamic recalibration. A consumer adhesive kit can’t fix that part. If your vehicle has these features, take it to a professional auto glass facility after any mirror or windshield work.
The Upside-Down Button Problem
It happens to everyone at least once. You do everything right, the button bonds perfectly — and then you realize it’s on upside down and the mirror won’t attach.
Don’t grab pliers. Don’t try to twist it off. Trying to mechanically remove a fully cured button will almost certainly crack your windshield.
The manufacturer-recommended solution is simple: leave the upside-down button in place, buy a second button and a new adhesive kit, and bond the new button on top of the existing one. It looks a little weird, but it works perfectly.
If you absolutely must remove it, the only reasonably safe method is using a heat gun on low heat to soften the adhesive, then sawing through the bond line with a taut guitar string or piano wire. Even then, it’s a high-risk move that frequently cracks the glass. Treat it as a genuine last resort.
Quick Checklist Before You Start
Print this or save it to your phone:
- ✅ Identified whether button is metal or plastic
- ✅ Confirmed button location is on bare glass, not the black frit border
- ✅ Purchased the correct purpose-built mirror adhesive kit
- ✅ Have a new single-edge razor blade
- ✅ Have fine-grit sandpaper
- ✅ Have high-purity isopropyl alcohol and lint-free cloths
- ✅ Working in a shaded space between 50–75°F
- ✅ Marked the exterior of the windshield before scraping
- ✅ Drew an orientation arrow on the button before applying glue
- ✅ Planned to wait 24 hours before hanging the mirror
Do all of that, and your rear view mirror stays put — through summer heat, winter frost, and every pothole in between.