Your car AC is blowing warm air, your engine sounds stressed, and you suspect you added too much refrigerant. You’re probably right. Knowing how to bleed off an overcharged car AC — legally and safely — can save your compressor and your wallet. Stick around, because the wrong move here carries a federal fine.
What “Overcharged” Actually Means
Your car’s AC system is a closed loop. Refrigerant moves through it in carefully controlled phases — gas, then liquid, then gas again. That phase-switching is what pulls heat out of your cabin.
When you add too much refrigerant, the extra liquid crowds out the space the gas needs to expand. The cycle breaks down. Instead of cold air, you get warm air, weird noises, and an engine that feels sluggish the moment you hit the AC button.
Most overcharges happen during DIY recharges. Those cheap cans from the auto parts store are hard to control precisely, and it’s easy to overshoot.
Signs Your Car AC Is Overcharged
Before you start pulling refrigerant out, confirm the diagnosis. An overcharged system shows a very specific cluster of symptoms.
Warm or lukewarm air from the vents — The refrigerant can’t boil off properly, so heat exchange fails. Some vehicles detect the abnormal pressure and shut the whole system down.
Loud noises from the engine bay — Whining, gurgling, or squealing. That’s liquid refrigerant getting forced through valves designed only for vapor.
Engine performance drops — The compressor is working too hard. You’ll notice slower acceleration, rougher idle, and higher fuel use. Turn the AC off and see if the engine smooths out immediately. If it does, that’s a red flag.
Sticky, humid cabin air — An overcharged evaporator can’t pull moisture out of the air. Your windows fog faster and the air feels damp.
Frost on the suction lines — In light heat conditions, the refrigerant boils late and freezes the exterior of the low-side line.
Read Your Pressure Gauges First
Symptoms point you in the right direction, but gauge readings confirm it. Connect a manifold gauge set to both service ports and compare your readings to this chart based on outdoor temperature.
| Ambient Temp (°F) | Normal Low-Side (PSI) | Normal High-Side (PSI) | Overcharge Red Flags |
|---|---|---|---|
| 65 | 25–35 | 135–155 | High-side over 175; low-side over 45 |
| 75 | 35–45 | 150–170 | High-side over 200; low-side over 55 |
| 85 | 45–55 | 225–250 | High-side over 280; low-side over 65 |
| 95 | 50–55 | 275–300 | High-side over 325; low-side over 75 |
High readings on both sides — especially with the compressor running — confirm an overcharge. Consumer-grade single-gauge recharge cans only show low-side pressure, which is exactly why DIY recharges go wrong so often.
Why You Can’t Just Let the Pressure Out
Here’s where most people get into trouble. The instinct is simple: the pressure is too high, so just press the Schrader valve with a screwdriver and let some out. Don’t do this.
Under Section 609 of the Clean Air Act, intentionally venting refrigerant into the atmosphere is a federal violation. This applies to every common refrigerant — R-134a, R-1234yf, and older types. The only vented substances exempt from this rule are things like nitrogen and water vapor.
The EPA enforces this actively. Current maximum civil penalties sit at over $124,000 per day per violation. In real enforcement actions, the EPA has collected settlements ranging from $28,000 against small shops up to $1.55 million against larger companies for refrigerant violations.
The only legal way to remove excess refrigerant is to recover it into a certified container using proper equipment.
What Happens to Your Compressor If You Ignore This
An overcharged system doesn’t just blow warm air. It actively destroys your compressor.
The compressor is designed to compress vapor. When liquid refrigerant floods into it, the cylinder tries to compress something that physically can’t be compressed. This bends or shatters internal valves, cracks connecting rods, and blows out piston seals — a condition called liquid slugging.
On top of that, liquid refrigerant dilutes the compressor oil, washing lubrication away from fast-moving metal parts. Overheating follows quickly, then seizure.
If the compressor disintegrates, it sends metal debris downstream into your condenser, expansion valve, and dryer. At that point, you’re not just replacing a compressor. You’re replacing most of the AC system — easily $800 to $1,700 or more.
That’s the real cost of letting an overcharge run.
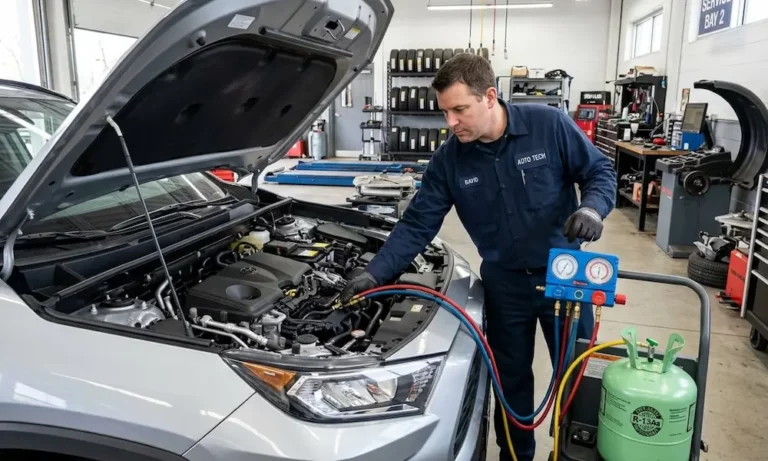
How to Bleed Off an Overcharged Car AC (Active Recovery Method)
The correct way to bleed off an overcharged car AC uses a refrigerant recovery machine. This is how certified technicians do it legally.
Equipment You Need
- Certified refrigerant recovery machine — Must match the refrigerant type in your vehicle
- EPA-certified recovery cylinder — Never fill beyond 80% of capacity
- Manifold gauge set — Blue hose for low-side, red for high-side, yellow for the center port
- Digital scale — To track recovered refrigerant weight in real time
- Thermal gloves and chemical safety goggles — Liquid refrigerant causes immediate frostbite on contact
Step-by-Step Recovery Process
Follow this recovery procedure carefully:
- Park and secure the vehicle. Level surface, parking brake on, engine off, keys out.
- Connect the manifold gauge set. Blue hose to the low-pressure service port (smaller fitting), red hose to the high-pressure port (larger fitting). Lock the quick-connect couplers.
- Connect the recovery machine and cylinder. Yellow center hose from the manifold to the recovery machine inlet. A separate hose runs from the machine’s discharge port to the liquid valve on your recovery cylinder.
- Place the cylinder on the digital scale. Zero the display so you’re tracking only incoming refrigerant mass.
- Purge the hoses. Loosen the cylinder inlet connection slightly, open the manifold valves briefly to push air out with refrigerant vapor, then retighten immediately.
- Open the cylinder valve and start the machine. Set the machine to recovery mode. It draws refrigerant out of the vehicle and condenses it into the cylinder.
- Watch your gauges and scale closely. You’re not fully emptying the system — you’re correcting the charge. When your pressures fall back into the normal range for your current outdoor temperature, close the manifold valves and stop.
- Run the machine’s self-purge cycle. This clears residual refrigerant from the machine and hoses into the cylinder before you disconnect. Skipping this step causes small emissions when you pull the hoses.
- Disconnect, log, and verify. Close the cylinder valve, remove the hoses, reinstall the port caps. Log the recovered weight in your shop records — the EPA requires this. Start the vehicle and confirm the AC blows cold.
The Passive Recovery Method (No Machine)
If a recovery machine isn’t available, a passive method works using pressure differentials.
Connect the manifold gauge set to both service ports. Run the center hose to an already-evacuated recovery cylinder sitting on a digital scale. Place the cylinder in a bucket of ice. The cold drops the vapor pressure inside the cylinder, creating a natural pressure difference that pulls refrigerant out of the vehicle.
Monitor the low-side gauge throughout. Don’t let the low-side pressure drop below 0 PSI — that pulls air and moisture into the system. Watch the scale and keep the cylinder under 80% capacity.
This method is slower and less precise, but it’s legal and effective when done carefully.
DIY vs. Professional Service: The Real Cost Breakdown
If you’re not EPA-certified to handle refrigerants commercially, the only legal path is professional service. Here’s what the numbers actually look like:
| Service Option | Typical Cost (USD) | What You’re Actually Getting |
|---|---|---|
| DIY recharge can | $40–$130 | No recovery capability; high overcharge risk; no high-side visibility |
| Professional diagnostics | $100–$150 | Pressure testing, UV dye leak check, full inspection |
| Professional evacuate and recharge | $150–$350 | Factory-spec charge using certified recovery equipment |
| Collision shop evacuate and recharge | $100–$200 | Same procedure at lower body-shop labor rates |
| Compressor replacement (if damaged) | $800–$1,700 | What you pay if the overcharge runs too long |
One money-saving tip: call local collision repair shops. Body shops evacuate and recharge AC systems daily when fixing front-end damage. They often charge lower “body rates” instead of mechanical labor rates — saving you up to $100 compared to a dedicated auto repair shop.
The refrigerant type in your car also affects price. Newer vehicles use R-1234yf, which costs significantly more than the older R-134a. If your car is a 2017 or newer, expect to land toward the higher end of the service price range.
The Right Takeaway
Knowing how to bleed off an overcharged car AC comes down to one non-negotiable: the refrigerant must go into a certified recovery cylinder, not into the air. Do it right with a recovery machine, or hand it to a certified shop. Either way, your compressor stays intact, your cooling works properly, and you stay on the right side of federal law.