Your leather seats look tired. Maybe there’s a weird white stain from sunscreen, or your seats have gone shiny and greasy no matter how much you wipe them. Grabbing the wrong cleaner or a random kitchen product can make things worse fast. This guide walks you through exactly how to clean leather seats in car interiors the right way, plus how to spot trouble before it turns into an expensive repair.
Know Your Leather Before You Clean Anything
Not all “leather” seats are the same. Most cars today use pigmented leather, which has a thick plastic coating stamped with a fake grain pattern. This stuff covers over 95% of leather seats on the road. It’s tough, resists water, and doesn’t need oily conditioners.
Some pricier cars use semi-aniline leather, which has a thinner coating and feels softer. And a few vehicles, like older Ford King Ranch trucks, use raw aniline leather with zero protective coating at all. You can check your seat material with a simple test before grabbing any cleaner.
The Water Drop Test
Drip one small drop of water on a hidden spot, like under the headrest. Watch what happens.
| What You See | What It Means |
|---|---|
| Water soaks in fast, spot darkens | Raw aniline leather — no coating, needs oil-based care |
| Water beads, then slowly soaks in | Semi-aniline — thin coating, needs gentle, balanced cleaners |
| Water beads and just sits there | Pigmented/coated leather — most common, wipe it right off |
| Water beads and feels cool to touch | Synthetic or vegan leather — plastic, no oils needed at all |
Once you know what you’re dealing with, cleaning gets way easier.
Why Leather Seats Crack and Fade
Before jumping into cleaning steps, it helps to know what actually destroys leather seats. It’s not one big event. It’s small damage that piles up over months.
Heat and sun exposure. A parked car can hit 140°F inside on a hot day. That heat makes the plastic coating expand and contract over and over, which eventually cracks it. UV rays also break down the color pigments, causing fading and that yellowish look on white or tan seats.
Sweat and body oils. This one surprises people. Sweat leaves behind salt and acidic oils that soak into the coating over time. The salt pulls moisture out of the leather underneath, while the oils soften the coating. Combine that with someone sliding in and out of the seat daily, and you get those deep cracks along the bolsters.
Friction from clothes and dirt. Denim and dirty pants act like sandpaper. Every time you slide across the seat, tiny dirt particles grind down the coating little by little. Once that layer wears through, the raw leather underneath is exposed and starts absorbing everything.
Knowing these three culprits helps you understand why gentle, regular cleaning matters more than one deep clean a year.
How to Clean Leather Seats in Car: Step-by-Step
Here’s the actual process, broken into simple steps. Skip a step and you risk grinding dirt into the coating or damaging the finish.
Step 1: Vacuum First, Always
Never spray liquid on a dusty seat. Wet dirt turns into a muddy paste that scratches the surface as you wipe it. Use a vacuum with a soft brush attachment and go over every seam, crease, and bolster. For perforated seats, use a low-pressure air compressor nozzle to blow debris out of the holes before vacuuming.
Step 2: Pick a pH-Balanced Cleaner
Skip the household stuff. Glass cleaner, bleach, and alcohol-based products will strip the coating and turn it dry and cracked fast, as shown in white leather cleaning guides. Use a dedicated automotive leather cleaner instead. It’s formulated to match the coating’s chemistry so it cleans without breaking anything down.
Step 3: Spot Test First
Test any new cleaner on a hidden spot, like the side of the seat facing the console. Wipe it, then check your cloth. If color transfers onto the cloth, the product is too strong for your seats.
Step 4: Agitate Gently
Spray the cleaner onto a soft horsehair brush or microfiber towel — not directly on the seat. This stops liquid from pooling in the seams. Work in small sections using crosshatch strokes (up-down, then side-to-side) to work up a light foam. This foam is what actually lifts the dirt and oils out of the grain.
Step 5: Wipe, Rotate, Buff
Use a damp microfiber towel folded into quarters to wipe away the foam. Flip to a clean side often — you don’t want to smear dirty foam back onto the seat. Finish with a separate dry towel to buff the surface dry.
That’s the whole process. Simple, repeatable, and safe for 95% of car seats out there.
Should You Condition Your Leather Seats?
This is where people get confused, and honestly, where a lot of bad advice floats around.
The old-school myth: Slather on heavy oils and lotions to “feed” the leather. This made sense decades ago when seats were raw hide. Today, it’s a problem. Most seats have a plastic coating that can’t absorb thick oils at all. The oil just sits on top, making seats greasy, attracting dust, and even fogging up your windshield as it evaporates in the heat.
If your seats look shiny and slick instead of naturally matte, you’ve probably got old conditioner buildup, not clean leather.
What actually works: Coated leather still lets water vapor pass through — it needs to “breathe” so it doesn’t feel stiff. Because of this, light water-based micro-emulsions (not heavy oils) can still deliver moisture through microscopic pores in the coating. These lightweight hydrating serums help older, drying leather without leaving a greasy film.
For newer cars (under 3 years old): Skip hydration altogether. Focus on protection instead. A breathable ceramic coating made for leather can block UV rays and reduce friction from clothes, without leaving any residue behind.
The goal after cleaning and protecting should always be a soft, dry-to-the-touch, matte finish — exactly like the seats looked the day you bought the car.
Tricky Stains That Need Special Treatment
Some messes need a different approach than your standard cleaning routine.
Perforated Seats (the Ones With Tiny Holes)
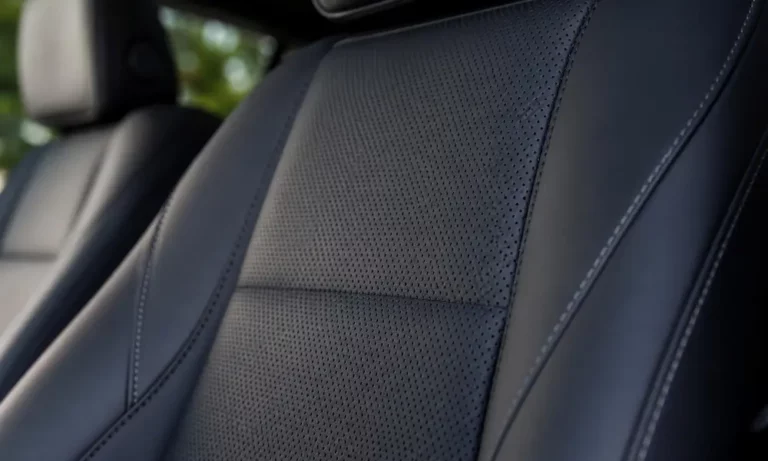
Never spray liquid straight onto perforated leather. It’ll seep through the holes and soak the foam underneath, which can grow mold or fry the heating/cooling elements hidden below. Instead, spray cleaner onto your towel first, then wipe the surface with the damp towel. Keep any protectant applied thin and nearly dry before it touches the seat.
Blue Jean Dye Transfer
That dark blue stain on light-colored seats? It’s from unfixed dye rubbing off your jeans through friction and heat. Catch it early (within a few days) and a regular pH-balanced cleaner usually lifts it right off.
Wait too long, and heat causes the dye to seep under the coating where it bonds with the color layer underneath. At that point, you need a solvent-based dye remover, applied very gently. If the surface turns sticky while you’re working on it, stop immediately — rubbing a softened coating will peel the color right off.
Sunscreen Stains
Mineral sunscreens with zinc oxide or titanium dioxide leave white marks pressed into dark leather. Regular soap often won’t budge them. A diluted mix of white vinegar and water with a soft brush breaks down the mineral residue without hurting the coating.
Alcantara or Microsuede
Alcantara isn’t leather at all — it’s a synthetic microfiber. Leather cleaners and conditioners will mat and ruin it. Stick to dry brushing and a barely damp cloth for regular cleaning. For oily buildup, mist a dedicated Alcantara cleaner onto a towel and dab gently — never scrub.
The King Ranch Exception
If you drive a 2001-2008 Ford King Ranch truck, your seats are raw aniline leather with zero coating. This is the one case where heavy oil conditioners like mink oil actually help — the leather is meant to soak them up. Starting in the 2009 model year, Ford switched to coated semi-aniline leather, so newer King Ranch trucks need standard cleaning methods instead.
Steam Cleaners and Magic Erasers: Handle With Care
Two tools get recommended a lot online, and both come with real risks.
Steam cleaners blast out heat over 240°F, which is great for killing bacteria and melting away stuck-on grime and smells. But hold the nozzle too close for too long and you’ll warp or blister the coating permanently. Keep the wand moving constantly and wrap it in a towel to spread out the heat.
Melamine foam (Magic Erasers) works almost too well — it strips stains off instantly. That’s the problem. It’s basically fine sandpaper, and it physically shaves off the coating along with the stain. One light pass on a stubborn mark might be fine, but regular use will wear through the protective layer and leave your seats exposed to fast damage.
Stick with soft brushes and proper leather cleaners for your regular routine. Save the aggressive tools for true emergencies, if at all.
What Happens If You Skip All This
Neglect leather seats long enough and cleaning alone won’t fix it anymore. Cracks, tears, and worn-through spots need actual repair or replacement. Here’s what that typically runs:
| Repair Type | Estimated Cost |
|---|---|
| Small patch or single tear repair | $50 – $150 |
| Full single seat reupholstery | $250 – $750 |
| Both front seats, premium leather | $1,500 – $4,500 |
| Full interior restoration (front + rear) | $2,500 – $10,000+ |
Reupholstery costs jump based on leather grade and whether your seats have extras like heating elements or airbags built in, according to cost breakdowns from Synchrony and detailed pricing calculators. Regular cleaning is way cheaper than any of these numbers.
One more thing worth knowing: most factory warranties don’t cover sun fading, dye transfer, or cracking from body oils. Automakers treat this as normal wear and tear, not a manufacturing defect. So keeping up with cleaning isn’t just about looks — it protects your wallet too.
Final Thoughts
Cleaning leather seats really comes down to three things: vacuum first, use the right gentle cleaner, and skip the heavy oils unless you’re driving an old King Ranch truck. Pay attention to sun exposure, sweat, and friction since those are the real reasons seats crack and fade in the first place.
Handle special cases like perforated seats, dye transfer, and sunscreen stains with the right approach instead of a one-size-fits-all scrub. And go easy on steam cleaners and Magic Erasers — they can fix a problem fast, but they can also create a bigger one if you’re not careful.
Stick with this routine every month or two, and your seats will stay soft, matte, and crack-free for years. That’s a lot cheaper than a $1,500 reupholstery bill down the road.