Seeing your Duramax truck’s check engine light turn on can be a bit stressful, but don’t worry too much. You can reset it by using a scanner or disconnecting the negative battery cables for a few minutes. This simple step could solve your problem quickly. Stick around to learn more about why the light might be on and get detailed instructions to handle it yourself.
Understanding the Check Engine Light in Your Duramax
When the check engine light illuminates in your Duramax, it can indicate various issues. This section will help you understand the important indicators and common reasons behind the light coming on.
Indicators and What They Mean
When the check engine light comes on, your vehicle is alerting you to a problem. This light can signal something minor or a more serious issue. For example, you might see a steady light, which usually means a less urgent problem, or a flashing light, which signals a more serious malfunction.
A steady check engine light might point to problems like a loose gas cap or a minor sensor issue. This is still important and should not be ignored as it can affect your Duramax’s performance over time.
A flashing check engine light is a more urgent alert. This often points to severe engine misfires that require immediate attention to prevent damage. Understanding the pattern of the light helps you decide how quickly you need to act.
Common Triggers of the Engine Light
Many things can trigger the check engine light in your Duramax. Here are some of the most common causes:
Loose Gas Cap: A surprisingly simple reason is a loose gas cap. Ensuring the cap is tightly secured can resolve the issue and turn off the light.
Exhaust System Leaks: Leaks in the exhaust system, such as cracks in the manifold, are common triggers. These leaks can prompt the light and might require professional repairs.
Faulty Sensors: Sensors play a key role in monitoring the engine’s health. If a sensor is malfunctioning, it can trigger an error code and illuminate the check engine light. Replacing faulty sensors often fixes the issue.
Error Codes: Specific trouble codes are generated when the check engine light comes on. For instance, the P11DC code relates to the exhaust system and needs to be addressed to restore engine performance.
By understanding these common triggers, you can better maintain your Duramax and respond promptly to any issues signaled by the check engine light.
Pre-Reset Checklist
Before attempting to reset the check engine light on your Duramax, make sure you’ve addressed some common and easily fixable issues that might trigger it. These initial checks can save you time and potentially money by avoiding unnecessary repairs.
Confirming the Gas Cap is Secure
One of the simplest things you can check is the gas cap. A loose gas cap can cause a vapor leak, which may trigger the check engine light.
First, make sure the cap is tightly secured. If it’s loose, tighten it until you hear at least a couple of clicks. This ensures it is properly closed and helps maintain the correct pressure in the fuel system.
Additionally, inspect the gas cap for any signs of wear and tear. If the rubber seal is cracked or damaged, replace the cap with a new one. This should help resolve any pressure-related issues and can often turn off the check engine light after a few drives.
Visual Inspection for Obvious Issues
Next, do a quick visual inspection under the hood for anything that looks out of place. Check for loose or disconnected vacuum hoses, as these can cause air leaks and set off the check engine light.
Inspect the hoses for any signs of wear, cracks, or damage. If you find any issues, replace the damaged hoses to ensure proper airflow.
Also, look for any obvious leaks from the engine. Oil, coolant, or other fluid leaks can signal a more serious issue. Identifying and addressing these problems early can prevent further damage and costly repairs.
Make sure all caps, including the oil and coolant caps, are properly sealed. This helps maintain the correct pressure and prevents potential issues that might trigger the check engine light.
Step-by-Step: Resetting the Check Engine Light
Resetting the check engine light on your Duramax can be done through a hard reset or by using the on-board computer system. Each method has specific steps you must follow to ensure the light turns off.
Performing a Hard Reset
A hard reset involves disconnecting the battery. Start by opening the hood and finding the negative battery cable. Use a wrench to loosen the cable and remove it from the battery.
Next, let your truck sit for about five minutes. This waiting period allows the onboard computer to reset itself.
Once five minutes have passed, reconnect the negative battery cable. Tighten it properly using your wrench. This action should clear the check engine light.
Finally, start your truck to verify that the check engine light is off. If it’s still on, you might have other issues that need to be addressed.
The On-Board Computer Reset Process
Resetting the check engine light using the on-board computer is another effective method. First, get an OBD2 scanner and locate the OBD2 port, usually found under the steering wheel.
Connect the scanner to the port and turn the ignition to the ON position. This step powers the onboard computer without starting the engine.
Once the scanner establishes a connection, select the option to read codes. After reading, choose the option to clear the codes.
Wait for the scanner to confirm that the codes are cleared. Turn off the ignition and disconnect the scanner. Finally, start your truck to ensure the check engine light is off.
Post-Reset Actions
After resetting the check engine light on your Duramax, it’s important to keep an eye on potential issues returning and to test the reset under driving conditions.
Monitoring for Recurrence of the Engine Light
Keep an eye on your dashboard for any signs of the check engine light reappearing. This is essential because the initial issue might not be resolved completely. If the light comes back on, it could indicate an ongoing problem with your Duramax’s emission system or other components.
You should also pay attention to your truck’s performance. List changes in fuel efficiency or unusual behavior. If you notice lower mileage or the engine running rough, there might be an underlying problem that needs attention.
When to Drive and Test the Reset
Take your Duramax on different types of roads to see if the check engine light stays off. Starting with city driving, then move to the highway. This will give the engine time to cycle through various conditions and confirm that the problem is resolved.
During these drives, keep track of any fluctuations in fuel efficiency. If your mileage improves, it’s a good sign that the reset has worked. Keep a log of your observations, noting any changes in performance. This can help you and your mechanic diagnose any persistent issues.
Doing these steps will help ensure that any underlying issues are addressed, keeping your Duramax running smoothly.
Troubleshooting After a Reset
Even after resetting your Duramax check engine light, some issues might keep coming back. Figuring out what’s causing the problem and knowing when to see a professional can save you time and money.
Identifying Persistent or Recurring Problems
If the check engine light comes back on soon after a reset, it might be more than a quick fix. Common reasons include a loose gas cap, faulty sensors, or other underlying problems.
To identify the issue, use a code scanner to read the diagnostic trouble codes. These codes point to specific parts of the engine or system that need attention. You can often buy a scanner for the same price as what a shop charges to read the code.
Check if you’ve performed all basic checks like tightening the gas cap or checking fluid levels. If the code keeps returning despite these efforts, it’s likely a more serious issue that needs professional help.
Deciding When to Seek Professional Assistance
When simple fixes don’t work, it may be time to visit a qualified mechanic. Persistent codes indicate a deeper problem that DIY solutions may not resolve. For example, issues like faulty injectors or EGR valves often require specialized tools and expertise.
If your truck shows symptoms like decreased performance, poor fuel economy, or unusual noises, don’t delay. A qualified mechanic can run comprehensive diagnostics and fix the problem before it worsens.
Taking your truck to a reputable shop ensures that the problem is properly diagnosed and repaired. This approach prevents future issues and extends the life of your Duramax engine.
Professional Diagnostic and Repair Services
When your Duramax’s check engine light comes on, seeking professional help ensures accurate and efficient resolution of the issue. Expert mechanics use advanced diagnostic tools and procedures to pinpoint and fix problems, helping to keep your vehicle in top condition.
Consulting a Qualified Mechanic
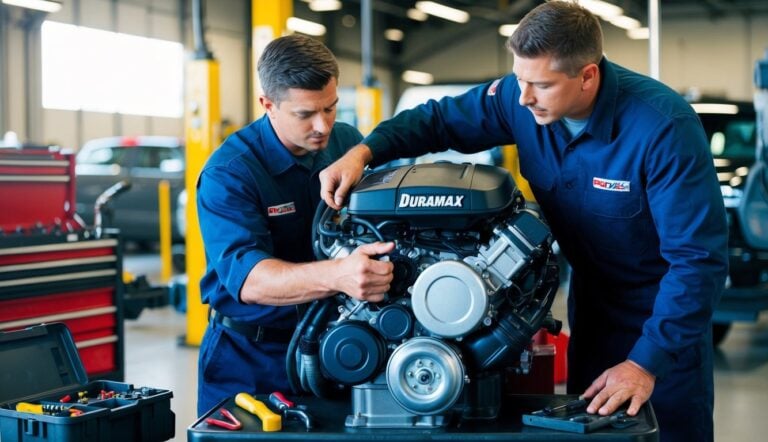
A qualified mechanic is essential for a correct diagnosis of your Duramax check engine light. They have the expertise and tools to read trouble codes from your vehicle’s control module.
By consulting a professional, you can avoid guesswork. Mechanics can diagnose issues like a faulty ignition coil or sensors that may be affecting your engine’s performance. Quick and accurate diagnosis can save you from costly and unnecessary repairs.
Additionally, a good mechanic will provide a detailed report, explaining the issue and the necessary steps to resolve it. This transparency helps build trust and ensures your vehicle gets the care it needs.
Advanced Diagnostics for Complex Issues
Advanced diagnostics go beyond basic code reading. For complex issues, mechanics use specialized tools and software to get a detailed view of your engine’s performance.
These diagnostics can identify deep-rooted problems, such as issues with the engine’s control module or irregularities when accelerating. This level of detail helps in crafting precise repair plans.
Mechanics might use oscilloscopes, scan tools, and other sophisticated equipment during this process. This ensures that no stone is left unturned and that the root cause is accurately identified and fixed.
By leveraging advanced diagnostics, you get a thorough understanding of your vehicle’s health, allowing for targeted and effective repairs. This not only fixes the immediate issue but also helps in preventing future problems.


