
Got a flat tire or a loose hubcap rattling around? Knowing how to remove hub cap cover correctly saves you from cracked plastic, scratched wheels, and a cap that won’t stay on afterward.
This guide covers every cap type, the right tools, and the exact steps to get it off cleanly. Read to the end before you touch anything.
First, Know What Type of Hub Cap Cover You Have
Not all hubcaps come off the same way. Using the wrong approach is the fastest way to shatter plastic or gouge your wheel.
We break down the key differences clearly. Here’s what you’re likely dealing with:
| Cap Type | How It’s Held On | How to Spot It |
|---|---|---|
| Pop-on / Snap-on | Spring-loaded metal ring | Smooth outer edge, no visible nuts |
| Screw-on | Plastic nuts thread onto lug studs | Plastic “lug nuts” visible on face |
| Bolt-on | Steel lug nuts sandwich the cap | Cap sits under the actual lug nuts |
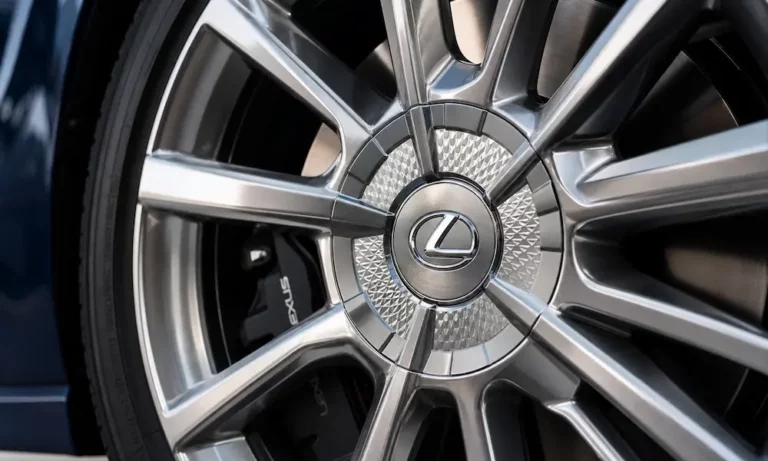
| Alloy center cap | Small plastic tabs in center bore | Small disc in the middle of an alloy wheel |
| Push-through cap | Flanged base trapped behind wheel | Conical cap with no front pry gap |
Run your fingers around the edge. If you feel a gap between the cap and rim, it’s likely pop-on. If you see hexagonal shapes on the face, it’s screw-on. If the lug nuts sit directly on top of the cap, it’s bolt-on.
Getting this right first saves you from doing real damage.
Tools You Need Before You Start
Using the wrong tool is the number one reason hubcaps crack. A narrow screwdriver concentrates all the force on one tiny spot. The plastic shatters.
Here’s what actually works:
- Wide-blade pry tool or hubcap removal spoon — spreads force over a wider area
- Nylon trim wedges — essential for alloy wheels to avoid scratches
- Flathead screwdriver wrapped in electrical tape — acceptable backup only
- Rubber mallet — for tapping caps back on, and for stubborn pop-ons
- Breaker bar and torque wrench — required for bolt-on caps
- Penetrating lubricant — loosens rust-seized clips on older vehicles
If you work on cars regularly, the Ken-Tool T68 Hubcap Puller and the Steelman Hub Cap Remover are worth having. Both use wide, angled blades that hook behind the cap’s lip without crushing the plastic edge.
Safety Steps You Can’t Skip
You need to get this right before touching the wheel, especially if the cap requires lug nut removal.
- Park on solid, flat ground — concrete or compacted asphalt only
- Engage the parking brake fully
- Put the transmission in Park (or lowest gear on a manual)
- Place wheel chocks on the tires opposite the one you’re working on
- If lifting the vehicle, use a hydraulic floor jack only to raise it, then immediately transfer weight onto rated jack stands
Never work under a vehicle supported only by a floor jack. Hydraulic seals fail.
Wear nitrile or leather gloves — shattered plastic clips are sharp. Add safety glasses too, since metal retention rings can spring free fast.
How to Remove a Pop-On Hub Cap Cover
This is the most common type you’ll encounter on economy and mid-range vehicles with steel wheels.
Step 1: Check for rust and brake dust buildup in the rim groove. If the vehicle has seen road salt, spray a short burst of penetrating lubricant into the perimeter gap first. Give it two minutes to work.
Step 2: Find the thickest, most solid section of the cap’s outer edge — usually where the spokes meet the rim. Avoid thin ornamental sections.
Step 3: Slide your wide-blade pry tool or taped screwdriver into the gap between the cap and the steel rim.
Step 4: Apply gentle, controlled outward pressure. Don’t try to pop it off in one move. You’re just trying to create a small gap on one side.
Step 5: Move the tool several inches around the circumference and apply pressure again. Keep working around the perimeter.
Step 6: Once enough clips release, grip the thickest spokes with both gloved hands and pull outward with a firm, steady force.
You’ll hear distinct clicks as each clip releases. That’s exactly what you want.
How to Remove a Screw-On Hub Cap Cover
Screw-on caps require rotation, not prying. Prying a screw-on cap will snap the mounting flanges instantly.
Step 1: Find the plastic lug nut covers on the face of the cap. They’ll look like regular lug nuts but have visible mold lines and no metallic sheen.
Step 2: Use the lug wrench from your vehicle’s factory tool kit, or find the correct socket size that fits snugly.
Step 3: Turn each plastic nut counter-clockwise.
Critical warning: Do not use an air impact gun or electric impact wrench. The concussive torque will strip the plastic threads immediately. Manual removal only.
Step 4: Remove all plastic nuts in a star pattern — alternate sides rather than going around in a circle. This releases pressure evenly.
Step 5: With all nuts removed, pull the cap straight outward off the wheel.
How to Remove a Bolt-On Hub Cap Cover
Bolt-on caps are held by the vehicle’s actual steel lug nuts. You’re essentially doing the first half of a wheel removal.
Step 1: While the vehicle is still on the ground, use a breaker bar or lug wrench to loosen each lug nut one quarter turn counter-clockwise. Don’t remove them yet. The tire’s friction with the ground stops the wheel from spinning.
Step 2: Lift the vehicle using your floor jack at the manufacturer-approved jacking point, then lower it onto jack stands.
Step 3: Fully remove the lug nuts by hand and store them somewhere safe.
Step 4: Keep the wheel pressed against the hub with one hand. Slide the plastic hub cap cover outward over the exposed wheel studs.
Step 5: Keep the unsecured wheel pressed against the hub until the cap is fully clear. The wheel has nothing holding it now.
Treat the loose wheel with the same care you’d give the cap.
How to Remove an Alloy Wheel Center Cap
Center caps on alloy wheels demand the most care. Scratching the surrounding finish costs real money to fix.
Front-access caps (with a visible notch):
Wrap a small flathead screwdriver in several layers of electrical tape, or use a nylon trim wedge. Insert it into the notch and apply very gentle outward leverage. You only need to release one or two small plastic clips.
Front-access caps (no visible notch):
Use a small suction cup tool. Lightly moisten the cup, center it on the cap, and pull straight outward. No tools contact the wheel at all.
Push-through caps (no front access):
Don’t attempt to pry these from the front. You will break them. The entire wheel must come off the vehicle first.
Once the wheel is off, place it face-down on a rubber mat. Reach into the hub bore from the rear. Use a wooden dowel or rubber-tipped punch to press the cap outward from behind. Tap gently with a rubber mallet if needed.
Dealing With a Stuck or Rusted Hub Cap Cover
Older vehicles — especially those driven through winter road salt — can develop caps that are practically welded to the rim by rust and compacted brake dust.
For rust-seized pop-on caps:
- Apply penetrating lubricant around the entire perimeter
- Wait 5 to 10 minutes
- Work the pry tool around the rim gradually
For stripped retaining screws on center caps:
- Apply localized heat with a heat gun on low setting — not an open flame
- The aluminum expands slightly faster than the steel screw, breaking the rust bond
- Place a rubber band over a stripped screw head, then press your screwdriver firmly into it — the rubber fills the stripped grooves and provides grip
Never use a torch near tires or plastic caps. The risk of fire is immediate.
Why Getting This Right Actually Matters
A hubcap that pops off at 65 mph doesn’t just bounce down the road. It becomes a projectile. According to NHTSA crash causation data, tire and wheel-related failures account for 35% of all vehicle-attributed crashes — the single largest category.
The NHTSA tire safety page reinforces why wheel assembly integrity — including the secure attachment of every cover — directly connects to highway safety.
A cracked, loose, or improperly reinstalled hub cap cover isn’t a cosmetic problem. It’s a road hazard.
Reinstalling the Cap Correctly
Removal is only half the job.
- Inspect the plastic tabs before reinstalling. If more than one or two adjacent clips are cracked or missing, replace the cap. A compromised clip ring won’t hold at highway speed.
- Wire-brush the rim edge to remove rust scaling and brake dust. A clean surface lets the clips seat fully.
- Align the valve stem cutout on the cap with your tire’s valve stem before pressing. Forcing the cap down over the valve stem will cause an immediate blowout.
- Press the bottom edge onto the rim first, then work up both sides simultaneously using the heel of your palm.
- Listen for sharp clicks as the retention ring snaps into the rim groove.
- Grip the edges and try to twist the installed cap. It should feel completely rigid with zero play.
For bolt-on caps, use a calibrated torque wrench and tighten lug nuts to your vehicle manufacturer’s specification in a star pattern. Never guess on lug nut torque.


