Your chainsaw won’t start. Your trimmer bogs down when you hit the throttle. Your lawn mower sounds like it’s gasping for air. Before you haul your equipment to the repair shop, there’s a good chance you can fix it yourself by adjusting the carburetor. This guide walks you through the exact steps to dial in your small engine’s fuel mixture, so you can get back to work.
What Does a Carburetor Actually Do?
Think of your carburetor as a simple mechanical computer. It doesn’t have sensors or electronics—just physics.
Here’s what happens: Air rushes through a narrow throat called a venturi. As the air speeds up, the pressure drops. This pressure drop sucks fuel from a small reservoir and mixes it with the incoming air. The engine then burns this mixture to create power.
The problem? Carburetors can’t adapt to changes in altitude, temperature, or humidity on their own. That’s where you come in.
Why Your Mixture Matters
Your engine needs the right fuel-to-air ratio to survive. Too much air (a lean mixture) creates extreme heat that can melt pistons in minutes. Too much fuel (a rich mixture) kills power, fouls spark plugs, and creates excessive smoke.
The sweet spot? A slightly rich mixture that balances power with engine protection. Running too lean can destroy your engine before you even realize there’s a problem.
Two-Stroke vs. Four-Stroke: Know Your Engine
Before you grab a screwdriver, you need to identify your engine type.
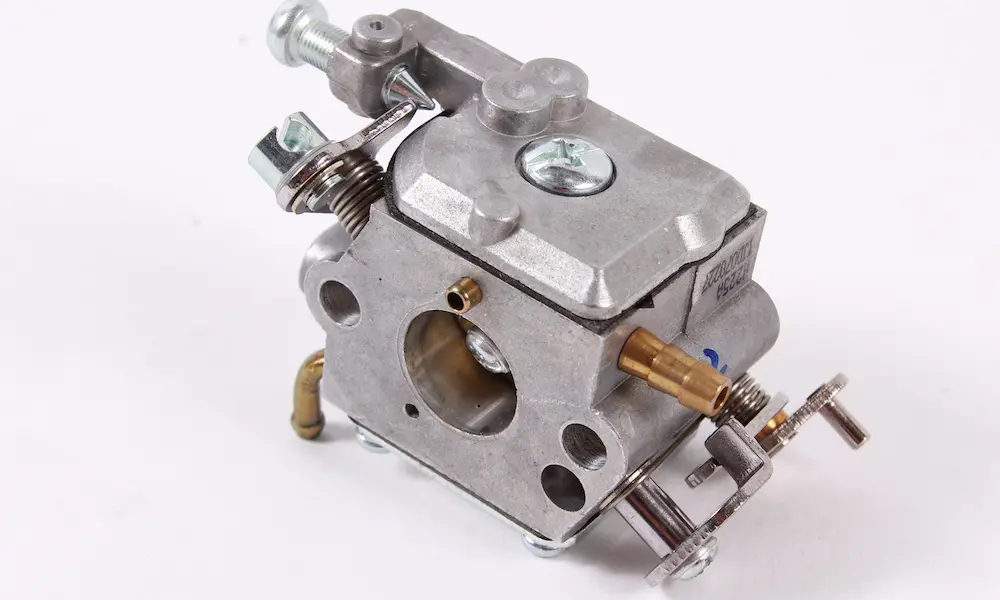
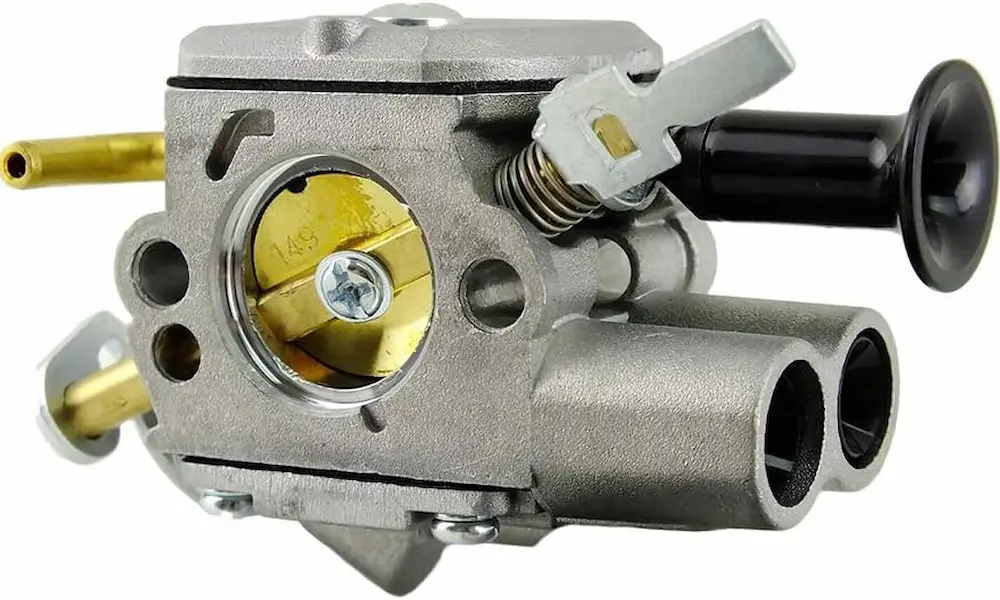
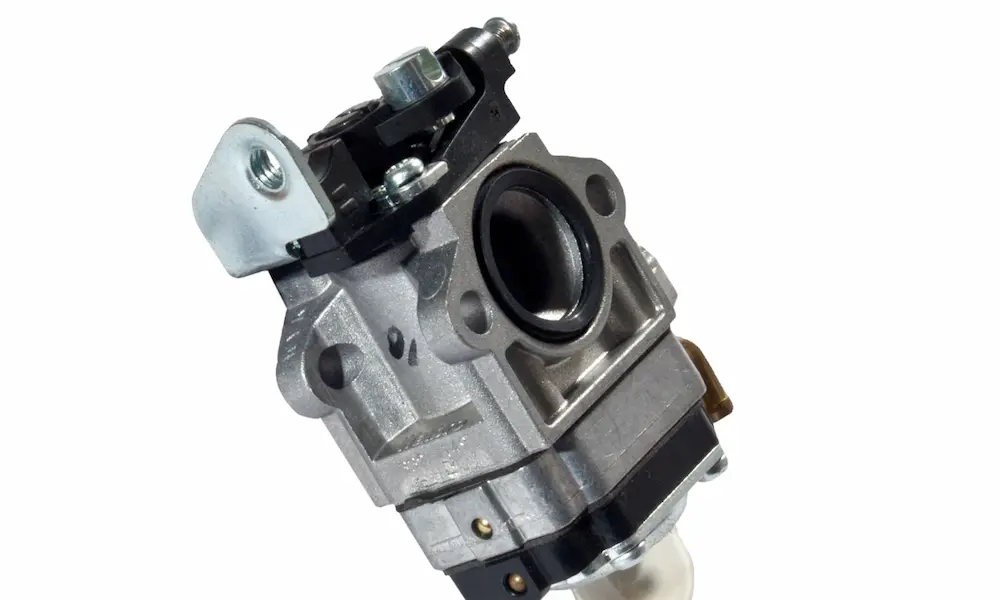
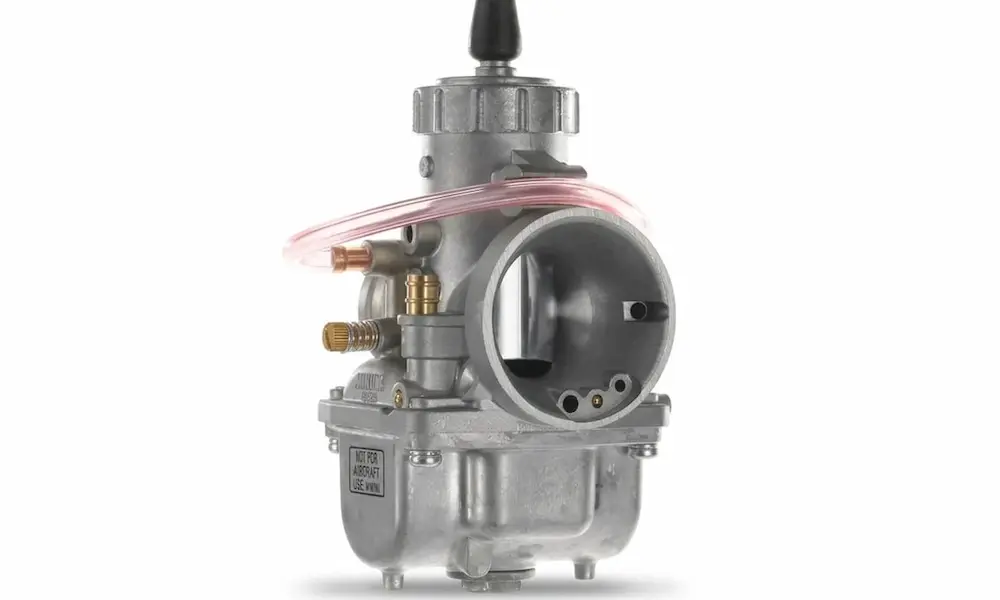
Two-stroke engines power chainsaws, trimmers, and blowers. You mix oil directly into the gas. These engines use diaphragm carburetors with two or three adjustment screws: L (low speed), H (high speed), and T or LA (idle speed).
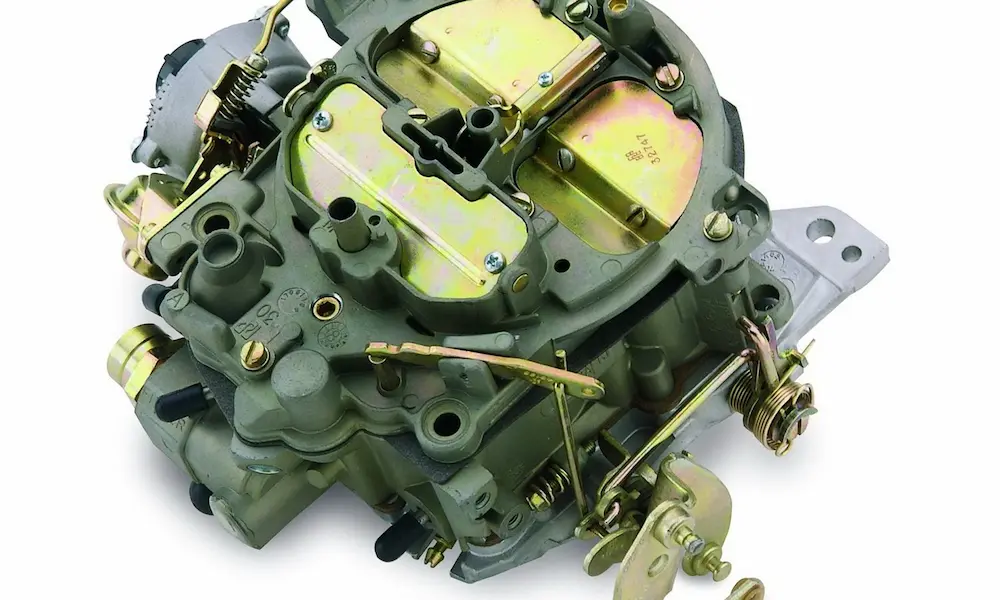
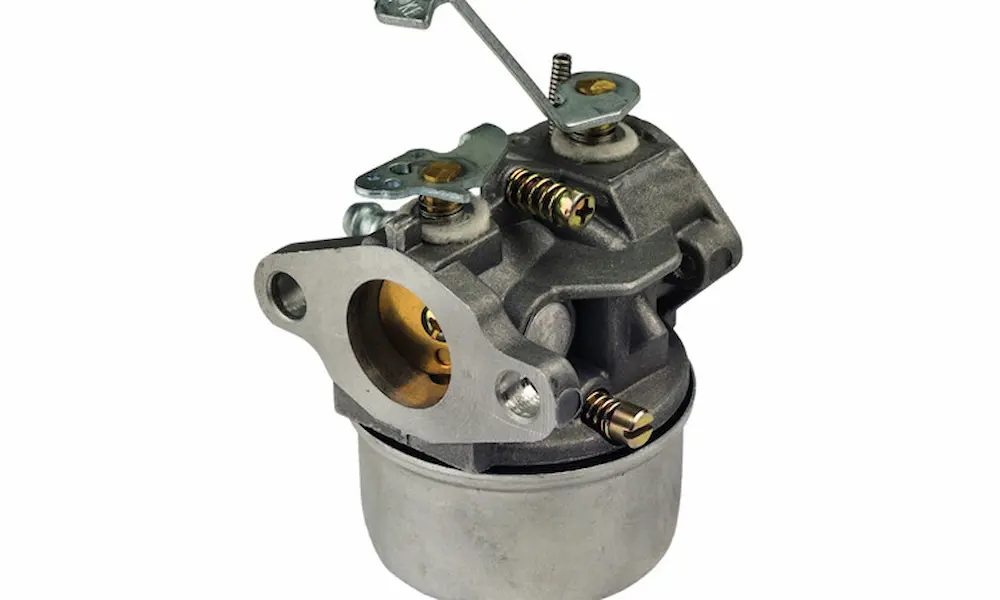
Four-stroke engines run lawnmowers, generators, and pressure washers. They have separate oil and gas. Most use float-type carburetors, and many modern versions have no mixture adjustments at all—just an idle speed screw.
The adjustment process differs significantly between these two types, so don’t skip this identification step.
Get the Right Tools First
Modern carburetors use special screw heads that prevent tampering. The EPA and CARB regulations forced manufacturers to make adjustments difficult for end users.
You’ll need specialty drivers:
- Splined (21-tooth): Common on Husqvarna, Poulan, and Craftsman saws
- Pac-Man: Round with a missing slice, used on Ryobi and Echo
- Double D: Two flat sides, found on older Homelite and Craftsman
- Hexagon: Internal hex shape for Stihl 4-MIX engines
- A-Circle: Newer Ruixing carburetors on budget equipment
Don’t try using pliers. You’ll strip the recessed screws and ruin your carburetor permanently.
Critical Pre-Adjustment Checks
Here’s where most people mess up: they try to tune away a mechanical problem.
A carburetor adjustment changes the fuel mixture. It can’t fix a clogged filter, repair a vacuum leak, or restore worn piston rings. Before touching any screw, complete these checks.
Air Filter
A dirty air filter restricts airflow, forcing your engine to run rich. If you adjust the carburetor to compensate, then clean the filter later, your engine will run dangerously lean.
The rule: Always start with a clean filter.
Fuel System
Modern ethanol fuel causes serious problems. It absorbs water, turns into sludge, and clogs tiny passages inside your carburetor.
Check these components:
- Fuel filter: That weighted “clunk” inside your gas tank must move freely
- Fuel lines: Look for cracks, splits, or gummy residue
- Fuel itself: Drain old gas (anything over 30 days) and use fresh fuel
A clogged fuel filter creates symptoms identical to a lean carburetor setting, but no amount of adjustment will fix it.
Spark Plug
Pull your spark plug and read it like a diagnostic tool.
| Spark Plug Color | What It Means | Action Required |
|---|---|---|
| Coffee/tan | Perfect combustion | No adjustment needed |
| White/blistered | Dangerously lean | Richen mixture immediately |
| Black/sooty | Too rich or weak spark | Lean mixture or check ignition |
| Wet/oily | Misfiring in 2-strokes | Check oil ratio and spark |
A white, blistered plug means your engine is running hot enough to cause damage. Fix this before the piston seizes.
Air Leaks (Two-Stroke Engines Only)
This one’s sneaky. In two-stroke engines, the crankcase is part of the fuel delivery system. Any crack or worn seal lets unmetered air sneak past the carburetor.
Warning signs of an air leak:
- Idle speed hangs high after revving
- Erratic idle that won’t stabilize
- Engine runs worse as it warms up
You can’t tune an air leak away. Trying to compensate with carburetor adjustments will eventually destroy your engine. The only fix is replacing the crankshaft seals or gaskets.
How to Adjust a Two-Stroke Carburetor
Two-stroke adjustments require precision and a good ear. Follow this exact sequence: L screw, then idle speed, then H screw. Never skip steps.
Step 1: Establish a Baseline
If you’re completely lost on current settings, reset everything.
Gently turn both L and H screws clockwise until they lightly seat. Don’t force them—you’ll damage the soft aluminum. Then turn both screws counter-clockwise exactly one full turn.
Start the engine and let it warm up for 2-3 minutes. A cold engine needs different fuel ratios, so tuning cold gives false results.
Step 2: Adjust the L (Low Speed) Screw
The L screw controls fuel at idle and during the critical transition when you hit the throttle.
Here’s the proper procedure:
- With the engine idling, slowly turn the L screw clockwise (leaner)
- Listen for the idle speed to increase and peak
- Keep turning until the RPM drops or the engine sounds rough
- Back the screw out (counter-clockwise) about 1/8 turn from that peak
Now test your adjustment. Snap the throttle open quickly.
Lean bog: The engine hesitates, gasps, or dies. Turn the L screw out (richer) by 1/8 turn increments until the bog disappears.
Rich stumble: The engine burbles with smoke and slowly gains speed. Turn the L screw in (leaner) slightly.
Your goal is instant throttle response with no hesitation.
Step 3: Set the Idle Speed (T or LA Screw)
The idle screw is just a mechanical stop for the throttle plate. It doesn’t control fuel.
Adjust this screw so your engine idles smoothly but below clutch engagement speed. For chainsaws, the chain must not move at idle. For trimmers, the head should sit still.
Typical idle speeds run between 2,700-3,300 RPM for handheld equipment.
Step 4: Tune the H (High Speed) Screw
This is the most critical adjustment for engine survival. Get this wrong and you’ll melt pistons.
Professional tuners use an auditory technique called “four-stroking” to set the H screw safely without a tachometer.
Here’s what four-stroking sounds like: At wide-open throttle with no load, a slightly rich mixture causes the engine to misfire occasionally, creating a rough “burble” or flutter. When you put the tool under load (cut wood, trim grass), the engine RPM drops slightly, the mixture leans out, and the sound cleans up into a smooth scream.
The tuning process:
- Hold the throttle wide open (no load)
- Turn the H screw clockwise (lean) until the engine screams smoothly
- Don’t leave it here—this is dangerously lean
- Turn the H screw counter-clockwise (rich) until you hear the sound roughen into a burble
- The ideal tune: rough burble with no load, clean scream under load
If your engine screams smoothly at wide-open throttle with no load, it’s running too lean. When you put it under load, it’ll overheat and seize.
Using a Tachometer for Precision
For objective verification, use a digital tachometer to check your maximum no-load RPM against manufacturer specifications.
Common limits:
- Stihl MS460: 13,500 RPM max
- Husqvarna 372XP: 13,500 RPM max
- Stihl MS880: 11,500 RPM max
Always tune 200-300 RPM below the maximum spec. This ensures adequate lubrication and cooling in the cut.
How to Adjust a Four-Stroke Carburetor
Four-stroke engines are different beasts. Most use a mechanical governor that automatically adjusts throttle position to maintain target RPM under varying loads.
The Surging Problem
The most common four-stroke issue is “surging”—a rhythmic up-and-down engine speed (vroom…vroom…vroom).
This happens when a clogged pilot jet creates a lean condition. The governor overreacts to the resulting power loss, creating an endless cycle:
- Lean mixture causes RPM drop
- Governor slams throttle open to compensate
- Main jet floods the engine temporarily
- RPM surges up
- Governor closes throttle
- Engine returns to lean idle circuit and starves again
If applying partial choke smooths out the surging, you’ve confirmed a lean fuel problem—usually a blocked pilot jet.
Adjusting the Pilot Circuit (Honda GX Engines)
Older or commercial-grade engines have an adjustable pilot screw near the carburetor base. Don’t confuse it with the idle speed screw on the throttle linkage.
The standard adjustment procedure:
- Warm up the engine completely
- Set throttle to lowest idle
- Turn pilot screw clockwise until engine stumbles
- Turn counter-clockwise until idle smooths and RPM increases
- The sweet spot is typically 1.5-3 turns out from seated
If you need the screw almost completely out to make the engine run, the pilot jet is clogged internally and needs cleaning.
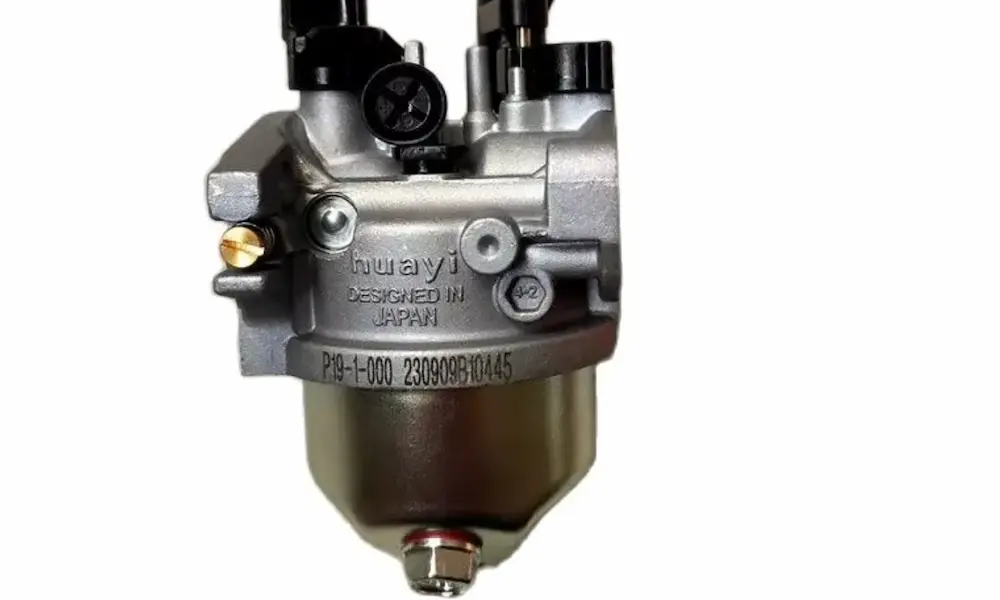
Fixed-Jet Carburetors
Modern plastic Briggs & Stratton carburetors have no mixture adjustments. If these engines surge or run poorly, you must physically remove and clean the pilot jet with micro-wire or compressed air. Chemical cleaners alone won’t clear calcified deposits.
Governor Linkage Reset
If you’ve disassembled the carburetor linkage, you’ll need to re-synchronize the governor arm with the internal governor mechanism.
The proper procedure:
- Loosen the clamp nut on the governor arm
- Move throttle lever to wide-open position
- Rotate the governor shaft clockwise (same direction the arm moved) until it stops
- Tighten the clamp nut while holding everything in position
This isn’t a tuning adjustment—it’s mechanical calibration. Skip this after reassembly and your engine may over-rev dangerously or fail to carry a load.
Troubleshooting Common Problems
Sometimes your engine talks to you. You just need to listen.
| Problem | Likely Cause | Quick Fix |
|---|---|---|
| Dies at idle | L screw too lean or idle too low | Richen L screw 1/8 turn; raise idle speed |
| Bogs on acceleration | L screw too lean | Turn L screw counter-clockwise (richer) |
| High scream, no power | H screw too lean or air leak | Richen H screw immediately; check seals |
| Heavy smoke, low power | H screw too rich | Lean H screw clockwise in small steps |
| Engine surges (4-stroke) | Clogged pilot jet | Clean pilot jet; adjust pilot screw |
| Idle hangs high | Air leak in crankcase | Replace seals—don’t try to tune it out |
Remember: If richening the mixture screws doesn’t fix a lean condition, you’ve got an air leak or fuel restriction. No amount of carburetor adjustment will solve mechanical failures.
When Adjustment Isn’t Enough
Sometimes turning screws won’t fix your problem. Here are the red flags.
Diaphragm failure: If you’ve rebuilt the carburetor but it still won’t tune properly, check the metering lever height. This internal setting determines fuel level in the chamber. Too high causes flooding; too low causes starvation. You’ll need a specialized gauge to set it correctly.
Pop-off pressure issues: Diaphragm carburetors need 10-20 PSI of pop-off pressure. If this is set wrong during a rebuild, the engine’s pulse signal can’t open the inlet valve properly, creating symptoms identical to a fuel pump failure.
Worn top end: Low compression means weak crankcase pulses in two-strokes. The fuel pump can’t deliver adequate volume at high RPM, causing the engine to lean out. A compression test (should be 90+ PSI for chainsaws) reveals this problem before you waste time adjusting.
Altitude and Temperature Changes
Your carburetor doesn’t know you drove from sea level to the mountains.
Altitude: As you climb, air density drops. The carburetor delivers the same volume of fuel into less oxygen, creating a rich condition. You’ll need to lean both the L and H screws (turn clockwise) to restore proper ratios.
Temperature: Cold air is denser than warm air. An engine tuned in summer (90°F) will run dangerously lean in winter (30°F) because the colder, denser air contains more oxygen per volume. Turn both screws counter-clockwise (richer) when temperatures drop significantly.
Final Checks
After making adjustments, verify your work with these tests.
Throttle response test: Snap the throttle from idle to wide-open. The engine should respond instantly with no hesitation or stumbling.
Load test: Put your tool under actual working load. A chainsaw should maintain power in the cut. A trimmer should hold RPM while cutting thick grass. If power drops under load, the H screw needs richening.
Spark plug check: After running at full throttle under load for 30 seconds, kill the ignition immediately (don’t let it idle). Pull the plug and check the color. You want coffee-tan, not white.
Sound test: At wide-open throttle with no load, you should hear a slight roughness (four-stroking) that cleans up under load. A smooth scream at WOT means you’re running too lean for safety.
Keep Your Engine Happy
Once you’ve nailed the adjustment, maintain these settings by keeping fuel fresh (drain equipment stored over 30 days), replacing air filters regularly, and using quality two-stroke oil at the correct ratio.
Understanding how to adjust small engine carburetor settings gives you control over your equipment’s performance and longevity. You’re not just turning screws randomly—you’re precisely balancing the physics of combustion to extract maximum power while keeping temperatures in the safe zone.
Now you’ve got the knowledge to diagnose problems, make the right adjustments, and recognize when the issue runs deeper than carburetor settings. Your equipment will run better, last longer, and you’ll save the cost of multiple repair shop visits.