Got a rough idle, black exhaust smoke, or an engine that stumbles every time you hit the gas? Your carburetor might be crying out for help. This guide walks you through exactly how to rebuild a carburetor — from diagnosis to final tuning — so you can get things running right again. Stick with it to the end, because the tuning section alone can make or break your rebuild.
First, Know What You’re Dealing With
A carburetor controls the air-fuel mixture your engine burns. It uses the Venturi effect — a pressure drop created by airflow through a narrow passage — to pull fuel from the float bowl and mix it with incoming air.
When that system gets clogged, corroded, or worn, everything falls apart fast. Varnish builds up in tiny fuel passages. Rubber seals harden. Floats sink. And suddenly your engine runs like it’s on its last legs.
The good news? Knowing how to rebuild a carburetor is a skill any home mechanic can learn.
Spot the Symptoms Before You Start
Don’t just pull the carb off and start guessing. Match your symptoms to the likely cause first.
| Symptom | Affected Circuit | Probable Cause |
|---|---|---|
| Rough idle or stalling | Idle circuit | Clogged idle jets, varnish in transition slots |
| Hesitation on acceleration | Accelerator pump | Ruptured diaphragm or clogged discharge nozzle |
| Black exhaust smoke | Mixture/choke | Over-rich condition or stuck choke plate |
| Engine flooding | Float needle and seat | Debris in seat or worn needle tip |
| Hard cold starts | Choke/fast idle | Faulty choke pull-off or clogged air bleeds |
| High-RPM lean-out | Main metering | Clogged main jets or low fuel pump pressure |
Black smoke means too much fuel. Backfiring through the intake usually means too little. Both tell you where to focus your attention during disassembly.
Run a Quick Vacuum Test First
Before you touch a wrench, connect a vacuum gauge to the intake manifold. This 10-minute check tells you whether your problem is the carburetor or something deeper.
| Vacuum Reading | What It Means |
|---|---|
| Steady 17–22 in. Hg | Engine is healthy; carb is the likely culprit |
| Steady but low (8–14 in. Hg) | Retarded ignition timing |
| Intermittent drop | Sticking valve or ignition misfire |
| Large oscillations | Blown head gasket or massive vacuum leak |
You can also spray carburetor cleaner around the throttle shafts and intake gaskets while the engine idles. If the RPM changes, you’ve found an air leak that a rebuild needs to fix.
Set Up a Safe Workspace
Carb work involves volatile fuel and caustic cleaners. Don’t skip the setup.
- Ventilation: OSHA guidelines require high-volume airflow when working with flammable vapors. Open the garage doors and run a fan.
- Fire extinguisher: Keep a Class B or C unit within reach.
- PPE: Nitrile gloves and safety goggles are non-negotiable when handling chemical cleaners.
- Parts organization: Use a muffin tin or labeled cups. Carburetor screws are tiny and look identical until they aren’t.
Tools You’ll Actually Need
- Flathead and Phillips screwdrivers (carburetor-specific drivers prevent damaging brass emulsion tubes)
- Compressed air for blowing out passages
- A vacuum gauge and tachometer for post-rebuild tuning
- Chemical dip tank or ultrasonic cleaner for deep cleaning — aerosol spray won’t cut it on a full rebuild
- Torque wrench for reassembly
- Rebuild kit (more on material selection shortly)
Document Everything Before You Touch It
Take photos. Lots of them. Shoot the linkage positions, spring locations, and vacuum hose routing from multiple angles before you disconnect anything.
On small engines — especially Briggs & Stratton units — the governor spring position is critical. Move it even slightly and you’ll end up with engine hunting or dangerous over-speeding. A photo now saves serious headaches later.
Disconnect the fuel line, throttle linkage, and any electrical connections (like the anti-afterfire solenoid). Drain the residual fuel into a proper container before you set the carb on your workbench.
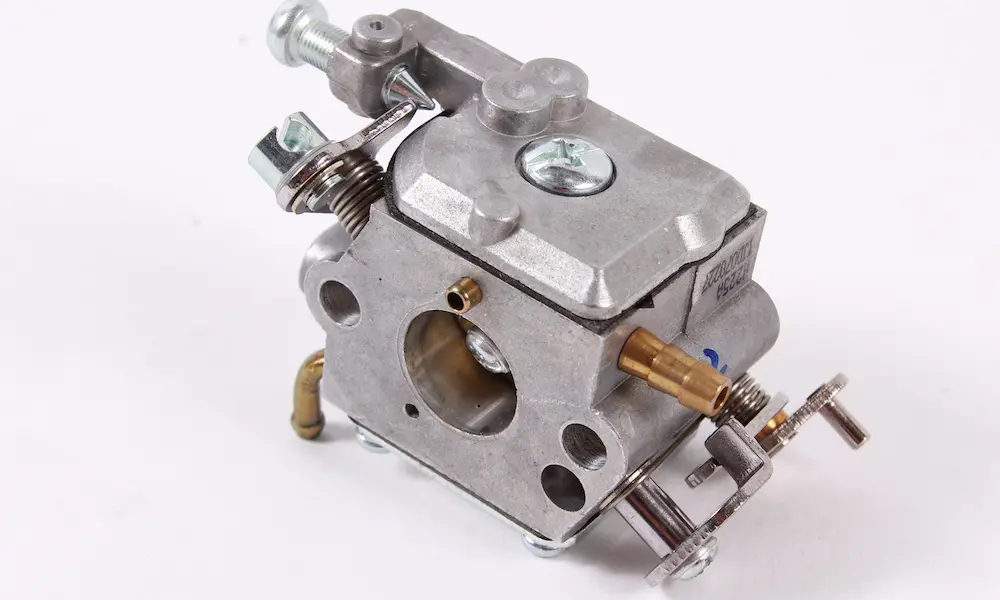
Disassembly: Work Systematically
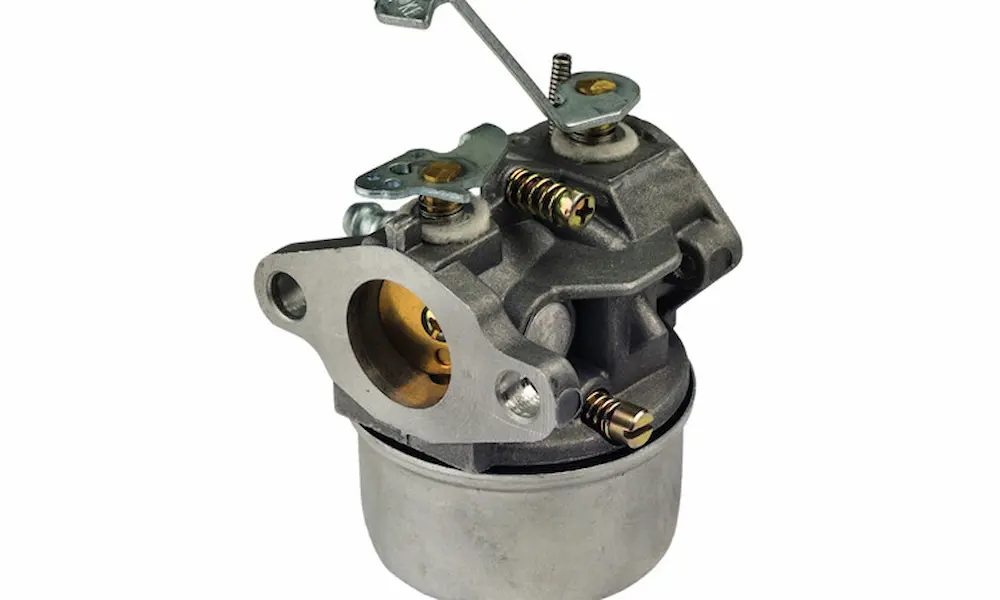
Float Bowl and Inlet System
Pull the float bowl first. Inside, you’ll find the float, needle valve, and seat — the gatekeeper that controls fuel level inside the carb.
- Brass floats: Shake them near your ear. Any sloshing means fuel got inside, which makes the float heavy and causes constant flooding.
- Plastic floats: Check for saturation or warping.
- Needle tip: Inspect it under magnification. A groove or ridge on the Viton tip means it won’t seal properly against fuel pressure.
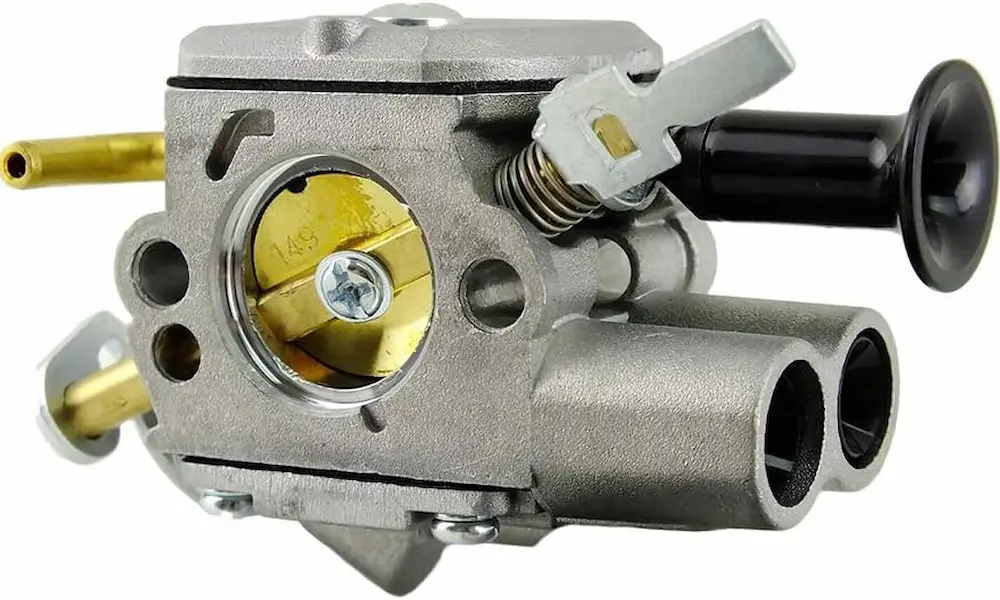
Main Jets and Emulsion Tubes
These are where varnish loves to hide. The emulsion tube is a hollow brass tube with microscopic cross-drilled holes that pre-atomize fuel before it hits the Venturi. Even partial blockage here causes driveability problems across the entire RPM range.
Remove them carefully. Never use a steel wire or drill bit to clean these orifices — brass is soft, and a single scratch ruins the calibration permanently. Use a single bristle from a brass brush or a wooden toothpick only.
Throttle and Choke Shafts
In most cases, leave the throttle and choke shafts in the body. The screws holding the plates are often staked (deformed after installation) and will strip if you force them. However, if the throttle shaft has noticeable play, worn bushings are letting unmetered air in — that’s your wandering idle and lean stumble right there.
Cleaning: Pick the Right Chemical
The carb body is likely aluminum or zinc die-cast. Both react badly to aggressive chemicals if you leave them soaking too long.
| Chemical | Soak Time | Notes |
|---|---|---|
| Berryman B-12 / Gunk | 4 hours | Strong; effective on heavy varnish and carbon |
| Simple Green (full strength) | 2–4 hours | Safer for the environment; watch aluminum discoloration |
| Pinesol | 1–2 hours | Works on mild varnish |
| Acetone/Berryman mix | 4 hours | Reserve for the most stubborn deposits only |
Important: Aluminum turns black in Simple Green or Pinesol if you leave it soaking overnight. Set a timer. After soaking, blow every passage out with compressed air. If you have access to an ultrasonic cleaner, use it — the cavitation bubbles reach passages that no spray or brush can touch.
Welch Plugs: The Hidden Passages
Welch plugs are thin convex discs that seal machining access holes. Behind them sit transition ports and idle progression holes — critical for smooth off-idle response. If your carb has them, they need to come out.
- Drill a small hole in the center of the plug. Stop the moment you feel the bit break through — the casting underneath is soft.
- Pry the plug out with a pin punch.
- Flush the chamber thoroughly and blow it dry.
- Install the new plug from your rebuild kit by tapping the center with a flat-faced punch to expand the edges into the bore. Some techs add a drop of enamel nail polish around the edge as backup sealing.
The Ethanol Problem Nobody Talks About Enough
If you’re running E10 or E15, your rebuilt carburetor faces a real threat. Ethanol is hygroscopic — it pulls water out of the air and mixes it into your fuel. Let that sit, and the water and ethanol separate from the gasoline and settle in the bowl. That mixture corrodes zinc, aluminum, and brass aggressively.
Ethanol also acts as a solvent, loosening old varnish and rubber deposits in your fuel tank and sending them straight into your newly cleaned jets.
Use the Right Rebuild Kit Materials
| Material | Ethanol Resistance | Heat Tolerance | Use |
|---|---|---|---|
| Nitrile (Buna-N) | Low | 250°F | Legacy kits — avoid for E10+ applications |
| Viton® (FKM) | High | 400°F | Needle tips, O-rings, diaphragms |
| EPDM | Moderate | High | Some gaskets and seals |
Always buy a rebuild kit that specifies Viton components. The price difference is minimal. The performance difference isn’t.
Also worth noting: because ethanol contains oxygen, it leans out the mixture. On classic cars running E10, you’ll often need to increase main jet size by 5–10% to compensate.
Reassembly: The Details That Matter
Gasket Installation
There’s a persistent debate here. The short answer: it depends on the gasket type.
- Modern gaskets with rubber sealing beads (like Fel-Pro designs): Install them dry on a clean surface. Adding RTV silicone can cause them to slip or chemically attack the sealing bead.
- Traditional paper gaskets: A thin smear of white lithium grease helps the gasket seat properly and makes the next removal easier.
- Never use RTV where it contacts fuel. Gasoline doesn’t dissolve silicone — it breaks it into chunks that block your jets and send you back to square one.
Float Level: Get This Right
Before closing the bowl, set the float height. Hold the carb upside down and measure the distance between the float and the carb body. Check your rebuild kit or service manual for the exact spec.
Too high means a rich, flooding condition. Too low means fuel starvation under load. This single measurement has an outsized impact on how the engine runs.
Tighten all fasteners to spec. The die-cast body warps easily if you overtighten.
Post-Rebuild Tuning: Don’t Skip This
Setting Idle Mixture
- Seat the mixture screw lightly, then back it out 1.5 to 2.5 turns as a baseline.
- Start the engine and bring it to full operating temperature.
- Confirm the choke is fully open.
- Adjust the screw in 1/8-turn increments while watching the vacuum gauge. Stop when you hit the highest, steadiest reading.
- Set idle speed with the idle stop screw. You’ll likely repeat this back-and-forth a few times until both readings stabilize.
Accelerator Pump Check
With the engine off, watch the discharge nozzles while you move the throttle by hand. You should see an instant, strong fuel stream. Any hesitation or delay points to air in the circuit or a worn check ball.
At wide-open throttle, verify there’s approximately .015″ clearance between the pump arm and lever. Over-extension tears the diaphragm.
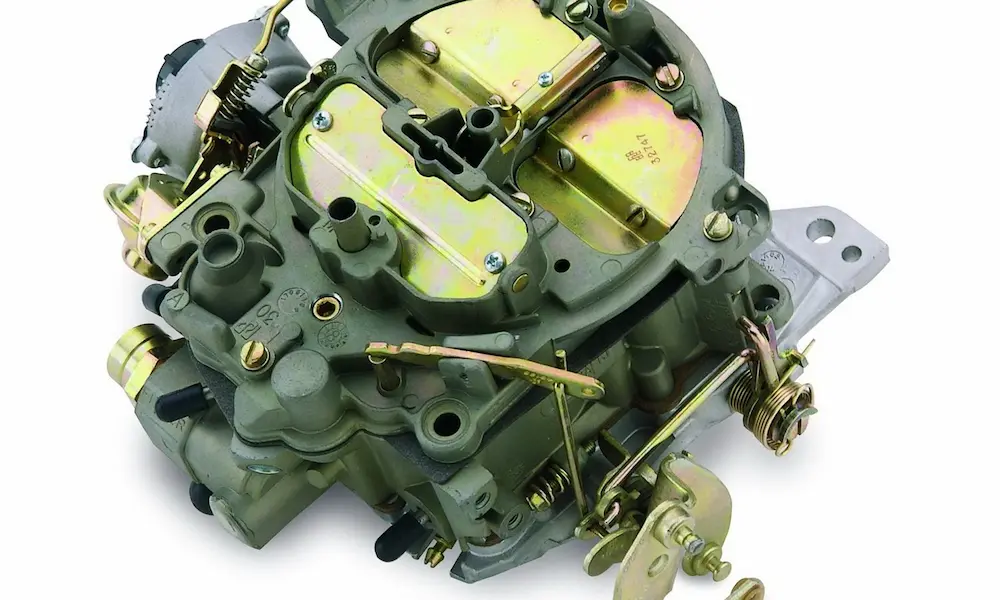
Power Valve (Holley 4-barrel)
Measure manifold vacuum at idle in gear (for automatic transmissions). Pick a power valve rated at roughly half that reading. So if you’re pulling 13 inches of vacuum, a 6.5″ power valve is your target.
Keep Your Rebuild Running Clean
A solid rebuild is only half the battle. Protect your work with smart maintenance habits.
- Use a fuel stabilizer any time the vehicle sits for more than a few weeks. It prevents phase separation and moisture buildup in the bowl.
- Replace the fuel filter every few months during the first year after a rebuild. Ethanol loosens old tank deposits and your new needle and seat doesn’t deserve that punishment.
- For long-term storage, drain the float bowl completely or run the engine on ethanol-free fuel before shutting it down for the season.
Learning how to rebuild a carburetor takes patience the first time through. But once you’ve done it, you’ll understand exactly why your engine behaves the way it does — and you’ll have the skills to fix it when it doesn’t.