Seeing a “Bulb Failure Position Light” warning on your Volvo’s dashboard can be frustrating and concerning. This message usually means a parking or tail light bulb needs replacing. Addressing this issue is crucial for your safety and comfort while driving. Read on to learn how to fix this common problem and keep your Volvo running smoothly.
Understanding Bulb Failure in Volvo Vehicles
Bulb failures in Volvo vehicles can be caused by several issues, such as faulty bulbs, wiring issues, or problems with the vehicle’s computer system. This section covers the common causes of bulb failure, specifics about Volvo position lights, and how to use onboard diagnostics to identify and fix these issues.
Common Causes of Bulb Failure
Bulb failure in Volvo vehicles often happens due to a few common reasons. One of the most frequent causes is a burned-out bulb. Over time, bulbs simply wear out and need replacing.
Another cause could be wiring issues. If the wires are damaged or corroded, the circuit may not complete properly, leading to bulb failures. Corrosion can occur in the sockets where the bulb connects, especially in older vehicles.
A loose connection can also cause the problem. Vibrations from driving can sometimes loosen the bulb connections, making them less effective. Regular inspection can help catch these issues early, potentially saving you from unexpected failures.
Specifics About Volvo Position Lights
Position lights, also known as parking lights or side marker lights, are important for marking your vehicle’s position on the road. These lights are small and often a bit harder to notice if one of them goes out.
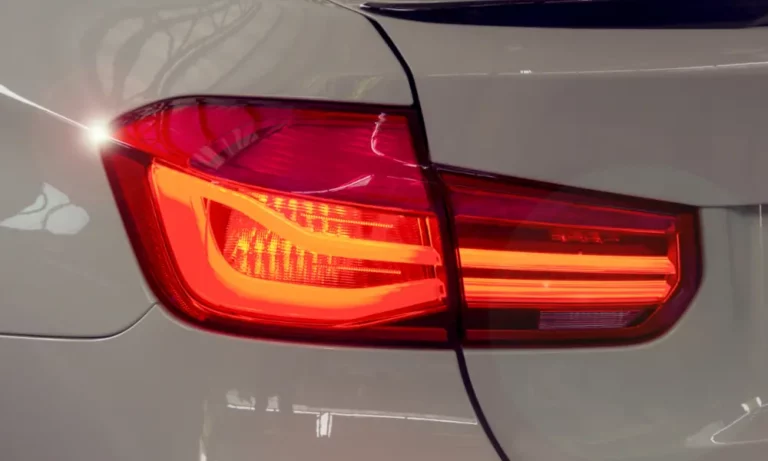
In Volvo vehicles, these are often located at the back of the car and on the sides. Some models have four position lights at the back, with two on each side. If one light burns out, the housing may still be lit by the remaining bulb, making it harder to spot the failure.
Using the correct bulb type and wattage is crucial. Always refer to your owner’s manual for the right specifications. A mismatch can cause further issues and potentially trigger the Bulb Failure Position Light Warning on your instrument cluster.
Bulb Failure Indicator and Onboard Diagnostics
When a bulb fails, the Bulb Failure Position Light Warning will often appear on your dashboard. This warning light helps you identify that there is an issue somewhere in your lighting system.
To pinpoint the exact problem, you can use an OBDII scanner. This device plugs into your vehicle’s OBDII port, typically found on the driver’s side footwell area. The scanner interacts with your car’s computer and sensors to tell you precisely which light has failed or if there’s a deeper issue like a circuit or wiring problem.
Following the scanner’s diagnosis, you can proceed by replacing the faulty bulb or addressing any wiring or connection issues. Always ensure that all sockets and connections are clean and free of corrosion to maintain proper functionality.
Step-by-Step Guide to Replacing Volvo Position Lights
Replacing position lights on your Volvo can seem challenging, but with the right tools and instructions, it becomes much easier. Follow these steps to ensure you get the job done correctly.
Preparing for Bulb Replacement
Before you start, gather the necessary tools. You’ll need replacement bulbs compatible with your Volvo model (like Sylvania bulbs), a screwdriver, a cloth, and some dielectric grease. It’s also useful to have the owner’s manual handy for reference.
Make sure the car is parked on a flat surface and the engine is off. Having a hand-held OBDII scanner can help identify which bulb needs changing. Ensure the keys are out of the ignition to avoid electrical shocks.
Replacing Front Position Lights
To replace the front position lights, start by opening the hood. Locate the back of the headlight assembly. You might need to remove a cover to access the bulb.
Once you find the bulb socket, twist it counterclockwise to remove it. Take out the old bulb and replace it with a new one, ensuring it fits snugly. Apply a bit of dielectric grease to the new bulb’s base before inserting it back into the socket. Twist the socket clockwise to secure it.
Replacing Rear Position Lights
To change the rear position lights, you need to access the back of the tail light assembly. Open the trunk and find the cover panel behind the tail lights. Remove this panel to reach the bulb sockets.
Twist the socket counterclockwise and pull it out. Carefully remove the burnt-out bulb and insert the new one. Use a small amount of dielectric grease on the new bulb’s base to protect it from moisture. Reinsert the socket, twisting it clockwise to lock it in place.
Bulb and Socket Compatibility
Using compatible bulbs like Sylvania ensures reliability and longevity. Always check your owner’s manual for the correct bulb type to avoid compatibility issues. Both the front and rear lights must match the specifications in the manual.
Make sure the sockets are in good condition. Damaged sockets can lead to frequent bulb failures. Inspect sockets for corrosion or wear, and if needed, consult a dealer for replacements.
By following these steps, you’ll keep your vehicle safe and roadworthy.
Troubleshooting After Replacement
If you’ve replaced the bulb but still see the “Bulb Failure Position Light” warning, there might be other issues at play. Checking wiring, connections, and more might help you resolve persistent problems.
Dealing with Persistent Bulb Failure Warnings
After replacing the bulb, a persistent warning might indicate underlying issues. First, check the wiring for any visible damage or loose connections. Properly secured wires ensure that power flows correctly to the lights.
Loose bulbs can also trigger warnings. Make sure the bulb is well-seated in its socket. A loose bulb may not illuminate properly, causing the system to think there’s a failure.
If the warning continues, you might need a more detailed inspection. A certified mechanic or dealer can use specialized tools to diagnose the issue. They can check for problems that aren’t visible, like a fault in a circuit or a damaged illuminator.
For safety reasons, don’t ignore the warning. Faulty driving lights can make your vehicle less visible to others, especially at night. Taking the time to troubleshoot can ensure your lights work correctly, keeping you safe on the road.

