You’ve set the perfect temperature, but your RV remains stuffy and hot. You check your Dometic thermostat and see a blank screen or an error code flashing. Sound familiar? Dometic thermostats are the most common climate control systems in RVs, but they’re notorious for developing problems that can turn your comfortable getaway into a sweaty nightmare. This guide will walk you through the most common Dometic thermostat problems and how to fix them yourself.
Understanding Your Dometic Thermostat Model
Before diving into troubleshooting, you need to know which Dometic thermostat you have. The company makes several types, each with different quirks and issues:
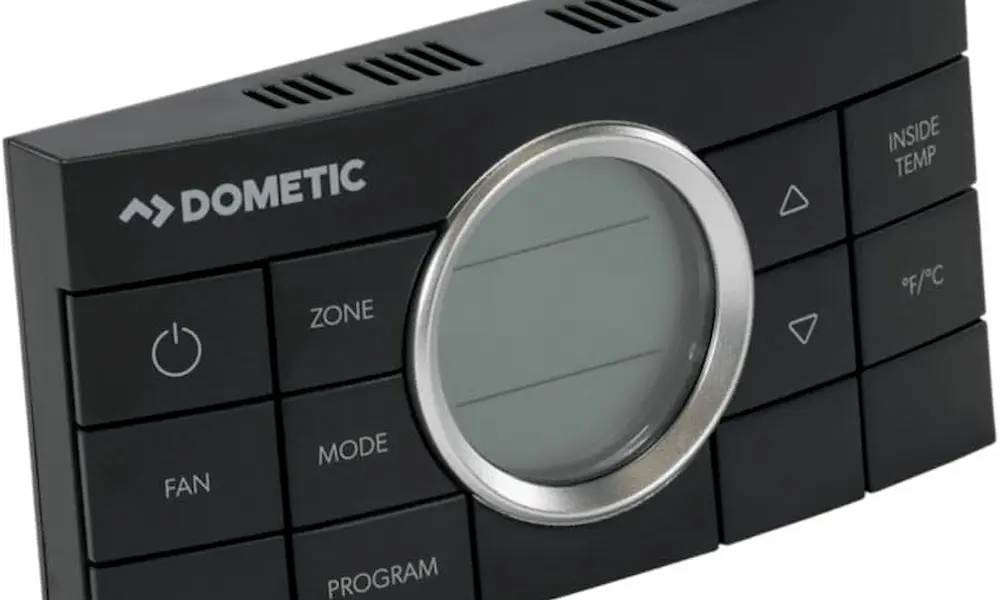
- Comfort Control Center (CCC) series: Multi-zone thermostats with digital displays
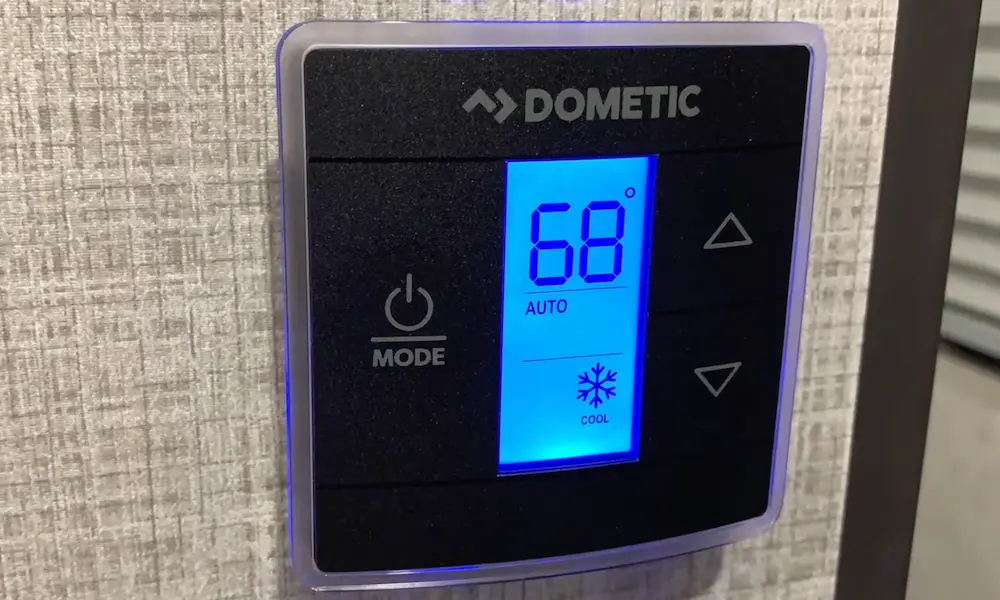
- Single-zone LCD thermostats: Simpler units that control one AC/heating zone
- Soft-touch capacitive models: Modern units with touch-sensitive buttons (no physical buttons)
- Analog versions: Older dial-type thermostats
Each model has different reset procedures and wiring configurations, so identifying yours is the first step to successful troubleshooting. The model number is usually printed on the front or back of the unit.
Most Common Dometic Thermostat Problems
1. Blank or Non-Responsive Display
A blank thermostat display is one of the most frustrating problems you’ll encounter. This issue typically stems from:
- Power supply problems
- Blown fuses
- Loose wiring connections
- Failed circuit board
Quick Fix Steps:
- Check your RV’s house batteries – low voltage can cause display issues
- Locate and check the thermostat fuse (usually in the main electrical panel)
- Verify the furnace fuse is good (the thermostat often draws power through this circuit)
- Use a multimeter to check for 12V power at the thermostat connections:
- Red wire should show +12V
- Blue wire serves as ground
If you’re getting proper voltage at the thermostat but still have a blank display, the thermostat itself has likely failed internally.
2. Error Code E1: Communication Failure
The dreaded E1 error is by far the most common issue with Dometic thermostats. This error indicates a loss of communication between the thermostat and the AC control module.
| Error Code | Meaning | System Response |
|---|---|---|
| E1 | Communication loss between thermostat and control board | System shutdown |
| E2/E3 | Indoor temperature sensor problems | Heating/cooling lockout, fan works |
| E5 | Freeze sensor problems | AC lockout, other functions work |
| E7 | Loss of 120V AC power | Complete system shutdown |
How to Fix E1 Errors:
- Locate the phone-jack style connectors at each AC unit’s control board (usually behind the AC filter cover)
- Unplug each connector, clean both ends with electrical contact cleaner
- Firmly reconnect each plug, ensuring they click into place
- If cleaning doesn’t help, the communication cable may need replacement
Many RV owners discover that these connectors develop corrosion, especially in humid environments. Simply cleaning and reseating them resolves most E1 errors.
3. Unresponsive Buttons (Capacitive Touch Models)
Dometic’s soft-touch capacitive thermostats are particularly problematic. Many owners report having to press buttons multiple times or buttons activating randomly without being touched.
The issue lies in the design – these units use foam padding behind the cover to activate the touch sensors, and this padding often shifts or deteriorates.
DIY Fix:
- Remove the thermostat cover carefully
- Note the position of small foam pieces aligned with circuit board touch points
- Reposition or replace the foam padding
- Some owners use small dabs of hot glue to secure the circuit board position
This simple fix often restores button functionality without requiring a complete replacement.
4. Temperature Reading Inaccuracies
Is your thermostat showing 72°F while you’re clearly sweating in 85°F heat? Temperature sensing problems are common in Dometic units. These issues stem from:
- Faulty thermistors (temperature sensors)
- Poor sensor placement
- Control board processing issues
How to Test Temperature Accuracy:
A properly functioning Dometic thermistor should read approximately:
- 7.2k ohms at 70°F
- 9.8k ohms at 60°F
- 12.4k ohms at 50°F
You can check this with a multimeter. Readings outside these ranges indicate sensor failure requiring replacement.
Reset Procedures for Different Dometic Models
Sometimes a simple reset can resolve minor software glitches. Different models require different reset procedures:
Single Zone Thermostat Reset
- Simultaneously press the “Mode” button and temperature “Up” button
- Hold until two dashes appear on the display
- Turn the thermostat off and back on
CCC2 Multi-Zone Reset
- Ensure the thermostat is completely powered down
- Simultaneously press and hold the “Mode” and “Zone” buttons
- Continue holding until the display shows “IniT” followed by available zone numbers
- Release buttons and press the power button to exit setup mode
This reset will restore factory defaults and re-initialize communication with all connected zones. Note that you’ll lose any custom programming.
Advanced Troubleshooting for Persistent Problems
Communication Cable Replacement
If cleaning connections doesn’t resolve E1 errors, the communication cable itself may be damaged. This cable runs from the thermostat through the RV’s walls and ceiling to each AC unit.
Replacement Process:
- Locate both ends of the existing cable (thermostat and AC control board)
- Attach new cable to the old one (if possible) to help pull it through
- Carefully pull the new cable through the existing route
- Connect to both the thermostat and AC control board
- Secure cable with appropriate clips or ties
This job can be challenging in some RVs but is often necessary for a permanent repair of communication issues.
Checking for Corroded Circuit Boards
Water damage and condensation are common in RVs and can cause thermostat circuit board corrosion. Signs include:
- Green or white powdery substance on circuit boards
- Discolored or damaged components
- Burned or blackened areas
If your thermostat shows these signs after opening it, replacement is generally the better option than attempting repairs.
Replacement Options: Fix or Upgrade?
When Repair Makes Sense
Repairing your existing Dometic thermostat is worth considering when:
- The issue is simple (loose connections, minor corrosion)
- Your thermostat is relatively new or still under warranty
- You’re comfortable with basic electronics work
- The repair parts are significantly cheaper than replacement
Simple repairs like cleaning connections or replacing temperature sensors (typically $20-40) can extend thermostat life significantly.
When to Replace Instead
Consider full replacement when:
- Multiple problems occur simultaneously
- The same components keep failing
- There’s significant internal damage
- Repair costs approach replacement costs
- You want additional features like smartphone control
Modern Replacement Options
Direct Dometic Replacements
Factory Dometic replacement thermostats cost between $60-120 depending on the model. These provide exact compatibility with your existing wiring but don’t address the underlying design issues that caused the original failures.
Smart Thermostat Upgrades
If you’re tired of repeated Dometic problems, consider upgrading to a Micro-Air EasyTouch thermostat. These Wi-Fi and Bluetooth-enabled thermostats offer:
- Smartphone control
- Scheduling capabilities
- More reliable operation than original Dometic units
- Direct replacement compatibility (no rewiring for most models)
Priced between $240-280, they cost more upfront but provide significantly better functionality and reliability. User reviews consistently praise their performance compared to factory Dometic units.
| Replacement Option | Cost | Pros | Cons |
|---|---|---|---|
| Direct Dometic Replacement | $60-120 | Exact fit, lower cost | Same design flaws |
| Micro-Air EasyTouch | $240-280 | Smart features, more reliable | Higher initial cost |
| WalTech Thermostats | $250-300 | Cellular connectivity option | Most expensive option |
Preventative Maintenance Tips
Protect Against Environmental Damage
- Ensure adequate ventilation around the thermostat
- Protect connections from moisture infiltration
- Avoid mounting thermostats in direct sunlight
- Inspect wire connections annually, particularly the phone-jack style connectors
- Clean connections whenever your RV is exposed to dusty or humid conditions
Operational Best Practices
- Avoid rapid temperature changes that stress the system
- Use reasonable temperature settings rather than extremes
- Train all RV users on proper touch techniques for capacitive models
- Keep AC filters clean to reduce system stress
- Address any mechanical issues with heating/cooling equipment promptly
By following these maintenance practices, you can significantly extend your thermostat’s life and avoid the frustration of climate control failures during your travels.
Understanding Error Code Meanings in Detail
When your Dometic thermostat displays an error code, it’s trying to tell you exactly what’s wrong. Here’s a deeper dive into what each code means:
E1 Error: Communication Loss
The E1 error indicates the thermostat can’t communicate with the AC control module. This typically causes the display to alternate between “E1” and the previous mode setting while shutting down the entire system.
Common causes include:
- Loose or corroded phone-jack style connectors
- Damaged communication cables
- Control board failures
- Power fluctuations affecting the communication circuit
E2 and E3 Errors: Temperature Sensor Problems
These errors relate to the indoor temperature sensor:
- E2 indicates an open circuit or out-of-range sensor
- E3 indicates a shorted sensor
Both errors lock out heating and cooling operation while allowing manual fan operation to continue. These almost always require sensor replacement.
E5 Error: Freeze Sensor Problems
The E5 error indicates issues with the freeze sensor that protects AC coils from icing up. When this sensor fails, the system locks out air conditioning operation (but allows other functions to continue) as a safety precaution.
E7 Error: Power Loss
E7 indicates complete loss of 120-volt AC power to all system power modules. This requires checking:
- Shore power connections
- Circuit breakers
- The RV’s electrical system
- Generator output (if applicable)
This error is rarely a thermostat problem but rather an indication of broader electrical issues.
Real-World Cost Analysis
Repair Scenario
A typical Dometic thermostat repair involving temperature sensor replacement and connection cleaning might cost:
- Temperature sensor: $30
- Contact cleaner: $8
- DIY labor: Free
- Total: $38
If professionally installed:
- Parts: $38
- Diagnostic fee: $75-150
- Labor: $50-100
- Total: $163-288
Replacement Scenario
Replacing with a direct Dometic equivalent:
- Thermostat: $90
- DIY installation: Free
- Total: $90
Upgrading to a Micro-Air EasyTouch:
- Smart thermostat: $260
- DIY installation: Free
- Total: $260
While the upgrade costs more initially, many RV owners report the improved reliability and features make it worth the investment, especially considering the frequency of problems with original Dometic units.
Advanced Sensor Testing
For those comfortable with electronics, testing your thermostat’s sensors can pinpoint problems precisely:
- Remove the thermostat from the wall
- Identify the temperature sensor (usually a small component with two leads)
- Set your multimeter to measure resistance (ohms)
- Disconnect and measure across the sensor terminals
- Compare to expected values:
- 7.2k ohms at 70°F
- 9.8k ohms at 60°F
- 12.4k ohms at 50°F
Readings significantly different from these values indicate sensor failure. Replacement sensors are available online for most Dometic models.
Common Wiring Issues
Many Dometic thermostat problems stem from wiring issues. Understanding the basic wiring can help you diagnose problems:
- Red wire: 12V power supply
- Blue wire: Ground
- White wire: Furnace control
- Yellow wire: Cooling control
- Green wire: Fan control
- Black wire: Communication (in newer models)
Loose connections at any of these wires can cause specific functions to fail or intermittent operation. Always check wire connections at both the thermostat and at the HVAC equipment.
By understanding the common problems with Dometic thermostats and following this troubleshooting guide, you can often resolve issues yourself without expensive service calls. Whether you choose to repair your existing unit or upgrade to a more reliable alternative, you’ll be better equipped to keep your RV’s climate control system working properly throughout your travels.