Is your RV’s Dometic thermostat flashing an E1 error code? You’re facing one of the most common issues in Dometic climate control systems. This error means your thermostat and AC unit aren’t talking to each other properly. The good news? You can often fix this yourself without an expensive service call. I’ll walk you through exactly what this error means and how to solve it step-by-step.
What Does the Dometic Thermostat E1 Code Mean?
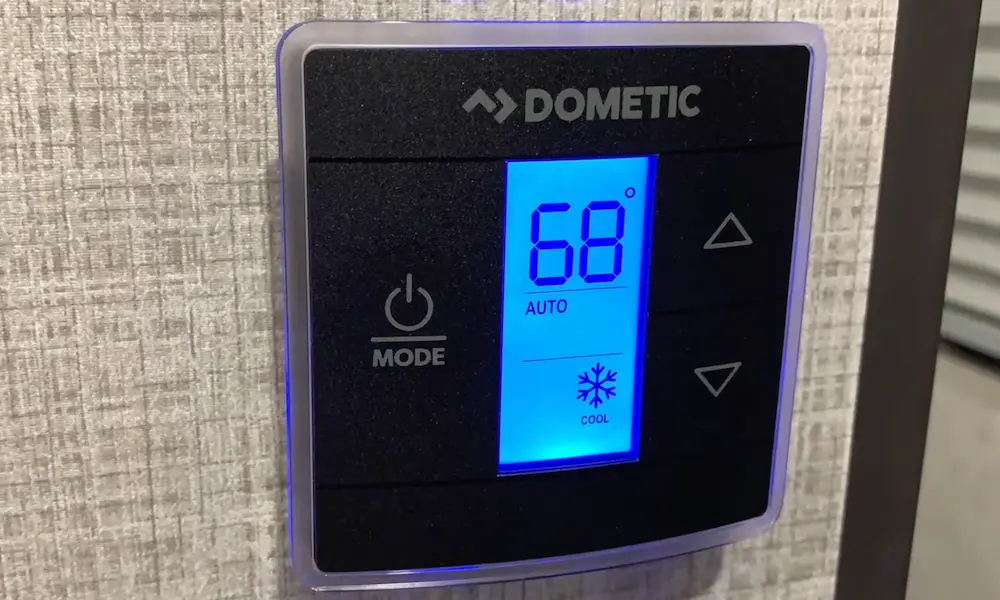
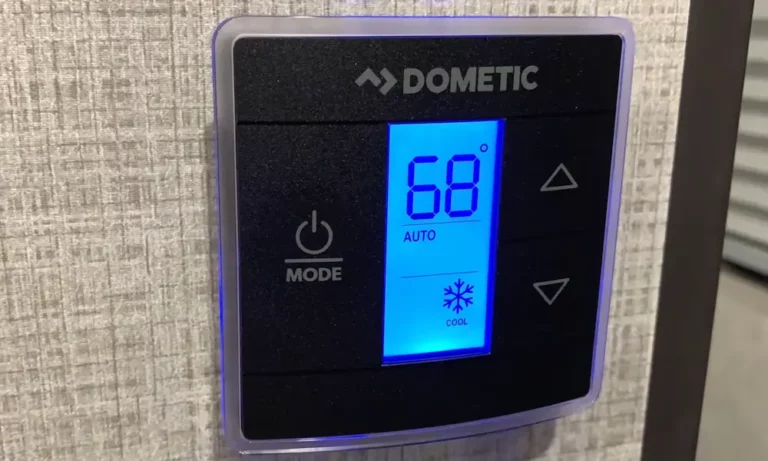
The E1 error code on your Dometic thermostat indicates a communication breakdown between your thermostat and the air conditioning unit’s control board. When this happens, your display will alternate between showing “E1” and whatever mode setting was previously active. For safety reasons, your entire system shuts down until the problem is resolved.
Think of it like a phone call that keeps dropping – your thermostat is trying to “call” your AC unit, but something is interrupting the connection.
How Dometic Communication Systems Work
Dometic climate control systems use a network similar to a telephone line. This communication pathway connects your thermostat to one or more AC units in your RV.
In multi-zone systems, these connections are “daisy-chained” – the signal travels from the thermostat to the first unit, then to the next, and so on. This design means that if there’s a problem anywhere in the chain, it can affect communication to all the units down the line.
Quick Reset: Your First Solution
Before diving into more complex troubleshooting, try this simple reset procedure:
- Turn your thermostat to OFF mode
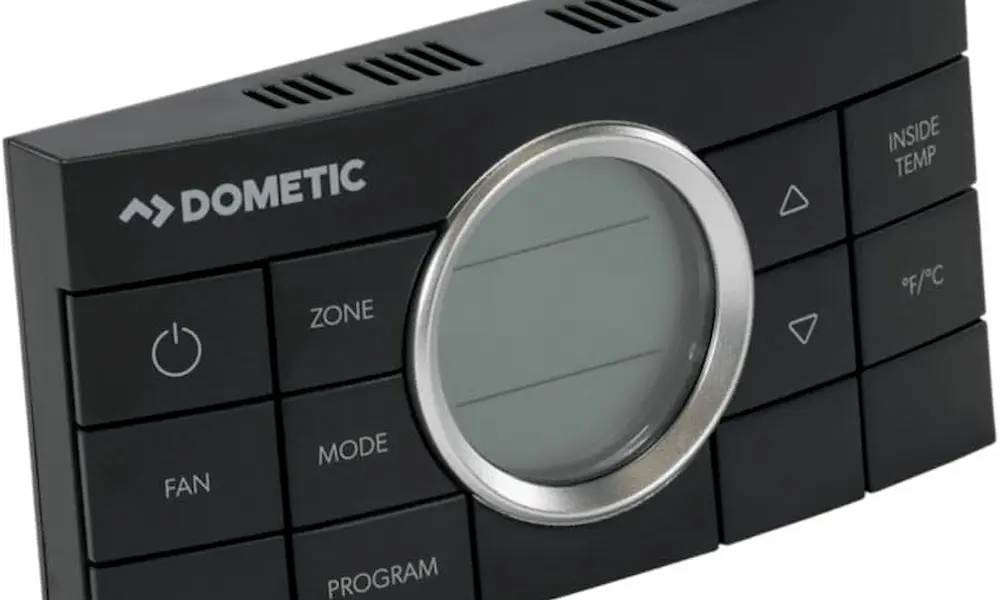
- Press and hold both the ZONE and MODE buttons simultaneously
- Wait until the display shows “IniT” and lists all available zones
- Release both buttons
- Press OFF to exit setup mode
If this doesn’t resolve the issue or if not all expected zones appear during the “IniT” screen, you’ll need to try a complete power reset:
- Disconnect all 120VAC power (unplug from shore power or turn off generator)
- Disconnect 12V power (turn off battery disconnect switch or remove fuse)
- Wait at least 20 minutes for all capacitors to discharge
- Restore power and repeat the system reset procedure
This reset often clears temporary communication glitches and restores normal operation.
Check and Clean All Connections
If the reset didn’t work, the most likely culprit is corroded or loose connections. RV environments are especially tough on electrical connections due to humidity, temperature changes, and vibration.
Where to Look for Connections:
- Behind the thermostat: Remove the thermostat from the wall to access its connection
- Inside each AC unit: Remove the filter panel to access control board connections
- In ductwork between units: For multi-zone systems, there may be intermediate connections
How to Clean Connections:
- Turn off all power, including the thermostat fuse (typically 3-amp) and AC breakers
- Remove all RJ-11 style connectors (they look like telephone jacks)
- Inspect for green corrosion on connector pins
- Spray electrical contact cleaner on the connections
- Use a small brush to gently clean corroded areas
- Apply dielectric grease to prevent future moisture problems
- Firmly reinsert all connections – they should click into place
This cleaning process resolves a significant percentage of E1 errors, as corrosion is the most common cause of communication failures.
Inspect Communication Cables
The next step is to check the integrity of the communication cables themselves. These cables use RJ-11 connectors (similar to old telephone cables) with 4-6 conductors and are specifically designed for data transmission.
Look for:
- Visible damage like cuts or chew marks (rodents love these cables!)
- Loose or damaged connectors
- Sharp bends or pinched areas
- Signs of water damage or corrosion
If you find damaged cables, they’ll need replacement. Dometic communication cables are available through RV parts suppliers and must be replaced with the correct type – standard telephone cables won’t work properly.
Verify Power Supply to All Components
Even if your thermostat display is working, there could be power issues affecting communication:
- Check the 12V power to the thermostat (usually protected by a 3-amp fuse)
- Verify 120VAC power is reaching all AC unit control boards
- If your system includes a furnace, check its 12V connection as well
Insufficient or unstable power can cause intermittent communication failures that trigger the E1 code.
Try Component Swapping (For Multi-Zone Systems)
If you have a multi-zone system with more than one AC unit, you can try this diagnostic technique:
- Identify which zone is causing the E1 error
- Swap the control boards between the problematic unit and a working unit
- See if the problem moves with the board or stays with the zone
If the problem moves with the board, you need a new control board. If it stays with the zone, the issue is in the wiring or connections.
Control Board Replacement (Last Resort)
When all else fails, you might need to replace the control board in the AC unit. This should be considered only after confirming all connections are clean and secure, as replacement boards can cost $300 or more.
Signs that point to a control board failure include:
- E1 errors that persist despite all troubleshooting steps
- Visible damage to the board (burn marks, blown components)
- Other system malfunctions beyond just communication errors
Preventive Measures to Avoid Future E1 Errors
Once you’ve resolved your E1 error, take these steps to prevent recurrence:
Regular Maintenance
- Inspect all electrical connections at least once a year
- Apply fresh dielectric grease to exposed connections
- Check for signs of rodent activity and seal entry points
- Ensure proper drainage to prevent water infiltration
Environmental Protection
- Consider adding covers or shields for exposed connections
- Maintain proper ventilation to reduce condensation
- Address any water leaks immediately
Complete Troubleshooting Checklist
Here’s a comprehensive checklist to methodically troubleshoot your Dometic thermostat E1 code:
| Step | Action | Tools Needed | Difficulty |
|---|---|---|---|
| 1 | Perform system reset | None | Easy |
| 2 | Complete power reset | None | Easy |
| 3 | Check thermostat connections | Screwdriver | Moderate |
| 4 | Inspect AC unit connections | Screwdriver | Moderate |
| 5 | Clean corroded connections | Contact cleaner, brush | Moderate |
| 6 | Apply dielectric grease | Dielectric grease | Easy |
| 7 | Inspect communication cables | Flashlight | Easy |
| 8 | Verify power to all components | Multimeter (optional) | Moderate |
| 9 | Swap components (if applicable) | Screwdriver | Advanced |
| 10 | Replace control board | Screwdriver, new board | Advanced |
Common Communication Cable Issues
The communication cables in Dometic systems are particularly vulnerable points of failure. Here’s what to watch for:
| Issue | Signs | Solution |
|---|---|---|
| Corrosion | Green buildup on pins, intermittent errors | Clean with contact cleaner |
| Physical damage | Visible cuts or chew marks | Replace cable |
| Loose connections | Cable moves easily when inserted | Ensure firm connection |
| Wrong cable type | Non-Dometic cable installed | Replace with proper Dometic cable |
| Water damage | Staining, mineral deposits | Clean or replace affected components |
Understanding E1 Error in Different Dometic Models
While the E1 code generally means the same thing across Dometic systems, there are some variations worth noting:
- Single Zone LCD/CCC2 models: E1 almost always indicates communication failure
- Multi-zone systems: May show which zone is experiencing the error
- Newer Bluetooth-enabled models: May provide more specific error information through the Dometic app
The troubleshooting approach remains similar regardless of model, though newer systems may offer additional diagnostic features.
Remember that most E1 errors stem from simple connection issues that you can fix yourself. With patience and systematic troubleshooting, you can get your RV’s climate control system back up and running without an expensive service call.