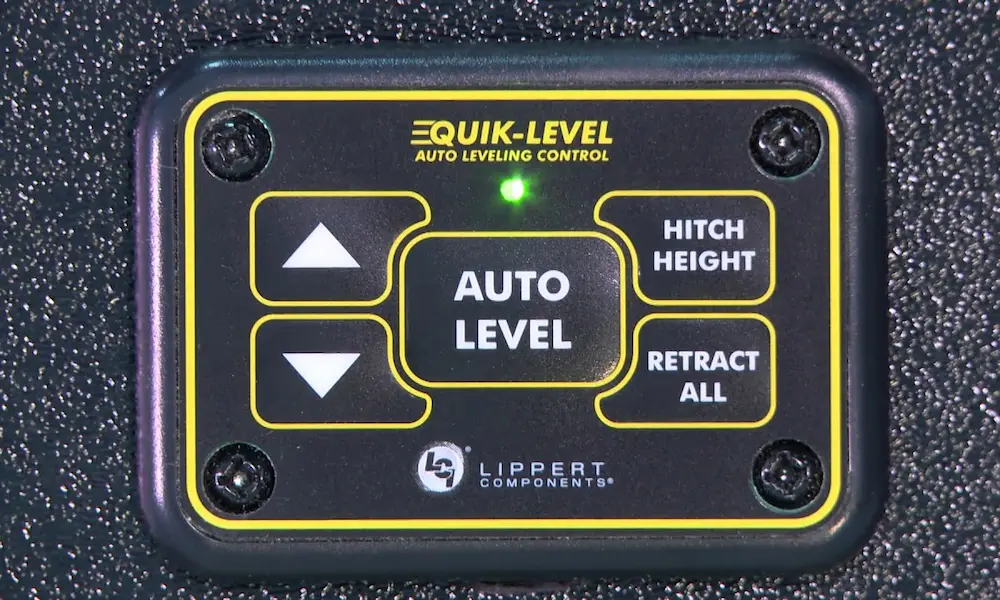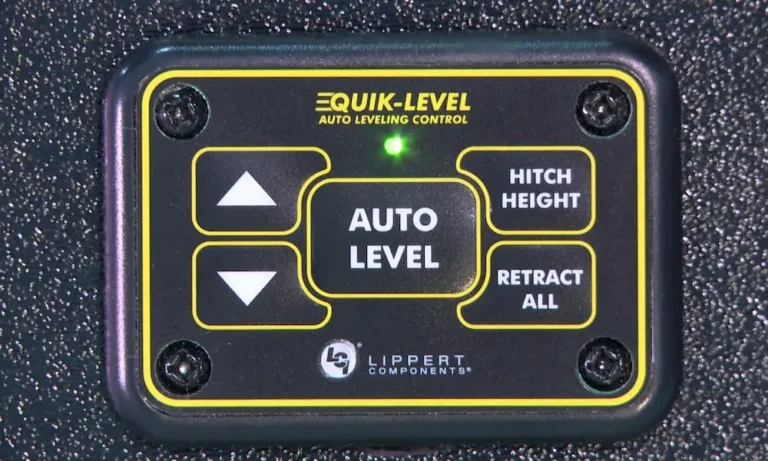
Your RV’s auto-leveler just beeped, flashed, or left your coach tilted like a funhouse. That’s annoying, but you can usually fix it in your own campsite. This guide walks you through every LCI electronic leveling reset: clearing error modes, homing jacks, and setting a new zero point. You’ll also learn manual overrides for when the electronics quit. Read to the end, and you’ll know which reset fits your problem.
What an LCI Electronic Leveling Reset Really Means
An LCI electronic leveling reset isn’t one button press. It’s three different fixes, and each solves a different problem. Pick the wrong one, and you waste an afternoon.
| Symptom | Reset You Need | Where to Look |
|---|---|---|
| All lights flash, pad won’t respond | Latched-out error reset | Reset section below |
| “Out of Stroke” or jack fault | Jack homing | Homing section below |
| Error code stuck on screen | Enter + Retract reset | Reset section below |
| Leveling finishes, but coach is still crooked | Zero point calibration | Calibration section below |
| Electronics are dead | Manual override | Override section below |
Lippert, the company behind LCI, builds Ground Control 3.0 electric systems and Level-Up hydraulic systems. Both protect your coach with a “fault state.” When the controller sees something odd, it shuts everything down. That’s annoying, but it’s better than a twisted frame.
Check Power First, Then Reset
Most weird leveler behavior comes from weak power. Resetting a controller that’s starving for voltage just brings the error right back.
Know Your Voltage Numbers
The system wants about 12.7 volts at the power unit before a load hits it. If voltage sags to roughly 10 to 10.8 volts (it varies by board revision), you get a low voltage error and everything stops. Manual mode may work down to about 9.5 to 10.5 volts, but that stresses your wiring and relays.
Do this before any reset:
- Run the engine if you have a motorhome. The alternator keeps the batteries fed.
- Plug into shore power if you tow. A running tow vehicle on the seven-way cord also works.
- Clean battery terminals and chassis ground lugs. A dirty connection drops voltage at the controller, even when the battery reads full.
- Check the main power connections at the controller.
Lippert also has a low voltage FAQ that explains how to spot the problem.
Fix the Stuttering Jack Problem
Do your jacks stop mid-move, then start again a few seconds later? That’s usually not a software bug. Many older rigs use a 50-amp auto-resetting thermal breaker on the main power feed. When the motors pull more than 50 amps, the breaker trips, the pad flashes, and the system reboots. The breaker cools in 10 to 30 seconds and the cycle repeats.
Lippert’s fix is to upgrade that breaker to 80 amps. Just make sure your wire gauge can handle the load first. Thin wire plus a bigger breaker is a fire risk, not a fix.
Check the Ground and the Brake
Two more things stop a reset before it starts:
- Terrain: Your rig needs to sit on reasonably level ground. If the slope is too steep, you’ll see “Excess Angle” or “Out of Stroke.” The limit is about 3.5 degrees of pitch or roll. No reset fixes a steep hill. Move the rig or use leveling blocks.
- Parking brake: Motorhomes need it set. If “Engage Park Brake” flashes, the system ignores every command.
Electric vs. Hydraulic: Which System Do You Have?
Your reset steps depend on your system type. Check your pad and your jacks.
| Feature | Electric Ground Control 3.0 | Hydraulic Level-Up |
|---|---|---|
| Power source | A 12V motor on every jack | One central motor and pump |
| Position tracking | Hall effect sensors count motor turns | Pressure and valve control |
| Common faults | Out of stroke, sensor disconnect, bad motor | Solenoid failure, leaks, trapped air |
| Manual override | Cordless drill on each jack | Open valves by hand, then drive the pump |
| Typical capacity | 7,000 lb jack, 13.75 in. stroke | 12,000 lb jack, 15 in. stroke |
Electric Ground Control shows up mostly on fifth wheels and travel trailers. Six-point setups add two middle jacks, but those only stabilize the frame. They don’t do the main leveling. Level-Up appears on towables and on Class A and Class C motorhomes. Lippert’s Level-Up motorhome guide covers newer units, and the Level-Up LCD travel trailer troubleshooting guide covers towables.
Common Error Codes and What They Mean
Read the error before you reset it. Clearing a code without fixing the cause just gets you the same code ten minutes later.
| Error | What You’ll See | Likely Cause | What To Do |
|---|---|---|---|
| Low Voltage | Dimming lights or a Low Voltage LED | Weak battery, tripped breaker, corroded ground | Restore voltage above 12.7V |
| Out of Stroke | Flashing jack LEDs | Jack lost its position count, or terrain is too uneven | Home the jacks |
| Latched Out | All LEDs flashing fast | A retract ran over 90 seconds, or power dropped mid-move | Do the hard reset |
| External Sensor Fault | Left and Right LEDs flash alternately | Rear sensor unplugged, loose, or damaged | Check and secure the wiring |
| Excess Angle | Excess Angle light | Parked on too steep a slope | Move the rig or add blocks |
For the sensor fault, look behind the rear axle. The remote inclinometer lives there, and etrailer has a good external sensor error walkthrough. A loose sensor bracket can also feed bad data to the controller.
How to Do an LCI Electronic Leveling Reset
Start with the gentlest reset and work up. Make sure power is solid first.
Clear Latched Out Mode
Latched mode means the pad is unresponsive and every light flashes. Sometimes it also shows “Jacks Down” even when they’re up. Lippert’s electric jack error reset procedure covers this fix.
- Start the engine or connect shore power.
- Press and hold all four diamond buttons (Front, Rear, Left, Right) at once.
- Keep holding for about 5 to 10 seconds, until you hear one chime or the lights stop flashing.
- Press Retract All right away.
On newer Rev 0K controllers, it’s simpler. Press and hold the ON/OFF button until you hear one tone. Then hit Retract All. The jacks will pull to their top position and reset the limit points.
Use the Enter + Retract Reset
This one works for LCD pads and OneControl panels that show a text error.
- Power on the pad and let the error appear.
- Press and hold ENTER and RETRACT together for two to three seconds.
- Wait for the screen to shut off or flash.
- Power the system back on.
If the error returns, the problem is physical. Think cut wire, dead motor, or bad sensor. The reset can’t fix hardware.
Home the Jacks to Fix “Out of Stroke”
Electric jacks count motor turns with Hall effect sensors. If a jack binds, the voltage dips, or you use a drill override, the count drifts from reality. The controller then thinks a jack is fully out when it’s only halfway. Here’s the etrailer explanation of clearing Out of Stroke.
Homing fixes it by slamming the jacks into their hard stops, which tells the controller “this is zero.”
- Power on the pad and enter Manual Mode.
- Extend the front jacks at least six inches with the FRONT button.
- Extend the rear jacks at least six inches with the REAR button.
- On six-point systems, press LEFT and RIGHT together to lower the middle jacks six inches.
- Press and hold RETRACT until every jack reaches the top and the motors shut off.
The error should clear once the jacks hit the stops. The six-inch minimum matters. Skip it, and the homing may not register.
Zero Point Calibration: Fix a Crooked “Level”
Here’s a common complaint. The leveler finishes with no errors, yet the bathroom door swings open by itself. That means the zero point has drifted. Chassis settling, highway twisting, and voltage spikes can all shift it.
The fix is to teach the controller a new “level.” The sensors can’t judge level on their own, so you have to show them.
Step 1: Level the Coach by Hand
- Park on firm, flat ground. Avoid soft grass or mud, since jacks can sink mid-process.
- Put a reliable carpenter’s level (or a good digital level) in the center of the floor, ideally over the axles.
- Enter Manual Mode and level front to back first. Then level side to side.
- Ignore the pad’s lights and degree readings. They’re uncalibrated and meaningless right now.
- Walk outside and check that every footpad bears weight.
- Press ON/OFF to power the pad down.
Step 2: Enter the Calibration Sequence
The button sequence depends on your system. Pay attention to the count.
Ground Control 3.0 (standard LCD or tactile pad): 5-press sequence
- With the pad off, press FRONT five times quickly.
- Right after, press REAR five times quickly.
- The pad beeps and shows “ZERO POINT CALIBRATION ENTER to set, Power to Exit.”
- Press ENTER.
- Wait for “Zero point stability check,” then “Zero point set successfully.”
etrailer has two solid walkthroughs: one on resetting zero point on Ground Control and another on the 3.0 zero point reset. There’s also a third step-by-step answer if your pad behaves differently.
Level-Up hydraulic and some older systems: 10-press sequence
- With the pad off, press FRONT ten times quickly.
- Press REAR ten times quickly.
- An alarm sounds and the display enters calibration mode.
- Press ENTER to save.
One exception: Winnebago motorhomes use the five-press sequence, even though they run the same Level-Up hardware. If ten presses do nothing, try five.
OneControl touch panel: tap sequence
There are no physical buttons here, so you tap the screen. Lippert’s OneControl zero point bulletin and this Heartland calibration PDF cover the details.
- OneControl 2.0: Open the Leveling page and tap the small “CONNECTED” icon six times fast.
- OneControl 3.0: Tap the big “LEVEL UP LEVELER” text five times fast.
- Choose ZERO POINT CALIBRATION – Press Enter to set.
- Wait for “Zero point set!”
Step 3: Test Your Work
Turn the system on. Run Auto Retract, then run a full Auto Level from scratch. Check your carpenter’s level again. It should land right where you set it.
If the setting drifts again after a few days, look at hardware, not software:
- Check that the rear sensor bracket is tight.
- Test your batteries. Repeated low-voltage events can wipe the controller’s memory.
Manual Overrides When the Reset Fails
Sometimes the electronics are just dead. A lightning strike, a chewed wire, or a burned motor can do it. LCI builds in mechanical backups so you can still get the jacks up and drive home.
Override Electric Jacks With a Drill
Work on one jack at a time.
- Unplug the motor’s wiring harness first. A spinning motor generates power. If the harness stays connected, that power can back-feed and fry your controller.
- Find the override port. It sits on top of the motor housing or on the bottom, depending on model year.
- For a top port, pull the rubber plug and insert a 3/8-inch drive extension.
- For a bottom port, pull the plug and fit a 5/16-inch socket over the override nut.
- Attach a 12 to 18-volt cordless drill and run the jack up or down.
Never use an impact wrench. The hammering shatters the planetary gears inside the jack. A simple wiring problem then becomes a jack replacement. Lippert’s Ground Control manual covers the override ports for your model.
Override Hydraulic Jacks
This takes more steps because you’re moving fluid, not just turning a gear. Lippert’s Level-Up manual override bulletin (TI-170) and the uni-directional override bulletin (TI-140) give the official steps. An older RV Upgrade Store PDF covers similar ground.
- Find the manifold, usually in the front storage bay near the pump and reservoir.
- Locate the cartridge valves for the jacks you want to retract.
- Use a 5/32-inch hex key on each valve’s set screw. Turn it clockwise one and a half to two turns. Don’t overtighten. Crushing the O-ring ruins the valve.
- Unplug the pump motor from 12-volt power.
- Remove the cap or label on the rear of the pump motor and insert a 1/4-inch hex bit on your drill.
- Run the drill counterclockwise to retract the jacks. Run it clockwise to extend them.
- Close the valves fully when you finish. Turn the set screws all the way counterclockwise.
Skip step 7, and the jacks can creep downward while you drive. That’s a real hazard.
Also, don’t use Level-Up jacks as a service lift for tire changes or undercarriage work. A sudden pressure loss can drop the coach.
Purge Air From a Hydraulic System
Trapped air makes jacks feel spongy and makes the pump groan. Lippert’s hydraulic purge procedure fixes it without opening bleeder valves.
- Fully retract all jacks and hydraulic slides.
- Check the reservoir. Foamy or pink-looking fluid means air. Let it settle for a few minutes.
- Fully extend all leveling jacks, then fully retract them.
- Check the reservoir again. Repeat until no foam appears after retraction.
On a fifth wheel, support the front with jack stands or keep it hitched during this process. Retracting the front gear unsupported can drop the trailer.
Keep Resets From Coming Back
If you reset the same system every trip, something else is wrong. These habits help.
Protect the Jack Rods
Dirt and road salt on exposed rods act like sandpaper. When the jack retracts, the grit scores the metal and tears the wiper seals. That leads to leaks or binding.
- Spray exposed rods with dry silicone lubricant every seven days if the jacks stay out.
- Spray every two to three days in coastal or road-salt areas.
- Skip heavy grease and WD-40. They stay wet and hold grit against the rod.
Watch Your Fluid
- Use Type A automatic transmission fluid in Level-Up hydraulic systems.
- Check and top off the fluid only when all jacks and slides are fully retracted. Filling it with jacks out makes the reservoir overflow when they come back in.
For more on fluid specs and parts, see the Heartland Level-Up towable owner’s manual.
Keep the Electrical Side Clean
- Wire-brush battery terminals each season.
- Clean the chassis ground cables.
- Check harness connections at the controller.
A slightly loose ground can cause phantom “Out of Stroke” errors, random beeping, or a full latched lockout. It’s the cheapest fix on this list, and people skip it all the time.
Final Thoughts
A good LCI electronic leveling reset starts with power, not buttons. Check your voltage, your breaker, your terrain, and your parking brake. Then match the fix to the symptom: a hard reset for latched errors, homing for Out of Stroke, and zero point calibration for a coach that’s level on paper but crooked in real life.
If the electronics won’t cooperate, drill overrides and valve overrides get you back on the road. Follow the steps, keep your rods clean, and your leveler should stop acting like it has a mind of its own. Keep a carpenter’s level in your toolbox, too. It’s the only tool here that never throws an error code.