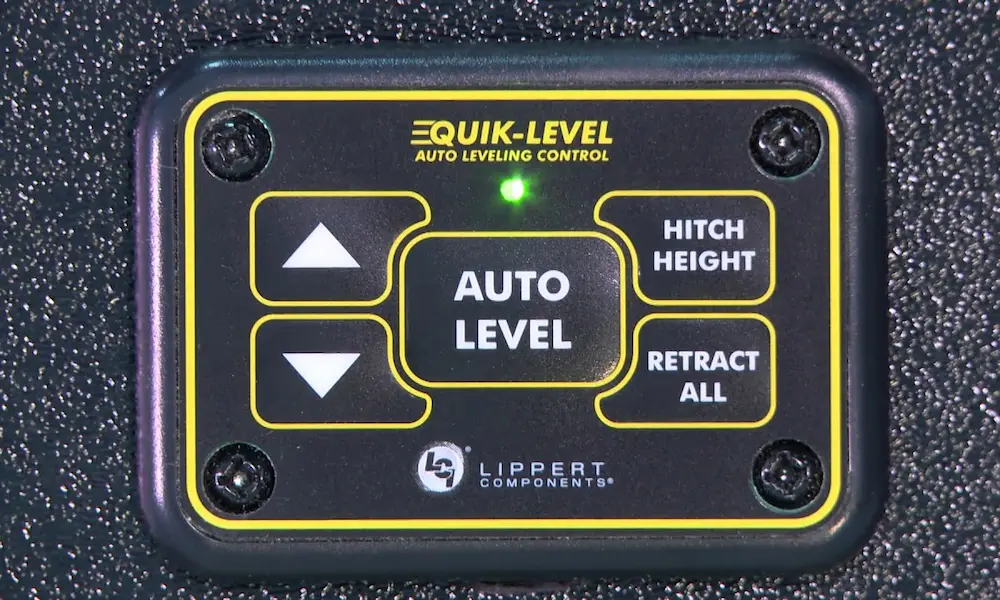
Your RV sits crooked after auto-level. Or the touchpad flashes an error and refuses to move. Annoying, right? The good news is that most problems clear up with a reset, and you can do it yourself in about 15 minutes. This guide covers zero point calibration, jack homing, hard reboots, and manual overrides for every major Lippert system. Read to the end, and you’ll know exactly which reset fits your problem.
What “Resetting” Really Means
There’s no single reset button on a Lippert system. “Reset” covers three different fixes, and picking the wrong one wastes your afternoon.
- Zero point calibration: Teaches the controller what “level” looks like. Use it when auto-level leaves your rig tilted.
- Jack homing: Resets the controller’s memory of where each jack sits. Use it for jack position errors.
- Hard reset: Cuts power and reboots the logic board. Use it for frozen screens or communication errors.
The zero point is the baseline the controller treats as perfectly horizontal. Sensors drift over time. Temperature swings, thousands of road miles, and power surges can all knock it off. When that happens, the system may stop with an “Excess Angle” or “Auto Level Fail” error or leave you visibly off-level.
Before You Reset: Quick Prep Checklist
Skip this part, and your reset may fail or give you a worse baseline. Check these first:
- Park on firm, reasonably level ground. A steep slope or soft dirt adds stress and skews the calibration.
- Check your power. The system needs at least 12.75 volts to run features cleanly. Below 9.5 volts under load, it throws a “Low Voltage” error. Start the engine on a motorhome. Plug a trailer into shore power or use a fully charged battery.
- Get a real carpenter’s level. Set it in the center of your interior floor. The center gives you the best average and ignores sagging near slide-outs.
- Stay still. Once calibration starts, nobody walks around inside. The sensors feel every footstep.
- Set the parking brake. Motorized systems often refuse to work without it.
How to Reset Lippert Leveling System Zero Point
This is the reset most people need. The steps start the same for every system. Manually level the rig with the jacks until your carpenter’s level reads perfect both front-to-back and side-to-side. Then the keystrokes differ by system.
Ground Control 3.0 (Travel Trailers and Fifth Wheels)
The Ground Control 3.0 system hides its calibration mode on purpose. That keeps you from wiping it by accident. Here’s the zero point reset sequence:
- Turn the system on and enter manual mode.
- Extend the jacks until your carpenter’s level shows perfect alignment.
- Turn the touchpad power off.
- Press and release FRONT exactly five times.
- Press and release REAR exactly five times.
- Wait for the beep. The screen reads “ZERO POINT CALIBRATION.”
- Press ENTER.
- Watch for “Zero point stability check,” then “Zero point set successfully.”
The panel shuts off by itself. Don’t touch anything until it does.
Level Up Hydraulic Systems (Fifth Wheels)
Level Up systems work almost the same way, but with more button presses. Level the rig by hand, then turn the touchpad off. Press FRONT ten times, then REAR ten times. When you hear the tone and see the calibration prompt, press ENTER.
Own a Winnebago? Level Up on Winnebago motorhomes uses five presses of each button, not ten. Ten on the wrong system just gets you nowhere, so check your model first.
Power Gear and Motorized Leveling
Motorhome panels vary, so here’s the general flow from the Motorized Leveling Plus guide:
- Start the engine so the pump gets full alternator voltage.
- Turn on the panel and enter manual mode.
- Lower the front jacks, then the rear, until the coach bubble is centered.
- Turn the system off.
- Press FRONT five times, then REAR five times. Some simpler panels only need REAR five times.
- Watch for all the lights to flash. That means you’re in zero mode.
- Press RETRACT ALL JACKS three times. On other panels, press RETRACT ALL JACKS and AUTO together.
- Wait about five seconds for the indicator light to finish flashing. A beep confirms it.
Have a Valid air leveling system? Its calibration works differently. Hold ALL CORNERS RAISE and ALL CORNERS LOWER together until the module beeps. Release them. Within five seconds, press the front left LOWER button.
OneControl Touch Panel and App
OneControl skips the button-mashing and uses menus. If you’re on the app, press any button on the wired touchpad inside first. That clears the Bluetooth safety lockout, which exists to make sure someone can see the jacks.
Then:
- Open the leveling screen.
- Tap the CONNECTED icon (or gear icon) six times.
- Tap the OPTIONS gear that appears.
- Enter Zero Mode.
- Use the on-screen arrows to level the rig by hand.
- Tap Set System Zero (or ENTER to Set).
- Wait for the “Zero Point Set” screen.
Full details live in the Level Up with OneControl guide and the Ground Control TT OneControl manual.
Zero Point Cheat Sheet
| System | Start With | Keystrokes | Finish |
|---|---|---|---|
| Ground Control 3.0 | Touchpad off | FRONT ×5, REAR ×5 | Press ENTER |
| Level Up (standard) | Touchpad off | FRONT ×10, REAR ×10 | Press ENTER |
| Level Up (Winnebago) | Touchpad off | FRONT ×5, REAR ×5 | Press ENTER |
| Power Gear | System off | REAR ×5 (or FRONT ×5, REAR ×5) | RETRACT ALL ×3 (or + AUTO) |
| Valid Air | System on | Hold ALL CORNERS RAISE + LOWER | Front left LOWER |
| OneControl | Screen active | Tap CONNECTED ×6 | Tap Set System Zero |
How to Do a Hard Reset on Your Leveling Controller
Screen frozen? Stuck on “Feature Disabled”? Getting a communication error? Try a hard reset before anything fancy.
- Turn the touchpad off and on first. Sometimes that’s all it takes.
- If that fails, cut the power. Unplug the main power harness from the back of the touch panel, or pull the inline fuse. You can also unplug the power at the logic board.
- Wait anywhere from two to fifteen minutes. This drains the leftover charge in the circuit board.
- Reconnect and power up.
That forces a cold boot, and it often restores the handshake between the touch panel and the logic board. On some panels, you can also hold ENTER and RETRACT at the same time for a quick software reset.
Using a mobile app? Close it fully and restart it too. Bluetooth glitches love to pose as hardware failures.
How to Clear Jack Errors With Homing
Sometimes the controller forgets where a jack sits. You’ll see a “Jack Position Lost” message or a generic jack error. It usually happens when power blips while a jack is moving, and the Hall effect sensor loses count.
Homing fixes it. The Ground Control TT Lite MS guide covers the steps:
- Enter manual mode.
- Extend every jack at least six inches from fully retracted. That runway is required.
- Press and hold RETRACT. Don’t let go.
- Keep holding as the jacks hit their internal stops. The motors strain, and current spikes.
- The controller senses the spike, cuts power, and sets that position as zero stroke.
That’s it. The system now knows where its jacks are, and the error should clear. If you’d like a plain-English walkthrough, this etrailer answer on clearing Ground Control errors covers the basics.
What Your Error Codes Mean
Not every code needs a reset. Some just need a better parking spot. Use this table to decide.
| Error | What Happened | Fix |
|---|---|---|
| LOW VOLTAGE | Voltage dropped below 9.5V under load | Charge batteries, run the engine, or plug into shore power. Check for corroded terminals. |
| EXCESS ANGLE | Starting tilt is too steep (typically over 3.5°) | Move to flatter ground. Use manual mode for small corrections. |
| OUT OF STROKE | A jack ran out of travel before reaching level | Move the rig or add approved pads under the jacks. |
| COMM ERROR | Touch panel and logic board stopped talking | Check wiring, then hard reset with power off for up to 15 minutes. |
| BAD CALIBRATION | Sensor values are out of range | Recalibrate the zero point. If it keeps happening, the controller may need replacing. |
| JACK POSITION LOST | Jack sensor lost its count | Run the homing procedure. |
| ENGAGE PARK BRAKE | Parking brake isn’t set | Set it. The safety lockout blocks leveling without it. |
Two of these deserve a note. “Excess Angle” and “Out of Stroke” are geometry problems, not glitches. No reset will make your jacks longer. Retract, hook up or start the engine, and move to better ground.
When the Reset Fails: Manual Override
Sometimes the controller is dead, a motor burned out, or a harness got chewed. You still can’t drive off with jacks down. They’ll rip right off the frame. Lippert builds in a manual override for exactly this.
Electric Jacks
Electric jacks turn a screw inside. You just need to turn it by hand or with a drill. The Ground Control service manual covers your exact model. In general:
- Find the access port. It’s either under a rubber plug on top of the motor or on the bottom of the jack leg.
- Remove the plug.
- From the top, use a 3/8-inch drive extension.
- From the bottom, use a 5/16-inch socket.
- Attach a ratchet or cordless drill and turn.
- Repeat for every deployed jack.
It’s slow. Put on some music.
Hydraulic Jacks
Hydraulic override takes more care. You have to open the valves and turn the pump. Spin the pump against closed valves, and you can blow hoses or seals. Lippert publishes the steps in its Level Up manual override bulletin and a uni-directional hydraulic override bulletin.
- Disconnect the main power cables from the pump motor. This stops a surprise start while your hands are near moving parts.
- Find the manifold block with the cartridge valves.
- Use a hex key (5/32 or 5/64 inch, depending on your manifold) to turn each override set screw clockwise until it stops. Open only the valves for the jacks you’re retracting.
- Remove the cap or foil sticker on the back of the pump motor.
- Insert the right tool into the drive coupler and run your drill clockwise to retract.
- When the jacks are up, turn every set screw fully counter-clockwise to close the valves.
Step 6 matters a lot. Leave a valve open, and the jacks drift down on the highway from gravity and vibration. That’s a very expensive lesson.
| Component | Tool | Direction |
|---|---|---|
| Electric jack (top port) | 3/8″ drive extension | Turn to retract or extend |
| Electric jack (bottom port) | 5/16″ socket | Turn to retract or extend |
| Hydraulic valve | 5/32″ or 5/64″ hex key | Clockwise opens, counter-clockwise closes |
| Level Up pump | 1/4″ hex bit in drill | Clockwise retracts, counter-clockwise extends |
| Power Gear pump | 7/16″ socket in drill | Clockwise retracts |
How to Avoid Constant Resets
Frequent resets usually point to a maintenance problem. A few small habits cut down on most of them.
Check Your Hydraulic Fluid
Hydraulic systems run on automatic transmission fluid. Lippert recommends Dexron III, Mercon 5, or a blend, according to the hydraulic landing gear owner’s manual. Follow these rules:
- Check monthly. Do it with all jacks and hydraulic slides fully retracted. Checking with jacks down gives a false low reading. If you top it off then, the reservoir can overflow when the jacks retract.
- Look for the right level. Fluid should sit about 1/4 to 1/2 inch below the fill spout lip. Some Class C manuals call for a one-inch gap, so check your guide.
- Check the color. Healthy fluid looks clear, bright red. Milky, pink, or murky fluid means water got in. Drain and replace it.
- Replace on schedule. Plan to flush the fluid every 24 months to five years, depending on your system.
Clean and Lubricate the Rods
Dirt and moisture on exposed jack rods chew up the wiper seals when you retract. That causes leaks and binding, which can set off “Out of Stroke” errors. Per the Level Up LCD travel trailer manual, clean the rods and spray dry silicone lubricant every three months. Near salt water? Do it every four to six weeks.
Watch Your Wiring
Big motors pull big current. Corroded terminals add resistance, and resistance causes voltage drops, and voltage drops cause “Low Voltage” errors. Inspect the heavy wiring once a year. Clean terminals with a non-residue electrical contact cleaner, as the Level Up LCD fifth wheel manual advises.
A Few Quirks Worth Knowing
These won’t need a reset, but they’ll save you confusion.
Leveling follows a set order. Auto-level doesn’t drop all jacks at once. It lowers the front slightly below level, plants the rear, then moves jacks in pairs (both left, then both right). That paired motion protects the frame from twisting. A twisted chassis can pop windows and jam slide-outs.
Hitch Recognition can turn itself off. This feature returns your trailer’s front end to its original hitch height. But if the front sat below level when you started auto-level, it disables itself and shows “Feature Disabled.” The system worries the pin box would sit too low and crunch your truck bed. Raise the front above level before you hit auto-level.
Retract manual stabilizers first. Any separate stabilizer jacks must be up before auto-level runs. Otherwise the leveling force can bend them.
Drive Away Protection is real. On motorhomes, if the ignition is on and the brake is off with jacks down, the system sounds an alarm and retracts the jacks automatically. In manual mode, air bags won’t refill on their own. Head to the Manual Air Control menu before you drive.
Final Thoughts
Knowing how to reset a Lippert leveling system comes down to matching the fix to the problem. Tilted after auto-level? Recalibrate the zero point. Frozen screen or comm error? Hard reset. Jack position error? Home the jacks. Dead system? Use the manual override and get the jacks up.
Get your prep right first: firm ground, good voltage, a real carpenter’s level, and nobody moving inside. Then follow the keystrokes for your exact system. Keep the fluid clean, the rods lubed, and the terminals shiny, and you’ll do this far less often. Save this guide, because the next time your rig leans like a sleepy sailor, you’ll know exactly what to do.