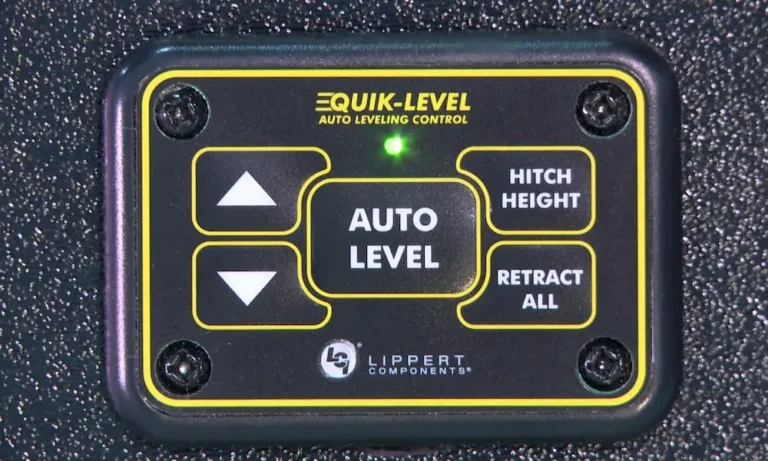
Your touchpad flashes every light, your jacks won’t move, and your campsite looks like a ski slope. Annoying. The good news is that a power gear leveling system reset fixes most of these problems in about 15 minutes. This guide walks you through zero point recalibration, error mode clearing, and manual overrides. You’ll also learn what causes these faults so they don’t keep coming back. Grab a bubble level and read on.
What a Power Gear Leveling System Reset Really Means
A power gear leveling system reset isn’t one single button press. It covers three different fixes, and picking the wrong one wastes your time.
- Zero point reset: You re-teach the control box what “level” means. You need this when all the lights flash at once.
- Error mode reset: You clear a latched fault after a jack jams or draws too much power.
- Manual override: You retract jacks by hand when electronics or the pump fail.
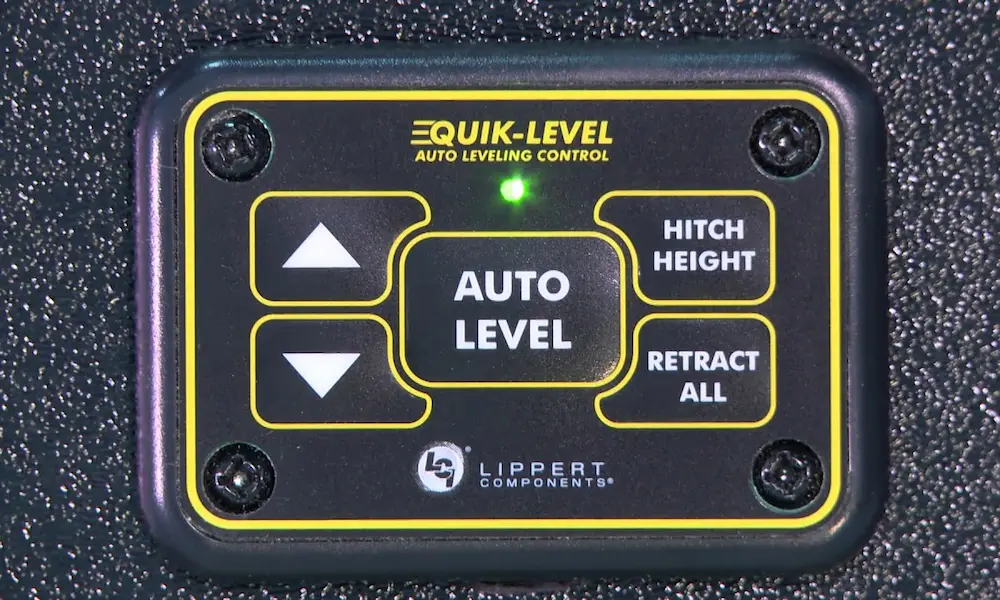
Power Gear systems, now under Lippert, use a touchpad, a control box, and either hydraulic or electric jacks. The control box holds the brains. It has pitch and roll sensors, and it compares your RV’s tilt to a stored zero point. Lose that number and the system locks up.
Why Your Leveling System Loses Its Mind
Low voltage causes most resets. The hydraulic pump or electric jack motors pull a lot of amps. If your battery is old, weak, or has crusty terminals, system voltage sags.
When it drops below roughly 10.5 volts on a 12-volt system, the control box browns out. That split-second power loss can scramble the memory that holds your zero point. This is why the touchpad flashes every light and refuses to work.
Other common triggers:
- Over-current: A jammed jack pulls 15 amps or more (normal is 4 to 8), so the board shuts it down.
- Sensor trouble: A shorted wire or water in the harness confuses the limit sensors.
- Interlock faults: A bad park brake or transmission signal locks the system out.
The takeaway: the leveling system often isn’t broken. Its power supply is just weak.
Before You Start: Quick Prep Checklist
Do these steps first. They prevent the very brownout that caused your problem.
- Park on firm, flat ground. Soft dirt sinks during calibration.
- Start the engine. The alternator keeps voltage high.
- Set the parking brake.
- Shift to park. Diesel pushers can use neutral.
- Dump the air suspension if you have it. Use the manual air bag dump switch so the chassis rests on the jacks.
- Grab a bubble level. A carpenter’s level works fine.
Skip the engine step and you’ll probably corrupt the memory again.
How to Do a Zero Point Reset
Use this when every light flashes and auto-level won’t run. Follow the steps in order.
Step 1: Level the RV by Hand
Put your bubble level in the middle of the interior floor. Switch the touchpad to manual mode. Extend the front, rear, left, and right jacks until the bubble sits dead center in both directions.
Ignore the touchpad lights while you do this. The panel’s idea of level is wrong right now. Your bubble is the boss.
Step 2: Enter the Reset Sequence
Turn the touchpad off. Then use the button pattern for your system. Lippert’s touchpad guide covers the details by model.
| System Type | Button Sequence | Finish |
|---|---|---|
| Standard Power Gear and early Lippert touchpads | Press front extend 5 times, then rear extend 5 times within 10 to 20 seconds | Press retract all 3 times |
| Ground Control automatic electric | Press front 10 times, then rear 10 times | Press retract all (or enter) 3 times |
| Valid air and hydraulic systems | Hold “all corners raise” and “all corners lower” until you hear a beep | Within 5 seconds, press front left lower |
Enter the pattern correctly and all the LEDs flash while the buzzer goes quiet. That means you’re in Zero Point Configuration Mode.
Step 3: Handle the Extra Step on Some Boxes
Some semi-automatic setups, like the 140-1230 control box with the 500675 touchpad, add a bonus step. After you press retract three times, only the power light flashes for 20 seconds. During that window:
- Auxiliary harness plugged into the four-pin port: Press the right button 3 times.
- No auxiliary harness: Press the left button 3 times.
Miss the window and you start over. Fun.
Step 4: Check Your Work
Turn the system on and retract all the jacks. Then run an auto-level. Once it finishes, check your bubble level. If the RV sits flat and the green logo lights up, you nailed it.
Read the Touchpad Lights Before You Reset Anything
Sometimes the touchpad tells you exactly what’s wrong. Reading the lights can save you a reset. Lippert’s Power Gear error code guide lists the patterns in full. Here’s the short version.
| LED Pattern | What It Means | What You Do |
|---|---|---|
| Up, right, down, left flash clockwise | Normal startup self-test | Nothing. Wait about 10 seconds. |
| Green logo flashes alone | RV is already level | Nothing needed. |
| “Park Brake” flashes | Brake interlock is open | Set the brake. Check the brake switch wiring if it’s already set. |
| “Wait” and “On/Off” flash together | Transmission is in a drive gear | Shift to park (or neutral on diesel pushers). |
| “Wait” flashes alone | System is busy | Wait up to 30 seconds. |
| “Low Voltage” lit | Voltage is too low | Start the engine. |
| All LEDs flash with a buzzer | Emergency retract mode | You released the brake or shifted into gear with jacks down. Let it retract. |
| “Jacks Down” stays on with jacks stowed | Low fluid, false float reading | Top off the fluid with jacks retracted. |
| Left, right, front, rear, and logo flash | Out of level tolerance | Move to flatter ground. |
A flashing park brake light isn’t a leveling failure. The system is stopping you from dropping jacks on a rolling rig. Good manners, really.
How to Clear Error Mode
Error mode differs from a lost zero point. Here, the manual and auto lights flash together. The arrow lights point to the jack that caused the trouble. Front and left flashing means the left-front jack. If all four arrows flash, power likely dropped while the jacks moved, or someone cycled the key.
The Standard Fix
The factory error reset procedure works like this:
- Manually extend all jacks at least 4 to 6 inches. This moves them off their hard stops.
- Press and hold the retract button.
- Let the jacks home fully against the chassis.
Once the sensors confirm every jack reached its stowed position, the board clears the fault. If you run Ground Control, etrailer’s Q&A on clearing the error code walks through the same idea in plain language.
When the Jacks Won’t Extend
Sometimes a jack has jammed so hard that the motor trips the 15-amp limit every time. The touchpad just beeps at you. Check your control board revision, because the bypass differs. The Rev. 0K tip sheet covers install and calibration for that board.
- Revision 0G: Hold all four arrow buttons until you hear one tone.
- Revision 0K: Hold the power button until you hear the tone.
After the beep, the error lights stop flashing for a moment. Press retract all right away to home the system.
Sensor Override Mode: Use With Care
If a sensor has died, you can enter Sensor Override Mode. Press manual, auto, and retract all together until you hear three beeps. This mode turns off the safety limits and the current monitoring. The motor won’t stop at the end of the stroke.
Watch the jack with your own eyes. Keep power on after it hits full retraction and you’ll strip the gears inside the leg. Stop the moment it’s home.
Manual Overrides When a Reset Won’t Work
Sometimes the electronics die, the pump burns out, or the battery goes flat. You still need to leave the campsite. Never drive with jacks down. You’ll wreck the jacks and possibly the frame.
Your override method depends on your jack type. Lippert’s owner’s manual and the RV Upgrade Store override sheet show the parts and locations for each.
Power-Retract Hydraulic Systems
These jacks use fluid pressure to go up and down. You have to open the valves and spin the pump by hand.
- Find the hydraulic power unit and its aluminum manifold block.
- Grab a 1/8-inch Allen wrench.
- Turn the manual override set screw on each solenoid valve clockwise until snug. This opens the valve.
- Remove the foil sticker or rubber boot on the pump motor end. You’ll see a hex receptacle.
- Insert a 1/4-inch hex bit in a drill.
- Run the drill counter-clockwise. It spins the pump and pushes fluid to retract the jacks.
Two rules matter here. Never retract jacks and slide-outs at the same time, because the pump can’t handle the fluid volume. And when you finish, turn every set screw counter-clockwise back to closed. Leave them open and your jacks can drift down at highway speed. Not the road trip souvenir you want.
If your rig has a Dewald pump for slides, Gulf Stream’s Dewald manual covers the built-in hand pump. You turn the silver knob two full turns counter-clockwise, then pump by hand.
Spring-Return Hydraulic Systems
These jacks use big external springs to pull themselves up. You only need to let the fluid escape.
- Find the dump valves on the manifold.
- Look for red knurled knobs or T-handles.
- Turn them counter-clockwise. Some designs need a quarter-inch pull first.
- Listen for fluid rushing back to the reservoir as the springs lift the jacks.
If a jack still stays down, suspect a tired or broken spring. A bent chrome rod can also bind it. The RV Geeks’ guide to manually retracting stuck hydraulic jacks shows what to look for. You’ll need to lift that jack with outside equipment and replace the springs.
Electric Jacks
Each electric jack has its own motor, so there’s no pump to spin. You turn the drive screw directly.
- Find the override nut under the rubber boot on top of the motor.
- Release the brake first. Press the release handle lock and rotate the brake handle about 10 degrees counter-clockwise.
- Put a 7/16-inch or 1/2-inch socket on a cordless drill.
- Run the drill clockwise on the nut to raise the jack.
Skip the brake release and you’ll destroy the internal gears. Don’t skip it.
Keep Fluid and Hardware Healthy
Resets fix today’s problem. Maintenance stops tomorrow’s. Many “Jacks Down” alarms and spongy jacks come from fluid trouble, not dead parts.
Check Fluid With the Jacks Up
This is the mistake owners make most. When jacks extend, fluid leaves the reservoir and fills the jack cylinders. The tank looks nearly empty. If you top it off then, the tank overflows when the jacks retract. You’ll get pressure spikes, blown seals, and fluid all over the bay.
Check fluid only when every jack and every hydraulic slide is fully retracted. The hydraulic operations manual says the same.
Low fluid also drops the float switch. The control box then assumes the jacks are down, so the “Jacks Down” light and alarm come on. Fill the tank to the right level and the alarm stops.
Fluid Basics
- Type: Dexron III or Mercon V automatic transmission fluid, or a compatible synthetic.
- Healthy color: Clear, bright red.
- Bad signs: Dark, burnt smell, or milky pink. Milky means water got in. Replace it right away.
- Change interval: Every 24 to 60 months, depending on how hard you use the system.
Bleed Air Out of the Lines
Air makes jacks bounce. To bleed it, lower the jacks to the ground and wait 30 seconds. Then fully retract them. Repeat five times.
Maintenance Schedule
| Task | How Often | Why It Matters |
|---|---|---|
| Wipe and lube chrome jack rods | Regularly; every 2 to 7 days in salty coastal air (dry silicone spray) | Dirt tears up wiper seals and causes leaks |
| Grease fittings (lightweight lithium grease) | Every 20 to 30 uses | Keeps moving parts smooth |
| Clean and tighten battery and pump cables | Yearly | Corrosion adds resistance and voltage drop |
| Check fluid (jacks retracted) | Before trips | Prevents false alarms and overflow |
| Replace fluid | Every 24 to 60 months | Stops corrosion and erratic motion |
Fix the Root Cause: Your Battery
Here’s the pattern many RVers miss. An aging battery can’t deliver the amps the pump needs. Voltage crashes when you hit auto-level. That one dip can cause three problems at once:
- The board reboots mid-cycle, loses track of the jack sensors, and throws an error.
- The memory corrupts and you lose your zero point.
- The motor draws even more current, heats the wiring, and trips the 50-amp or 80-amp breaker near the battery.
Then you reset, it works for a trip, and it fails again. Sound familiar?
Try these fixes before you blame the control box:
- Test and replace weak batteries. Age raises internal resistance.
- Clean the terminals and the chassis ground connections.
- Keep the engine running during leveling so the alternator helps.
- Check breaker size. Some owners upgrade from 50 amps to 80 amps to handle spikes.
The leveling system also depends on other parts of your rig. It needs the transmission, parking brake, engine, and air suspension to all report the right status. A bad neutral-safety switch can lock out your jacks, and the touchpad will blame the leveling system. If the touchpad flashes an interlock light, check the chassis first. Owners on forums like Good Sam’s community trade real-world fixes for stubborn error mode cases.
Quick Troubleshooting Flow
Not sure where to start? Use this order:
- All lights flash and auto-level won’t run? Do a zero point reset.
- Manual and auto lights flash with arrow lights? Clear error mode with the extend-then-retract method.
- Error won’t clear and jacks won’t move? Try the 0G or 0K bypass.
- No power or pump failure? Use the manual override for your jack type.
- Keeps happening? Test your battery, cables, and grounds.
Final Thoughts
A power gear leveling system reset sounds scary, but the steps are simple once you know which fix you need. Level the RV by hand first, run the right button sequence, and confirm with an auto-level. For error mode, extend the jacks a few inches and retract them fully. If the electronics quit, the manual overrides will get you moving.
Don’t stop at the reset, though. Most failures start at the battery, so keep your voltage strong and your connections clean. Check fluid with the jacks up, and wipe those chrome rods. Do that, and your next campsite should stay flat, and your touchpad should stay calm.