Breathing stale, dusty air on every commute? Your Honda CR-V’s cabin air filter is probably the culprit. This tiny filter blocks pollen, dust, and exhaust fumes from getting into your car — but it doesn’t last forever. You can replace it yourself in about 15 minutes, no tools required. This guide covers every CR-V generation from 1997 to 2026. Keep reading.
Why Your Cabin Air Filter Actually Matters
Most CR-V owners never think about this filter until something already smells terrible. But it’s doing serious work every time you drive.
The cabin air filter sits behind the passenger-side glove box. Every bit of air that blows through your vents passes through it first. It catches road dust, pollen, mold spores, exhaust soot, and whatever else is floating around outside your car.
When the filter gets clogged, here’s what happens:
- Weak airflow from the vents — your AC barely does anything
- Musty, funky smells — trapped moisture grows mold inside the housing
- Extra stress on the blower motor — higher electrical draw generates heat and speeds up wear
- Iced-over evaporator core — a completely blocked filter starves the core of airflow, causing it to freeze solid and kill all airflow from your vents
Here’s the part most people miss: a clogged filter doesn’t just make your ride uncomfortable. It pushes the blower motor harder than it should work, and the added heat can kill the blower motor resistor prematurely. A $15 filter now beats a $200–$400 HVAC repair later.
How Often Should You Replace It?
Honda recommends replacing the cabin air filter every 12,000 to 15,000 miles, or at least once per year — whichever comes first.
Your driving conditions matter a lot here. Replace it more often if you:
- Spend a lot of time in stop-and-go city traffic
- Drive on unpaved or dusty roads regularly
- Carry pets in the car (dogs and cats shed constantly)
- Live in a high-pollen area or near active construction zones
Low mileage doesn’t get you off the hook either. Organic debris trapped inside the filter breaks down over time and starts to smell. The annual replacement rule still applies even if your odometer barely moved.
What the Honda Maintenance Minder Is Telling You
Newer Honda CR-Vs don’t rely on a fixed mileage schedule. The Honda Maintenance Minder system monitors your actual driving conditions — engine temps, trip lengths, idle time, and speed patterns — then tells you exactly when service is due.
Codes appear on your dashboard as a letter followed by numbers. The letter (A or B) covers the oil service type. The numbers bundle in extra service tasks.
Sub-code 2 is the one that covers your filters. If you see a “2” in your maintenance alert — like A2, B12, or A12 — Honda is telling you to replace both the engine air filter and the cabin air filter. They’re two separate components that wear at similar rates, so Honda groups them together to keep things efficient.
Here’s a breakdown of every sub-code:
| Sub-Code | Required Service |
|---|---|
| 1 | Rotate tires, check pressure, inspect tread |
| 2 | Replace engine air filter + cabin air filter, inspect drive belt |
| 3 | Replace transmission fluid (+ transfer case fluid on AWD) |
| 4 | Replace spark plugs, inspect valve clearance |
| 5 | Replace engine coolant |
| 6 | Replace rear differential fluid (AWD/4WD only) |
| 7 | Flush and replace brake fluid |
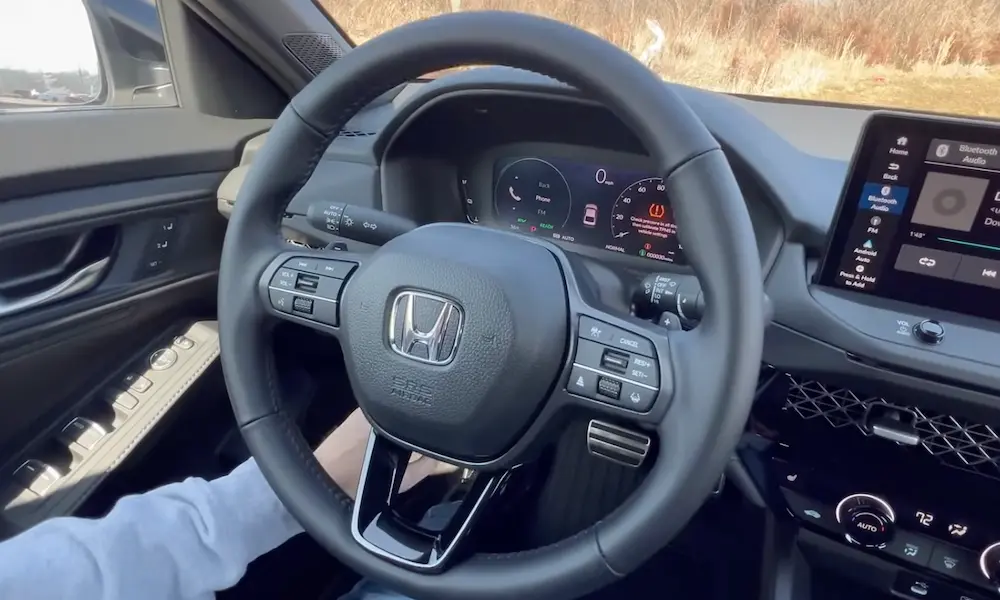
After you finish the job, you’ll need to clear the dashboard notification manually through your instrument cluster menu using the steering wheel controls. No OBD-II scanner needed.
Choosing the Right Cabin Air Filter
Not every filter does the same job. Here’s what you’re working with:
Standard particulate filters ($10–$20) — Solid everyday protection against dust, pollen, and road debris. Brands like WIX, Fram, and Denso nail this tier. Great for most drivers in typical suburban or rural conditions.
Activated carbon filters ($20–$35) — Adds a carbon layer that traps exhaust fumes and odors. Worth the upgrade if you drive in heavy urban traffic with lots of tailpipe emissions around you all day.
HEPA-grade filters ($30–$50) — Catches particles as small as 0.3 microns with over 99% efficiency. The best option if you or your passengers deal with allergies, asthma, or serious respiratory sensitivities.
One thing to skip: don’t try to wash or vacuum a standard disposable filter. Attempting to clean it permanently destroys the synthetic fiber structure and wrecks its ability to catch fine particles. Once it’s clogged, just replace it.
Here’s a quick reference for filter part numbers across CR-V generations:
| Generation | Years | Common Part Numbers |
|---|---|---|
| 1st Gen | 1997–2001 | API 5005-26998, PTC 3018, TYC 800045P |
| 2nd Gen | 2002–2006 | Denso W0133-2086101, Fram CF10135, WIX 24817 |
| 4th Gen | 2012–2016 | CF10134 |
| 5th Gen | 2017–2022 | CF11182, EPAuto CP182 |
| 6th Gen | 2023–2026 | 80291-T5R-A01 |
Quick note on older models: If you drive a 2002–2007 CR-V, the glove box mechanism is a bit more rigid and occasionally needs a flathead screwdriver to release a stubborn retaining clip.
How to Replace Your Honda CR-V Cabin Air Filter Step by Step
The full job takes about 15 minutes on 2012 and newer models. You need zero tools. Older models may need a screwdriver for the housing clips, but most don’t.
Step 1: Prep the Car
Turn the engine off. Shift into park and set the parking brake. Then completely empty the glove box — every manual, USB cable, and stray receipt needs to come out. The glove box has to drop all the way down toward the floor, and anything inside will hit the carpet hard.
Step 2: Drop the Glove Box
Open the glove box fully using the standard handle. On the right side, you’ll find a small plastic arm called the damper arm. It keeps the box from swinging open too hard. Push it outward or press it down to unhook it from the glove box — it’ll hang freely from the dashboard frame once released.
Now squeeze both outer sides of the glove box inward at the same time. The box has plastic stops on each side that normally prevent it from dropping past a certain point. Squeezing the sides lets those stops clear the rigid dashboard frame. Once they pass, the entire box swings all the way down toward the passenger footwell and hangs there out of the way.
This video shows the exact technique for 5th Gen CR-Vs if you want a visual reference. For the 2022 model specifically, check this walkthrough — it shows the glove box drop clearly.
Step 3: Pull Out the Old Filter
With the glove box down, you’ll see a rectangular plastic faceplate in the middle of the exposed dashboard cavity. That’s the cabin air filter cover. Pinch the tabs on the left and right sides simultaneously and pull the cover straight out toward you.
The edge of the old filter is now visible. Grab it and slide it out slowly, keeping it perfectly horizontal. Don’t yank it. The old filter is packed with dust, pollen, dead leaves, and organic debris. Pull it too fast and all of that dumps directly into the blower motor fan below — causing rattling and imbalance every time you run the air.
Once you remove the filter, shine a flashlight into the empty housing. If you spot stray debris in the tracks or near the fan, vacuum it out with a narrow crevice attachment before installing anything new.
Step 4: Install the New Filter the Right Way
Check the side of your new filter. You’ll see arrows labeled “AIRFLOW.” On your CR-V, those arrows must point straight down toward the floorboards. The blower pulls air downward through the filter. Install it backwards and you reduce filtration efficiency — and risk collapsing the filter under reverse air pressure.
Once you confirm the orientation, slide the new filter straight into the housing. It should glide in smoothly. If you’re forcing it, stop — it’s misaligned. Make sure all four edges sit flush with the housing wall. Any gap lets unfiltered air bypass the media entirely.
Retrieve the cover and check for an “UP” marking — orient it toward the roof. Push it in until you hear a click on both sides. Give it a firm tug to confirm it’s locked. This video covers the airflow arrow orientation clearly if you’re unsure what you’re looking at.
Step 5: Put It All Back Together
Lift the glove box back up. Squeeze the sides again to get the stops past the dashboard frame, then release — the stops snap outward and lock the box into its normal range of motion.
Reconnect the damper arm by snapping its hook back onto the mounting peg on the right side of the glove box frame. Open and close the glove box a few times. It should move smoothly with light, controlled resistance. If it drops hard or too fast, the damper arm isn’t seated properly.
Close the glove box fully and start the engine. Crank the fan to maximum speed. Cycle through both fresh air and recirculation modes. Listen for whistling, rattling, or restricted airflow. If everything sounds normal, you’re done.
Driving a 2023–2026 CR-V? This walkthrough covers your exact setup from start to finish.
Frequently Asked Questions
Does having pets change how often I need to replace the cabin filter?
Yes — significantly. Pet hair and dander get pulled into the filter through the recirculation system every time you run the climate control. A car with frequent pet passengers can clog a filter in six to eight months instead of the usual 12 to 15. If your CR-V smells musty and you transport dogs or cats regularly, check the filter first before anything else.
Does vaping or smoking in the car wreck the filter faster?
Absolutely. Both smoke and vapor release sticky airborne compounds that coat filter fibers like glue. Normal ambient dust then bonds to those coated fibers and clogs the media far faster than usual. The result is a filter that fails in a fraction of the standard lifespan — and a persistent smell that won’t leave until you physically swap in a new filter.
Can a clogged cabin filter damage the AC compressor?
It can, through a chain of events. When the filter blocks airflow to the evaporator core, the core temperature drops until a thermal switch cuts off the AC compressor to prevent ice buildup. Once the core warms slightly, the compressor kicks back on — only to freeze the core again moments later. This rapid on-off cycling hammers the compressor clutch and tanks fuel economy. The fix is the filter, not the compressor.
What’s the difference between the engine air filter and the cabin air filter?
They’re completely separate parts with completely different jobs. The engine air filter lives under the hood and protects the engine’s internal combustion chambers from dirt and debris. The cabin air filter lives inside the dashboard and cleans the air your passengers breathe. Maintenance Minder sub-code 2 tells you to replace both at the same time because they wear on similar schedules — but swapping one has zero effect on the other.
Do I need a scanner to reset the Maintenance Minder after replacing the filter?
No scanner required. The Honda CR-V calculates filter service life algorithmically based on driving conditions — it doesn’t use a physical pressure sensor that needs calibration. To clear the dashboard sub-code 2 alert, navigate to the Maintenance Minder screen through your instrument cluster menu using the steering wheel controls and do a manual button-press reset. That returns the interval counter to 100% and starts fresh tracking.