Is your Hyundai Sonata blowing warm air instead of the crisp, cool breeze you need? Your AC system might need a refrigerant recharge. This common maintenance task can restore your cooling performance without breaking the bank. Let’s dive into everything you need to know about recharging your Sonata’s AC system yourself.
What Is an AC Recharge and Why Your Sonata Might Need One
An AC recharge is simply the process of refilling your car’s air conditioning system with refrigerant (the cooling substance that makes cold air possible). Your Hyundai Sonata might need a recharge if:
- The air coming from your vents isn’t as cold as it used to be
- The cooling is inconsistent or takes longer than normal
- The system is making unusual noises when the AC is running
Most Hyundai Sonatas lose about 15% of their refrigerant every year through microscopic leaks in the system, which is normal and expected. This gradual loss eventually affects cooling performance.
Hyundai Sonata Refrigerant Type and Capacity Chart
Before starting, you need to know what type and how much refrigerant your specific Sonata model requires. Most Hyundai Sonatas through the 2024 model year use R-134a refrigerant, but always check the label under your hood to confirm.
| Sonata Model Years | Engine | Refrigerant Type | Capacity |
|---|---|---|---|
| 2006-2010 (EF/NF) | All | R-134a | 525-575g (18.5-20.3 oz) |
| 2011-2014 (YF) | 2.4L GDI | R-134a | 650g ± 25g (22.9 ± 0.9 oz) |
| 2015+ (LF) | 2.4L GDI | R-134a | 575g ± 20g (20.2 ± 0.7 oz) |
Note: For optimal performance, aim for the midpoint of the specified range for your model.
Tools and Materials You’ll Need
Before starting, gather these items:
- R-134a recharge kit with gauge ($40-60)
- Safety glasses
- Gloves
- Clean rag
- Optional: UV dye kit for leak detection
Step-by-Step Hyundai Sonata AC Recharge Guide
1. Prepare Your Vehicle
- Park in a shaded, well-ventilated area
- Make sure the engine is cool
- Put on your safety glasses and gloves
- Open the hood and secure it properly
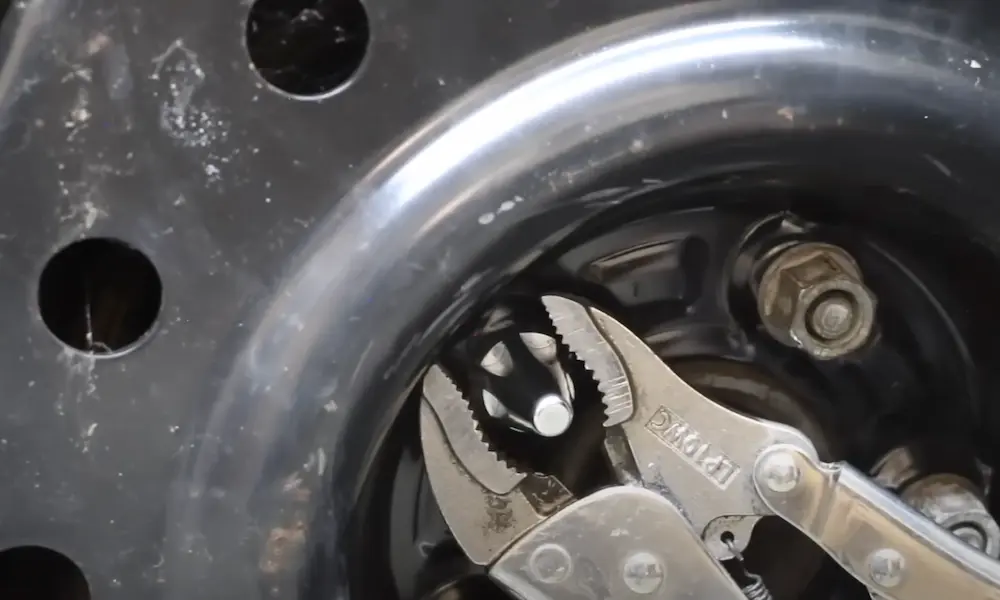
2. Locate the AC Service Ports
Your Sonata has two service ports: high-pressure and low-pressure. For a recharge, you’ll need the low-pressure port, which is:
- Usually on the passenger side of the engine bay
- Has a smaller diameter than the high-pressure port
- Typically marked with an “L” or “LOW” label
- Covered with a blue or black plastic cap
Remove this cap and keep it in a safe place.
3. Check Current Refrigerant Level (Optional)
If your recharge kit includes a pressure gauge, you can check the current level:
- Make sure your car is off
- Attach the gauge to the low-pressure port
- Compare the reading to the pressure chart on your kit (pressure varies with ambient temperature)
4. Prepare the Recharge Kit
- Shake the R-134a can vigorously for 1-2 minutes
- Attach the can to the recharge hose according to your kit’s instructions
- Don’t open the valve yet
5. Connect to Your Sonata and Begin Recharging
- Start your Sonata’s engine
- Set the AC to maximum cooling (lowest temperature) and the fan to high
- Turn on the AC and let it run for 2-3 minutes
- Attach the recharge kit’s hose to the low-pressure port until you hear a click
- Hold the refrigerant can upside down (this is important to ensure liquid refrigerant enters properly)
6. Add Refrigerant Carefully
- Open the valve on your recharge kit
- Add refrigerant in short bursts (10-15 seconds)
- Check the pressure gauge between bursts
- Target the recommended pressure for your ambient temperature:
- Around 30 psi at 65°F
- Around 35-40 psi at 75°F
- Around 45-50 psi at 85°F
7. Monitor the Process
- Keep an eye on the pressure gauge
- Feel the air from your vents – it should get progressively colder
- Once you reach the target pressure range, close the valve
- Be careful not to overcharge! Stop when you reach the specified amount for your model
8. Finish Up
- Close the valve completely
- Disconnect the hose from the low-pressure port quickly to minimize refrigerant loss
- Replace the port cap
- Check AC performance – air from vents should now be 40-45°F
Signs You’ve Successfully Recharged Your Sonata’s AC
After recharging, you should notice:
- Significantly colder air from the vents
- The compressor cycles on and off normally (not running continuously)
- No unusual noises from the AC system
- Consistent cooling throughout the cabin
Common Problems During Recharge
AC Won’t Get Cold After Recharging
If your AC still doesn’t cool properly after recharging, you might have:
- A refrigerant leak that needs repair
- A malfunctioning compressor
- A clogged expansion valve or orifice tube
- A blown fuse or electrical issue
Pressure Gauge Reading Too High
If the pressure reads too high on your gauge:
- Your system might be overcharged
- The ambient temperature might be very high
- The condenser might be dirty or blocked
- The cooling fans might not be working correctly
Pressure Gauge Reading Too Low
If the pressure reads too low even after adding refrigerant:
- There’s likely a significant leak in the system
- The compressor might not be engaging
- You might have a blocked expansion valve
Professional vs. DIY Recharge Cost Comparison
| Service Type | Typical Cost | Pros | Cons |
|---|---|---|---|
| DIY Recharge | $40-60 | Saves money, convenient | May not address underlying issues |
| Professional Service | $150-315 | Includes leak detection, exact measurement | More expensive |
| Certified Hyundai Service | $235-315 | Factory-trained technicians, warranty protection | Highest cost option |
A DIY recharge costs about 1/5 the price of professional service, but professionals can identify and fix underlying issues that might be causing refrigerant loss.
When a DIY Recharge Isn’t Enough
While DIY recharges work great for systems with normal refrigerant loss, they’re not a fix for every AC problem. Consider professional help if:
- You need to recharge more than once per season
- You hear grinding or squealing from the AC compressor
- The system blows cold intermittently
- You’ve fully recharged but the cooling is still weak
- You can see or smell refrigerant leaking (oily residue or sweet smell)
Maintenance Tips After Recharging
To keep your Sonata’s AC performing well after a recharge:
- Run the AC for at least 10 minutes weekly, even in winter
- Replace the cabin air filter annually
- Keep the condenser (front of radiator) clean and free of debris
- Have the system checked for leaks if cooling performance drops quickly
- Consider using a refrigerant with UV dye for easier future leak detection
Understanding Your Sonata’s AC System
The Hyundai Sonata AC system consists of several components working together:
- Compressor: Pressurizes the refrigerant
- Condenser: Cools the hot refrigerant into a liquid
- Expansion Valve/Orifice Tube: Controls refrigerant flow
- Evaporator: Absorbs heat from cabin air
- Receiver/Dryer or Accumulator: Filters and removes moisture
A recharge replenishes the refrigerant, but doesn’t address any mechanical issues with these components.
According to NHTSA technical service bulletins for the 2011-2014 Sonatas, proper refrigerant levels are crucial for system performance and longevity.
Final Thoughts
Recharging your Hyundai Sonata’s AC system is a straightforward DIY task that can save you significant money compared to professional service. By following this guide and adhering to the specific refrigerant type and capacity for your model year, you can restore cool, comfortable air to your Sonata in about 30 minutes.
Remember that while a recharge often solves cooling problems, it’s essentially treating the symptom rather than the cause if you have a significant leak. If you find yourself needing frequent recharges, it’s time to consult a professional to identify and fix the underlying issue.