Is your Acura MDX blowing warm air instead of the crisp, cool breeze you’ve come to expect? You’re likely dealing with a refrigerant issue. Before you rush to the dealership and drop hundreds on a simple AC recharge, know that this is something you might be able to handle yourself with the right knowledge and tools.
What Causes An Acura MDX AC To Lose Cooling Power?
Your MDX’s air conditioning system is sealed but not perfect. Over time, small amounts of refrigerant can escape through microscopic leaks or normal system aging. When refrigerant levels drop too low, your AC stops cooling effectively.
The most common causes include:
- Small, slow leaks at connection points
- Normal refrigerant depletion (about 15% every 1-2 years)
- Damaged components like condensers or hoses
- Age-related wear and tear
If your MDX is still blowing air but it’s not cold, a simple recharge might be all you need to restore performance.
Understanding Your Acura MDX AC System Basics
Before attempting a recharge, you need to know what type of refrigerant your MDX uses. This varies by model year:
| Model Year | Refrigerant Type | Typical Capacity | Oil Type |
|---|---|---|---|
| 2001 | R134a | 27.00 oz | 5.50 oz PAG-46 |
| 2002-2006 | R134a | 25.50 oz | 5.00 oz PAG-46 |
| 2007-2013 | R134a | 22.00 oz | 7.60-8.60 oz PAG-46 |
| 2014-2018 | R134a | 22.00 oz | 7.60-8.60 oz PAG-46 |
| 2019+ | R1234yf* | Varies | Varies |
*Note: Some 2019 models still used R134a. Check your vehicle’s information sticker under the hood to confirm.
Using the wrong refrigerant type can cause serious damage to your system, so this verification step is crucial.
How To Tell If Your MDX AC Needs A Recharge
Before buying supplies, confirm your system actually needs a recharge. Look for these telltale signs:
- AC blows warm or lukewarm air instead of cold
- Cooling performance gradually decreases over time
- Cold air only works at highway speeds
- System intermittently blows cold then warm
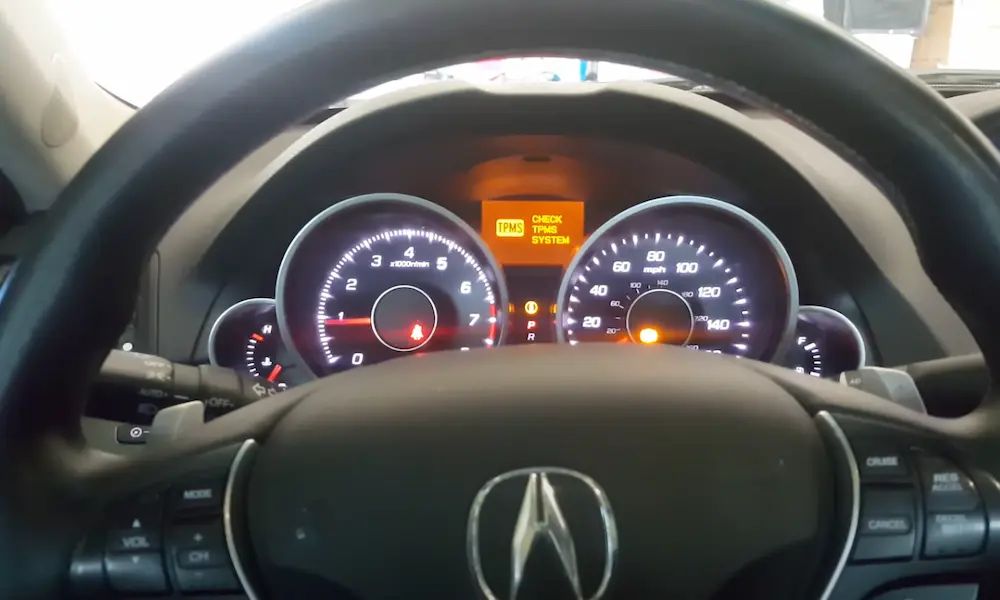
A simple visual check of your AC’s performance gauge can also help. With the engine running and AC on max, the pressure should be in the “normal” range. If it’s considerably lower, you likely need a recharge.
DIY Acura MDX AC Recharge: Step-By-Step Process
What You’ll Need
- AC recharge kit with pressure gauge
- Correct refrigerant for your model year (R134a or R1234yf)
- Safety glasses and gloves
- Clean rag
- 10-15 minutes of time
Step 1: Prepare Your Vehicle
Start with these preparatory steps:
- Park on level ground and engage the parking brake
- Make sure the engine is cool
- Open the hood and locate the AC information sticker
- Verify the refrigerant type required for your MDX
Step 2: Locate The Low-Pressure Port
The low-pressure port is where you’ll connect the recharge kit. In most Acura MDX models:
- It’s located on the larger aluminum AC line
- It has a plastic cap marked with an “L” or “Low”
- It’s typically found on the passenger side of the engine bay
- Remove the cap by turning counterclockwise
This port is typically the size of a quarter in diameter. Don’t confuse it with the high-pressure port which is smaller and marked with an “H”.
Step 3: Check Current Refrigerant Pressure
Before adding any refrigerant:
- Start the engine and let it run
- Turn the AC to maximum cooling with highest fan speed
- Connect the recharge kit pressure gauge to the low-pressure port
- Read the gauge and note where the needle falls
The ideal pressure reading varies by ambient temperature. Generally, on an 80°F day, your system should read between 25-45 psi on the low side.
Step 4: Add Refrigerant If Needed
If your pressure reading is below normal:
- Keep the engine running with AC on max
- Shake the refrigerant can well
- Connect the can to your recharge kit following the kit instructions
- Hold the can upright (12 o’clock position)
- Depress the trigger to allow refrigerant to flow
- Add refrigerant in 5-10 second bursts
- Check the pressure gauge between bursts
Stop adding refrigerant when the gauge reads in the normal/green zone for your current ambient temperature. Be patient and add slowly to avoid overcharging.
Step 5: Complete The Process
Once you’ve reached the proper pressure:
- Disconnect the recharge kit from the low-pressure port
- Replace the port cap securely
- Turn off the engine
- Test the AC system’s cooling performance
- Check for any unusual noises from the compressor
Your MDX should now be blowing cold air again!
Common Acura MDX AC Recharge Mistakes To Avoid
Many DIYers make these critical errors when recharging their MDX AC:
Overcharging The System
Adding too much refrigerant is one of the most common and damaging mistakes. An overcharged system can:
- Damage the compressor due to “liquid slugging”
- Create excessive pressure that triggers safety shutdowns
- Reduce cooling efficiency (yes, too much is as bad as too little)
- Lead to expensive compressor replacement
Always add refrigerant slowly and check pressure frequently.
Using The Wrong Refrigerant Type
Never mix R134a and R1234yf refrigerants. They’re chemically incompatible and using the wrong type will:
- Void your warranty
- Potentially damage expensive components
- Require professional system evacuation and cleanup
- Lead to system contamination
Always verify your specific model’s refrigerant type before purchasing supplies.
Misreading The Pressure Gauge
Pressure readings are temperature-dependent. What looks “low” on a hot day might be normal, while a “normal” reading on a cool day might actually be high. Most recharge kits include a temperature/pressure chart to help with accurate readings.
When To Skip DIY And Call A Professional
While a DIY recharge is perfect for many situations, some problems require professional intervention. Skip the DIY approach if:
- Your system has a significant leak (refrigerant disappears quickly)
- You hear grinding or squealing from the compressor
- The system has been completely empty for an extended period
- You suspect contamination or mixed refrigerant types
- Your MDX is still under warranty
Professional AC service for an Acura MDX typically costs between $247-$329, which includes both parts and labor. More complex issues involving component replacement will cost more.
Professional Acura MDX AC Service Vs. DIY
Let’s compare the options:
| Aspect | DIY Recharge | Professional Service |
|---|---|---|
| Cost | $35-$80 | $247-$329 |
| Time | 15-30 minutes | Service appointment required |
| Equipment Needed | Basic recharge kit | Professional vacuum/recharge equipment |
| Diagnosis Capability | Limited | Comprehensive |
| Leak Detection | None | Electronic detection and UV dye |
| System Evacuation | No | Yes |
| Warranty | None | Often includes 90-day warranty |
| Risk Level | Moderate | Low |
While DIY is cheaper upfront, professional service addresses underlying issues and may provide better long-term value.
Maintaining Your MDX AC System After Recharge
After successfully recharging your system, these maintenance tips will help maximize its performance:
- Run your AC for at least 10 minutes weekly, even in winter
- Keep your condenser clean and free of debris
- Replace your cabin air filter regularly
- Park in shaded areas when possible to reduce system strain
- Address any refrigerant leaks promptly rather than repeatedly recharging
For optimal performance, consider having your AC system professionally inspected every 2-3 years, even if it seems to be working properly.
Understanding Acura MDX AC System Safety Concerns
Working with refrigerants requires some safety precautions:
- Always wear safety glasses and gloves when handling refrigerant
- Work in a well-ventilated area
- Keep refrigerant away from open flames (especially R1234yf, which is mildly flammable)
- Never puncture or incinerate refrigerant containers
- Avoid contact with skin (refrigerant can cause frostbite)
Be aware that releasing refrigerant into the atmosphere is illegal and harmful to the environment. Any major system work requiring refrigerant removal should be performed by certified professionals with proper recovery equipment.
Diagnosing Other Acura MDX AC Problems
If your MDX still has cooling issues after a recharge, you might have one of these common problems:
Compressor Issues
The compressor is the heart of your AC system. Signs of compressor failure include:
- No engagement when AC is turned on
- Unusual noises (grinding, squealing)
- Cooling only at higher RPMs
- Complete cooling loss despite proper refrigerant levels
Compressor replacement is expensive ($1,670 on average) and best left to professionals.
Electrical Problems
Your MDX AC system relies on multiple electrical components:
- Relay failures can prevent the compressor from engaging
- Blown fuses can disable the entire system
- Faulty pressure switches may cause intermittent operation
- Bad blend door actuators can block cold air flow
These problems won’t be fixed by a simple recharge.
Clogged Components
Over time, system components can become clogged or restricted:
- Expansion valve blockages prevent proper refrigerant flow
- Condenser fin damage reduces cooling efficiency
- Evaporator clogs lead to reduced airflow
- Orifice tube restrictions cause cycling issues
Consider professional diagnosis if a recharge doesn’t solve your cooling problems.
Final Thoughts On Acura MDX AC Recharge
Recharging your Acura MDX AC system can be a simple, cost-effective DIY project when done correctly. The key is understanding your system’s specifications, following proper procedures, and knowing when a problem exceeds DIY capabilities.
Remember that a recharge addresses only one potential cause of AC problems. If your system continues to lose refrigerant quickly or doesn’t cool properly after recharging, it’s time to consult a professional for a more comprehensive diagnosis and repair.
By maintaining proper refrigerant levels and addressing issues promptly, you can enjoy cool, comfortable drives in your MDX for many miles to come.