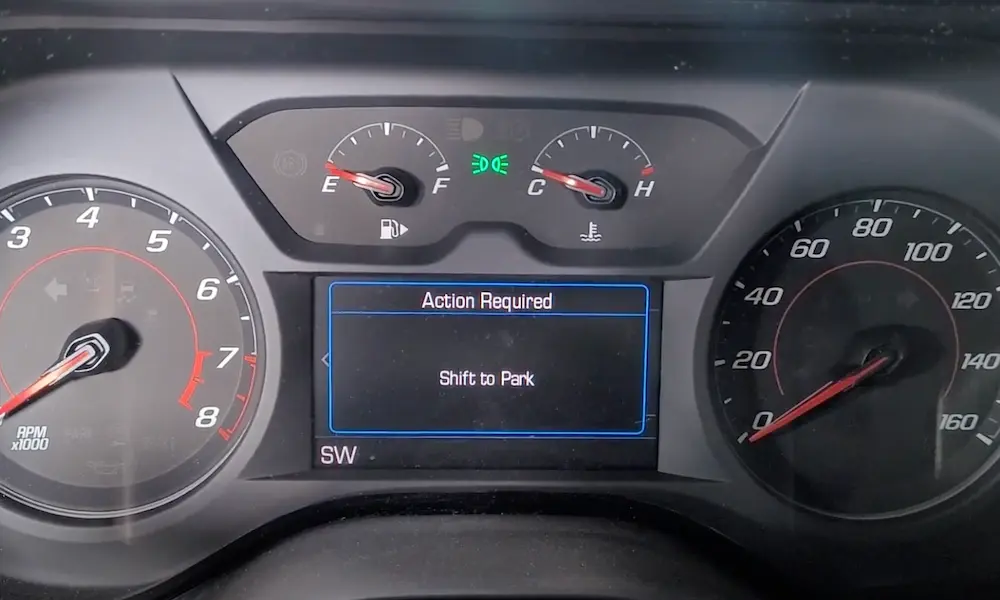
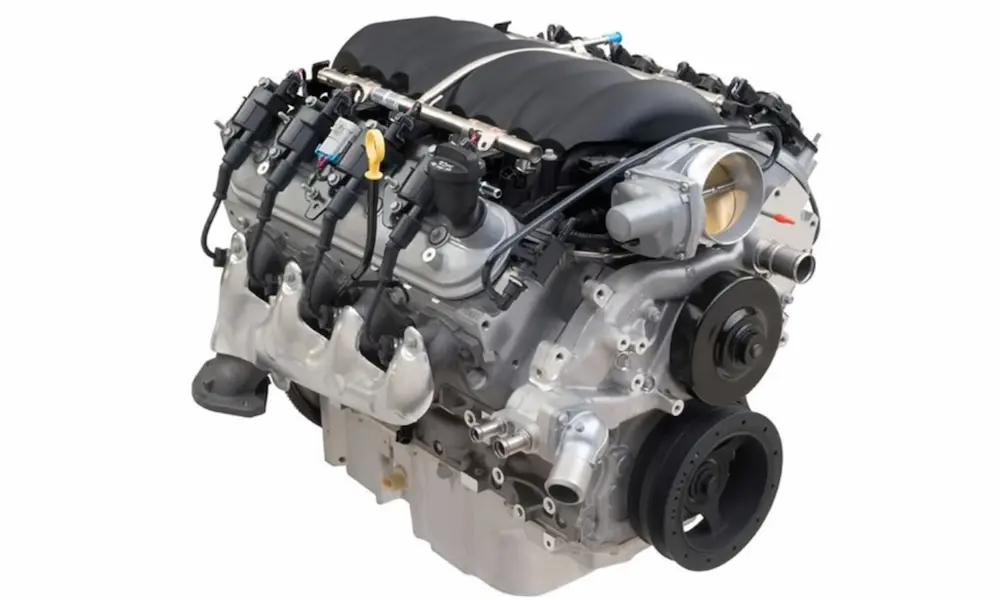
Got a temperature gauge acting wild, no AC, or fans running non-stop after you shut the car off? Your Chevy Malibu thermostat might be the culprit. This guide walks you through everything — symptoms, diagnostics, parts, and the full replacement process. Stick around, because skipping even one step here can turn a $30 fix into a $1,500 nightmare.
What Does the Thermostat Actually Do?
The thermostat is a temperature-actuated valve that controls coolant flow between your engine and radiator. When the engine’s cold, it stays shut, helping the engine heat up fast. Once temps hit the target range (usually 180–195°F on a Malibu), it opens and lets coolant flow to the radiator to shed heat.
It doesn’t just flip open and shut — it constantly adjusts to keep your engine in a narrow, ideal thermal window. When it fails, your engine either overheats or never warms up properly. Neither is good.
How to Know Your Thermostat Is Failing
Thermostat failures split into two camps: stuck closed or stuck open. Each one hits differently.
Stuck Closed: The Dangerous One
- Temperature gauge spikes fast, especially under load
- Lower radiator hose stays stone cold while the engine runs hot
- Gurgling or boiling sounds from the engine bay or behind the dash
- Coolant leaks around the housing flange or water pump
- Visible steam from under the hood
Don’t drive a stuck-closed Malibu. You’ll warp the cylinder head and face a bill that dwarfs the thermostat cost.
Stuck Open: The Sneaky One
- Engine takes forever to warm up
- Heater blows lukewarm or cold air
- Temperature gauge sits near the bottom of the dial
- Fuel economy drops noticeably
- You’re burning through catalytic converters faster than normal
A stuck-open thermostat keeps the engine running too cold. The ECM pours in extra fuel trying to build heat, and your catalytic converter takes a beating from all those unburned hydrocarbons.
Diagnostic Codes and What Your ECM Does About It
Modern Malibus don’t just let thermostat problems slide — the Engine Control Module catches them fast and reacts hard.
| DTC Code | What It Means | What Your ECM Does |
|---|---|---|
| P0128 | Coolant temp below thermostat regulating temperature | Kills AC, runs fans full blast, may suppress the temp gauge |
| P0119 | ECT sensor circuit intermittent | Triggers check engine light, commands max fan speed |
When P0128 sets on a 2014 Malibu 2.5L, for example, the engine might stall at around 139°F instead of climbing toward 180°F. The ECM assumes the cooling system’s compromised and goes into full protect mode.
That’s why your AC suddenly stops working and your cooling fans sound like a jet engine — even after you park and pull the key.
Stuck-open thermostat vs. bad sensor: Watch your live data with a scan tool. A smooth temperature reading that plateaus too early? Thermostat. A reading that jumps wildly or drops to absurd negative values? Your ECT sensor is probably fried. Since they live in the same harsh environment, replacing both at the same time is standard practice.
Which Thermostat Does Your Malibu Need?
This is where most DIYers go wrong. The thermostat design changes dramatically depending on your engine.
| Engine | Model Years | Design | Temp Spec | Example Parts |
|---|---|---|---|---|
| 1.5L Turbo 4-cyl | 2016–2024 | Integrated one-piece assembly | 180°F | Gates 162GM66, GM 25193922 |
| 2.0L / 2.5L 4-cyl | 2013–2022 | Complex plastic water outlet assembly | 180–195°F | ACDelco 119076, Dorman 902-208 |
| 2.4L Ecotec 4-cyl | 2008–2014 | Two-piece housing, removable insert | 180°F | GM 12622410 |
| 3.1L / 3.5L V6 | 2004–2012 | Insert with proprietary locking tabs | 195°F | Gates, ACDelco standard inserts |
The 2013–2022 plastic housing assemblies have a known reputation for hairline cracks along their molded seams. If you’re replacing one, consider an aluminum-housing aftermarket unit — it handles thermal cycling far better than the factory plastic.
The 3.5L V6 has a twist-lock design that catches people off guard. You can’t just pull it out. You press down on two spring-loaded tabs and rotate counter-clockwise simultaneously. Miss that step and you’ll be fighting it for an hour.
What Tools You’ll Need
Don’t start this job without the right gear.
| Tool | Why You Need It |
|---|---|
| 10mm & 13mm socket set with extensions | Housing bolts are often buried deep |
| Constant-tension hose clamp pliers | Factory spring clamps will hurt you without them |
| Hose pinch-off pliers | Cuts radiator fluid loss dramatically |
| Inch-pound torque wrench | This one’s non-negotiable — see below |
| 2-gallon low-profile drain pan | Antifreeze is highly toxic to pets and humans |
| Plastic scraper and clean shop rags | Surface prep makes or breaks the seal |
Why inch-pounds matter: GM specs call for exactly 89 inch-pounds on thermostat housing bolts. That’s only about 7.4 foot-pounds. A standard foot-pound torque wrench is wildly inaccurate that low. Use a full-size wrench by feel and you’re gambling with soft aluminum threads — one stripped bolt and your whole day changes.
Step-by-Step Chevy Malibu Thermostat Replacement
Step 1: Cool the Engine Completely
Never open a hot cooling system. The system runs under pressure, which raises the coolant’s boiling point well above 212°F. Cracking a hose on a hot engine sprays boiling liquid. Let the engine sit until the upper radiator hose is completely cold — no shortcuts.
Step 2: Drain Coolant to the Right Level
You don’t need to drain the whole system. Just lower the level below the thermostat housing.
- Remove the coolant reservoir cap to break the vacuum
- Open the radiator petcock (bottom passenger-side corner of the radiator)
- Drain roughly one gallon into your pan
- Squeeze the upper radiator hose — when it feels empty, close the petcock
Step 3: Clear Access to the Housing
- V6 engines: Disconnect the main air intake duct from the throttle body and carefully reroute the vacuum lines
- Turbo 4-cyl engines: Disconnect the ECT sensor connector by pressing the safety tab and pulling straight back — don’t yank the wiring
Step 4: Remove the Housing
Compress the spring clamp with your hose clamp pliers and slide it down the hose. Twist the hose back and forth to break the bond before pulling it off — rubber vulcanizes to metal over time and it won’t just slide free.
Remove the retaining bolts in an alternating pattern to release pressure evenly. On the V6 with the insert design, press both spring tabs simultaneously and twist counter-clockwise to free it.
Step 5: Prep the Mating Surface
This step decides whether your repair lasts or leaks immediately. Scrape off every trace of the old gasket using a plastic scraper — never metal on aluminum. Wipe the surface clean with solvent and a lint-free rag. One channel or ridge left behind creates a leak path under pressure.
Step 6: Install the New Thermostat
- Insert-style: Wax element faces inward (into the engine block), spring faces out
- Jiggle pin (bleed valve): Orient it at 12 o’clock — it bleeds trapped air as the system purges
- Install a new gasket or seal — reusing the old one is a guaranteed leak
- Thread bolts in by hand first to avoid cross-threading
Step 7: Torque to Spec
Use your inch-pound torque wrench and tighten to 89 inch-pounds. Tighten in an alternating star pattern across the flange. Crack the housing with an over-torque and you’ll be back at Step 1 with an even bigger problem.
Slide the radiator hose back on past the retention lip and reposition the spring clamp directly over the sealing zone. Reconnect the ECT sensor connector until it clicks.
Refilling and Purging the Cooling System
This part trips people up more than the actual replacement.
Air pockets are your enemy. If air surrounds the wax element, the thermostat can’t read the coolant temperature accurately. It stays closed, the engine overheats, and you’re back to square one with a warped head.
Here’s how to purge it correctly:
- Make sure the petcock is fully closed
- Slowly pour a 50/50 mix of GM DEX-COOL and distilled water into the reservoir to the MAX line — leave the cap off
- Set your cabin heat to MAX with the fan on LOW (this opens the heater core circuit)
- Start the engine and let it idle
- Watch the reservoir — when the thermostat opens, the fluid level drops fast as it fills the voids. Keep adding fluid to maintain the MAX line
- Manually squeeze the upper and lower radiator hoses to push air pockets out
- Once the temp gauge stabilizes at the midpoint and hot air blows from the vents, the system’s purged
- Cap the reservoir tightly and use a scan tool to clear the P0128 or P0119 codes — your AC and fans return to normal immediately
Don’t skip clearing the codes. Until the ECM sees fresh data confirming normal temps, it keeps the AC off and the fans screaming.
What Does Chevy Malibu Thermostat Replacement Cost?
The price gap between DIY and professional repair is significant.
- DIY parts (V6 insert): Under $30 for the thermostat and gasket
- DIY parts (1.5L/2.5L integrated housing): $30–$156 depending on brand quality
- Professional repair total: Easily $600+ at a dealership for turbocharged or V6 models
Skip this repair entirely and the costs get ugly fast. Radiator replacements run $1,338–$1,605. Water pump replacements hit $852–$1,100+. A warped head adds thousands more.
On parts quality: Cheap aftermarket thermostats often use poorly calibrated wax formulations and low-grade seals. Pay the extra $20–$40 for ACDelco, Gates, or TRQ. You’re not getting a second chance on the head gasket.
Add roughly $20–$30 for a gallon of concentrated DEX-COOL antifreeze and distilled water to round out your materials budget.
FAQs
Does installing an aftermarket thermostat void my Malibu’s powertrain warranty?
Under the Magnuson-Moss Warranty Act, a manufacturer can’t void your warranty just because you used an aftermarket part. However, if the dealership proves the aftermarket thermostat directly caused secondary damage — like a warped head from overheating — they can deny that specific claim. For vehicles still under factory warranty, use OEM GM parts to keep things clean.
How do I legally dispose of the drained coolant?
Ethylene glycol is highly toxic to pets and wildlife — its sweet smell attracts animals and it’s fatal if ingested. The EPA and local municipal codes prohibit dumping it down drains or into soil. Collect it in a sealed, labeled container and take it to a municipal hazardous waste facility or a parts retailer with a coolant recycling program.
Can a bad thermostat mess up my automatic transmission?
Yes, directly. Your Malibu’s transmission fluid runs through a heat exchanger inside the main radiator. A stuck-open thermostat keeps transmission fluid chronically cold, causing sluggish shifts and poor torque converter lockup. A stuck-closed thermostat superheats that same fluid and destroys the clutch packs. The two systems share a thermal fate.
Should I install a lower-temp “performance” thermostat for more power?
Don’t do it on a stock Malibu. The ECM expects a specific operating temperature. Install a thermostat that opens too early and the engine never reaches closed-loop fuel mapping. You’ll permanently trigger P0128, lose your AC, run rich constantly, and burn through your catalytic converter. Some states — California especially — enforce emissions regulations that make this modification an additional legal headache.
Do cold winters hide thermostat problems?
Yes, and it cuts both ways. A stuck-open thermostat reveals itself fast in below-freezing temps — no heat, no defrost, a cabin that stays ice cold. But a thermostat that’s starting to stick closed can go completely unnoticed in winter because freezing ambient air masks the reduced coolant flow. That false sense of security often ends badly on the first warm spring day when the engine overheats without warning.