Is your RV’s Coleman Mach air conditioner blowing warm air when you need it most? There’s nothing worse than sitting in a hot RV when your AC decides to quit working. Before you call in expensive help, you might be able to solve the problem yourself with some systematic troubleshooting.
Most Coleman Mach cooling problems fall into one of five categories: electrical issues, airflow restrictions, compressor problems, refrigerant system failures, or control system glitches. Let’s walk through how to diagnose and fix each one.
Check Your Electrical System First
Verify Power Supply and Voltage
Start with the basics – many cooling failures stem from simple electrical problems. Check if your RV’s circuit breaker has tripped. Coleman Mach units typically need a 15-20 amp breaker minimum to operate properly.
If you’re at a campground, you might be dealing with low voltage from the pedestal. This is incredibly common and causes all sorts of AC problems. Low voltage conditions force your compressor to work harder, drawing more amps and potentially tripping breakers.
Test the voltage at your AC unit’s control board – you need 115VAC ±10% for proper operation. Anything below 105V can trigger protective shutdowns in your unit. While you’re there, check all wire connections at both the roof unit and thermostat. Loose connections create voltage drops and intermittent operation.
Test Compressor Amperage – The Most Revealing Test
The most definitive way to determine your compressor and refrigerant system’s health is by measuring compressor amperage. This test requires:
- Running your unit in high cool mode for at least 30 minutes
- Locating the purple common wire going to the compressor
- Using a clamp meter around this single wire
- Comparing readings to the RLA (Rated Load Amps) on your unit’s nameplate
Adjust your expected readings based on outdoor temperature:
- At 95°F: Should equal RLA
- At 100°F: RLA + 0.7 amps
- At 90°F: RLA – 0.7 amps
- At 85°F: RLA – 1.4 amps
If amperage is significantly below the adjusted RLA, you likely have a refrigerant leak requiring professional service. High amperage suggests compressor mechanical failure or electrical issues. Normal amperage with poor cooling points to airflow or heat exchange problems.
Airflow Restrictions Cause Most Cooling Problems
Clean or Replace Your Air Filters
Restricted airflow is the most common reason your Coleman Mach AC isn’t cooling properly. Start by checking your air filter – a clogged filter can reduce cooling capacity by 30-50% and may cause your evaporator coil to freeze up.
This is such a common issue that RV repair experts recommend checking the filter first before any other troubleshooting.
Clean Both Evaporator and Condenser Coils
Dirty coils severely limit heat transfer and cooling efficiency. Here’s how to clean them:
- Disconnect power and remove the AC shroud (typically secured with 4 screws)
- Vacuum visible debris from both evaporator (inside) and condenser (outside) coils
- Use appropriate coil cleaners – different types for evaporator vs. condenser coils
- Brush coil fins gently to avoid damaging the thin aluminum
- Use a fin comb to straighten bent fins if necessary
Clean coils should show a temperature differential of 16-22°F between intake and discharge air. Measure this after running the unit for 30 minutes. Differentials outside this range indicate airflow restrictions or refrigerant issues.
Test Capacitors and Motors
Diagnose Capacitor Failure
Failed capacitors are extremely common in RV air conditioners due to voltage fluctuations and heat. To test capacitors:
- Disconnect power and discharge capacitors safely using insulated pliers
- Remove capacitor connections (take a photo first to remember wire positions)
- Test each capacitor’s microfarad rating with a multimeter
- Look for physical signs of failure: bulging, leaking, or burned terminals
Capacitor values should be within ±6% of the nameplate rating. Typical values are:
- 13.5K BTU units: Run capacitor 30-35 μF, Start capacitor 88-108 μF
- 15K BTU units: Run capacitor 35-40 μF
When replacing capacitors, it’s best to replace both run and start capacitors simultaneously to prevent cascading failures.
Troubleshoot Control System Issues
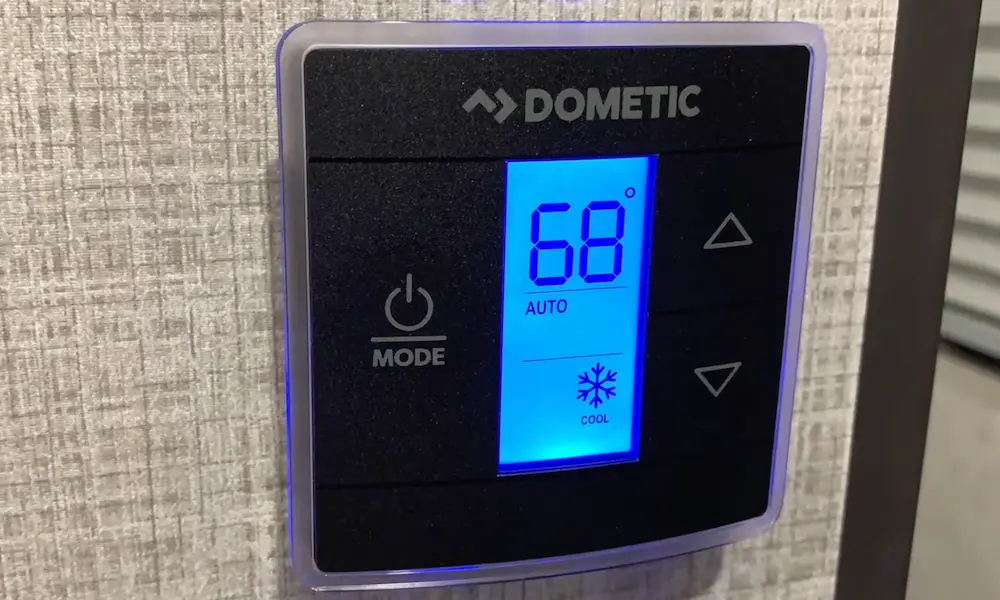
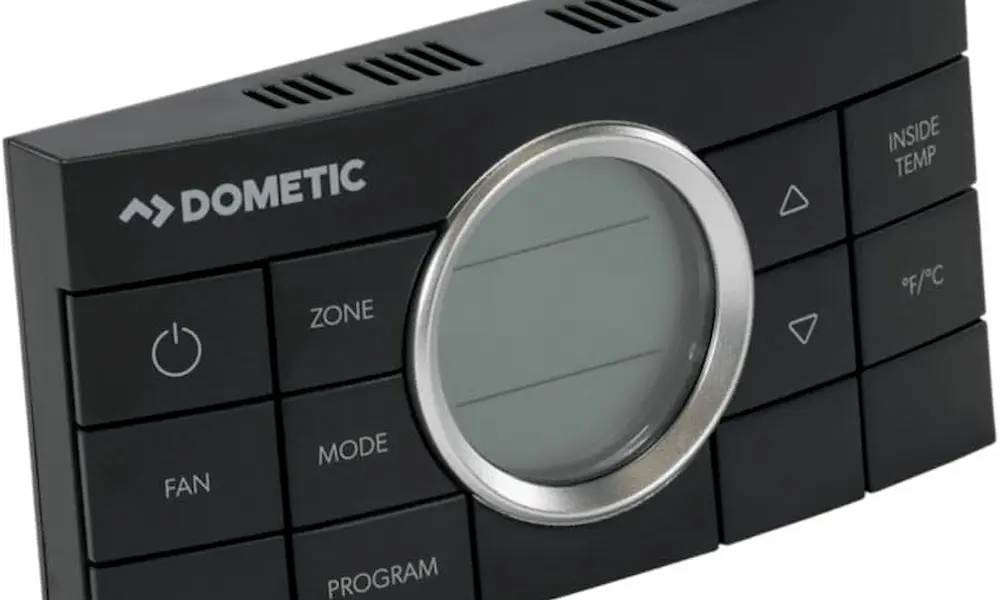
Reset and Test Your Thermostat
Thermostat problems can mimic compressor failures. Try a simple reset first:
- Turn off the AC
- Flip the circuit breaker off for 1 minute
- Restore power
This clears temporary glitches in the control system that might be preventing proper cooling.
Also verify:
- 12VDC power at thermostat connections
- Proper thermostat calibration (should trigger cooling when set below ambient temperature)
- Fresh batteries if it’s a digital thermostat
Check Freeze Sensor Operation
Many Coleman Mach units include freeze sensors that shut down the compressor to prevent evaporator icing. A malfunctioning sensor can cause your unit to cycle off prematurely or not cool at all.
To test your freeze sensor:
- Locate the two wires going to “FREEZE” terminals on the control board
- Disconnect sensor wires and short the terminals together with needle-nose pliers
- If the unit starts cooling with the sensor bypassed, replace the freeze sensor
- Ensure the sensor is properly positioned in the evaporator coil fins
Troubleshoot Circuit Breaker Tripping
Immediate Tripping Causes
If your breaker trips immediately when engaging cooling mode, suspect:
- Hard start capacitor failure with burned connections
- Compressor electrical fault (shorted windings or seized compressor)
- Control board short circuit
- Weak breaker (breakers lose capacity after repeated tripping)
Delayed Tripping Analysis
Breakers that trip after 3-5 minutes of operation typically indicate:
- Dirty condenser coils causing the unit to overheat
- Low voltage conditions (causing higher amperage)
- Refrigerant system problems
- Compressor starting difficulties
Temperature Differential Testing
Coleman specifies precise temperature differential requirements for proper operation:
- Air Conditioning Mode: 16-22°F differential
- Low Heat Mode: 16°F differential
- High Heat Mode: 34°F differential
To test this yourself, use digital thermometers at both the return air grille (intake) and supply air vents. Test after the unit runs for at least 30 minutes to ensure stable readings.
According to Coleman’s technical documentation, differentials greater than 22°F may indicate restricted airflow even though the air feels cold.
Identify When Professional Service Is Needed
Refrigerant System Issues
Coleman Mach units are sealed systems that should never need refrigerant unless there’s a leak. Signs requiring professional attention include:
- Low compressor amperage with poor cooling
- Black oily residue around fittings (indicates refrigerant leak)
- Frost buildup on refrigerant lines
- Compressor cycling on thermal overload
EPA regulations require certified technicians for all refrigerant handling, including:
- Adding or recovering refrigerant
- Repairing refrigerant leaks
- System evacuation and charging after repairs
Preventive Maintenance Schedule
Implement these maintenance practices to prevent cooling failures:
Monthly Tasks
- Clean or inspect air filter during heavy use seasons
- Check for unusual noises or vibrations
- Verify proper temperature differential
Seasonal Tasks
- Clean evaporator and condenser coils thoroughly
- Check roof seals around AC unit to prevent water intrusion
- Test capacitors and inspect electrical connections
- Check fan operation and listen for bearing noise
Power Protection
Install surge protection and voltage monitoring equipment to protect your Coleman Mach unit from campground power issues. Low voltage and power surges are leading causes of compressor and control board failures in RV applications.
Final Diagnostic Tips
The most revealing test for your Coleman Mach AC remains the compressor amperage test. Normal amperage with poor cooling points to airflow restrictions you can fix yourself. Abnormal amperage readings suggest refrigerant or compressor issues requiring professional service.
By following this systematic approach to troubleshooting, you can identify the source of your Coleman Mach AC’s cooling problems and decide whether it’s a DIY fix or time to call in the professionals.
Remember to start with the basics – power, airflow, and controls – before assuming you have a major system failure. In most cases, your cooling problems have simple solutions that you can handle with basic tools and a methodical approach.