Sneezing every time you turn on the AC? Getting weak airflow even on full blast? Your Honda cabin air filter might be begging for a swap. This guide covers everything — from reading your dashboard warning codes to nailing the tricky glove box reassembly. Stick around, because the orientation trick alone could save you from a very frustrating mistake.
What Does a Honda Cabin Air Filter Actually Do?
Your cabin air filter sits between the outside air intake and your blower motor. Every bit of air that enters your Honda’s ventilation system — fresh or recirculated — passes through it first.
It catches:
- Pollen, mold spores, and dust
- Leaves, insects, and road debris
- Diesel soot and industrial smog (with carbon filters)
But here’s what most people miss: a clogged filter doesn’t just affect your breathing. It forces your blower motor to work harder against increased airflow resistance, which can overheat the motor’s wiring and eventually kill it. In humid climates, restricted airflow also causes your evaporator core to ice over — leading to zero cooling and potential compressor damage.
Reading Your Honda Maintenance Minder Codes
Honda ditched fixed-mileage sticker reminders starting with the 2006 Civic. Instead, the Maintenance Minder system tracks real driving data — trip length, engine load, temperature, speed — to predict when your car actually needs service.
Here’s how the oil life countdown communicates with you:
| Oil Life % | Dashboard Message | What It Means |
|---|---|---|
| 100% – 40% | Nothing displayed | All systems within normal range |
| 15% | Service Due Soon (wrench icon) | Time to book an appointment |
| 5% | Service Due Now | Don’t delay — address immediately |
| 0% / Negative | Service Past Due | Overdue; mileage since expiry shown |
What the Letter Codes Mean
When the wrench lights up, you’ll see a letter followed by numbers. The letter tells you the core service needed. The numbers are sub-tasks to bundle into that visit.
| Code | Service Required |
|---|---|
| A | Engine oil change only |
| B | Oil + filter change + full vehicle inspection |
| 0 (newer models, 2018+) | Oil + filter change (replaces B on newer architectures) |
The Sub-Codes That Trigger Cabin Air Filter Replacement
The number 2 is the one you’re watching for. When Sub-code 2 appears, your Honda is asking for:
- Engine air filter replacement
- Cabin air filter replacement
- Drive belt inspection
This typically triggers around 30,000 miles. But Honda notes that dusty, urban, or agricultural driving environments should push this to every 15,000 miles regardless of what the dashboard shows.
So if you see B12 on your dashboard, your Honda wants an oil and filter change with full inspection (B), a tire rotation (1), and both air filters replaced (2).
Choosing the Right Filter: Particulate, Carbon, or HEPA?
Not all cabin air filters are equal. Here’s a straight breakdown:
Standard Particulate Filters
These use electrostatically charged synthetic fibers in a pleated design. The pleating increases surface area so more air passes through at lower velocity, improving capture while keeping resistance low. Great for general use.
Activated Carbon Filters
A carbon layer traps gases, exhaust fumes, and odors through adsorption. If you commute through tunnels, sit in dense city traffic, or drive near agricultural areas, this upgrade is worth it. The airflow impact is minimal.
HEPA-Style Filters
These capture ultra-fine particles from wildfire smoke and diesel exhaust. The tradeoff? Significantly reduced airflow due to denser media. Your AC and heating output will drop noticeably. Only choose this if respiratory protection is the top priority.
Washable/Reusable Filters
These exist, but require specific washing solvents and complete drying before reinstallation. Moisture entering the blower cavity is a real risk if you rush the process.
The Orientation Trick That Trips Everyone Up
This is the most common installation mistake — and it happens to experienced DIYers too.
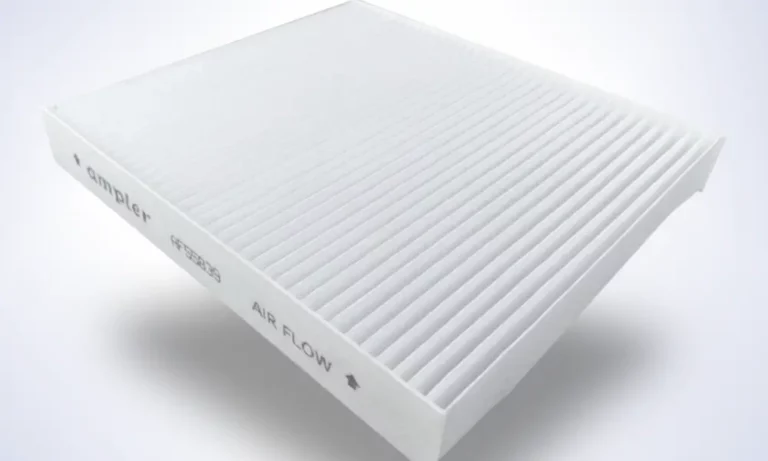
Here’s the confusion: the plastic housing cover has an arrow pointing UP. The filter itself has an arrow too. People assume both should point the same direction. They don’t.
How Honda’s airflow actually works:
Air enters from the cowl at the base of your windshield, travels downward through the filter, then gets pulled into the blower motor impeller sitting directly beneath. The airflow direction is always top to bottom.
So:
- Housing cover arrow pointing UP → This is a structural guide for assembly alignment only. It tells you which way the plastic cover installs. It has nothing to do with airflow.
- Filter media arrow → This shows airflow direction. It must point DOWN toward the floor.
Want to verify? Pull the old filter out and look at it. Every leaf, seed, and clump of dust sits on the top surface — physical proof that air enters from above. You can also hold a strip of paper near the open housing with the blower on low — it’ll get sucked straight down.
Step-by-Step Honda Cabin Air Filter Replacement
Honda uses a swing-down glove box design across almost every model — Civic, Accord, CR-V, HR-V, Odyssey. The steps below apply broadly, with minor variations.
Before you start: Park on level ground, power down the ignition completely, and empty the glove box entirely.
Step 1 – Disconnect the Damper Arm
Open the glove box and find the damper arm on the right exterior wall. This small arm slows the door from dropping. Push it gently forward or slightly downward to unclip it from its peg. Don’t yank it — the plastic clip breaks easily, and replacing a damaged damper means pulling apart the lower dashboard.
Step 2 – Release the Retaining Stops
Squeeze both sides of the glove box inward simultaneously. This flexes the housing enough for the retaining stops to clear the dashboard frame. Once clear, lower the glove box gently toward the floor. Support it — don’t let it drop freely.
Step 3 – Remove the Filter Cover
Behind the open glove box, you’ll see a rectangular black plastic cover. Pinch the tabs on the left and right edges inward, then pull the cover straight back toward you. Set it aside.
Step 4 – Slide Out the Old Filter
Grab the edge of the filter and slide it straight out — like pulling a drawer. Keep it level. The top surface is loaded with debris, and tilting it will dump everything into the blower motor cavity below. Place it directly into a trash bag. Shine a flashlight into the housing and remove any fallen debris before proceeding.
Step 5 – Insert the New Filter
Check the dimensions first — an undersized filter creates gaps, and pressurized air will bypass the media entirely, sending unfiltered air straight to the evaporator core. With the airflow arrow pointing down, slide the filter in smoothly. It should seat flush with no gaps at the edges.
Step 6 – Reassemble Everything
- Reattach the plastic cover. The “UP” arrow faces the roof. Both tabs should click firmly into place.
- Lift the glove box back up, squeeze the sides inward to clear the frame, then release so the stops lock it in position.
- Reattach the damper arm to its peg — gentle pressure only.
- Open and close the glove box a few times to confirm smooth operation.
Why Won’t My Glove Box Close After Changing the Filter?
This happens constantly. Here are the two culprits:
Problem 1 – Overextended Damper Arm
If you stretched the damper arm too far when reconnecting it, the internal piston can lock in the fully extended position. The arm becomes a rigid strut that physically blocks the door from closing.
Fix: Unhook the arm again. Push it firmly straight back into the dashboard to reset the piston. Reconnect gently.
Problem 2 – Lower Hinge Dislocation
The glove box pivots on C-shaped plastic hooks that sit on crossbars in the lower dashboard frame. Leaning on the open door or dropping it too hard can pop these hooks off their crossbars. When that happens, the latch at the top won’t align with the dashboard striker.
Fix: Look under the bottom edge of the glove box with a flashlight. Align the C-hooks over the crossbars and press firmly until you hear a click. Test the door.
Bonus Problem – Broken Retaining Tab
Temperature swings near the heater core and evaporator make the plastic tabs on the filter cover brittle over time. If a tab snaps, air leaks out of the housing at high fan speeds, causing a whistling noise and weak vent output. Tape won’t fix this — you need a replacement cover plate.
DIY Cost vs. Dealership Pricing
Dealerships and quick-lube shops frequently mark up cabin air filter replacements significantly. The filter itself costs between $10 and $30. The labor? That’s where margins grow.
Under the Magnuson-Moss Warranty Act, you can legally replace your own cabin air filter without voiding Honda’s warranty. The manufacturer can only void warranty coverage if they can prove your installation directly caused a specific failure. A correctly installed filter? Zero risk.
Premium aftermarket filters with activated carbon layers often match or beat OEM performance. Avoid bargain-tier generics — weak frames buckle under blower pressure and collapse inside the housing.
Don’t Skip This Reset Step
After any maintenance that triggers a Maintenance Minder code, you must manually reset the system. If you skip it, the dashboard keeps showing overdue warnings and the algorithm can’t predict your next service window accurately.
For older key-ignition models:
Turn the key to “On” without starting the engine. Press the Select/Reset stalk until oil life shows. Hold the stalk for 10 seconds until it blinks, release, then hold again until it resets to 100%.
For push-button start models:
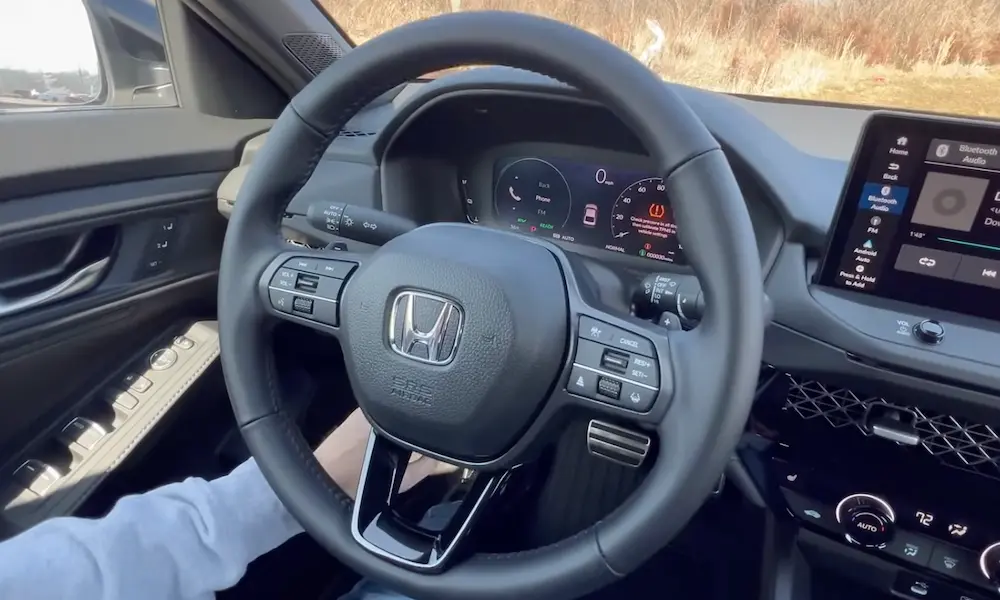
Enter “On” power mode without starting. Use the steering wheel directional pad to navigate to the maintenance screen. Select the item you completed and hold the confirm button until the system resets.
FAQs
Can a dirty cabin air filter mess with my automatic climate control?
Yes. Honda’s auto climate control uses thermistors behind dashboard grilles to sample cabin air. A clogged filter restricts circulation, so stale air sits around the sensor. The system misreads cabin temperature and blows air that’s too hot or too cold, constantly hunting for balance it can’t find.
Can a restricted cabin air filter cause my AC compressor to short-cycle?
Absolutely. Low airflow causes the evaporator core temperature to drop dangerously. The evaporator thermistor detects the freeze risk and disengages the compressor clutch. This causes rapid on/off cycling, poor cooling, and accelerated wear on the compressor clutch.
Does a clogged cabin filter affect my windshield defroster?
In winter, yes — badly. The defroster needs high-volume dry air hitting the glass. A blocked filter cuts that volume significantly. If the filter is also holding moisture from wet debris, it pushes humid air toward the glass instead of dry air, making defrost dramatically slower and creating a genuine visibility hazard.
Will my Honda show a trouble code for a clogged cabin air filter?
No. Honda’s powertrain and HVAC control modules don’t have dedicated sensors measuring filter condition. The Maintenance Minder predicts wear algorithmically, not physically. Your car won’t generate a specific diagnostic trouble code for a dirty filter. However, if the clogged filter kills the blower motor, you’ll see an electrical fault code pointing to the motor circuit — though the filter won’t be named as the cause.