
Struggling with your Linear garage door opener? Whether you’re setting up a new remote, resetting your keypad, or adjusting the travel limits, programming your Linear opener doesn’t have to be complicated. I’ll walk you through everything you need to know to get your garage door working perfectly.
Understanding Your Linear Garage Door System
Linear garage door openers use rolling-code technology that changes your access code each time you use your remote. This security feature prevents code-grabbing and unauthorized access to your home.
The heart of programming any Linear opener is the Learn button (sometimes labeled “Program” or “Sync”). You’ll find this button:
- On ceiling-mounted units: Usually on the motor housing near the antenna wire
- On wall control panels: Often integrated into the wall station
Before you start programming, make sure you have fresh batteries in your remotes and a clear path to your opener to test functionality.
Programming Linear Garage Door Remotes
How to Program a Single-Door Remote
- Locate the Learn button on your garage door motor unit
- Press the Learn button once (hold for 1-2 seconds)
- The indicator light will illuminate, showing the unit is in learning mode
- You now have about 30 seconds to complete the next step
- Press the remote button you want to program and hold for 3-5 seconds
- The motor unit’s light will flash or you’ll hear a confirmation beep
- Test the remote by pressing the button again to ensure it operates the door
If your remote isn’t working after programming, check that the battery voltage is above 2.8V or try moving away from potential interference sources like Wi-Fi routers.
Programming Multiple Garage Doors
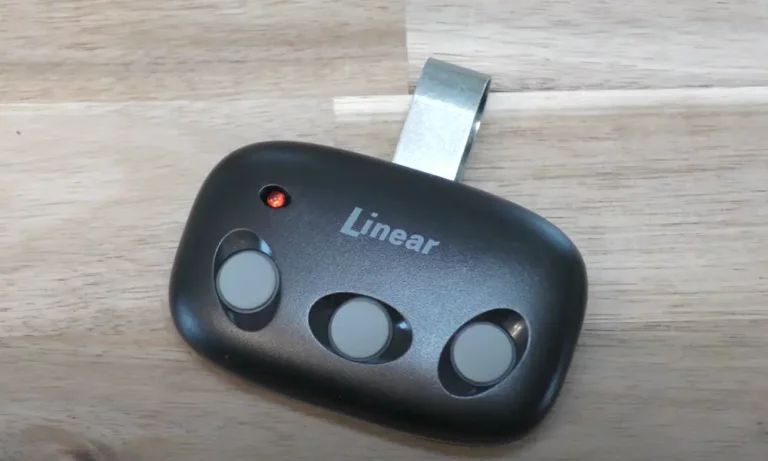
If you have multiple Linear openers and a multi-button remote like the MCT-3:
- Choose which button will control which door
- Program one door at a time following the single-door process
- For each door, press the Learn button on that specific opener, then press the appropriate remote button
- Test each button to confirm it controls the correct door
Don’t try to program multiple doors simultaneously as this causes frequency conflicts and unsuccessful programming.
Keypad Programming for Linear Openers
Linear wireless keypads like the MDTK model allow keyless entry with a customizable PIN:
- Press the Learn button on your garage door opener
- Enter your desired PIN code on the keypad (1-6 digits)
- Press the Start/Stop button on the keypad
- The opener light will flash twice to confirm successful programming
- Test your new PIN by entering it and checking if the door operates
For homes with external receivers (MDR/MDRG models), press the receiver’s Program button within 5 seconds after entering your code.
Adjusting Door Travel Limits
Incorrect travel limits can cause your door to reverse before closing completely or hit the floor too hard. Here’s how to adjust them:
Setting the Open Limit
- Open your garage door to the desired maximum height
- Press and hold both the UP and LEARN buttons simultaneously for 3 seconds
- The indicator light will flash, confirming you’re in adjustment mode
- Use the UP/DOWN buttons to fine-tune the position
- Once set, press LEARN to save the position
Setting the Close Limit
- Close the door completely
- Press and hold both the DOWN and LEARN buttons for 3 seconds
- The indicator light will flash
- Adjust using the UP/DOWN buttons until the door closes flush with the floor
- Press LEARN to save the setting
Adjusting Force Settings
Force settings determine how much resistance will trigger the auto-reverse safety feature. If your door reverses unexpectedly or won’t close completely, try adjusting the force:
Automatic Force Calibration
- Press and hold the LEARN button until the light pulses (about 5 seconds)
- Release the button
- Operate the door through a complete open/close cycle
- The opener automatically adjusts to the optimal force setting
Manual Force Adjustment
Some older Linear models have force adjustment screws:
- Locate the force adjustment screws on the opener
- Turn in quarter-turn increments (clockwise increases force)
- Test after each adjustment
- Remember that each quarter turn changes resistance by about 2.5 pounds
Never set force so high that it defeats the safety reverse feature.
Erasing Programmed Devices
Removing a Single Remote
- Press the LEARN button once to enter programming mode
- Press the remote button you want to delete twice
- The indicator light will flash, confirming deletion
Factory Reset – Clearing All Devices
If you want to start fresh or are moving:
- Press and hold the LEARN button for 10+ seconds
- The indicator light will flash multiple times
- Release the button
- All programmed devices are now cleared
Troubleshooting Common Programming Issues
| Problem | Possible Cause | Solution |
|---|---|---|
| Remote won’t program | Low battery | Replace with fresh CR2032 battery |
| Door reverses while closing | Incorrect force setting | Adjust force settings |
| Limited remote range | Signal interference | Move away from Wi-Fi routers/electronics |
| Keypad works intermittently | Poor connection | Clean keypad contacts, check battery |
| Door won’t close completely | Incorrect close limit | Readjust close limit setting |
Maintaining Your Linear Opener System
For optimal performance:
- Replace remote batteries every 6-12 months
- Test safety sensors monthly by placing an object in the door path during closing
- Clean the safety beam lenses with isopropyl alcohol quarterly
- Apply silicone spray to door rollers and hinges every 3-4 months
- Avoid using petroleum-based lubricants that can damage nylon components
Compatible Universal Remotes
If you’ve lost your original remote, universal options like the LiftMaster 893MAX can work with Linear openers, but verify frequency compatibility first.
Safety Features and Compliance
Linear garage door openers comply with UL 325 safety standards, which require:
- Auto-reverse if the door contacts an object
- Safety sensors that prevent closing if the beam is broken
- Manual release in case of power failure
Always ensure these safety features are operational, especially if children use the garage.
Linear Smart Control Options
Many newer Linear models can connect to home automation systems. If you’re interested in smartphone control:
- Check if your model supports add-on connectivity modules
- Install the appropriate module according to manufacturer instructions
- Download the associated app
- Follow in-app instructions to connect to your home network
Remember that these features may require additional hardware purchases and generally don’t affect the basic programming procedures above.
By following these detailed steps, you’ll have your Linear garage door opener programmed correctly and working reliably. With proper setup and maintenance, your Linear opener should provide years of trouble-free operation.


