Stuck with dead outlets in your RV? Nothing ruins a camping trip faster than having no power for your devices, appliances, or lights. But here’s the good news – most RV outlet problems have simple solutions you can handle yourself. This guide walks you through exactly why your RV outlets stopped working and how to fix them, saving you time and money on unnecessary repair calls.
How RV Electrical Systems Work
Your RV uses two different electrical systems that work together:
12-volt DC system powers your:
- Interior and exterior lights
- Water pump
- Furnace controls
- Vent fans
- Slide-outs
This system runs directly from your RV’s house batteries, just like your car’s electrical system.
120-volt AC system powers your:
- Standard household outlets
- Microwave
- Air conditioner
- Large appliances
This system needs shore power, a generator, or an inverter to work.
Your RV’s converter transforms the 120V AC power from shore power into 12V DC to charge batteries and run DC appliances. An inverter does the opposite – it converts 12V DC battery power into 120V AC power so you can run outlets when not hooked up to shore power.
Common Reasons Your RV Outlets Aren’t Working
Here’s what’s probably causing your outlet problems:
| Cause | Frequency | Difficulty to Fix |
|---|---|---|
| Tripped GFCI outlet | 35% | Easy |
| Circuit breaker trips | 25% | Easy |
| Shore power connection issues | 15% | Easy |
| Dead/low batteries (when using inverter) | 10% | Easy-Medium |
| Overloaded circuits | 5% | Easy |
| Faulty converter/inverter | 4% | Medium-Hard |
| Loose connections/wiring | 3% | Medium |
| Individual outlet failure | 3% | Medium |
Step-by-Step Troubleshooting Process
1. Check Your Power Source
Start with the basics – is your RV actually getting power?
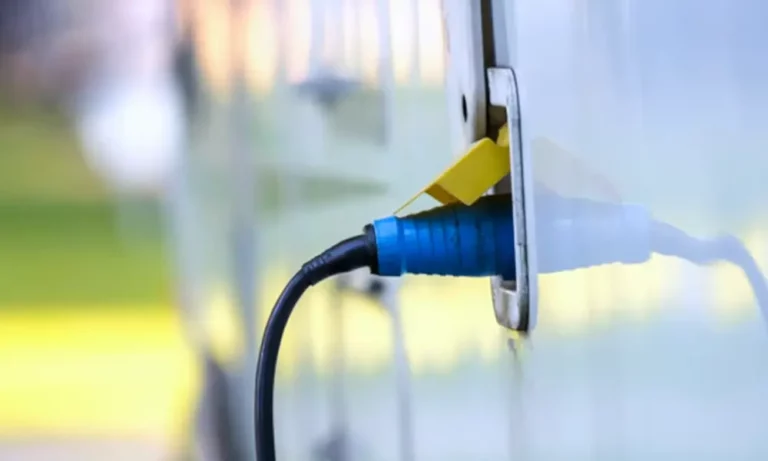
If using shore power:
- Make sure your power cord is firmly plugged into both the RV and the pedestal
- Check that the pedestal breaker is switched to “ON”
- Inspect your shore power cord for damage (cuts, frays, melted areas)
If using a generator:
- Verify it’s running properly
- Check fuel and oil levels
If using battery power with an inverter:
- Test battery voltage (should be 12.6V or higher when fully charged)
- Look for corrosion on battery terminals
- Ensure your inverter is turned on
2. Find and Reset Tripped GFCI Outlets
GFCI (Ground Fault Circuit Interrupter) outlets are the #1 cause of RV outlet problems. These safety outlets automatically shut off when they detect electrical imbalances that could cause shocks.
Here’s what to do:
- Look for GFCI outlets in bathrooms, kitchens, and exterior areas
- Check if the “Reset” button is popped out (indicating it’s tripped)
- Press the “Test” button first, then press “Reset”
- Test your outlets again
Remember: One tripped GFCI can shut off power to multiple regular outlets! Check all GFCI outlets, including ones that might be hidden behind furniture or inside cabinets.
3. Check Your Circuit Breakers
Circuit breakers protect your electrical system from overloads by cutting power when too much current flows through.
Here’s what to do:
- Locate your RV’s main electrical panel (usually near the entry door or in a bedroom)
- Look for breakers in the middle or “OFF” position
- To reset a tripped breaker, flip it fully “OFF” first, then back to “ON”
- Check all breakers even if they look normal – sometimes they can trip without visibly moving all the way
4. Test Individual Outlets
If basic checks don’t solve the problem:
- Use a three-prong outlet tester ($5-10 at hardware stores) to check each outlet
- Look for loose outlets that wiggle in the wall
- Check if only certain outlets are affected (might indicate a specific circuit issue)
5. Advanced Testing with a Multimeter
For more detailed troubleshooting, use a digital multimeter to:
- Test shore power voltage (should read 110-125V)
- Check voltage at problem outlets
- Test converter output (should be around 13.6-14.4V DC)
Common Outlet Problems and Their Fixes
No Power to Any Outlets
When none of your outlets work:
- Shore power connection issue
- Check that your RV is properly plugged in
- Look for tripped breakers at the campground pedestal
- Inspect your power cord for damage
- Main breaker tripped
- Locate your RV’s main breaker (usually 30 or 50 amp)
- Reset if tripped
- If it immediately trips again, you may have a serious electrical problem – call a pro
- Converter failure
- If your 12V systems work but 120V doesn’t, your converter might be failing
- Check converter fuses first
- Look for indicator lights on the converter
Some Outlets Work, Others Don’t
- Tripped GFCI outlet
- Most common cause – find and reset GFCI outlets
- Remember one GFCI can control multiple outlets
- Tripped circuit breaker
- Reset specific breaker controlling the dead outlets
- Reduce electrical load if it keeps tripping
- Loose connections
- Check for loose or damaged outlets
- Look for burnt marks around outlets
Outlets Only Work When Plugged into Shore Power
- Inverter issues
- Make sure your inverter is turned on
- Check inverter fuses and connections
- Test battery voltage (low batteries = no inverter power)
- Inverter capacity limitations
- Many RVs only have certain outlets connected to the inverter
- Check your RV manual to identify which outlets work on battery power
Preventing Future Outlet Problems
Follow these simple steps to avoid future electrical headaches:
- Use surge protectors when connecting to shore power to protect against voltage spikes
- Monitor your electrical usage
- Know which appliances draw the most power
- Avoid running multiple high-draw devices simultaneously
- Test GFCI outlets monthly by pressing the test and reset buttons
- Keep connections clean and dry
- Inspect shore power connections regularly
- Use dielectric grease on connections in humid environments
- Avoid extension cord “daisy chains” that can cause overloaded circuits
| Appliance | Typical Power Draw |
|---|---|
| Air conditioner | 1,500-2,000 watts |
| Microwave | 1,000-1,500 watts |
| Electric coffee maker | 800-1,200 watts |
| Toaster | 800-1,500 watts |
| Hairdryer | 1,000-1,800 watts |
| Electric space heater | 750-1,500 watts |
Essential Tools for Electrical Troubleshooting
Keep these tools handy for quick electrical fixes:
- Three-prong outlet tester – quickly identifies outlet wiring issues
- Non-contact voltage tester – safely checks if wires are live
- Digital multimeter – measures voltage, current, and resistance
- Flashlight – because electrical panels are often in dark corners
- Screwdrivers – for accessing outlets and panels
Safety First
Electricity can be dangerous. Always:
- Work with dry hands
- Wear rubber-soled shoes
- Turn off power before working on electrical components
- Use proper tools designed for electrical work
Stop troubleshooting and call a pro if you:
- Smell burning odors
- See sparks or smoke
- Notice outlets or breakers that feel warm
- Hear buzzing sounds from electrical panels
- Have experienced water damage to electrical components
Beyond the Basics: Understanding Power Flow in Your RV
Power flows through your RV in this sequence:
- Power sources (shore power, generator, solar, alternator)
- Transfer switch (automatically selects between shore power and generator)
- Distribution panel with circuit breakers
- Converter/charger (powers 12V systems and charges batteries)
- House batteries (store power for 12V systems)
- Inverter (optional – converts battery power to AC for outlets)
- Outlets and appliances
Understanding this flow helps you pinpoint where problems might be occurring in your system.
By following this troubleshooting guide, you’ll solve most common RV outlet problems quickly and get back to enjoying your adventure instead of dealing with electrical frustrations. Remember that systematic troubleshooting – starting with the most likely causes – is your best approach to electrical problem-solving.