Dealing with a sluggish Ram diesel, a dead exhaust brake, or a P003A code staring you down? There’s a good chance your 6.7 Cummins turbo actuator is the culprit. This guide walks you through everything — diagnosis, removal, installation, and the calibration step most people miss. Stick around to the end, because skipping one part of this process will kill your brand-new actuator fast.
What Does the Turbo Actuator Actually Do?
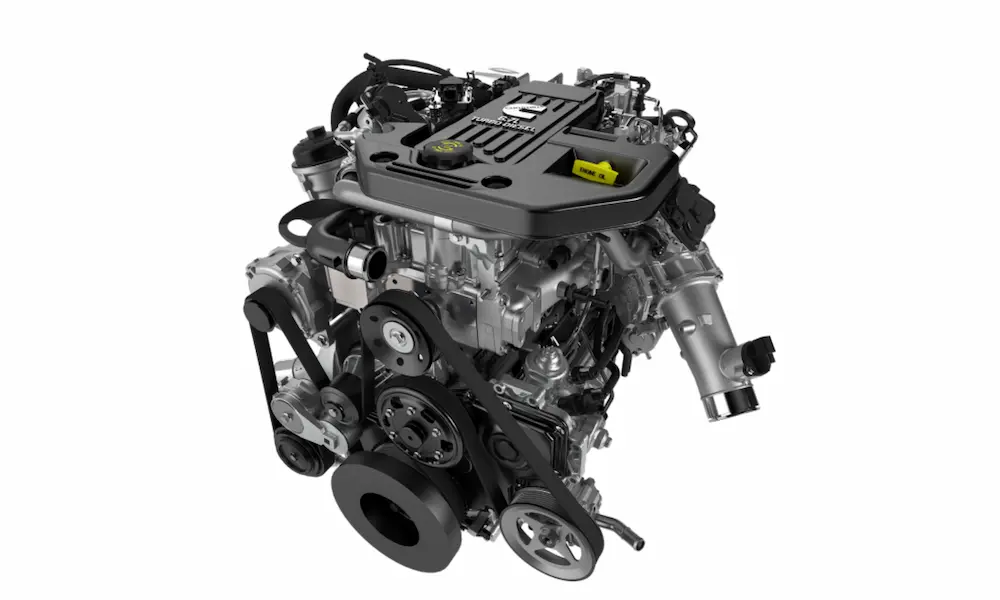
The 6.7 Cummins uses a Variable Geometry Turbocharger (VGT). Instead of a fixed wastegate, it has movable internal vanes that change shape depending on engine speed.
At low RPM, the vanes close tight to speed up exhaust gas flow and spool the turbo quickly. At high RPM, they open wide for maximum airflow and power. When you hit the exhaust brake, they slam shut to use the engine as a giant air compressor to slow the truck down.
The turbo actuator is the electric motor bolted to the outside of the turbo housing. It gets commands from the Engine Control Module (ECM) over a CAN data link and physically moves the vane mechanism. It’s also liquid-cooled, because it sits next to cast iron that reaches over 1,000°F.
HE351VE vs. HE300VG: Know Which Turbo You Have
Before you buy anything, identify your turbocharger generation. These two units are not interchangeable.
| Model Years | Turbocharger | Notes |
|---|---|---|
| 2007.5 – 2012 | HE351VE | Original VGT unit |
| 2013 – 2018 | HE300VG | Revised design, different calibration mapping |
The actuators for each turbo have different internal circuit boards, different gear stroke limits, and different calibration maps. Bolting an HE351VE actuator onto an HE300VG housing causes immediate calibration failure and potential mechanical binding. Match the part to your exact model year — always.
Why Turbo Actuators Fail on the 6.7 Cummins
Actuator failure is rarely sudden. It builds up over time through three main failure paths.
Carbon and Soot Buildup
This is the #1 killer. The EGR system pumps soot-laden exhaust back through the engine, and the Diesel Particulate Filter creates backpressure that pushes carbon into the turbo’s sliding nozzle ring. Over time, that soot bakes into a hard, restrictive layer.
The actuator motor has to pull more and more current to push through the resistance. Eventually, it overheats, melts solder joints on the circuit board, or strips the small plastic reduction gears inside the housing. Worse, a sticking turbo destroys the actuator, and a weak actuator lets more soot build up — a nasty loop.
Thermal Damage and Coolant Issues
The actuator is liquid-cooled for a reason. If your coolant is old or aerated, heat transfer drops. Air pockets trapped near the turbo cause localized overheating that warps the actuator’s aluminum housing and fries its circuit board. Degraded coolant also causes cavitation — microscopic bubbles that physically pit the internal cooling jackets over time.
Moisture Intrusion and Connector Corrosion
Here’s a sneaky one. On Ram trucks, the A/C lines run directly above the turbo actuator’s wiring harness connector. Condensation drips from those cold lines, wicks past the connector’s weather seals, and corrodes the terminal pins. The ECM loses its data link signal and throws a U010C code instantly.
Cummins acknowledged this so seriously that they issued Technical Service Bulletin 18-010-06 specifically to address it.
Symptoms of a Failing 6.7 Cummins Turbo Actuator
Watch for these signs:
- Exhaust brake stops working — biggest red flag
- Severe loss of power and sluggish acceleration
- Boost pressure reads low or climbs slowly on the gauge
- Poor fuel economy
- Excessive black or gray smoke from the exhaust
- Check engine light with turbo-related fault codes
Diagnostic Trouble Codes to Look For
Pull your codes before touching anything. Here’s what each one means:
| Code | Definition | What It Points To |
|---|---|---|
| P003A | Boost Control Position Exceeded Learning Limit | Extreme soot binding or internal gear failure |
| P00AF | Boost Control Module Performance | Overheating motor or severe mechanical binding |
| U010C | Lost Communication with Turbocharger Control Module | Failed circuit board, blown fuse, or corroded connector pins |
| P226C | Turbocharger Boost Control Slow Response | Sticky nozzle ring inside the turbo |
| P0299 | Turbocharger Underboost | Vanes stuck open, often paired with actuator codes |
How to Test the Actuator Before Replacing It
Don’t replace the actuator before ruling out wiring harness problems. That’s an expensive mistake.
Step 1 — Check battery voltage. Your dual batteries should read at least 12.6V at rest. Low voltage causes false communication errors.
Step 2 — Test harness power supply. Unplug the actuator connector. Probe the power and ground pins on the harness side. You should read within 1V of battery voltage. No voltage means a fuse or wiring fault — not an actuator fault.
Step 3 — Measure actuator resistance. With the ignition off, probe the two CAN data link pins directly on the actuator. A healthy actuator reads between 108 and 132 ohms. An “OL” (open circuit) reading confirms the internal circuit board is dead.
Step 4 — Check mechanical freedom. After unbolting the actuator, manually sweep the sector gear on the turbocharger by hand. It should glide smoothly from stop to stop with light finger pressure. If it’s stiff, gritty, or won’t move without a tool, you have hard carbon buildup — and you must clean the turbo before installing a new actuator, or you’ll destroy the replacement fast.
Cleaning a Soot-Clogged Turbo Without Removing It
If the sector gear is sticky but not completely seized, you can often clean the turbo in place. Remove the exhaust downpipe, spray a heavy-duty carbon solvent (foaming oven cleaner or a dedicated turbo cleaner works well) directly into the turbine housing, and manually cycle the sector gear back and forth for 10–15 minutes. Keep cycling until the gear hits both end stops freely with zero hesitation. Burn off residual solvent by running the engine after reinstallation.
What You’ll Need Before Starting
- Drain the coolant first — the actuator is liquid-cooled, and pulling it without draining makes a scalding mess
- Disconnect both battery negative cables — this prevents ECM sweep commands while your hands are near the gear
- Let the engine cool completely — exhaust components hold flesh-burning heat for hours
- 5mm Allen socket hex bits, universal joints, and a torque wrench (you’ll need 97 in-lbs)
- Penetrating fluid applied hours before you start
The Removal Process (and That Nightmare Bolt)
The actuator bolts to the turbo housing with four 5mm socket-head cap screws. Three of them are manageable. The lower rear bolt is famous for being a nightmare.
That bolt hides directly behind the passenger-side shock tower with almost zero tool clearance. Years of heat and road salt weld it to the cast iron. Here’s how experienced technicians handle it:
- Drill an access hole through the shock tower sheet metal. A small hole (⅛” to 1″) gives a straight line of sight to the bolt head. The surrounding metal is thick enough that this doesn’t compromise structural integrity.
- Apply heat. An induction heater or focused torch breaks the rust bond. Combine this with penetrating fluid applied hours earlier.
- If the head strips — and it often does — remove the three accessible bolts, then use a right-angle die grinder with a cutoff wheel to sever the bolt head. Pull the actuator off the remaining stud, then grab the stud with vice grips and unthread it. It usually spins out easily once the clamping tension is gone.
Before removing the actuator, disconnect the red-tabbed electrical connector (use a right-angle pick — the plastic tab is very fragile), then carefully unbolt and move the two metal coolant lines away from the actuator ports.
Installing the New Actuator Correctly
Installation has a specific sequence. Mess it up and you’ll destroy a brand-new unit.
- Rotate the sector gear clockwise until its edge aligns with the engraved hash mark on the turbo bearing housing. Don’t move it from there.
- Apply a microscopic, nearly transparent film of the included high-temp anti-seize grease to the gear teeth — don’t glob it on.
- Use alignment guide pins threaded into two opposing bolt holes to keep the actuator perfectly parallel as you slide it down. It must seat fully flush by hand pressure alone.
- Install the four bolts in a crisscross star pattern and torque to exactly 97 inch-pounds.
- Reconnect the coolant lines and the electrical connector.
The Calibration Step You Cannot Skip
A new 6.7 Cummins turbo actuator doesn’t know where the physical end stops of your specific turbo are. Every turbocharger has slightly different limits due to manufacturing tolerances and wear. Skip calibration, and the actuator either overshoots (strips its internal gears) or undershoots (causes erratic boost and warning lights).
You have three ways to calibrate:
Option 1 — Dealer or Professional Scanner: Cummins INSITE, the Holset E-Tool, or commercial scan tools send proprietary commands through the diagnostic port. The actuator sweeps the gear, finds both stops, and stores the coordinates in flash memory.
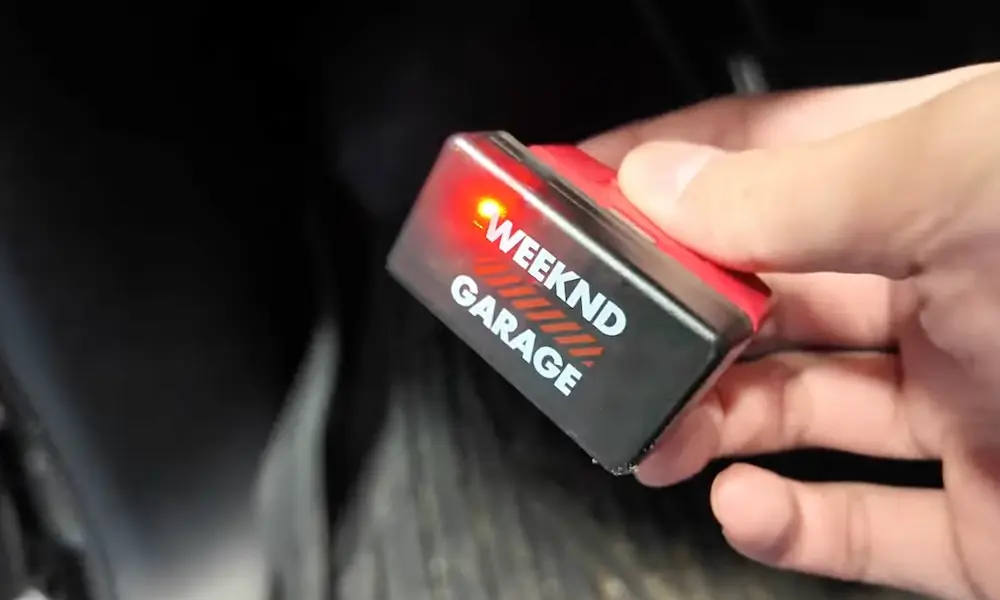
Option 2 — Aftermarket Scan Tool: Tools like AlfaOBD or FCAR use a two-step process. First, plug the actuator in but leave it unbolted. Run an “Installation and Calibration” command so the motor pre-aligns itself. Then bolt it to the turbo and run a second “Calibrate Actuator” command to learn the final end limits.
Option 3 — Self-Calibrating Billet Actuator: Units from City Diesel and WCFab have onboard microprocessors that handle everything automatically. Bolt it on, turn the key to ON (don’t start the engine), and the actuator runs its own sweep sequence. No scanner needed at all.
Choosing the Right Replacement Actuator
| Actuator Type | Reliability | Cost Consideration |
|---|---|---|
| New OEM (Holset) | Same design that failed — susceptible to repeat failure | High cost, requires calibration tool |
| Cheap Aftermarket Copies | Inferior components, very short lifespan | Lowest cost, highest long-term risk |
| Remanufactured (e.g., Circuit Board Medics) | Upgraded internals fix original design flaws | Moderate cost, often includes rental calibration tool |
| Billet Upgrade (City Diesel, WCFab) | Strongest motor, best heat dissipation, self-calibrating | Highest parts cost, eliminates calibration labor |
Most experienced diesel techs skip the new OEM unit entirely. It’s the same architecture that failed. A quality remanufactured unit or a billet upgrade is a much better investment, especially for trucks doing heavy towing.
Refilling and Bleeding the Cooling System
After everything is buttoned up, the cooling system needs a proper bleed. Air pockets left near the turbo will cause localized overheating and kill your new actuator.
- Attach a spill-free funnel kit to the radiator cap neck or expansion reservoir
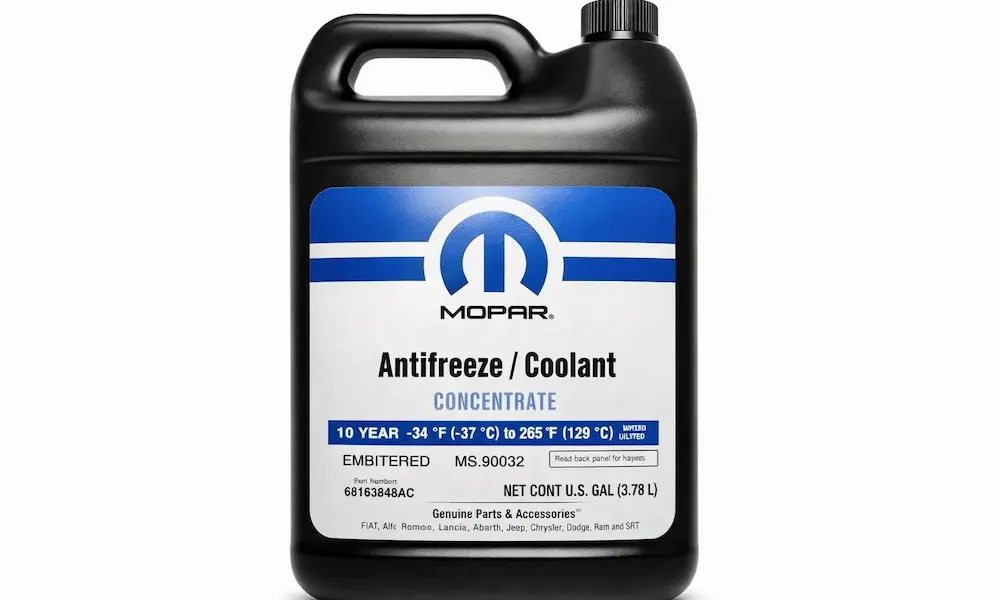
- Fill with the correct heavy-duty diesel coolant until fluid pools in the funnel
- Set cabin heat to max temperature to open all coolant circuit valves
- Start the engine and let it idle to full operating temperature
- Squeeze the upper radiator hose repeatedly to dislodge stubborn air pockets
- Keep running until all bubbling stops and the fluid level stabilizes
Preventing Future Actuator Failure
The single best thing you can do is leave the exhaust brake on all the time. Every time you lift off the throttle, the actuator cycles the vanes through their full range of motion. That constant movement scrapes soft soot off the nozzle ring before it bakes into carbon. It’s a free, continuous self-cleaning cycle.
Beyond that:
- Change engine oil and coolant on schedule with quality products
- Let the engine warm up before heavy towing
- Idle for 1–2 minutes after a hard tow to cool the turbo housing before shutdown
- Follow TSB 18-010-06 sealing procedures on the connector and wrap the A/C lines with insulation foam to stop condensation dripping