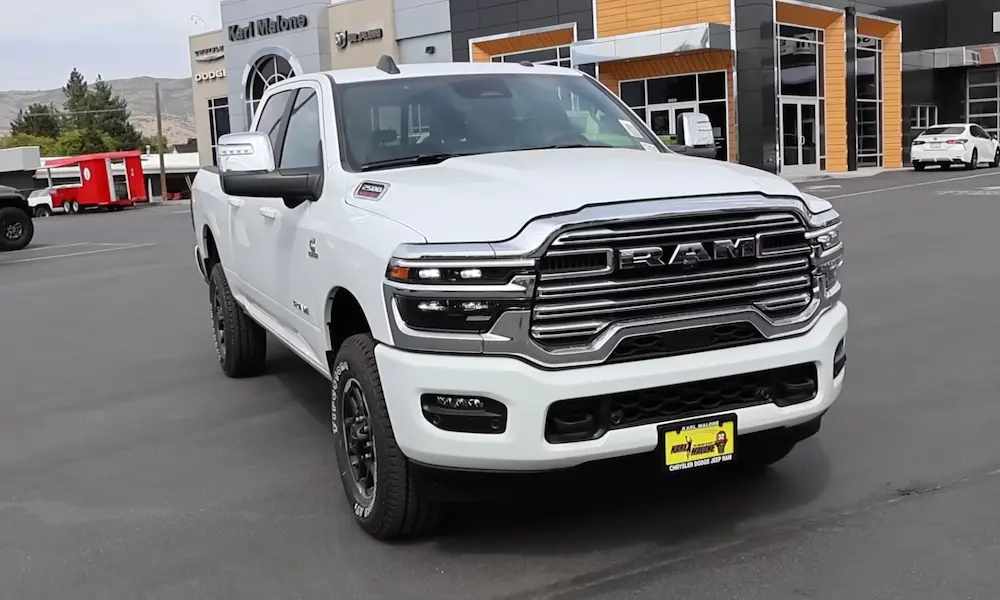
Got a weeping water pump, an overheating gauge, or a grinding noise up front? Your 6.7 Cummins is trying to tell you something. This guide covers everything from spotting early failure signs to torquing the bolts correctly — and a fire-risk recall you need to know about. Read this before you pull a single wrench.
Why the 6.7 Cummins Water Pump Works So Hard
The 6.7 Cummins isn’t just cooling an engine — it’s cooling an engine plus a full emissions system.
The exhaust gas recirculation (EGR) system dumps massive amounts of heat directly into the coolant loop. That means your water pump moves more thermal energy than any previous Cummins generation. It’s under constant stress, especially during towing.
The pump sits at the front of the engine block. It pulls cold coolant from the lower radiator hose, spins it through the block, cylinder head, oil cooler, and EGR cooler, then sends it back to the radiator. Simple concept — brutal workload.
The Plastic Impeller Problem (And Why It Matters)
The factory water pump ships with a plastic impeller. On a light-duty gas engine, that’s fine. On a heavy-duty diesel that tows 20,000 pounds through the desert? Not so much.
Here’s what happens over time:
- Thermal cycling causes the plastic to harden and become brittle
- The impeller warps under load, reducing coolant flow
- Eventually, it shatters inside the engine block
- Flow drops to zero instantly
- Localized boiling starts within seconds
Premium aftermarket pumps replace the plastic impeller with a precision-machined stainless steel or aluminum version. They also use CNC-machined aluminum housings, reinforced bearings, and aluminum pulleys with integrated fan blades for heat dissipation. If you’re replacing your pump anyway, spend the extra money on the upgraded unit.
How to Spot a Failing Water Pump Before It Kills Your Engine
Pump failure doesn’t happen overnight. It follows a clear progression. Catch it early and you’re out a few hundred dollars. Miss it and you’re looking at a head gasket — or worse.
Stage 1: The Weep Hole Drips
The pump has a small diagnostic port called a weep hole. It sits between the internal fluid seal and the outer bearing seal. When the fluid seal fails, coolant drips from this port.
A slow, persistent drip from the weep hole means the internal seal is done. This is your first warning sign — and your best chance to replace the pump without collateral damage.
One important note: A brand-new pump will often drip slightly for the first 10 to 15 minutes after installation. The mechanical seal needs heat and rotation to seat properly. If seepage stops after that break-in period, you’re fine. If it keeps dripping for days, the seal is defective.
Stage 2: Squeaking or Grinding Noises
If you ignore the weep hole drip, coolant eventually washes the grease out of the shaft bearings. Metal-on-metal contact creates a distinct squeak or grind that matches engine RPM.
Grab the water pump pulley with the engine off and try to wiggle it. Any detectable play — side-to-side or in-and-out — means the bearings have collapsed. At that point, the pulley can shatter or fly off completely, destroying the serpentine belt and anything near it.
Stage 3: Overheating and Cavitation Damage
Cavitation occurs when coolant pressure drops below the fluid’s vapor point, forming bubbles that collapse violently near the pump outlet. Those micro-implosions pit and erode aluminum surfaces inside the block and pump housing.
Cavitation accelerates with incorrect coolant mixtures, degraded additive packages, or trapped air pockets. This is exactly why coolant chemistry matters so much on this platform.
The Recall You Need to Check Right Now
This isn’t a minor technical service bulletin. This one involves engine fires.
NHTSA Safety Recall Campaign 17V562000 — known internally as Recall T51 — affected hundreds of thousands of Ram heavy-duty trucks. Specifically:
- Affected vehicles: 2013–2017 Ram 2500, 3500, 4500, and 5500 with the 6.7 Cummins
- The defect: Certain Concentric-brand water pumps were built without a weep hole
- What happened: When the internal seal failed, coolant had nowhere to go. It flooded the sealed bearing cavity, created extreme friction, and generated enough heat to ignite engine compartment fires
Dealerships were required to inspect and replace defective pumps at no charge. If you own one of these trucks and haven’t had this checked, verify your VIN on the NHTSA recall database before your next drive.
Coolant Chemistry: Get This Wrong and You’ll Wreck the New Pump
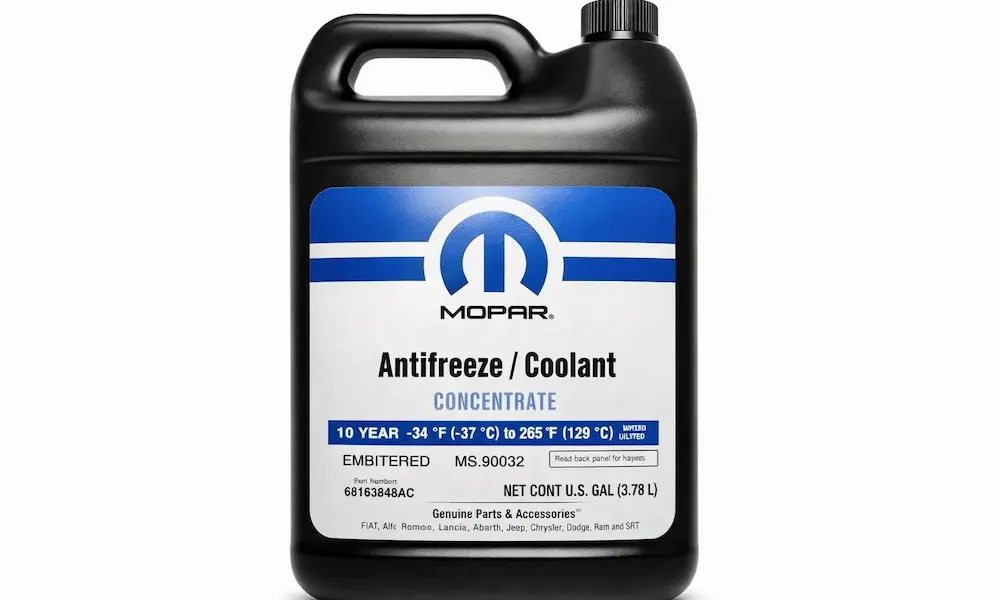
The 6.7 Cummins spans a transition in coolant technology. Using the wrong fluid — or mixing two incompatible types — destroys water pump seals, clogs the EGR cooler, and causes overheating. Here’s what you need:
| Vehicle Model Year | Required Coolant Type | Manufacturer Standard | Color |
|---|---|---|---|
| 2007.5 through 2012 | Hybrid Organic Acid Technology (HOAT) | MS-9769 | Pink |
| 2013 to Present | Organic Acid Technology (OAT) | MS-12106 | Purple (ages to pink) |
Mixing HOAT and OAT coolants causes the silicates to drop out of suspension and form an abrasive gel. That sludge clogs heater cores, restricts EGR cooler flow, and acts like grinding paste against your new pump’s seal.
Always dilute concentrated coolant with distilled water only. Tap water deposits calcium and magnesium scale on heat exchanger surfaces, reducing thermal transfer and causing overheating.
Step-by-Step: 6.7 Cummins Water Pump Replacement
Phase 1: Drain the System
- Disconnect both battery negative cables first
- Place a drain pan under the radiator petcock and open it fully
- Remove the radiator cap to break the vacuum and speed up draining
- Dispose of used coolant properly — ethylene glycol is toxic to animals
You don’t need to remove the cooling fan or shroud. As noted in this Reddit walkthrough, pulling the factory air box gives you all the lateral clearance you need and saves significant labor time.
Phase 2: Remove the Serpentine Belt
Document or photograph the belt routing before you touch it — routing varies by trim level (A/C, dual alternators, etc.).
Use a long-handled serpentine belt tool or a half-inch drive breaker bar to rotate the spring-loaded tensioner. Slip the belt off the water pump pulley. Per this YouTube replacement guide, inspect the belt for cracking or frayed edges and replace it if needed. Spin every idler pulley by hand. Any gritty feel or wobble means that pulley needs to be replaced too — a bad tensioner ruins new belts fast.
Phase 3: Pull the Old Pump
Two hex-head bolts secure the pump to the engine block. Remove them and pull the pump straight out. If corrosion has it seized, tap the housing with a rubber dead-blow mallet — never strike the pulley or shaft.
Clean the mating cavity with a plastic or brass scraper only. Steel scrapers and grinding discs will permanently gouge the soft aluminum block, and no amount of torque will seal a scratched surface. Wipe it clean with a lint-free cloth.
Phase 4: Install the New Pump
Before inserting the new pump, confirm the correct O-ring or silicone seal is included (Mopar 4429698 or equivalent).
Orient the weep hole pointing straight down toward the ground. This isn’t optional — it lets gravity drain any seal seepage away from the bearings. Installing it rotated sideways traps fluid in the bearing cavity and kills the new pump prematurely.
Thread both mounting bolts in by hand first. Then torque them in an alternating pattern to exactly 22 foot-pounds. Over-torquing crushes the seal. Under-torquing lets it blow out under pressure.
Phase 5: Reinstall the Belt
Route the belt so the grooved side meshes with grooved pulleys and the smooth back rides on smooth idlers. Before starting the engine, visually confirm every pulley has the belt seated perfectly parallel in its groove. A belt off by one groove will shred within seconds.
Refilling Without Creating an Airlock
This step trips up even experienced techs. The 6.7 Cummins has EGR coolers, turbocharger lines, and heater cores at varying heights — all perfect air traps.
The Right Way: Pneumatic Vacuum Purge
A vacuum purge tool locks onto the radiator neck, uses compressed air through a Venturi valve to pull a deep vacuum, then draws coolant in automatically. Per the Valeo Service vacuum tool guide, you can also use the vacuum gauge to confirm the system holds — a steady needle means no leaks before you even start the engine. When the gauge returns to zero, the system is full and air-free.
Manual Bleeding: The Jiggle Pin Is Critical
No vacuum tool? You can bleed manually, but the thermostat orientation becomes critical.
The thermostat has a tiny bleeder pin — called a jiggle pin — that allows trapped air to bypass the closed valve when the engine is cold. It must sit at the 12 o’clock position. Install it upside down and the rising air has nowhere to go. The resulting airlock acts as a thermal insulator, temperatures spike, and your new pump means nothing because the cylinder head warps.
To bleed manually:
- Fill slowly with the radiator cap off
- Set cabin heater to max heat
- Start the engine and let it idle
- Watch for the coolant level to drop suddenly when the thermostat opens — that’s the air purging out
- Top off immediately and install the pressure cap
Other Things That Fail When the Cooling System Fails
A failed water pump rarely kills itself alone. Bosch Tech Auto’s diagnostic guide points to several components that suffer collateral damage from overheating events.
Plastic coolant riser pipe (2013–2018): A factory plastic pipe routes coolant to the EGR system near the exhaust manifold. It bakes, cracks, and dumps coolant onto hot exhaust. Billet aluminum reroute kits permanently fix this with CNC-machined 6061 aluminum adapters, silicone hoses, and braided steel lines.
EGR cooler rupture: When internal cooling tubes crack, pressurized coolant enters the exhaust stream. Signs include thick white smoke from the tailpipe, a sweet smell, and coolant loss with no visible ground drips. Ignore it and coolant backflows into the cylinders — that’s a hydraulic lock, bent rods, and a destroyed engine.
Head gasket failure: Overheating causes the long cast-iron cylinder head to bow. Combustion pressure (over 2,500 PSI under boost) blows straight through the gasket into the coolant jackets. Symptoms include bubbling in the coolant overflow tank, milky oil on the dipstick, and rough idle with power loss. Repair requires full head removal, machine-shop resurfacing, and upgrading to aftermarket head studs.
Intake manifold grid heater (“killer bolt”): While you’re in there, grab the electrical terminal nut on top of the intake manifold and try to wiggle it. Any movement means the internal hardware has loosened and could drop into the intake, get ingested by cylinder six, and grenade the engine. This jiggle test takes five seconds and could save you an engine replacement.
Complete Torque Spec Reference
| Fastener | Torque Specification |
|---|---|
| Water pump mounting capscrews | 22 ft-lbs |
| Thermostat housing capscrews | 18 ft-lbs |
| Belt tensioner mounting bolt | 32 ft-lbs |
| Fan hub center bolt | 57 ft-lbs |
| Coolant heater into cylinder block | 41 ft-lbs |
| Water inlet connection (M10 / M12) | 32 ft-lbs / 59 ft-lbs |
| Exhaust manifold bolts | 32 ft-lbs |
| Turbocharger mounting nuts | 24–41 ft-lbs (varies by year) |
Frequently Asked Questions
What’s the exact torque for the 6.7 Cummins water pump bolts?
22 foot-pounds, applied in an alternating pattern using a calibrated torque wrench. Over-torquing crushes the silicone seal. Under-torquing lets it blow under pressure.
My brand-new pump is dripping from the weep hole. Is it defective?
Not necessarily. New pump seals need 10 to 15 minutes of operation to physically seat. Minor seepage during that break-in window is normal. If it keeps dripping after that, the seal is bad and the pump needs replacing.
Which coolant does my 6.7 Cummins need?
2007.5–2012 engines use HOAT coolant (MS-9769, pink). 2013 and newer use OAT coolant (MS-12106, purple). Never mix them — the chemical reaction creates abrasive sludge that destroys pump seals and clogs cooling passages. Always dilute with distilled water, not tap water.
What is the T51 water pump recall?
NHTSA Campaign 17V562000 covered 2013–2017 Ram 2500, 3500, 4500, and 5500 trucks with Concentric-brand water pumps built without a weep hole. When those pumps’ seals failed, coolant flooded sealed bearings, generated extreme heat, and started engine fires. Affected vehicles qualify for free pump replacement at a dealership.
Why does the thermostat jiggle pin position matter?
The jiggle pin must sit at the 12 o’clock position. It bleeds trapped air past the closed thermostat valve when the engine is cold. Install it at 6 o’clock and air locks in the cylinder head, creating a thermal dead zone that warps the head within minutes of running.
Do I have to remove the cooling fan to replace the water pump?
No. Removing the air box provides enough clearance to access the serpentine belt tensioner and both pump mounting bolts without touching the fan clutch or shroud.
What are the symptoms of a blown EGR cooler?
Continuous thick white smoke from the tailpipe, a sweet chemical smell from the exhaust, and coolant loss from the overflow reservoir with no visible puddles under the truck. Left untreated, coolant fills the cylinders and causes hydrostatic lock on the next startup attempt — which bends connecting rods and destroys the rotating assembly.