Picking the right car seat feels straightforward until you’re standing in the baby aisle, completely overwhelmed. Age? Weight? Height? What actually matters? This guide breaks down the car seat age chart stage by stage, explains the real rules behind each transition, and shows you exactly when your child is ready to move on. Stick around — the answer might surprise you.
Why Age Alone Doesn’t Determine Car Seat Readiness
Here’s the thing most parents get wrong: age is just a rough guide. The American Academy of Pediatrics is clear — your child’s height and weight limits on their specific car seat matter far more than their birthday.
Every time you move a child to the next restraint stage, you’re actually reducing their crash protection. That’s not a scare tactic; it’s physics. So the goal is simple: stay in each stage as long as possible.
When used correctly, car seats reduce fatal injury risk by 71% for infants and 54% for toddlers aged 1 to 4. Belt-positioning booster seats cut serious injury risk by 45% compared to adult seat belts alone.
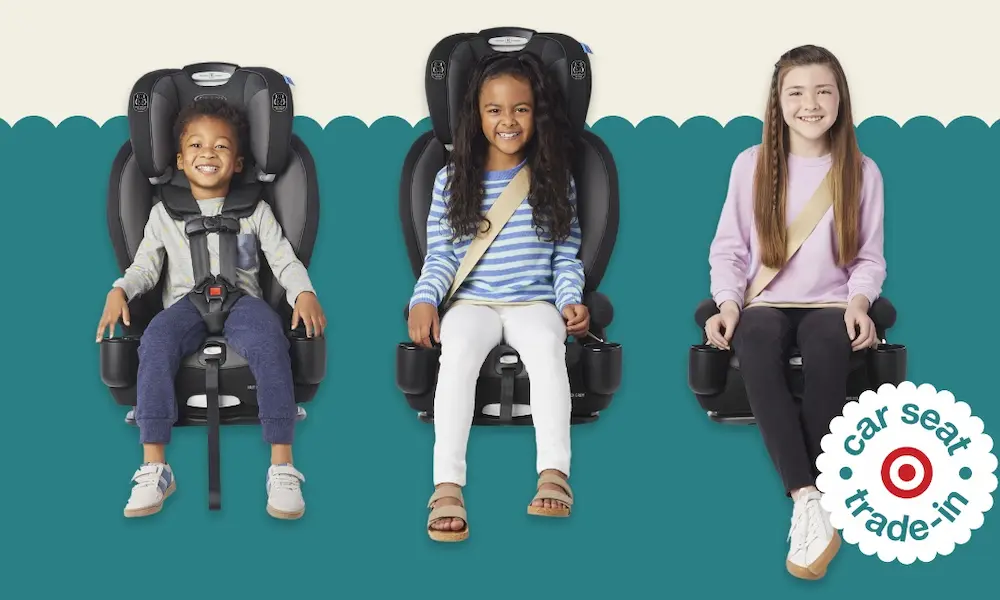
The Car Seat Age Chart: All 4 Stages at a Glance
Use this car seat age chart as your starting point — but always check your specific seat’s manufacturer limits before making any transition.
| Stage | General Age Range | Restraint Type | When to Move On |
|---|---|---|---|
| Stage 1 | Birth – 2 to 4 years | Rear-facing car seat | When child exceeds the seat’s max height or weight |
| Stage 2 | 2 – 7 years | Forward-facing with 5-point harness + top tether | When child exceeds the harness’s max height or weight |
| Stage 3 | 4 – 12 years | Belt-positioning booster seat | When child passes the 5-Step Seat Belt Fit Test |
| Stage 4 | 8 – 13+ years | Adult lap and shoulder seat belt | When child is at least 4 feet 9 inches tall AND passes the 5-Step Test |
One rule applies at every stage: all children under 13 ride in the back seat, full stop. Front airbags deploy at over 200 mph. A child’s body simply can’t handle that force.
Stage 1: Rear-Facing Car Seats
Why Rear-Facing Is the Safest Position
A baby’s head makes up roughly 20% of their total body weight. Their neck vertebrae aren’t fully hardened bone yet — they’re partly cartilage, held together by highly elastic ligaments.
In a frontal crash (the most deadly type), a forward-facing child’s heavy head rockets forward while the harness holds the torso back. The spinal cord can’t stretch as far as the spinal column. The result can be fatal.
A rear-facing seat solves this completely. It spreads crash forces across the child’s entire back, neck, and head simultaneously. The seat cradles them and moves with their body, keeping the head, neck, and spine perfectly aligned.
How Long Should You Keep a Child Rear-Facing?
NHTSA recommends keeping children rear-facing until they hit the absolute maximum height or weight limit of their specific seat. Most pediatric safety experts suggest aiming for age 2 to 4 if your seat allows it.
You’ve got two main seat types to work with:
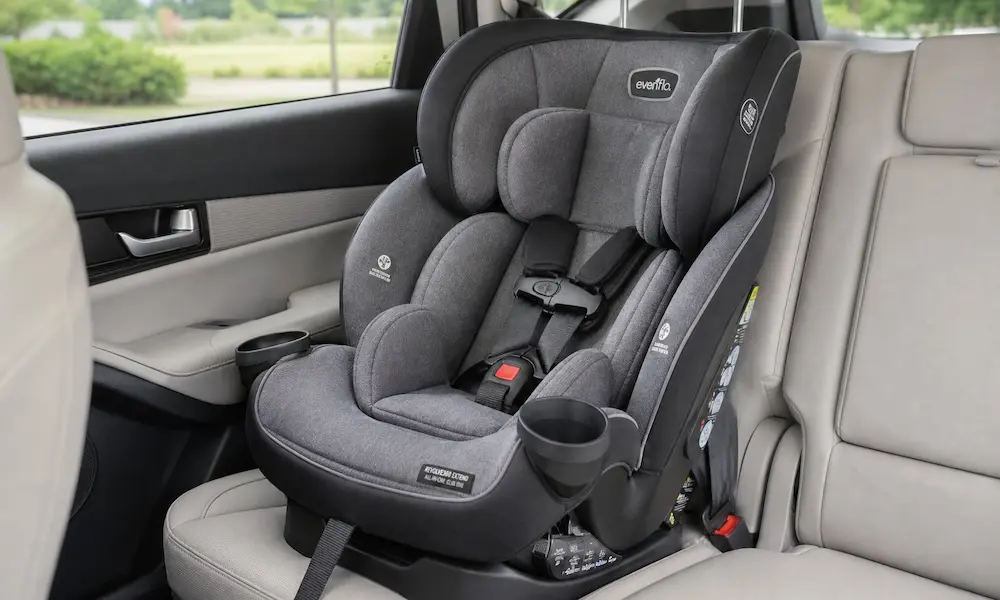
- Infant-only seats — Removable carriers that snap into a base. Most babies outgrow these within the first year.
- Convertible seats — Stay in the car permanently. They convert from rear-facing to forward-facing, often supporting rear-facing up to 40 or 50 pounds, giving you much more time in this protective stage.
Stage 2: Forward-Facing With a 5-Point Harness
Moving Forward — But Not Too Fast
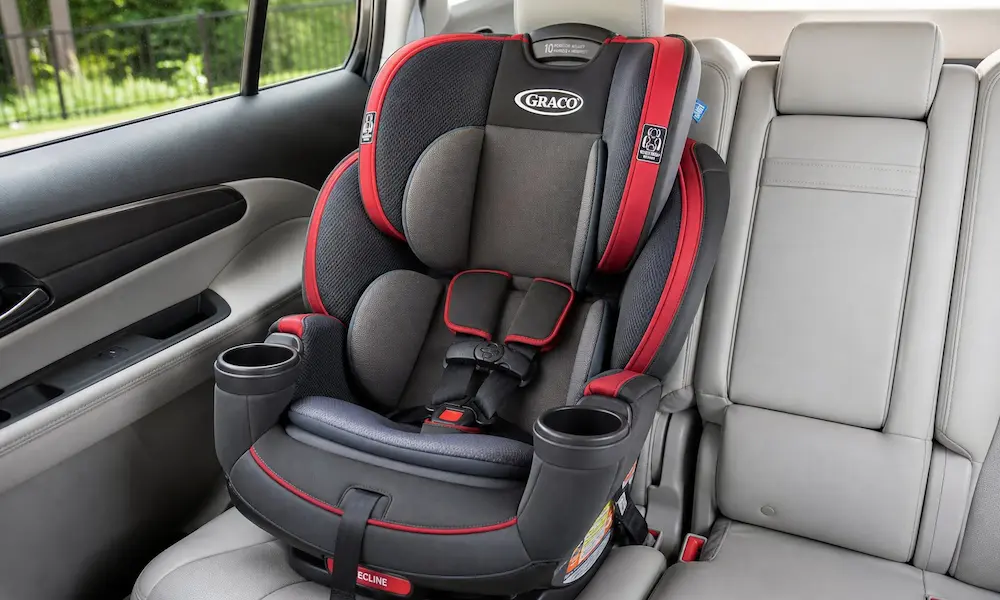
Your child moves to a forward-facing harnessed seat only after maxing out their rear-facing seat’s limits. This stage typically covers ages 2 through 7, but again — it depends entirely on your child’s size and your seat’s capacity.
Most forward-facing seats handle children up to 65 pounds on the internal harness. Some premium models go up to 90 pounds. Keep your child in the harness as long as the manufacturer allows.
Why the Top Tether Is Non-Negotiable
The top tether is a strap that runs from the top of the car seat to an anchor point in your vehicle. NHTSA states it must be used on every forward-facing installation — whether you’re using LATCH anchors or a seat belt.
During a frontal crash, a forward-facing seat pitches forward on its base. The top tether stops that movement, cutting the forward travel of your child’s head by several critical inches. That difference prevents traumatic brain injuries and facial fractures caused by the head hitting the back of the front seat.
LATCH vs. Seat Belt: What You Need to Know
Neither method is safer than the other. Use whichever gives you the tightest installation. One major catch though: NHTSA guidelines specify that the combined weight of the child plus the car seat must not exceed 65 pounds when using lower LATCH anchors. Once you hit that limit, switch to the vehicle seat belt for installation instead.
3 Daily Harnessing Mistakes That Compromise Safety
Even a perfectly installed seat fails if you’re buckling your child incorrectly. Watch out for these:
1. Bulky winter coats
Never strap a child into a harness while wearing a puffy coat. The padding compresses instantly during a crash, leaving the harness dangerously loose. Buckle first with thin layers, then lay the coat over them like a blanket.
2. Chest clip position
The chest clip belongs at armpit level — not on the stomach, not near the throat. Too low and the harness slides off the shoulders. Too high and it can crush the trachea during impact.
3. Twisted harness straps
Twisted webbing acts like a rope, focusing all crash energy onto a narrow line. Every strap must lie flat. Do the pinch test: if you can pinch a horizontal fold of webbing at the collarbone, tighten the harness more.
Stage 3: Belt-Positioning Booster Seats
What a Booster Seat Actually Does
A booster seat has no harness. Its only job is to lift your child high enough for the adult seat belt to fit their body correctly. Adult seat belts are engineered for people at least 4 feet 9 inches tall. Without a booster, the belt sits in all the wrong places.
When a smaller child sits on a standard seat, their legs don’t reach the seat edge comfortably. They slouch forward. This pushes the lap belt off the pelvis and onto the soft abdomen. In a crash, that lap belt compresses internal organs — a well-documented pattern of injuries called seat belt syndrome, which includes ruptured spleens, lacerated intestines, and lumbar spinal fractures.
Meanwhile, the shoulder belt rides up across the neck. Discomfort makes kids tuck it behind their back — eliminating all upper-body protection entirely.
High-Back vs. Backless Boosters
Safety technicians generally recommend high-back boosters, especially for younger children and vehicles without rear headrests. High-back models provide:
- Lateral head support
- Built-in shoulder belt guides that keep the belt positioned correctly
- Better whiplash protection in rear-end collisions
Backless boosters work fine for older, larger children in vehicles with adequate headrests.
When Can a Child Leave the Booster?
Most children don’t reach 4 feet 9 inches until somewhere between 8 and 12 years old — sometimes later. State laws often say age 8. Anatomy doesn’t care about state laws. Use the 5-Step Test below, not the calendar.
Stage 4: Adult Seat Belts and the 5-Step Fit Test
The 5-Step Seat Belt Fit Test
Before ditching the booster, your child must pass all five steps — in every vehicle they ride in regularly. A child might pass in one car and fail in another due to differences in seat depth and belt geometry.
Run through this checklist every time:
- Back against the seat — Their lower back and backside sit completely flat against the backrest. No slouching, no gap.
- Knees bend at the edge — Their knees bend naturally over the front edge of the seat cushion without scooting forward.
- Lap belt position — The lap belt lies flat across the upper thighs and pelvis. Not the stomach. Ever.
- Shoulder belt position — The shoulder belt crosses the center of the chest and collarbone, not the neck or face.
- Stays in position all trip — They can maintain this posture for the entire journey, including if they fall asleep.
One “no” answer means they still need a booster. It’s not about being overly cautious; it’s about geometry saving lives.
Car Seat Expiration: Why It Actually Matters
Car seats expire. Most last 6 to 10 years from the manufacture date stamped on the seat. Using an expired seat isn’t just bending the rules — it’s a real safety risk.
Here’s what happens to a car seat over time:
- Heat cycles destroy the plastic shell. Summer vehicle interiors regularly hit 130 to 170°F. Winter brings freezing temperatures. Thousands of expansion and contraction cycles weaken the polymer at a molecular level.
- UV radiation degrades the harness webbing. Sunlight breaks down synthetic fibers, making them brittle and prone to snapping under crash loads.
- Replacement parts disappear. Once a model is discontinued, manufacturers stop making replacement buckles, chest clips, and padding inserts.
Beyond material degradation, car seat expiration dates also ensure your seat meets current safety standards. A seat built a decade ago doesn’t include today’s side-impact protection or energy-absorbing foam technology.
Never buy a used car seat from a stranger. You can’t verify its crash history. A seat that was in even a minor accident may have invisible stress fractures in the shell — and it’ll fail catastrophically in the next one.
What to Do With a Car Seat After a Crash
A car seat is designed to absorb crash energy by deforming internally. Once it’s done that job, it’s done — even if it looks fine on the outside.
NHTSA’s car seat post-crash guidance states that any moderate or severe crash requires immediate seat replacement. A crash qualifies as “minor” only if ALL five of these are true:
- The vehicle drove away under its own power
- The door nearest the seat was undamaged
- No one in the vehicle was injured
- Airbags did not deploy
- The seat has zero visible damage
If any single condition fails, replace the seat. Before you toss the old one, cut the straps and write “DO NOT USE” on it to prevent someone else from pulling it out of the trash.
State Car Seat Laws vs. What Actually Keeps Kids Safe
Child passenger safety laws vary dramatically by state. The Governors Highway Safety Association tracks this patchwork, and the gaps are significant.
| State | Rear-Facing Requirement | Booster Transition | Rear Seat Mandate |
|---|---|---|---|
| Alabama | Age 1 or 20 lbs | Until age 6 | None listed |
| California | Under age 2 (unless over 40 lbs or 40 inches) | Until age 8 or 4’9″ | None listed |
| Colorado | Under age 2 and under 40 lbs (2025) | Until age 8 and 40 lbs (2025) | Required under age 8 (2025) |
| Connecticut | Under age 2 or under 30 lbs | Until age 8 or 60 lbs | None listed |
| Delaware | Under age 2 and under 30 lbs | Until max booster limits | Required under age 12 |
| Washington | Under age 2 | Until 4’9″ tall | Required under age 13 |
Alabama still allows transitioning out of rear-facing at 1 year and 20 pounds — a dangerously outdated standard. Washington ties the booster transition to actual height, not age — which is exactly how it should work everywhere.
The bottom line: State law sets the minimum to avoid a ticket. Physics sets the standard to avoid a funeral. Always follow AAP and NHTSA guidelines, not just what your state requires.
Getting Your Installation Checked
Nearly 60% of car seats are installed incorrectly. That’s not a knock on parents — it’s genuinely complicated, and every vehicle is different.
NHTSA operates a free inspection station locator where certified Child Passenger Safety Technicians check your installation at no cost. These inspectors catch things most parents miss: angled bases, loose belt paths, forgotten tethers, and harness fit issues.
After every installation, perform the one-inch rule check: grip the seat at the belt path and push firmly side to side and front to back. The seat must not move more than one inch in any direction. If it does, it’s not safe.