Those tiny holes in your leather seats look great — until they’re packed with crumbs, grit, and mystery gunk. Cleaning them wrong can clog your ventilation system or damage the leather permanently. This guide walks you through exactly how to clean leather car seats with holes, step by step, using the right tools and products.
Why Perforated Leather Is Trickier Than Regular Leather
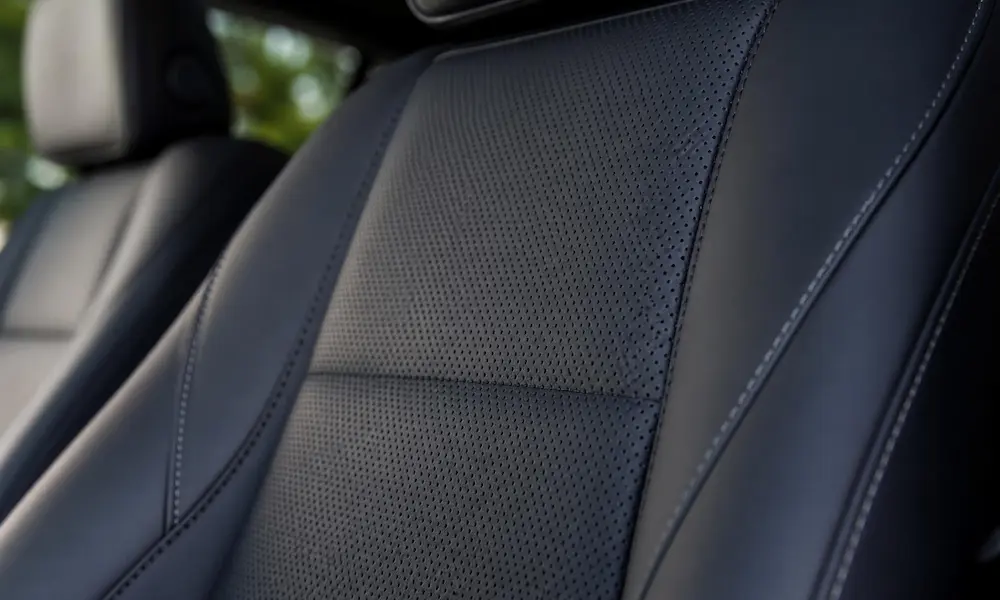
Those holes aren’t just decorative. In most modern vehicles, perforated leather connects directly to your car’s heating and cooling system, pushing conditioned air through the seat surface. That makes every hole a functional vent — and a dirt trap.
Here’s the problem: each perforation punches through the leather’s protective coating and exposes the raw hide underneath. When liquid hits those exposed edges, it gets pulled straight in through capillary action. Too much moisture and you risk:
- Swollen, distorted holes
- Permanent staining around the edges
- Moisture soaking into the seat foam
- Short circuits in your electronic seat components
- Mold growth inside the cushion
The good news? Clean these seats the right way and they stay looking sharp for years.
What You’ll Need Before You Start
Grab these tools before you touch the seats:
Cleaning Tools:
- Soft-brush vacuum attachment
- Compressed air can (with rubber-tipped nozzle)
- Boar’s hair detailing brush
- Toothpicks or dental picks
- Microfiber towels (several)
- Foam applicator pad
Cleaning Products:
- pH-balanced leather cleaner (Lexol, Leather Honey, or Chemical Guys foaming solution)
- Non-greasy leather conditioner (Dr. Beasley’s Leather Cream or Chamberlain’s Leather Milk)
Optional but Useful:
- Interdental brushes (like GUM brand)
- Hearing aid cleaning kit
- Hairdryer (cool setting only)
| Tool | What It Does | Why It Matters |
|---|---|---|
| Soft-brush vacuum | Lifts loose debris from holes | Prevents surface scratching |
| Compressed air | Blasts out wedged grit | Stops debris pushing into foam |
| Dental picks | Clears individual clogged holes | Precise, non-damaging extraction |
| Foaming cleaner | Controls moisture on surface | Prevents liquid flooding the holes |
| High-GSM microfiber | Wicks moisture out after cleaning | Draws liquid up, not deeper in |
Step 1 — Dry Clean First (This Step Most People Skip)
The golden rule of how to clean leather car seats with holes is simple: dry before wet, always.
Start with your soft-brush vacuum attachment. Move slowly across the seat in multiple directions — side to side, then up and down. Going in different directions lifts debris from all angles of the holes, not just the top.
After vacuuming, use your compressed air. Hold the nozzle at a 30-degree angle to the surface — not pointing directly into the holes. This angle creates a vacuum effect that pulls particles up and out rather than blasting them deeper into the foam. Follow up immediately with another vacuum pass to capture everything that got dislodged.
See white spots or visible blockages? That’s clogged pores. Use a toothpick or dental pick to manually clear each one. Work under bright light so you can see what you’re doing. Interdental brushes work well here too — they’re almost perfectly sized for standard automotive perforations.
Some detailers use a massage gun placed against the seat surface. The high-frequency vibration shakes trapped grit loose before a final vacuum pass. It sounds unusual but it works surprisingly well.
Step 2 — Apply Your Cleaner (The Right Way)
Never spray cleaner directly onto perforated leather. Spray it onto your microfiber towel or brush instead.
If you’re using a foaming cleaner, work the foam into your brush until it feels dry and stable — no dripping, no running. Foaming cleaners beat liquid sprays on perforated seats because foam sits on the surface long enough to lift the dirt before it liquefies and sinks into the holes.
Work in small sections — about 6 inches square at a time. Use light, circular motions with your brush. Then immediately grab a clean, dry microfiber towel and buff the section dry.
The wicking trick: Fold a dry microfiber towel into quarters and press it firmly into the perforated area. Hold it for a few seconds. The towel draws moisture up and out of the holes like a sponge. Do this after every section.
Which Cleaners Actually Work
pH-balanced, water-based cleaners are your best friend here. Leather is naturally slightly acidic, so harsh alkaline cleaners strip the tanning oils and cause cracking over time.
Good options: Lexol, Leather Honey, Colourlock, Chemical Guys foaming leather cleaner
Avoid anything with: bleach, ammonia, silicones, or heavy waxes. Silicones especially will clog your ventilation holes with a sticky buildup that attracts even more dirt.
No cleaner on hand? These household alternatives work in a pinch:
- Baby shampoo — pH-neutral, oil-safe, gentle on leather fibers
- White vinegar + water (1:2 ratio) — great for odors and light disinfection
- Cornstarch or talcum powder — apply to oil stains, leave overnight, vacuum away
- 70% rubbing alcohol on a cotton ball — for localized mold spots only (it can dry the leather, so don’t use it broadly)
Step 3 — Dry the Seats Properly
If the leather feels damp after cleaning, dry it right away. Open the car doors and windows to get air moving through. A hairdryer on the cool or low-heat setting works well to speed things up.
Critical warning: don’t turn on your seat heaters to dry the leather. This seems logical but it’s genuinely dangerous. Moisture in the perforations can seep into the electronic heating grid and cause a short circuit. Beyond the electrical risk, malfunctioning seat heaters can reach dangerously high temperatures — high enough to cause serious burns, particularly for people with reduced skin sensitivity like those with diabetes or neuropathy.
Rapid heat also “cooks” damp leather — the fibers stiffen, shrink, and you end up with permanent wrinkles and distorted holes. Let the seats air dry naturally, with airflow assistance.
Step 4 — Condition Without Clogging the Holes
Conditioning restores the oils leather loses from heat, sunlight, and regular use. It’s also the stage where most people accidentally clog the holes with white, waxy residue. Here’s how to avoid that.
The thin film technique:
- Put a small amount of conditioner on a foam applicator pad
- Press it in with your finger until there are no blobs — just a thin film on the surface
- Start on the solid leather — the bolsters, seat edges, non-perforated sections. This distributes the product further so by the time you reach the holes, barely any remains on the pad
- Glide over the perforated areas with zero downward pressure. Pressing down squeezes the foam pad like a sponge, injecting conditioner straight into the holes
- Let it sit for 1-2 hours, then buff with a clean, high-GSM microfiber towel
Dr. Beasley’s Leather Cream and Chamberlain’s Leather Milk are both non-greasy options that absorb well without leaving residue.
If you’re in a sunny state like California or Florida, pick a conditioner with UV inhibitors. Perforated leather actually takes more UV damage than solid leather because the holes let more light and air interact with the fiber structure.
How Often Should You Clean Perforated Leather Seats?
| Vehicle Use | Recommended Schedule |
|---|---|
| Standard daily driving | Deep clean + condition every 3-6 months |
| Kids or pets in the car | Every 2 months |
| Bi-weekly maintenance | Quick vacuum every 2 weeks |
| After any liquid spill | Blot immediately, clean within 24 hours |
One more thing on spills: blot — don’t rub. Rubbing pushes the liquid further into the holes. Press a dry cloth firmly onto the spill within 60 seconds and hold it there. That’s your best shot at keeping it out of the foam.
A Quick Word on Steam Cleaning
Steam cleaning kills bacteria and mold deep in the seat, which makes it useful for pet accidents or spilled milk that’s soaked through the perforations. But it carries real risks on perforated leather.
Intense direct steam can reactivate the adhesive bonds holding the leather to the seat structure, causing bubbling or sagging. It can also shock the leather fibers into instant shrinkage. If you want to use steam, wrap the nozzle in a microfiber cloth and keep it moving — never hold it stationary on the perforated surface. Better yet, leave steam cleaning to a professional detailer who knows the limits of your specific leather type.
Keep the Holes Clear and the Leather Will Last
Cleaning leather car seats with holes isn’t complicated — it just requires patience and the right sequence. Dry extraction first, careful moisture control during cleaning, zero pressure during conditioning, and proper airflow for drying.
Vacuum the seats every two weeks to prevent deep-pore clogging from building up in the first place. That one habit does more for long-term seat condition than any product you can buy. Perforated leather that gets consistent, low-intensity maintenance stays supple, functional, and good-looking far longer than seats that only get attention when they look visibly dirty.