Is your RV’s Dometic thermostat acting up? Random error codes, blank screens, or temperature reading issues can quickly turn your comfortable journey into a frustrating experience. A simple reset might be all you need to get your climate control back on track without an expensive service call.
Let’s walk through everything you need to know about resetting your Dometic thermostat – from identifying your specific model to step-by-step reset procedures that actually work.
Why Your Dometic Thermostat Needs a Reset
Your RV’s thermostat is essentially a small computer that controls your heating and cooling systems. Like any electronic device, it can experience glitches that affect performance. Here’s when a reset makes sense:
Common Signs That Indicate Reset Time
- Unresponsive buttons or controls: You press buttons but nothing happens
- Inaccurate temperature readings: The display shows 85°F when it feels like 70°F
- Heating/cooling systems won’t activate: The thermostat is on but nothing’s happening
- Display shows dashes instead of numbers: You see “- -” rather than actual temperatures
- Error codes appear on the screen: Especially E1 codes that indicate communication issues
- Erratic system behavior after power outages: Fluctuating temps or random cycling
Dometic thermostats typically need resets when they experience power interruptions, voltage fluctuations, or memory corruption that cause them to lose their programmed settings. Think of it as the electronic equivalent of “turning it off and back on again.”
Identifying Your Dometic Thermostat Model
Before attempting any reset, you need to know which model you have. Different Dometic thermostats require specific reset procedures, and using the wrong one won’t solve your problem.
Most Common Dometic Thermostat Models
| Model | Key Features | Appearance |
|---|---|---|
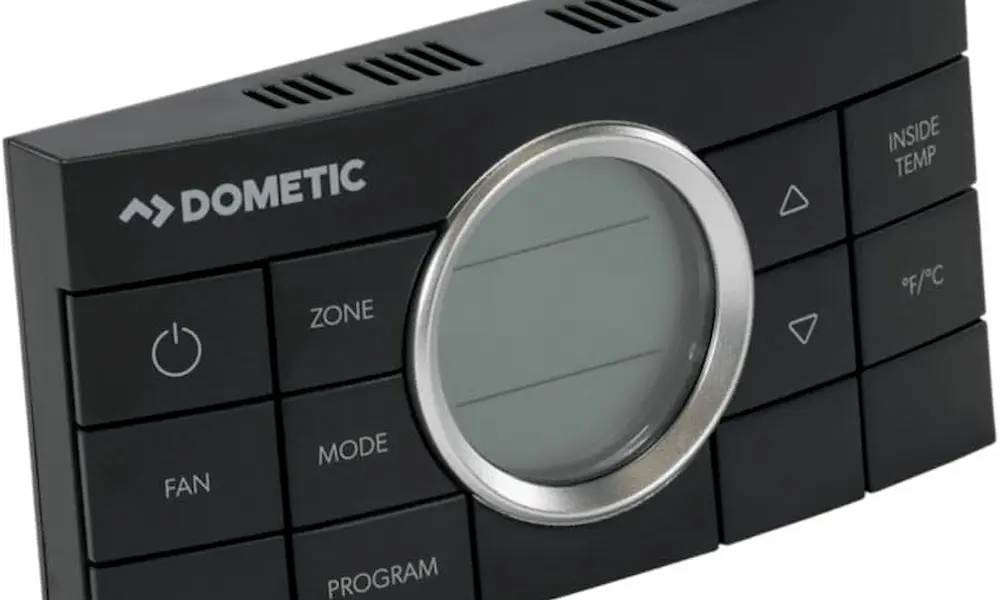
| CCC2 (Comfort Control Center 2) | Digital display with clearly labeled MODE, ZONE, and ON/OFF buttons | Multiple zone control capability |
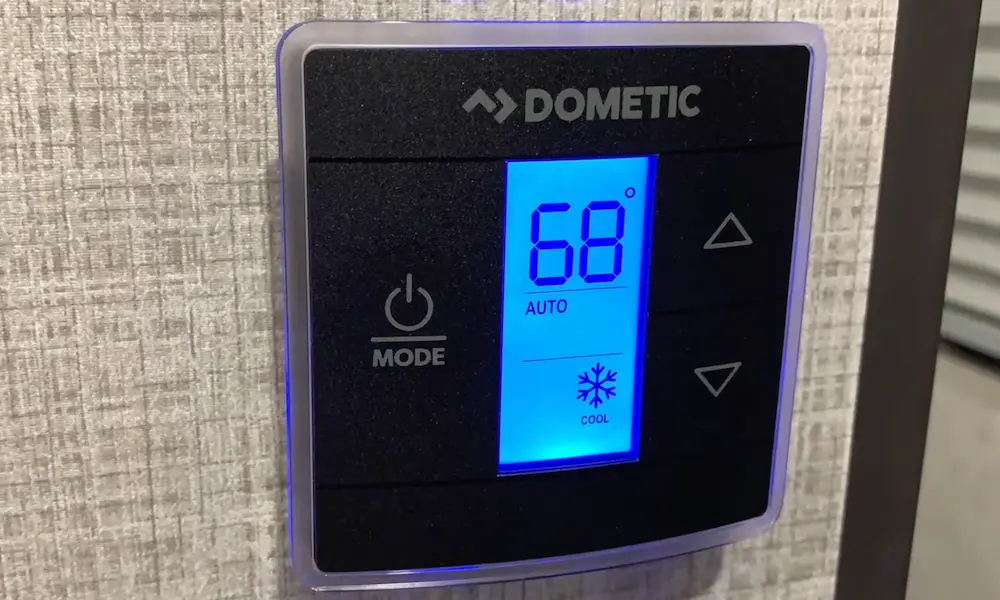
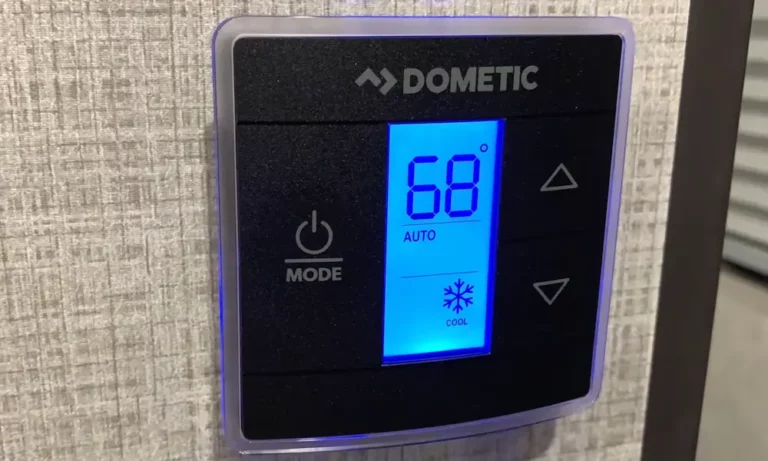
| Single Zone LCD | LCD screen with large plus/minus temperature buttons | Simpler interface with fewer buttons |
| 5-Button | Five distinct control buttons for basic functions | Usually older models |
| 10-Button | More advanced with additional programming options | Similar to CCC2 but with more buttons |
| Dual-Zone | Controls two separate HVAC zones independently | Typically larger display |
Look at your thermostat and compare it to these descriptions. The model name or number is often printed on the front panel or inside the battery compartment if applicable.
Modern Dometic thermostats might feature capacitive touch controls or advanced digital displays with extra functionality like humidity monitoring. These newer models often follow CCC2 reset procedures.
Step-by-Step Reset Procedures by Model
Now that you’ve identified your model, here’s exactly how to reset each type. Follow these instructions precisely—missing a step can prevent a successful reset.
CCC2 (Comfort Control Center 2) Reset
The CCC2 is one of the most common Dometic thermostats in RVs. Here’s how to reset it:
- Make sure the thermostat is in the OFF mode by pressing the ON/OFF button until only the clock display remains visible
- Simultaneously press and hold both the MODE and ZONE buttons
- Continue holding until the LCD displays “IniT” along with all available zone numbers (this typically takes about 5-7 seconds)
- Release both buttons when the initialization message appears
- Press the ON/OFF button once to exit the system setup mode
You’ll know the reset worked when you briefly see “IniT” followed by all configured zones appearing on screen. The system automatically restores factory default settings including:
- Heating temperature: 68°F
- Cooling temperature: 72°F
- Auto temperature: 70°F
- Fan speed: Auto
Single Zone LCD Thermostat Reset
For the Single Zone LCD model, follow these steps:
- Ensure the thermostat is completely off
- Press and hold the “+” (up arrow) button
- While continuing to hold the “+” button, simultaneously press and hold the ON/OFF Mode button for exactly three seconds
- Look for a dash symbol (“-“) on the LCD display, indicating a successful reset
- Press the ON/OFF button again to turn the system off and complete the reset procedure
This reset procedure clears any custom programming and returns the thermostat to its default state.
5-Button Thermostat Reset
If you have a 5-Button model, here’s the proper reset sequence:
- Turn the thermostat switch to the OFF position
- Wait for the display to go completely dark
- Press and hold both the MODE and ZONE buttons simultaneously
- While holding these buttons, turn the switch back to the ON position
- Continue holding both buttons until the letters “FF” appear on the digital display (this may take up to 15 seconds)
- Hold the buttons until the system completes initialization
- Release both buttons to finish the reset
The “FF” code indicates that the factory defaults are being restored. Once complete, you’ll need to reprogram your desired temperature settings.
10-Button and Dual-Zone Thermostat Reset
For these more advanced models:
10-Button Thermostat:
- Follow the same procedure as the CCC2 model
- Hold MODE and ZONE buttons simultaneously until “IniT” displays
- Release and press ON/OFF to complete
Dual-Zone Thermostat:
- Turn the system on first
- Press the MODE button to activate indicator lights
- Hold UP and DOWN buttons while briefly pressing MODE
- Release all buttons when the display flashes
These advanced thermostats often have additional features that will need to be reconfigured after a reset, including zone preferences and scheduling options.
Troubleshooting Common Issues
If a standard reset doesn’t solve your problem, you may be experiencing one of these common issues:
Communication Errors and System Lockups
Communication failures between your thermostat and air conditioning units are frustratingly common. These typically show up as:
- Complete system unresponsiveness
- Zone-specific failures where some areas work but others don’t
- Intermittent operation where the system works sometimes but fails other times
The E1 error code specifically indicates communication problems that might be resolved through reset procedures. If resetting doesn’t fix E1 errors, check the wiring connections between your thermostat and HVAC components.
Temperature Display Problems
Many RV owners struggle with incorrect temperature readings. These can result from:
- Sensor calibration issues: The internal temperature sensor needs recalibration
- Temperature format confusion: The system may be showing Celsius when you expect Fahrenheit
- Internal sensor malfunctions: The temperature sensing element itself may be failing
When thermostats display readings stuck at 32°F, this often indicates a sensor reading freezing point temperatures due to system errors rather than actual ambient conditions. To toggle between Fahrenheit and Celsius, simultaneously press the up and down arrow buttons on most models.
Power and Electrical Issues
Before performing any reset, verify your RV’s electrical system is providing stable power:
- Check that circuit breakers are properly set
- Ensure adequate voltage supply (typically 12V DC for the thermostat control system)
- Look for loose connections at the thermostat mounting plate
Power interruptions during system operation may require complete reinitialization to restore proper functionality. In some cases, low battery voltage in your RV can cause thermostat malfunctions that no reset will fix until power issues are addressed.
Understanding Dometic Error Codes
Dometic thermostats use specific error codes to communicate system problems. Understanding these codes helps determine if a reset will help or if you need professional service:
| Error Code | Meaning | Reset Likely to Help? |
|---|---|---|
| E1 | Communication failure between thermostat and A/C unit | Yes, often fixable with reset |
| E2 | Open circuit or out-of-range indoor temperature sensor | No, typically requires sensor replacement |
| E3 | Open circuit or out-of-range outdoor temperature sensor | No, usually needs professional repair |
| E4 | Indoor temperature sensor shorted | No, sensor needs replacement |
| E5 | Outdoor temperature sensor shorted | No, sensor needs replacement |
| E7 | Loss of 120V AC power | No, check power supply and connections |
| E8 | Button stuck or held too long during power up | Yes, reset may help |
| E9 | DIP switch configuration error | Yes, if caused by initialization problems |
Most users can successfully resolve E1, E8, and sometimes E9 errors through proper reset procedures. The other error codes typically indicate hardware failures requiring component replacement.
Safety Precautions Before Resetting
Always follow these safety measures before attempting any thermostat reset:
- Ensure electrical stability: Verify your RV’s power system is functioning properly
- Power down properly: Turn off the main circuit breaker to the air conditioning system
- Wait for discharge: Allow 2-5 minutes for capacitors to discharge before handling components
- Use protection: Consider safety glasses and insulated gloves when working with electrical components
- Follow specifications: Verify that your installation meets all applicable electrical codes
Improper electrical connections or inadequate power supply can cause repeated reset failures and potential equipment damage. Always consult your specific installation manual for safety requirements.
Advanced Troubleshooting When Resets Don’t Work
If standard reset procedures don’t resolve your thermostat issues, try these advanced troubleshooting steps:
Power Cycling the Entire System
Sometimes a more complete power reset is needed:
- Turn off the RV’s main power at the breaker box
- Wait a full 2 minutes (this is important for complete circuit discharge)
- Turn the power back on
- Allow the system 5 minutes to fully initialize before testing
This complete power cycle can resolve persistent issues that simple thermostat resets cannot fix.
Checking for Wiring Issues
Loose or damaged wiring is a common culprit when resets don’t work:
- Turn off power to the system
- Remove the thermostat from the wall mount (usually by pulling straight out or removing mounting screws)
- Inspect for any loose, disconnected, or damaged wires
- Check that wire colors match correctly to terminals
- Ensure all connections are tight and secure
- Remount the thermostat and restore power
Wiring problems are particularly common after RV maintenance or during seasonal transitions when temperature fluctuations can affect connections.
Firmware Update Considerations
Newer Dometic thermostats may have firmware that can be updated:
- Check if your model supports updates (typically newer Bluetooth-enabled models)
- Download the Dometic app on your smartphone if applicable
- Follow in-app instructions for updating firmware
- Perform a system reset after updating
Updated firmware can resolve communication issues and add features that improve performance.
Preventive Maintenance to Avoid Reset Issues
Regular maintenance prevents many problems that require emergency resets:
Filter Cleaning Schedule
Dirty filters reduce airflow and cause system stress:
- Locate the return air filters in your RV’s ceiling assembly
- Remove the filter covers (usually snap-off or screw-type)
- Clean filters with mild soap and water
- Allow to dry completely before reinstallation
- Replace any damaged filters immediately
Clean filters every 2-4 weeks during heavy use periods for optimal system performance.
Electrical Connection Inspection
Vibration from driving can loosen connections:
- Check all accessible wiring connections twice per season
- Look for discolored or melted plastic around connection points
- Ensure mounting screws remain tight
- Clean any corrosion with electrical contact cleaner
- Verify proper voltage reaching the thermostat (typically 12V DC)
Proper electrical connections prevent communication errors that prompt resets.
System Monitoring Practices
Catching issues early prevents major failures:
- Note any unusual sounds during system startup
- Monitor temperature differential (supply air should be 15-20°F cooler than return air)
- Track how long cooling cycles run (short-cycling indicates problems)
- Document any error codes for reference
- Keep the thermostat clean and free from dust
Regular monitoring helps identify patterns that might indicate developing problems before they require resets or repairs.
Having Success with Your Dometic Thermostat
Successfully resetting your Dometic thermostat depends on correctly identifying your model and following the precise procedure it requires. When performed properly, resets restore factory settings, clear software errors, and reestablish communication between system components.
Remember that regular maintenance—including filter cleaning, electrical connection inspection, and system monitoring—prevents many issues that require emergency resets in the first place.
For most RV owners, thermostat resets resolve temporary glitches and restore comfort quickly. By understanding when and how to reset your specific Dometic model, you can maintain reliable climate control in your recreational vehicle without unnecessary service calls.
Keep this guide handy during your travels, and you’ll be prepared to troubleshoot thermostat issues wherever your adventures take you.