Swapping a car battery sounds simple — two cables, two posts. But get the order wrong and you’ll fry your car’s computer. Skip the cleaning step and it won’t start anyway. This guide walks you through exactly how to connect a car battery the right way, step by step. Read to the end — there’s one modern step most people skip that can shorten a new battery’s life by years.
What You Need Before You Start
Don’t grab a wrench just yet. Gather your gear first.
Tools you’ll need:
- 10mm wrench (works for most modern cars — Toyota, Honda, Ford, Nissan)
- 5/16-inch wrench if you drive a General Motors vehicle with side-post terminals
- 13mm or 15mm wrench for trucks or heavy-duty applications
- Wire brush or terminal cleaning tool
- Baking soda, warm water, and a dry cloth
Safety gear you must wear:
Batteries contain sulfuric acid and release hydrogen gas. That combo can cause burns, blindness, or an explosion if you’re careless. The Texas Department of Insurance recommends:
- Safety glasses or chemical splash goggles (ANSI Z-87 rated)
- Acid-resistant gloves — nitrile, rubber, or neoprene
- Work in a well-ventilated area to let hydrogen gas disperse
| Protective Gear | Why You Need It |
|---|---|
| ANSI Z-87 goggles | Stops acid splashes and sparks from hitting your eyes |
| Neoprene gloves | Blocks sulfuric acid and lead-oxide dust |
| Acid-resistant apron | Protects skin and clothing from spills |
| Ventilated workspace | Keeps flammable hydrogen gas from building up |
How to Tell the Positive and Negative Terminals Apart
Mix these up and you’ll destroy your alternator, blow fuses, and potentially kill your car’s engine control module — an expensive mistake. There are three ways to tell them apart:
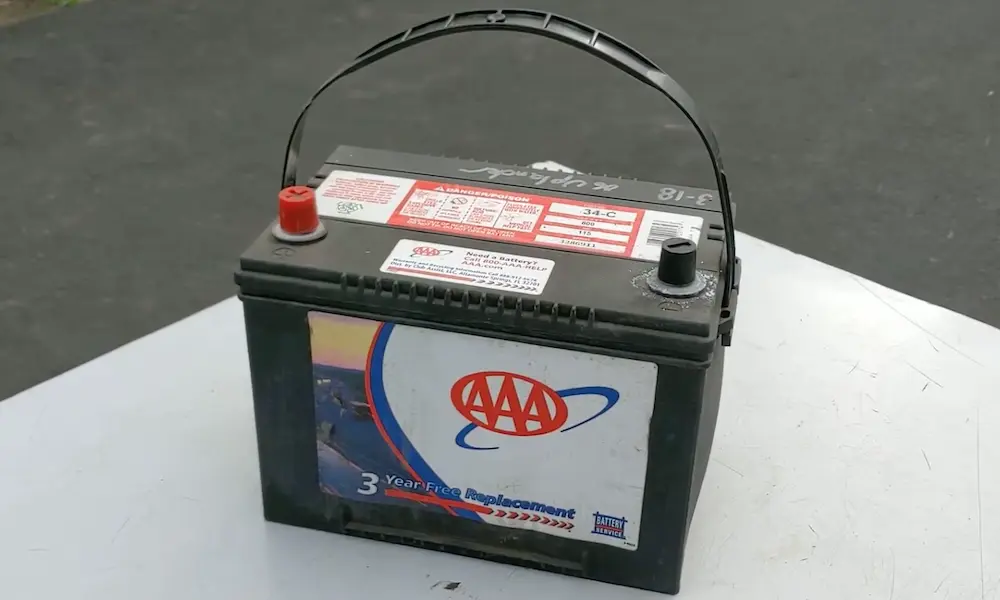
Color: Red = positive (+). Black = negative (–).
Symbol: Look for a plus (+) or minus (–) stamped on the battery case or post.
Post size: The positive post is physically wider — roughly 19.5mm. The negative post is about 17.5mm. This size difference is a built-in safety feature to prevent you from connecting the wrong cable.
Always verify visually. Don’t rely on post size alone — enough force can overcome the size difference.
| Identifier | Positive (+) | Negative (–) |
|---|---|---|
| Color | Red | Black |
| Symbol | Plus sign (+) | Minus sign (–) |
| Post diameter | ~19.5mm | ~17.5mm |
| Connection type | Live (hot) | Chassis ground |
Step 1 — Disconnect the Old Battery First (In the Right Order)
Before you connect anything new, you need to remove the old battery. The order matters.
Always remove the negative cable first.
Here’s why: your car’s metal frame is electrically connected to the negative terminal. If you remove the positive cable first and your wrench accidentally touches any metal — a bracket, the hood, anything — you’ll complete a circuit. That creates a short, a spark, and potentially an explosion near the battery’s hydrogen vents. AutoZone explains that removing the negative first breaks the ground path, making everything safe.
Disconnection order:
- Loosen and remove the negative (–) black cable first
- Move it away from the battery post — don’t let it touch metal
- Remove the positive (+) red cable
- Unbolt the battery hold-down bracket
- Lift the battery straight out — keep it level to avoid acid spills
A standard car battery weighs between 30 and 50 pounds. Lift with your legs.
Step 2 — Clean the Terminals Before Connecting Anything
Corrosion is the number one reason a new battery still won’t start a car. That white or greenish crust on your terminals is lead-sulfate — it’s a poor conductor and it kills the electrical flow your starter needs.
Interstate Batteries recommends this cleaning method:
- Mix baking soda with warm water
- Pour or brush it onto corroded areas — it’ll bubble as it neutralizes the acid
- Scrub with a wire brush until the metal is shiny
- Rinse with clean water
- Dry completely with a shop towel
One thing people get wrong: dielectric grease or anti-corrosion spray goes on after the connection is tightened — not before. Apply grease to the post first and you’re actually adding resistance to the connection. Put it on the outside of the tightened clamp to seal out moisture.
Step 3 — Connect the New Battery (Positive First, Always)
This is the reverse of disconnection — and the order is just as important.
Always connect the positive cable first.
When you attach the positive terminal, the negative cable is still disconnected, so the car’s frame isn’t grounded. If your wrench touches metal during this step, nothing happens. No circuit, no spark. Once you connect the negative, the chassis becomes live again — so you want the positive fully secured before that happens.
Connection order:
- Place the positive (+) red cable onto the positive post
- Push it down as far as it’ll go for maximum contact
- Tighten with your 10mm wrench until the clamp won’t rotate by hand
- Replace the red protective cover
- Attach the negative (–) black cable
- Tighten it the same way
You may see a small spark when you connect the negative. That’s normal. It’s just the car’s electronics — the clock, security system, always-on modules — pulling power all at once.
Do a final check: grab each cable and try to rotate it. If it moves, tighten more.
| Action | First Step | Second Step | Why |
|---|---|---|---|
| Disconnecting | Remove negative (–) | Remove positive (+) | Breaks ground path, makes positive safe to handle |
| Connecting | Attach positive (+) | Attach negative (–) | Wrench contact with chassis won’t spark before ground is live |
Step 4 — Use a Memory Saver If You Have One
Modern cars store a surprising amount of data in their computers. Disconnect the battery and you might lose:
- Radio presets and anti-theft codes
- Your engine’s learned idle settings (causing rough idle or stalling)
- Seat and mirror memory positions
- One-touch window functions
A memory saver plugs into your OBDII port (under the dash, near the steering wheel) and keeps a trickle of power flowing while you swap the battery. eBay Motors explains it keeps all those settings intact so you don’t have to reprogram anything afterward.
Important: with a memory saver connected, your disconnected positive cable is still carrying voltage. Wrap it in a dry towel or slip it into a plastic bag so it can’t accidentally ground against your car’s frame and blow a fuse.
| Setting at Risk | What Happens Without Memory Saver | How to Fix It |
|---|---|---|
| Radio/infotainment | Loses presets; may need security code | Manual re-entry |
| Engine idle control | Rough idle, stalling at stops | Relearns through driving |
| Power windows | Loses one-touch up/down feature | Hold switch in “up” for ~5 seconds |
| Seat and mirror memory | Loses stored positions | Manual reprogramming |
Step 5 — Register the Battery If Your Car Requires It
This step surprises most people — and skipping it can cut your new battery’s life in half.
Many modern vehicles, especially European brands like BMW, Audi, and Volkswagen, and increasingly domestic cars with stop-start systems, have a Battery Management System (BMS). It uses an Intelligent Battery Sensor (IBS) to track your battery’s age and health, then adjusts how the alternator charges it.
Batteries Plus explains what happens if you don’t register: the car’s computer thinks it’s still charging the old, worn-out battery. It applies a high-voltage charging strategy that overcharges your brand-new battery — potentially boiling the electrolyte and reducing a five-year battery down to one or two years.
Registration requires a diagnostic scan tool. Many auto parts stores will do it for free.
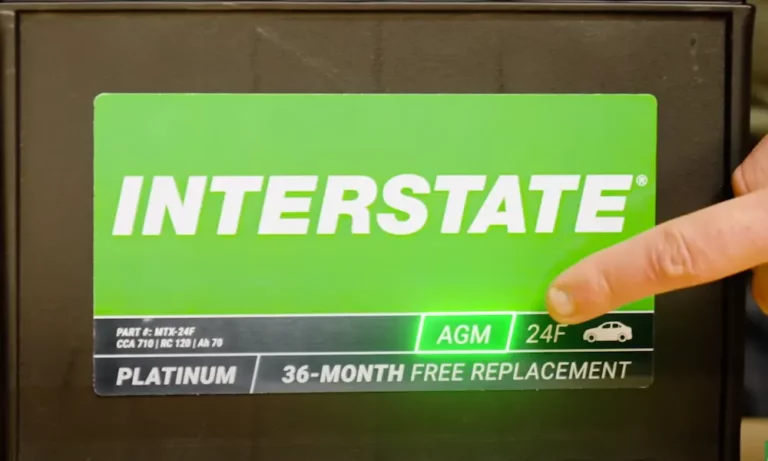
If you’re also switching battery types — say, from a flooded lead-acid to an AGM — you need coding too. AGM batteries have different chemistry and need a different charging profile. Charge them with a standard lead-acid setting and you’ll wreck them faster than you think.
FLA vs. AGM — Does the Type Change How You Connect It?
The connection sequence is the same for both. But there are a few handling differences worth knowing.
| Feature | Flooded Lead-Acid (FLA) | AGM |
|---|---|---|
| Mounting position | Must stay upright | Any position except upside down |
| Maintenance | Occasional check needed | Sealed, maintenance-free |
| Charging | Tolerates basic chargers | Needs AGM-specific charger setting |
| Vibration tolerance | Low | High |
| Typical lifespan | 3–5 years | 5–8 years |
AGM batteries are sealed and spill-proof, so they’re more flexible to mount. But they’re sensitive to heat and overcharging. Always use the AGM setting on your charger — AAA confirms that incorrect charging is one of the main reasons AGM batteries fail early.
Troubleshooting: When the Connection Doesn’t Fix the Problem
You followed every step and the car still won’t cooperate. Here’s what to check.
Rapid clicking when you turn the key: The starter solenoid has enough voltage to move but not enough amperage to turn the engine. That resistance points to a loose or dirty terminal. Re-clean and re-tighten.
Flickering lights or erratic electronics: Check the negative cable’s connection to the chassis ground point — usually bolted to the engine block or frame. Corrosion there affects everything.
Cable feels stiff or shows bulging under the insulation: Acid has wicked up inside the cable wire itself. The outside looks clean but the inside is corroded. Replace the cable — cleaning won’t fix it.
New battery fails quickly: You likely skipped battery registration. Get it coded at an auto parts store or dealer.
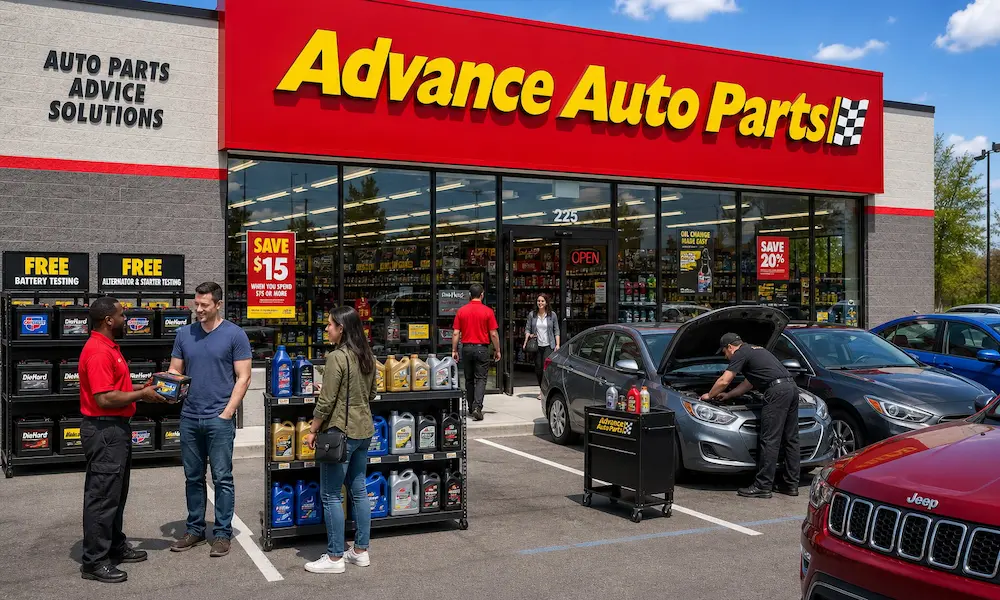
How to Dispose of the Old Battery
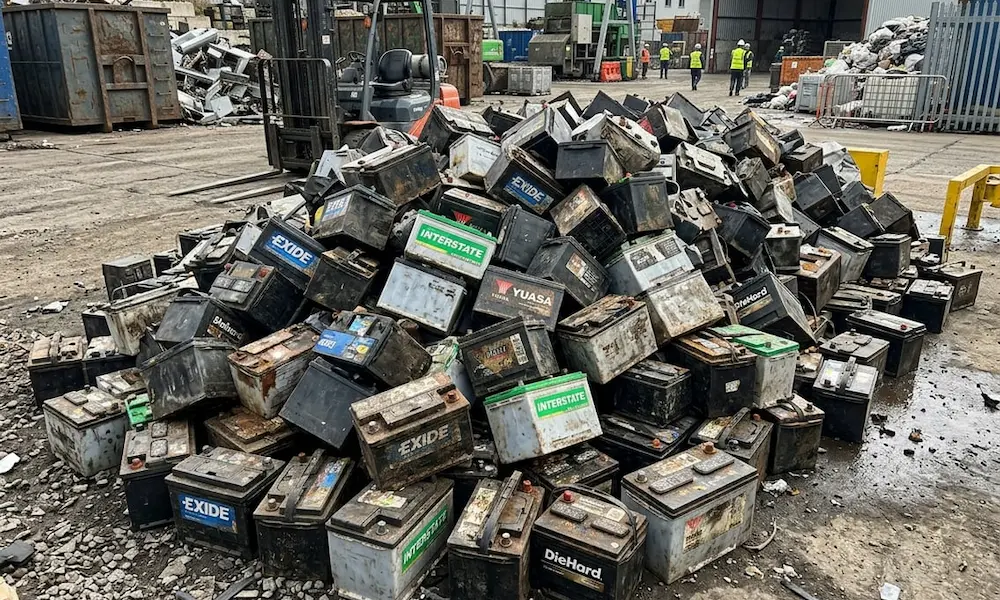
Don’t throw it in the trash. Under the Universal Waste Rule and federal RCRA regulations, lead-acid batteries are classified as hazardous waste. Illegal dumping carries fines.
The easy solution: bring it back to the auto parts store where you bought the new one. Most retailers run a core charge program — you’ll get a refund credit for returning the old unit. The Home Depot and most auto retailers accept them. The lead, plastic, and acid all get recycled — car batteries are actually one of the most successfully recycled products in the country.