Is your RV adventure turning into a sweaty nightmare because your air conditioner isn’t blowing cold air? Don’t worry—this problem is more common than you might think, and you can often fix it yourself without an expensive service call. Let’s walk through the most likely culprits and how to get your cool air flowing again.
Check Your Thermostat Settings First
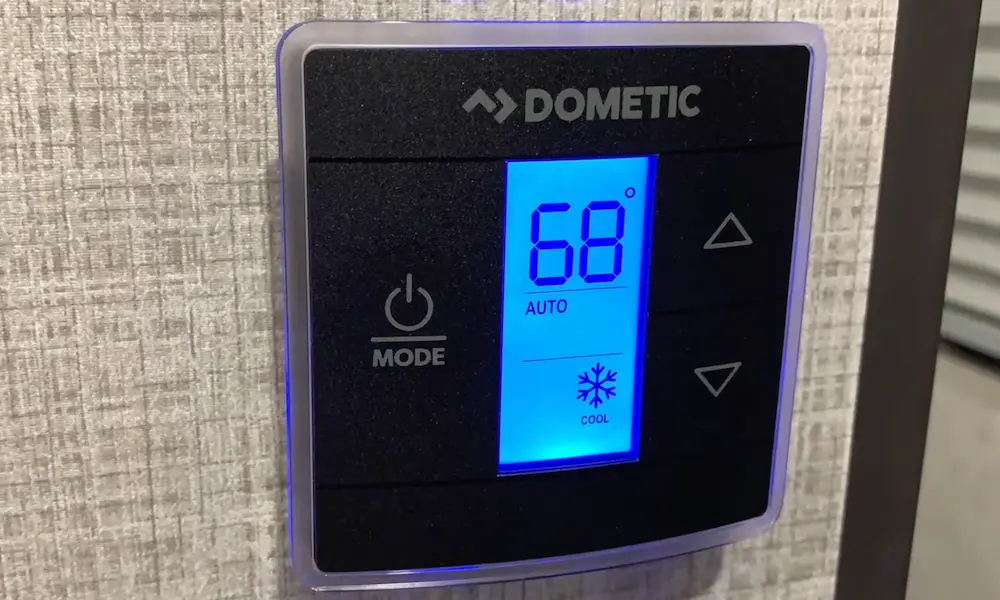
Before diving into complicated repairs, always start with the simplest explanation. Your thermostat might be the culprit.
Make sure your thermostat is actually set to “cool” mode and not accidentally switched to “fan” or “heat.” It sounds obvious, but this mistake happens more often than you’d think! Set the temperature at least 5 degrees below the current RV interior temperature.
Also, check if your thermostat batteries need replacing. Dead batteries can cause erratic behavior or complete failure even if the display is still working.
Inspect and Clean Your Air Filters
Dirty air filters are the number one reason RV air conditioners stop cooling effectively. When filters get clogged, they can restrict airflow by up to 50%, making your AC work harder while producing less cold air.
Here’s how to clean your filter:
- Turn off your AC completely
- Remove the cover from your ceiling assembly
- Take out the filter (usually a thin plastic frame with filter material)
- If it’s washable, clean with warm soapy water
- Rinse thoroughly and let it dry completely before reinstalling
- If it’s disposable, simply replace it with a new one
Regular filter maintenance prevents most cooling issues. Set a reminder to clean your filters monthly during heavy use seasons.
Check Your Power Supply
RV air conditioners are power-hungry beasts that need proper electrical supply to function correctly. Your AC unit needs both 12-volt DC power (for controls) and 120-volt AC power (for the compressor and cooling function).
Here’s what to check:
- Circuit breakers: Look for tripped breakers in your RV’s electrical panel. Reset if necessary, but if it keeps tripping, you might have a more serious electrical issue.
- Voltage levels: Your AC needs at least 108 volts to run properly. Low voltage can prevent the compressor from starting or cause it to shut down prematurely. Consider using a voltage meter to check your campground power or invest in an EMS (Electrical Management System) that protects against low voltage.
- Extension cords: If you’re using extension cords to power your RV, make sure they’re heavy-gauge and rated for the amperage your AC draws.
Clean Your AC Coils
Dirty coils are another common culprit. Your RV air conditioner has two sets of coils that both need to be clean to work efficiently:
Evaporator Coils (Inside)
These coils collect heat from inside your RV. When they’re dirty, they can’t absorb heat effectively.
- Turn off your AC unit
- Remove the ceiling assembly
- Use a specialized evaporator coil cleaner with anti-fungal properties
- Apply from bottom to top
- Let the foam break down dirt and debris
- No rinsing needed—the cleaner will drain naturally with condensation
Condenser Coils (Outside/Roof)
These coils release heat to the outside. When clogged with dirt, leaves, or debris, they can’t dump heat effectively.
- Safely access your RV roof
- Remove the AC shroud (plastic cover)
- Clear away any visible debris
- Use a proper condenser coil cleaner
- Rinse gently if needed (avoid forcing water into electrical components)
- Carefully straighten any bent fins using a fin comb
Check Your Capacitors
Capacitors are like batteries that provide the extra boost your compressor needs to start. When they fail, your AC might run but won’t cool properly.
Signs of capacitor problems include:
- AC unit humming but not starting
- Compressor clicks on and off rapidly
- AC runs for a short time then shuts off
Testing capacitors requires a multimeter with capacitance testing capability:
- Disconnect all power to the AC
- Discharge the capacitor by connecting a resistor across the terminals
- Test capacitance and compare to the rated value on the capacitor
- Replace if readings are more than 6% outside the rated value
If you’re uncomfortable working with electrical components, this is a job best left to professionals.
Low Refrigerant Issues
If your AC still isn’t cooling after checking all the above, you might have a refrigerant leak. Unlike home AC units, most RV systems are sealed and not designed for DIY refrigerant handling.
You can check for potential refrigerant issues by:
- Looking for oil stains around refrigerant lines (sign of a leak)
- Using a multimeter with amp clamp to measure compressor amperage
- Comparing your reading to the unit’s rated load amperage (RLA)
- Much lower amperage than rated suggests refrigerant loss
Refrigerant issues almost always require professional service. The EPA prohibits non-certified individuals from handling refrigerant due to environmental concerns.
Is Your Compressor Running?
The compressor is the heart of your cooling system. If it’s not running, you won’t get cold air.
Listen for the compressor to kick on when you set the thermostat to a cooler temperature. You should hear a distinct sound when it engages. If you don’t hear it:
- Check for a tripped thermal overload (protects the compressor from overheating)
- Inspect the starting capacitor (as mentioned above)
- Verify proper voltage is reaching the compressor
- Test compressor windings if you have the technical knowledge and tools
Compressor issues can be complex. If you’ve tried all other troubleshooting steps and suspect compressor failure, it’s time to call in a professional.
Consider Environmental Factors
Sometimes your AC is working fine, but environmental conditions are overwhelming its capacity. RV air conditioners typically cool about 20 degrees below the outside temperature at best.
During extreme heat:
- Park in shade whenever possible
- Use reflective window coverings to block direct sunlight
- Run your AC continuously rather than cycling it on and off
- Set reasonable temperature expectations (73-77°F is realistic)
- Avoid heat-generating activities inside during peak heat
This table shows realistic cooling expectations based on outside temperatures:
| Outside Temperature | Realistic Inside Temperature |
|---|---|
| 90°F (32°C) | 72-75°F (22-24°C) |
| 95°F (35°C) | 75-78°F (24-26°C) |
| 100°F (38°C) | 78-82°F (26-28°C) |
| 105°F+ (40°C+) | 82-86°F (28-30°C) |
Preventative Maintenance Schedule
Follow this maintenance schedule to prevent future cooling problems:
| Maintenance Task | Frequency | Benefit |
|---|---|---|
| Clean/replace air filters | Every 30 days of use | Improves airflow, prevents freezing |
| Clean evaporator coils | Twice yearly | Better heat absorption |
| Clean condenser coils | Twice yearly | Better heat rejection |
| Check electrical connections | Once yearly | Prevents electrical failures |
| Inspect for water leaks | Twice yearly | Prevents water damage |
| Straighten bent fins | As needed | Improves airflow |
Professional Inspection Signs
While many AC issues are DIY-fixable, call a professional if you encounter:
- Refrigerant leaks requiring system recharge
- Repeated electrical problems despite troubleshooting
- Compressor failure symptoms
- Unusual noises or burning smells
- Water leaking into your RV interior
Remember that professional technicians have specialized tools, training, and access to parts that DIYers don’t.
Realistic Expectations For Your RV AC
Your RV air conditioner isn’t as powerful as your home system. A typical 13,500-15,000 BTU RV air conditioner can effectively cool about 200-300 square feet of space under normal conditions.
During extremely hot weather, your AC might struggle to keep up, especially if:
- Your RV has large windows facing the sun
- You’re boondocking on generator power
- You’re at higher elevations
- Multiple people are inside generating body heat
- You’re cooking or using heat-generating appliances
Set realistic expectations about what your AC can do in challenging conditions.
Upgrade Options If Your AC Still Struggles
If you’ve addressed all potential problems and your AC still can’t keep up:
- Add a second AC unit (if your RV roof and electrical system can support it)
- Install roof vent covers and fans to improve air circulation
- Consider portable supplemental cooling options for targeted cooling
- Upgrade to a higher BTU unit if available for your RV model
- Install thermal window coverings to reduce heat gain
By following this troubleshooting guide, you should be able to identify and fix most RV air conditioner cooling problems. Remember that regular maintenance prevents most issues from developing in the first place. Keep those filters clean, those coils clear, and you’ll stay comfortably cool during your RV adventures.