Got a Check Engine light, cold air blowing from your heater, or a temperature gauge creeping into the red? Your Dodge Journey thermostat might be the culprit. This guide covers everything you need — symptoms, costs, torque specs, and the bleeding steps that most DIY guides skip entirely. Read to the end, because the post-installation steps are where most people mess up.
What Does the Thermostat Actually Do?
Think of the thermostat as a gatekeeper. It blocks coolant from reaching the radiator until the engine hits its ideal operating temperature. Once it’s warm enough, a small wax pellet inside the thermostat melts, the valve opens, and coolant flows through the radiator to shed heat.
When that valve sticks open or shut, things go sideways fast. An engine that can’t warm up wastes fuel. An engine that can’t cool down destroys itself.
Which Thermostat Does Your Dodge Journey Have?
This is where the Dodge Journey gets interesting — and a little complicated. The answer depends entirely on which engine is under your hood.
2.4-Liter Inline-Four (SE and SXT Trims)
The 2.4-liter World Gas Engine uses a dual-thermostat setup — a genuinely unusual design. Two thermostats sit inside a single coolant adapter assembly at the rear of the engine block.
- Primary thermostat opens at 172.4°F (78°C) to control main radiator flow
- Secondary thermostat opens at 207°F to manage the heater core bypass circuit
This two-stage design gives the engine precise temperature control and faster cabin heating in cold weather. The total coolant capacity sits at 7.9 quarts for standard single-zone climate systems.
3.5-Liter V6 (2009–2010 Models Only)
This early engine was quickly phased out. Its biggest headache: the water pump runs off the timing belt, meaning a pump replacement means tearing deep into the engine. The thermostat itself is accessible, but the overall cooling system is notoriously tricky to bleed and prone to sudden coolant loss if the internal pump seal fails.
3.6-Liter Pentastar V6 (2011–2020 Models)
The 3.6-liter Pentastar produces 283 horsepower and uses a single thermostat permanently bonded to a composite plastic housing. The whole assembly replaces as one unit. The water pump runs off the serpentine belt, which makes cooling system work far less invasive than the old 3.5-liter.
The housing sits at the top front of the engine block, right where the upper radiator hose connects. That plastic housing faces extreme heat cycling with every drive — and it’s a known weak point.
Symptoms of a Bad Thermostat
A failing thermostat shows up in predictable ways. Here’s what to watch for:
Thermostat stuck open:
- Heater blows cold or lukewarm air even after a long drive
- Temperature gauge sits low or takes forever to climb
- Check Engine light with a P0128 code
- Worse fuel economy (the engine runs in open-loop, dumping extra fuel)
Thermostat stuck closed:
- Temperature gauge shoots into the red
- Coolant overflow bubbling or steam from the hood
- Immediate overheating — this is an emergency, pull over and shut it down
A stuck-closed thermostat traps hot coolant inside the engine with nowhere to go. Even a few minutes of overheating can warp aluminum cylinder heads or blow a head gasket on the Pentastar V6. If your Journey is overheating, don’t drive it — tow it.
P0128 Code: What It Really Means
The P0128 trouble code means the Powertrain Control Module (PCM) detected that the engine isn’t reaching its target temperature fast enough. The PCM builds a predicted warm-up curve using ambient air temp, intake air temp, and run time. If the actual coolant temperature lags behind that model, P0128 fires.
Before replacing the thermostat, verify the Engine Coolant Temperature (ECT) sensor isn’t lying to you. A healthy ECT sensor reads roughly 2,953 Ohms resistance and 3.96 volts when cold, dropping to around 248.5 Ohms and 0.988 volts at full operating temperature. A sensor showing wild readings can trigger P0128 without any thermostat problem at all.
Quick check: After the car sits overnight, the ECT sensor and intake air temperature sensor should read within a degree or two of each other. A big gap points to a bad sensor, not a bad thermostat.
How Much Does Dodge Journey Thermostat Replacement Cost?
Costs vary by model year and engine. Here’s what RepairPal data shows for professional repairs in the US market:
| Model Year Range | Estimated Cost (USD) |
|---|---|
| 2011–2012 | $301 – $391 |
| 2013–2016 | $563 – $620 |
| 2017 | $504 – $561 |
For a 2017 Journey with the 3.6-liter engine, here’s how that breaks down:
| Cost Category | Low Estimate (USD) | High Estimate (USD) |
|---|---|---|
| Professional Labor | $122 | $179 |
| Parts and Materials | $382 | $382 |
| Total | $504 | $561 |
These numbers don’t include taxes, coolant disposal fees, or any secondary repairs like hoses, a water pump, or a cracked coolant reservoir — all common items to replace at the same time.
OEM vs. Aftermarket Parts
For the 3.6-liter Pentastar, multiple technicians strongly recommend genuine Mopar housings over aftermarket units. The reason is simple: dimensional accuracy.
Several aftermarket integrated housings have documented issues — warped flanges, incorrect temperature sensor seal sizes, and rubber gaskets that don’t compress properly against the block. Some start leaking within weeks. The savings aren’t worth it if you’re pulling the housing back out in a month.
For the 2.4-liter, you can source a complete kit from the official Mopar parts store including both thermostats, the housing, O-rings, and hardware. Buying the full kit means you won’t be hunting for individual seals mid-job.
How to Replace the Thermostat: Step-by-Step
Safety First — Every Time
Before touching anything, let the engine cool completely. The cooling system runs at over 15 PSI when hot. Opening it while warm sends scalding fluid straight at you.
Disconnect the negative battery cable before starting work. The electric radiator fan can kick on without warning, even with the key out — and it will absolutely cut your hand if you’re not careful.
Drain the coolant into a proper catch basin. Lower the fluid level below the thermostat housing before you crack it open.
Replacing the Thermostat on the 2.4-Liter Engine
The dual-thermostat setup on the inline-four lives at the rear of the engine bay, near the firewall. It’s tight back there.
- Remove the air filter housing and intake ducting for clear access
- In some configurations, temporarily relocate the power steering reservoir
- Use hose clamp pliers to slide back the spring clamps on the coolant hoses connected to the adapter
- Twist the hoses free — a hose pick helps if they’ve baked onto the fittings
- Remove the inlet housing bolts with a 10mm socket
- Note the exact rotational position of the primary thermostat before pulling it — the jiggle pin or bleed valve must sit at the highest point during reinstallation
- Remove the coolant adapter mounting bolts and slide the adapter off the water pump inlet tube
- Replace the O-ring on the inlet tube — lubricate the new one with clean coolant before installing
- Clean all sealing surfaces with a non-abrasive pad and brake cleaner
- Seat the new thermostats, confirm the jiggle pin is at the top, reassemble in reverse order
Torque spec for the 2.4-liter: Tighten housing hardware to 7–9 foot-pounds only. That’s intentionally light. Over-torque it and you’ll crush the gasket, warp the housing, or strip aluminum threads. Use a star/crisscross pattern to distribute the load evenly.
Replacing the Thermostat on the 3.6-Liter Pentastar V6
The integrated thermostat housing on the Pentastar sits prominently at the top front of the engine — much more accessible than the 2.4-liter setup.
- Remove the plastic engine cover
- Use hose clamp pliers to slide the upper radiator hose clamp back, then break the hose seal with a hooked tool — years of heat bonding make this hose stick hard
- Remove the two 10mm mounting bolts securing the housing to the block
- Rock the housing gently to free it — the old gasket often sticks to the block and needs to be peeled away
- Clean the aluminum mating surface carefully — never use metal scrapers or rotary tools on aluminum
- Drop the new housing into position (it only fits one way — the design is asymmetrical)
- Start both bolts by hand, then torque them down
The critical number for the 3.6-liter: 89 inch-pounds. That’s roughly 7.4 foot-pounds or 12 Newton-meters. Use a properly calibrated inch-pound torque wrench — not guesswork, not “snug plus a quarter turn.”
Here’s why this matters so much: the bolts thread into aluminum, and the housing is glass-filled nylon composite. Over-tightening instantly strips the aluminum threads or cracks the housing flange. Under-tightening leaves a slow coolant leak that drains your system over weeks. There’s almost no margin for error.
| Engine Platform | Torque Spec (Imperial) | Torque Spec (Metric) | Housing Material |
|---|---|---|---|
| 2.4L World Gas Engine | 7–9 ft-lbs | 9.5–12.2 Nm | Aluminum/Composite |
| 3.6L Pentastar V6 | 89 in-lbs (7.4 ft-lbs) | 12 Nm | Glass-filled Nylon Composite |
Bleeding the Cooling System After Replacement
This step is where a lot of DIY thermostat jobs fail. Trapped air pockets cause immediate overheating even with a brand-new thermostat installed.
Why Air Is Dangerous
When you refill the cooling system, large air pockets get trapped in the engine block, cylinder heads, and hoses. Air can’t transfer heat. If the water pump spins through an air pocket instead of liquid, it cavitates — pumping nothing while the engine cooks. The temperature gauge might not even register the problem before real damage happens.
The Right Way to Bleed the System
Use the spill-proof funnel method. A tall translucent funnel clamps to the radiator filler neck or coolant reservoir, raising the fluid level above the engine. Air bubbles float upward and escape into the funnel while coolant fills the system below.
For the 3.6-liter Pentastar: The thermostat housing has a dedicated bleeder valve built right into it. Crack it open slightly as you fill — listen for hissing air. Once a solid, uninterrupted stream of coolant comes out, close it. You may need to repeat this process up to ten times after short test drives to fully purge all hidden pockets.
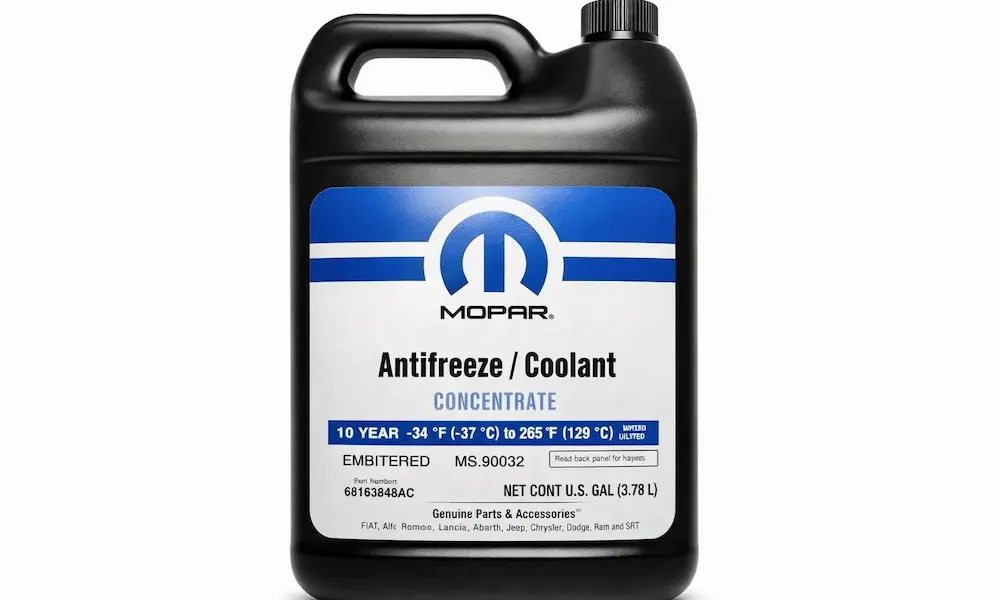
Coolant spec: Use Organic Additive Technology (OAT) coolant mixed 50/50 with distilled water only. No tap water — the minerals in it coat your radiator passages with scale and permanently damage heat transfer.
Bleeding Systems With Rear Heat (7-Passenger Models)
If your Journey has rear climate control, the bleed process gets significantly harder. Long horizontal pipes run under the floor pan to a second heater core in the rear quarter panel. Horizontal runs trap air stubbornly — gravity doesn’t help you here.
To purge the rear circuit:
- Start the engine with the funnel attached
- Set both front and rear climate controls to maximum heat with blowers on full
- Let it idle for 10–15 minutes minimum
- If front vents blow hot but rear vents stay cold, an air lock is still in the rear lines
- Occasionally rev to 3,000 RPM to boost water pump pressure and push the pocket out
- Once all vents — front and rear — blow consistent hot air, the system is fully purged
Don’t skip this step on rear-heat models. A partially bled rear circuit will give you cold rear passenger vents and, in worse cases, the hot coolant flash-boiling in the partially empty rear loop can cause pump cavitation damage.
Frequently Asked Questions
Why does P0128 show up more in winter than summer?
In cold weather, frigid air constantly strips heat from the engine bay. A thermostat stuck just slightly open can’t maintain operating temperature against those conditions. In summer, the warmer ambient air helps the engine warm up fast enough to satisfy the PCM’s model, masking the problem completely. When the temperature drops, the code returns.
Is coolant leaking from a cracked housing actually dangerous beyond the engine damage?
Yes. OAT coolant is highly toxic. It vaporizes on hot engine surfaces and can enter the cabin air intake near the windshield. The sweet smell attracts pets and wildlife — ethylene glycol is fatal to animals in small amounts. A leaking housing is both a mechanical and environmental hazard.
Does a bad thermostat affect the transmission?
Indirectly, yes. Dodge Journey transmission fluid runs through a heat exchanger inside the radiator tank. If the engine thermostat is stuck open and coolant stays cold, transmission fluid never reaches proper operating temperature either. You’ll notice harsher, delayed shifts and poor torque converter lockup at highway speeds — plus reduced fuel economy.
Can an aftermarket thermostat void my Dodge warranty?
Not automatically. The Magnuson-Moss Warranty Act says manufacturers can’t void a warranty simply for using aftermarket parts. However, if the dealer proves that a specific aftermarket part caused secondary damage — like overheating that warped a cylinder head — they can deny coverage for that specific repair. The OEM part is the safer legal choice if you’re still under warranty.
Why do some dealers recommend a vacuum-fill tool over a spill-proof funnel?
A vacuum-fill tool uses shop air and the Venturi effect to pull the entire cooling system into a deep vacuum before any fluid enters. Once the vacuum holds steady (proving there are no leaks), opening a valve sucks coolant into every cavity simultaneously. No air pockets, no extended idle time, no repeated bleeder valve cycles. On complex rear-heat systems like the seven-passenger Journey, this tool cuts bleed time dramatically and eliminates the guesswork.