
Ever tried replacing brake pads on your newer GM vehicle only to find the electronic parking brake won’t budge? You’re not facing a dealer-only repair – you just need to activate service mode. This guide will walk you through exactly how to put your GM electronic parking brake into service mode, whether you have a scan tool or not.
What Is Electronic Parking Brake Service Mode?
Electronic parking brakes (EPB) use electric motors inside the rear brake calipers instead of traditional cables. When you need to replace brake pads or perform other rear brake maintenance, these motors must be fully retracted.
Service mode tells these motors to back off completely, creating the clearance you need to work on the brakes. Skip this critical step and you risk:
- Damaging expensive electronic components
- Being unable to compress the brake pistons
- Creating unsafe braking conditions
- Facing a much bigger repair bill
These systems are smarter than they look – even when the parking brake appears “off,” the electronic components remain partially engaged until proper service mode activation.
How to Activate Service Mode Without a Scanner
Don’t have a diagnostic tool? No problem. Most GM vehicles (2018-2024 models) follow this manual process:
- Start the engine and keep it running
- Press and hold the brake pedal firmly
- Press and hold the parking brake button/switch for about 10 seconds
- Wait for a yellow parking brake indicator to flash on the dashboard
- Release the brake pedal
- Release the parking brake button
- Immediately press the parking brake button again
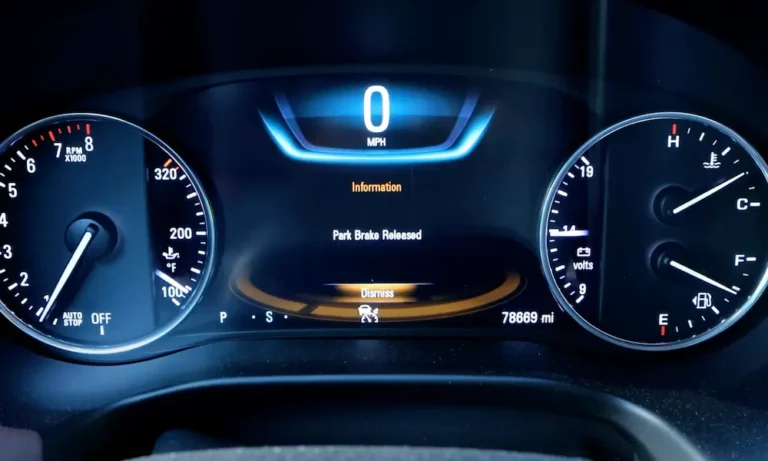
You’ll know you’ve succeeded when you see a continuous flashing yellow indicator on your dash. The parking brake motors will make a slight noise as they retract fully.
This method works for many popular models including:
- Buick Enclave and Envision
- Cadillac XTS
- Chevrolet Impala and Traverse
- GMC Acadia
Model-Specific Activation Methods
Chevrolet Malibu (2013-2019)
The Malibu uses a slightly different process:
- Turn ignition on (engine off)
- Press and hold the brake pedal
- While holding the brake pedal, push down on the park brake switch for about 15 seconds
- Look for a flashing “P” with a wrench symbol in the display
- The system is now ready for service
GM Trucks and SUVs (2019-2022)
For Silverado, Sierra and similar models:
- The vehicle must be running (not just ignition on)
- Hold the parking brake button for 10 seconds until flashing starts
- Release your foot from the brake pedal when flashing begins
- Press the parking brake button again immediately
Always check your vehicle’s specific instructions, as these procedures can vary even within the GM family.
Using Scan Tools for Easier Activation
If you have access to a diagnostic scanner, the process becomes much simpler:
Professional Scanner Method
Using professional-grade scanners like Autel:
- Connect to the OBD-II port
- Navigate to the brake system control module
- Select “Active Tests” or similar option
- Choose “Activate Rear Park Brake Service Position”
- Follow on-screen prompts
Budget-Friendly Scanner Options
More affordable scanners like TopScan can also handle this task:
- Connect the scanner to the OBD-II port
- Use the associated smartphone app
- Navigate to control units → brake system
- Select “Control Functions”
- Choose “Activate Rear Park Brake Service Position”
These scanner methods eliminate the sometimes finicky button-press sequences required for manual activation.
Performing Your Brake Service
Once you’ve confirmed service mode is active (flashing indicator light), you can:
- Turn off the vehicle
- Safely raise and support the vehicle
- Remove the wheels
- Compress the brake pistons normally using a caliper tool
- Replace the brake pads
- Reinstall the caliper and wheels
The beauty of service mode is that the system stays deactivated even with the vehicle off, giving you plenty of time to complete your work.
Deactivating Service Mode After Brake Service
After completing your brake work, you must take the system out of service mode:
Manual Deactivation
- Start the vehicle or turn ignition to “on”
- Press and hold the brake pedal
- Press and hold the parking brake button for 5-10 seconds
- Wait for the flashing indicator to stop
- Release the brake pedal and button
During deactivation, you’ll hear the motors run through a calibration sequence. This is normal – the system is setting the proper clearance for your new brake pads.
Scanner Deactivation
With a scan tool:
- Navigate to the brake system module
- Select “Special Functions”
- Choose “Park Brake Calibration”
- Follow the prompts
This automated process ensures proper electronic parking brake function.
Important Safety Considerations
Battery Disconnection Requirements
For many 2021-2023 GM trucks and SUVs, follow this sequence:
- Put parking brake in service mode first
- Disconnect the negative battery cable for safety during service
- Complete your brake work
- Reconnect the battery before deactivating service mode
This extra step provides added safety during the service process.
Common Problems and Solutions
Service Mode Won’t Activate
If you’re struggling to enter service mode:
- Make sure the vehicle is running (not just ignition on)
- Try the sequence again, timing is critical
- Verify the brake pedal is firmly pressed during the initial button hold
- Check for any error messages in the driver information center
Caliper Still Won’t Compress
If you’ve activated service mode but the caliper remains tight:
- Confirm the yellow indicator is still flashing
- Try using a C-clamp with an old brake pad against the piston
- Rotate the piston as you compress (some require clockwise rotation)
- Check for seized components that may need replacement
System Won’t Exit Service Mode
If you can’t get the system to recalibrate:
- Make sure the battery is connected
- Verify all caliper bolts are properly tightened
- Try driving forward and backward a short distance at low speed
- Use a scanner to check for fault codes
Understanding GM Electronic Parking Brake Components
The GM electronic parking brake system consists of:
| Component | Function | Location |
|---|---|---|
| Control Module | Processes commands | Under dashboard or in trunk |
| Actuator Motors | Apply/release brake | Inside rear brake calipers |
| Control Switch | User interface | Center console |
| Position Sensors | Monitor brake status | Inside caliper assemblies |
Each component works together to provide parking brake function and emergency braking capabilities. During service mode, the system temporarily disables these interconnections.
Why Dealers Don’t Want You to Know This
Dealerships often claim that special tools are required for electronic parking brake service, commanding $150+ for a simple brake job. The truth is that most GM vehicles can enter service mode with nothing more than the buttons already in your vehicle.
By understanding this process, you can save significant money on rear brake service while ensuring the job is done correctly. The dealers aren’t necessarily being dishonest – they’re just not motivated to teach you how to do it yourself.
The Evolution of GM Parking Brake Systems
Electronic parking brakes first appeared in GM vehicles around 2010 and have become standard equipment on most models since 2017. The systems have evolved through several generations:
- First-gen systems: Required dealer tools for service
- Mid-generation (2013-2017): Manual service mode possible but complicated
- Current systems (2018+): Improved with more user-friendly service procedures
GM has gradually made these systems more DIY-friendly, though the procedures aren’t obvious without research.
When Service Mode Won’t Work
In some situations, service mode activation may be impossible:
- System fault codes present
- Low vehicle battery voltage
- Previous incomplete calibration
- Physical damage to actuators
- Brake control module failure
If you’ve tried multiple times and still can’t activate service mode, scanning for fault codes with an OBD-II scanner may reveal underlying issues that need addressing first.
Resources for Model-Specific Instructions
For visual demonstrations of the service mode process for your specific vehicle:
- YouTube tutorials offer step-by-step visual guides
- Model-specific forums like the Chevy Malibu Forum provide owner experiences
- GM-Trucks Forums discuss truck-specific procedures
These resources can help clarify any questions specific to your vehicle model.
Final Thoughts
Maintaining your GM vehicle’s braking system doesn’t require expensive dealer visits or specialized equipment. With this guide, you can confidently service your electronic parking brake-equipped vehicle in your own garage.
Remember that timing is crucial when performing the button sequences – if at first you don’t succeed, try again with careful attention to the order and duration of button presses. Your wallet will thank you for mastering this simple but vital procedure.


