Your Hyundai’s navigation is sending you down roads that don’t exist anymore. Frustrating, right? This guide walks you through exactly how to update your Hyundai navigation system — whether you’re doing it manually with a USB/SD card or getting it pushed wirelessly. Stick around, because the method you use depends entirely on which system you have.
First, Figure Out Which Navigation System You Have
Before you download anything, you need to know what generation your system is. Hyundai has built several distinct hardware platforms over the years, and update files aren’t interchangeable between them.
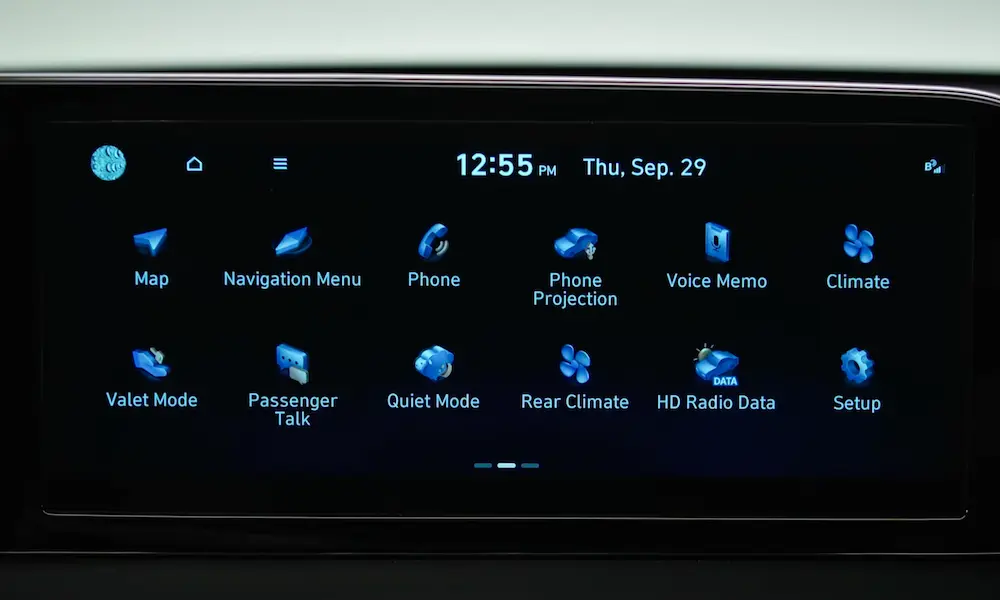
Here’s how to check: tap Settings on your infotainment screen, then look for “SW Info/Update” or “System Info.” You’ll see a version string — that’s your system’s fingerprint.
Here’s a quick breakdown of the main system types:
| System Class | Generation | Storage Interface | Media Required |
|---|---|---|---|
| Standard | Gen 1 | USB Port | 32GB USB (FAT32) |
| Standard | Gen 4 / Gen 5 | SD Card Slot | 32GB SDHC (FAT32) |
| Standard | Gen 5W | USB Port | 64GB USB (exFAT) |
| Premium | Gen 5 | USB Port | 64GB USB (exFAT) |
| ccNC | Next-Gen | OTA / USB-C | Cloud-first, automatic |
Got your version number? Good. Now let’s figure out how to update it.
The Two Ways to Update Your Hyundai Navigation System
Option 1: Manual Update (Most Hyundai Owners)
If your car is a 2022 model or older, you’re doing this manually. That means downloading the update on your PC and transferring it to a USB drive or SD card.
Option 2: Over-the-Air (OTA) Update (2023+ Models)
If you own a 2023 IONIQ 6 or a 2024+ Bluelink-equipped vehicle, your car can download updates automatically over cellular. Hyundai’s OTA system handles most of the work for you.
We’ll cover both methods in detail below.
How to Manually Update Your Hyundai Navigation System
Step 1: Get the Right Storage Media
This is where most people trip up. Using the wrong drive or the wrong file format means your car simply won’t recognize the update.
Here’s what you need:
- SD Card systems (Gen 4, Gen 5): 32GB SDHC card, formatted to FAT32
- USB systems (Gen 5W, Premium Gen 5): 64GB USB drive, formatted to exFAT
A few rules that matter:
- Don’t use a micro-SD card with an adapter. The extra contact points can fail mid-install due to heat and vibration, throwing error CODE 204 (ERR_REMOVED_FLASHDRIVE)
- Use a UHS-I speed class card or faster — slow media causes the head unit to time out
- Some newer Gen 5W systems use USB-C ports, so check your port type before you buy a drive
Step 2: Download the Navigation Updater App
Head to update.hyundai.com and download the Navigation Updater (NaU) application. It’s available for Windows 10/11 and macOS.
A few things to note before installing:
- You’ll need at least 1GB free on your C: drive for the app itself
- The actual map data needs 20–30GB of temporary storage to unzip and verify
- On macOS, your system might block the install. Go to System Preferences → Security & Privacy → Open Anyway to get past it
Step 3: Download the Map Update
Open the Navigation Updater and log into your MyHyundai account — your vehicle should already be linked. No account? You can also enter your VIN directly as a guest.
The app will:
- Identify your system and pull the correct firmware package
- Download map data (typically 12–30GB depending on your system)
- Decompress and verify the files using checksum algorithms
- Write the verified data to your USB/SD card
Use a stable, fast internet connection. Don’t disconnect your drive during the write process.
Step 4: Install the Update in Your Car
This is the step people rush — and it’s the most important one.
Power rules first:
- Keep the engine running throughout the install, or at minimum keep the ignition in “ON” mode
- Don’t use ACC mode — your car’s battery-saver logic can cut power automatically and brick the head unit
- Don’t start the engine mid-install. The power drop from the starter motor can corrupt the install
Installation steps by system type:
- Standard Gen 4/5 (SD card): Insert the SD card, then go to All Menus → Setup → General → SW Info/Update
- Standard Gen 1 (USB): Plug in the drive; a prompt appears automatically. Select your map region and accept the terms
- Premium Gen 2/5: Navigate to Setup → General → Version Info or SW Info/Update
- Gen 5W (Widescreen): You’ll get two options — Quick Update (faster, disables radio and camera during install) or General Update (slower, keeps some features running until reboot)
Install time ranges from 20 minutes to over 100 minutes depending on your system. Don’t touch anything until it’s done.
How OTA Updates Work on Newer Hyundai Models
If you’re driving a 2024+ Bluelink-equipped vehicle, here’s the deal: Hyundai’s OTA system downloads updates automatically in the background while you drive. When it’s ready, you get a one-tap prompt on your screen to approve the install.
| Feature | OTA Updates | Manual Updates |
|---|---|---|
| Download method | Automatic via 4G/5G cellular | Manual via PC + NaU tool |
| Install time | ~10 mins (software) / ~100 mins (maps) | 20 mins to 3 hours |
| User effort | One tap to approve | Media handling + menu navigation |
| Requirements | Active Bluelink account + cell coverage | PC, USB/SD drive, NaU software |
Hyundai covers OTA map updates free for three years for eligible 2024+ models under Bluelink+. After that, a subscription fee applies. Some owners have found a standalone Map OTA subscription for around $25/year — worth checking in your Bluelink account settings.
The most advanced Hyundai vehicles now run the Connected Car Navigation Cockpit (ccNC) platform. This system handles updates even faster, often completing them without any owner involvement during the download phase.
Common Errors and How to Fix Them
PC-Side Errors
| Error Code | What It Means | Fix |
|---|---|---|
| CODE 1 (ERR_FILE_SIZE) | Downloaded file doesn’t match server data | Restart the Navigation Updater; check your internet connection |
| CODE 3 (ERR_UNZIP_FAIL) | Corrupted download segment | Restart download; clear temp files on your C: drive |
| CODE 6 (ERR_DOWNLOAD) | Firewall blocking the connection | Whitelist Navigation Updater in Windows Defender Firewall; look under Allow an App through Firewall |
Media-Side Errors
| Error Code | What It Means | Fix |
|---|---|---|
| CODE 201 (ERR_COPY) | Write interrupted during transfer | Try a different USB port; reformat the drive |
| CODE 203 (ERR_FILE_CRC) | Data on the drive is corrupted | Reformat to FAT32 or exFAT; retry the download |
| CODE 204 (ERR_REMOVED_FLASH) | Drive disconnected or SD card is locked | Check the SD card’s lock switch — it should be in the UP (unlocked) position |
Pro tip: If you keep getting media errors, use the “Hard Disk Copy” method. In the Navigation Updater, choose Hard Disk as your save location instead of writing directly to the drive. Once the download finishes on your desktop, manually format your USB/SD card and copy the files to the root directory using Ctrl+C and Ctrl+V. This workaround bypasses most write errors.
Why Keeping Your Maps Updated Actually Matters
Roads change at roughly 15% per year. That means in two years, nearly a third of what your nav knows could be outdated. That’s not just annoying — outdated speed limit data can affect ADAS features like Smart Cruise Control and Highway Driving Assist, which pull speed limits directly from the navigation database.
Beyond map accuracy, updates often include firmware patches that fix Bluetooth pairing bugs, voice recognition issues, and general system lag.
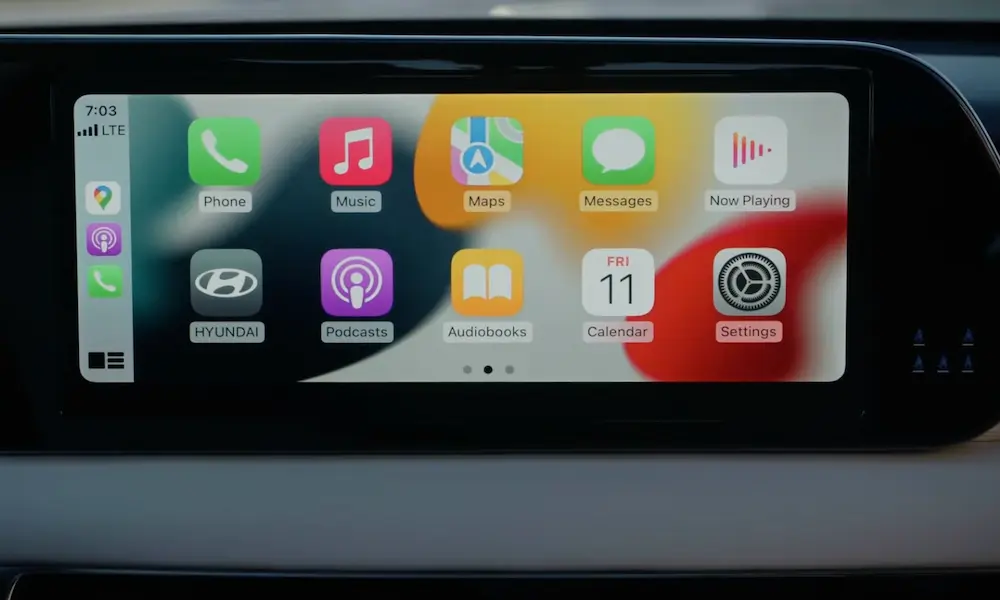
Here’s a bonus most people don’t know: certain 2014–2017 Hyundai models that shipped without Apple CarPlay or Android Auto can gain those features through a map update. That’s a serious upgrade for free.
Hyundai releases updates twice a year — Spring and Fall. Set a reminder and keep your system current. Your nav will thank you.