That little orange light just came on, and you don’t have a scanner nearby. Good news — your Hyundai might already have everything you need to read those codes. Keep reading, and you’ll know exactly what to do.
What’s Actually Happening When That Light Turns On
Your Hyundai’s onboard computer watches everything — fuel delivery, emissions, ignition timing, sensor readings. When something falls outside its acceptable range, it stores a diagnostic trouble code and flips on the check engine light.
That code doesn’t disappear just because the light annoys you. It sits in the computer’s memory, waiting to be read.
Here’s the thing: depending on your Hyundai’s model year, you may not need a scanner at all. The car can tell you what’s wrong using its own display, its key cylinder, or even your phone.
First, Know Your Hyundai’s Era
The method you’ll use for pulling Hyundai check engine codes without scanner depends almost entirely on your vehicle’s age. There are three distinct hardware generations:
| Connector Type | Typical Year Range | Best Manual Method |
|---|---|---|
| 12-Pin Proprietary | 1986–1995 | Jumper wire blink codes |
| 20-Pin Proprietary | 1996–2009 | Ignition sequence / key dance |
| 16-Pin OBD-II Standard | 1996–Present | Odometer button / key cycle / Bluelink |
Find your car’s year, match it to the right column, and then follow the matching method below.
Method 1: The Key Cycle (“Key Dance”) for 1996–2015 Models
This is the most widely used trick for checking engine light codes without a scanner. It works on most Hyundai Elantra, Sonata, Tucson, and Accent models from the early 2000s through the mid-2010s.
Here’s how you do it:
- Sit in the car. Turn off the radio, AC, and headlights.
- Insert the key. Don’t start the engine.
- Quickly turn the key from Off → On → Off → On → Off → On. Do this three to five times fast. End with the key in the On position.
- Watch your instrument cluster. It’ll run through a full lamp test first — every light on the dashboard will flash.
- After the sweep, alphanumeric codes will appear on your digital display. Write them down.
If no faults exist, the display will show “Done,” “0000,” or dashes.
Pro tip: The sequence needs to be fast. If you do it slowly, the computer won’t recognize it as a diagnostic trigger. Practice the rhythm a couple of times before you try it for real.
Method 2: The Odometer Button Method for 2015–2025 Models
Newer Hyundai models — including the Kona, Ioniq, Palisade, and Santa Fe — use this approach instead. Your trip odometer reset button becomes your diagnostic interface.
Follow these steps:
- Make sure the ignition is fully off.
- Switch your display to show total mileage (not a trip meter).
- Press and hold the “Reset” button or the “OK” button on the steering wheel.
- While holding the button, turn the ignition to “On.” For push-button start models, press the start button twice without touching the brake pedal.
- Hold the button until the dashboard completes its startup sweep.
- Release. The display will enter diagnostic mode. Use the same button to toggle through stored codes.
This method is especially useful for catching pending codes — faults that have happened but haven’t yet hit the threshold to permanently light up the check engine light.
Method 3: Bluelink App for 2019–2025 Connected Models
If your Hyundai has an active Bluelink subscription, your phone is your scanner. It’s genuinely that straightforward.
Two ways to use it:
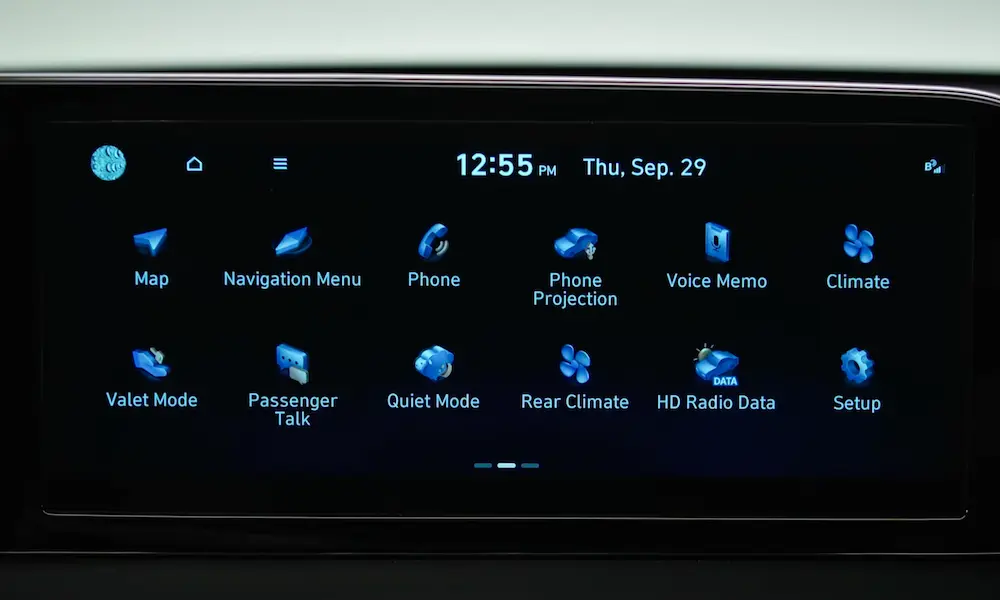
- On-demand scan: Go to your vehicle’s touchscreen → select “Vehicle Diagnostics” → the system scans your engine, transmission, and safety systems and displays any active codes right on the screen.
- Monthly health reports: The MyHyundai app automatically generates a monthly report tracking historical codes, tire pressure, and mileage — so you often see problems before the light even comes on.
If you’re on a 2022+ Hyundai with the newer infotainment system, there’s also an engineering mode hidden inside the settings menu that gives you real-time module data. It’s deep, though — best left for those who know what they’re looking at.
Method 4: Blink Codes for Pre-1996 Hyundais
If you’re working on an older Hyundai — think early Accent, Sonata, or Excel — the car doesn’t have a digital display to show codes. Instead, it communicates through the check engine light itself, using a blink pattern.
Setting It Up
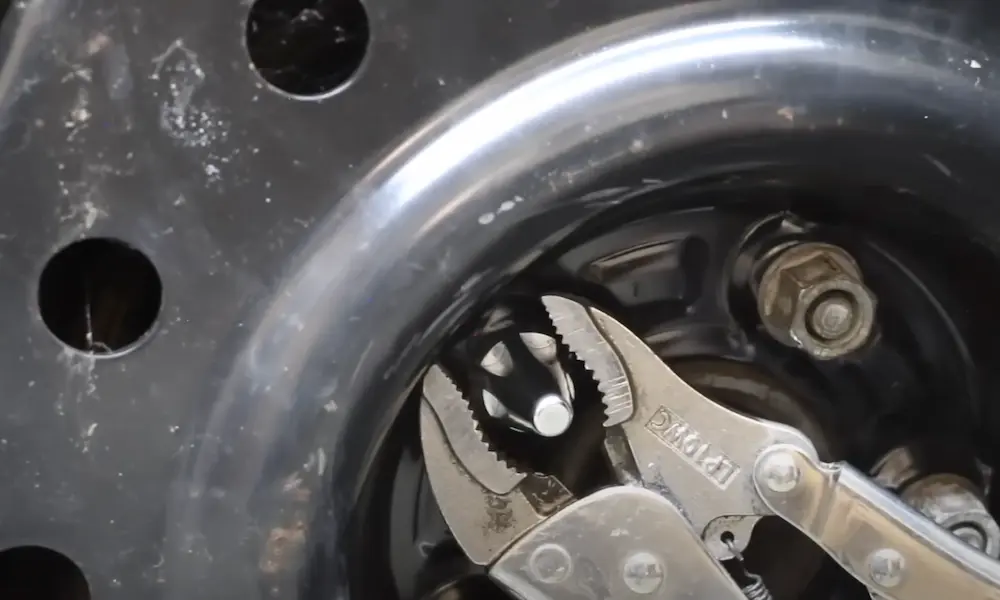
You’ll need a short jumper wire (or a metal paperclip in a pinch).
- Find the 12-pin or 20-pin diagnostic connector — it’s usually under the dashboard on the driver’s side, or in the engine bay near the battery.
- Insert the jumper between the ground terminal and the diagnostic test terminal. On most Hyundai 12-pin connectors, those are the two rightmost terminals in the top row.
- Turn the ignition to “On” without starting the engine.
- Watch the check engine light. It’ll start flashing.
Reading the Pattern
The light uses long flashes (about 1.2 seconds) for the tens digit and short flashes (about 0.5 seconds) for the ones digit. A 3-second pause separates different codes.
| Flash Sequence | Code | What It Means |
|---|---|---|
| 1 Long, 2 Short | 12 | System normal — diagnostic start marker |
| 1 Long, 3 Short | 13 | Oxygen sensor circuit open |
| 1 Long, 4 Short | 14 | Coolant temperature sensor (high resistance) |
| 2 Long, 1 Short | 21 | Engine coolant temperature out of range |
| 2 Long, 4 Short | 24 | Air intake temperature sensor fault |
| 3 Long, 1 Short | 31 | Crankshaft position sensor fault |
| 4 Long, 1 Short | 41 | Throttle position sensor circuit |
| 5 Long, 5 Short | 55 | End of diagnostic sequence |
Code 12 typically flashes three times at the start. That’s the system confirming it’s functional — not an actual fault.
What Those Codes Are Actually Telling You
Once you’ve got a code, you need to understand what it points to. Every OBD-II code follows the same structure:
- First character = system (P = Powertrain, B = Body, C = Chassis, U = Network)
- Second character = 0 means generic across all brands; 1 means Hyundai-specific
- Third character = subsystem (1–2 is fuel/air, 3 is ignition, 4 is emissions, 7–9 is transmission)
- Last two digits = specific fault within that subsystem
The Most Common Hyundai Codes You’ll See
| Code | What It Means | Likely Cause |
|---|---|---|
| P0101 | MAF sensor performance | Dirty or contaminated sensor wire |
| P0128 | Coolant below thermostat threshold | Thermostat stuck open |
| P0171 | Fuel system too lean (Bank 1) | Vacuum leak or weak fuel pump |
| P0300 | Random cylinder misfire | Worn spark plugs or moisture in fuel |
| P0420 | Catalyst efficiency below threshold | Degraded catalytic converter |
| P0442 | EVAP small leak | Loose or cracked gas cap |
| P1326 | Knock sensor detection system | Connecting rod bearing wear — urgent |
P1326: Don’t Ignore This One
The P1326 is Hyundai-specific and it’s serious. This code means the Knock Sensor Detection System has picked up engine block vibrations that suggest connecting rod bearing wear. When this triggers, your car will enter limp mode — capping RPMs at roughly 2,000–3,000 to limit load on the bearings.
If you ignore it and keep driving normally, the connecting rod can punch through the engine block entirely. This code has been the subject of multiple NHTSA complaints and investigations involving Hyundai’s Theta II engines. Get it checked immediately.
Steady Light vs. Flashing Light: Know the Difference
Before you decide how urgent this is, look at how the light behaves:
| Light Behavior | Severity | What to Do |
|---|---|---|
| Steady yellow/orange | Moderate | Drive to a shop soon — not an emergency |
| Flashing yellow/orange | Critical | Pull over and shut off the engine now |
| Red oil or temperature symbol | Emergency | Stop the engine immediately |
A flashing check engine light means there’s an active misfire. Unburned fuel is hitting your catalytic converter, which can push temperatures past 1,200°F. That destroys the converter and creates a real fire risk. Don’t drive it — stop and call for help.
Don’t Just Disconnect the Battery to Clear Codes
A lot of people disconnect the battery to turn off the check engine light. It works — temporarily. But it creates three problems you probably don’t want:
1. Your readiness monitors reset.
Your car runs internal self-tests on its emissions systems. Disconnecting the battery wipes those tests back to “Incomplete.” Take it for an emissions inspection with incomplete monitors and you’ll fail — even with no codes.
2. The car forgets what it’s learned.
The PCM stores adaptive memory — fuel trims, idle adjustments, transmission shift points — all customized to your specific engine’s wear. Wipe that, and you get rough idling, harsh transmission shifts, and poor fuel economy for the first 50–100 miles while it relearns.
3. On EVs and hybrids, it’s worse.
The 12-volt battery on an Ioniq 5 or Kona EV powers the computers that check the high-voltage system before startup. Disconnecting it can cause a system lockout where the car refuses to enter “Ready” mode. Some require a full steering angle sensor relearn procedure before they’ll operate normally again.
If you’ve repaired the actual problem and want to confirm the fix, do a proper Hyundai drive cycle instead:
- Cold start after 8+ hours of sitting
- Idle for 2–3 minutes to reach operating temperature
- City drive for 20 minutes with at least four idle stops
- Highway cruise at 55+ mph for 10–15 minutes
- Coast down from 55 mph to 20 mph without braking
If the light doesn’t come back, the repair worked. If it returns, the fault is still there.
A Quick Word on Gas Cap Codes
P0442 and P0456 are two of the most common Hyundai check engine codes people pull without a scanner. Both involve the EVAP system, and both are frequently caused by nothing more than a gas cap that isn’t fully tightened, has a cracked seal, or is slightly warped.
Before you do anything else with an EVAP code, remove the gas cap completely, inspect the rubber seal, and reinstall it firmly. Give it an extra quarter-turn past the click. Then reset the code using the key cycle method and run a drive cycle. Sometimes that’s genuinely all it takes.