Cracked side mirrors aren’t just unsightly – they’re unsafe and potentially illegal. If you’ve noticed damage to your Subaru’s side mirror, you’re looking at either a DIY project or a potentially expensive repair bill. But don’t worry! With the right tools and guidance, replacing your Subaru side mirror can be a straightforward weekend project that saves you hundreds of dollars.
Why Replace Your Subaru Side Mirror?
Side mirrors are crucial safety features that give you visibility of vehicles in adjacent lanes. Driving with a damaged mirror isn’t just dangerous – it might earn you a traffic ticket ranging from $50-$200 depending on your location.
Beyond legal concerns, damaged mirrors can:
- Reduce your peripheral vision
- Compromise your Subaru’s EyeSight driver-assist systems
- Create an unsightly appearance on your otherwise pristine vehicle
- Lead to water damage if the seal is compromised
What You’ll Need for the Job
Before diving into your Subaru side mirror replacement, gather these essential tools:
- Phillips head screwdriver
- Interior trim tool set (plastic pry tools)
- Ratchet with extensions
- 8mm socket (for most Subaru models)
- Microfiber cloths
- Work gloves
- Masking tape (to protect paint)
For electrical mirrors, you may want to:
- Disconnect the vehicle’s battery
- Have wire labels handy
- Use needle-nose pliers for electrical connectors
Sourcing the Right Replacement Mirror
Finding the correct mirror for your specific Subaru model is critical. You have several options:
OEM Parts
Original Equipment Manufacturer parts are identical to what came on your car. A complete Subaru door mirror assembly typically costs $120-$200 depending on your model. These can be purchased from:
- Subaru dealerships
- Online retailers like SubaruPartsPros
- My Auto Parts
Aftermarket Options
These mirrors can save you money but may vary in quality. Prices typically range from $70-$150. Be extra careful about compatibility, especially with:
- Heated mirrors
- Auto-dimming features
- Turn signal integration
- Blind-spot monitoring
Salvage/Used Parts
For older Subaru models, salvage yards offer significant savings. Just verify the mirror is fully functional before purchasing.
Step-by-Step Replacement Guide
1. Preparing the Door Panel
- Roll down the window to access all areas of the door panel
- Remove the triangular trim piece inside the door using a plastic trim tool
- Unscrew the door handle and grab handle with your 8mm socket
- Carefully detach the power window and mirror switch panel (if applicable)
- Disconnect electrical connectors by pressing retention tabs
2. Removing the Door Panel
- Starting at a bottom corner, carefully pry the door panel away from the door frame
- Work your way around the edges, listening for the plastic clips releasing
- Once loose, lift the panel upward to remove it from the door
- Carefully set the panel aside where it won’t get damaged
- If your door has a water barrier (plastic sheet), gently peel it back or remove it
3. Removing the Old Mirror
- Locate the mirror mounting bolts (typically three) on the inside of the door frame
- Disconnect the mirror’s electrical connector by pressing the tab and pulling apart
- Support the mirror from the outside as you remove the final bolt
- Carefully remove the mirror assembly from the door
4. Installing the New Mirror
- Feed any electrical wiring through the door access hole
- Position the new mirror assembly, ensuring alignment pins seat properly
- Hand-tighten the mounting bolts before final torquing (13-18 in-lbs if specified)
- Connect the electrical harness – it should click when properly seated
- Test mirror functions (heating, adjustment) before reassembling the door panel
5. Reassembling the Door
- Reapply the water barrier if removed, using sealer if the adhesive was damaged
- Position the door panel and align the top edge first
- Press firmly around all edges to engage the clips
- Reinstall all screws and trim pieces
- Test window and mirror functions
Cost Breakdown: DIY vs Professional Repair
DIY Costs
- Basic mirror assembly: $120-$200
- Premium mirror (heated/auto-dimming): $200-$450
- Basic tool kit (if needed): $30-$50
- Paint matching (if required): $50-$100
Total DIY Cost: $150-$500
Professional Repair Costs
- Labor: $140-$264
- Parts: Same as DIY costs
- Shop supplies and fees: $20-$50
- Dealership premium: Often 20-30% higher
Total Professional Cost: $300-$700
Special Considerations for Different Subaru Models
Forester
Forester models from 2019 onward often include EyeSight technology that may require special calibration after mirror replacement. The installation process involves careful handling of related components.
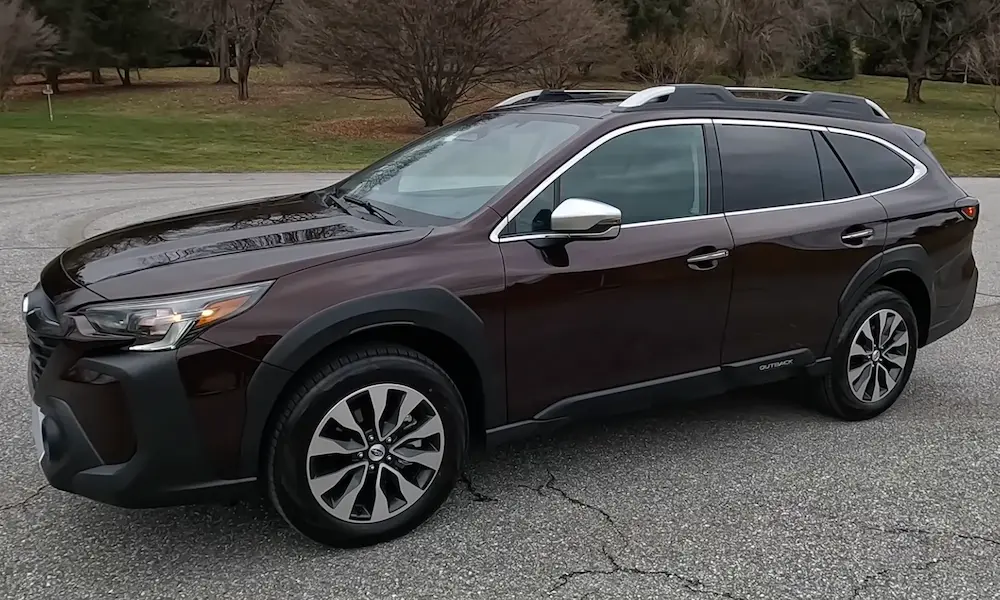
Outback
Many Outbacks feature complex mirror systems with integrated turn signals and blind-spot monitoring. Replacement costs tend to be higher due to these advanced features.
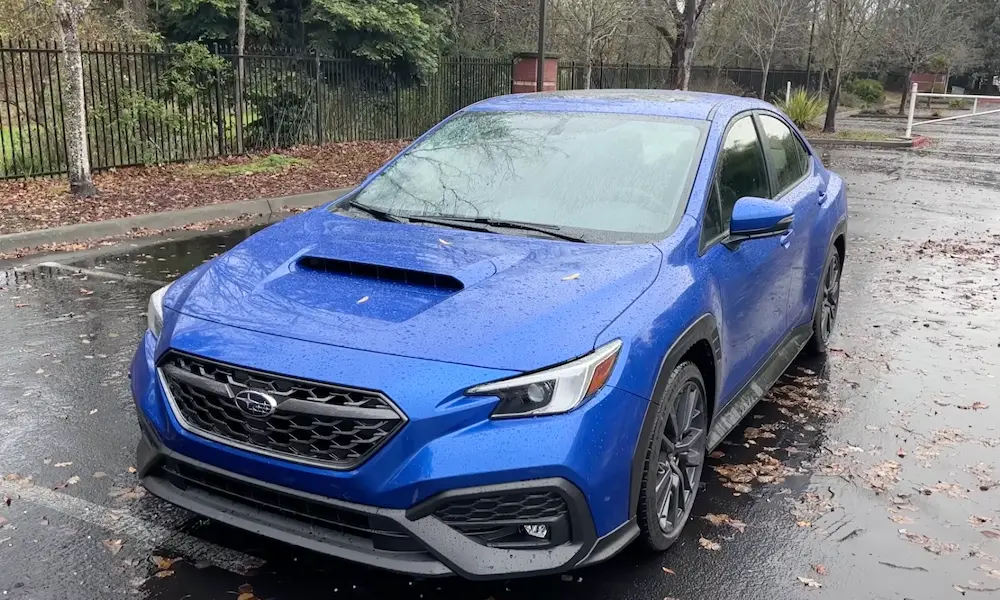
Impreza and WRX
These sportier models often have streamlined mirror designs that are somewhat easier to replace. However, special mirror caps or carbon fiber housings may require additional steps.
Legacy
Similar to the Outback, newer Legacy models may include advanced safety systems in their mirrors that require proper reconnection and testing.
Common Problems and Solutions
| Problem | Likely Cause | Solution |
|---|---|---|
| Mirror won’t adjust | Disconnected/damaged wiring | Check electrical connections, ensure proper seating |
| Mirror heater not working | Blown fuse or bad connection | Test fuse, verify proper wiring connection |
| Looseness or vibration | Undertightened mounting bolts | Retighten to proper specification |
| Door panel clips broken | Over-aggressive removal | Replace clips (available at parts stores) |
| Paint mismatch | Different production batches | Consider professional color matching |
Advanced Mirror Features
Modern Subaru models include increasingly sophisticated mirror technology:
Blind Spot Detection
Mirrors with blind spot monitoring contain sensors that may need calibration after replacement. Some Subaru documentation indicates dealership tools might be required for proper setup.
Auto-Dimming
These mirrors automatically darken in response to headlight glare and typically connect to additional wiring harnesses. Take care to reconnect all wires properly.
Power Folding
If your Subaru has power-folding mirrors, expect additional wiring and mechanical components. Test folding function before finalizing installation.
Approach Lighting
Some premium mirrors include ground illumination that activates when approaching the vehicle. These require proper electrical connection to function.
Is DIY Right For You?
Consider these factors before deciding to replace your Subaru side mirror yourself:
DIY is likely a good option if:
- You have basic mechanical skills
- Your mirror damage is confined to the mirror itself
- You have access to the necessary tools
- The replacement is for a simpler, older model
Consider professional help if:
- Your mirror includes blind-spot monitoring
- You’re uncomfortable working with electrical components
- Your vehicle is under warranty (DIY could void coverage)
- The mirror housing requires paint matching
- Your mirror integrates with advanced driver assistance systems
Maintaining Your New Mirror
Once installed, protect your investment with these tips:
- Adjust your garage parking to avoid mirror contact with walls
- Fold mirrors when using automated car washes
- Clean mirror glass regularly with ammonia-free cleaner
- Apply a rain repellent coating for improved visibility
- Check mirror adjustment weekly for optimal safety
Replacing your Subaru side mirror might seem daunting at first, but with patience and the right approach, it’s a satisfying DIY project that can save you significant money. Remember to take your time, organize parts as you go, and don’t hesitate to seek professional help if you encounter any challenges beyond your comfort level.