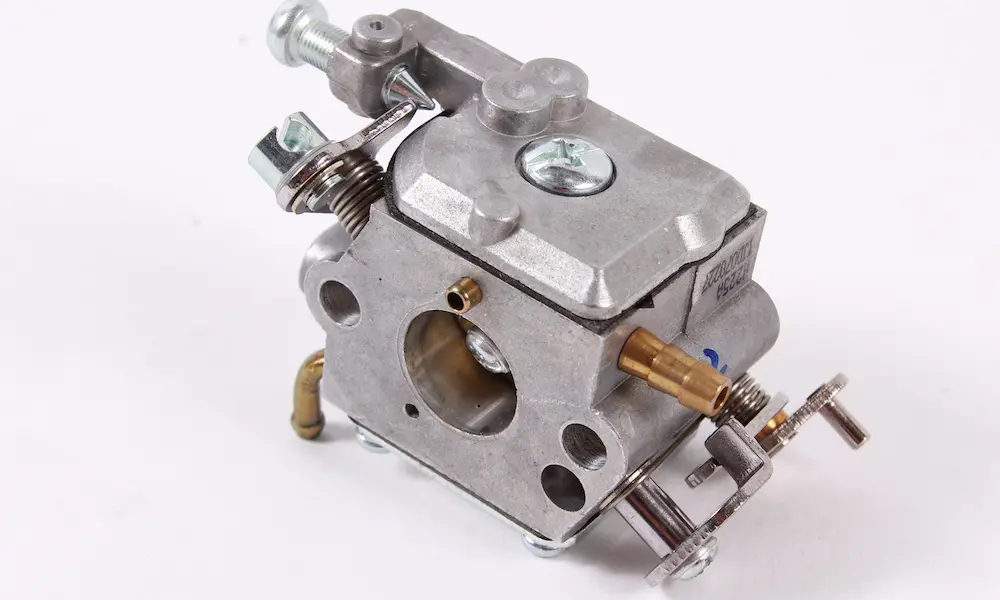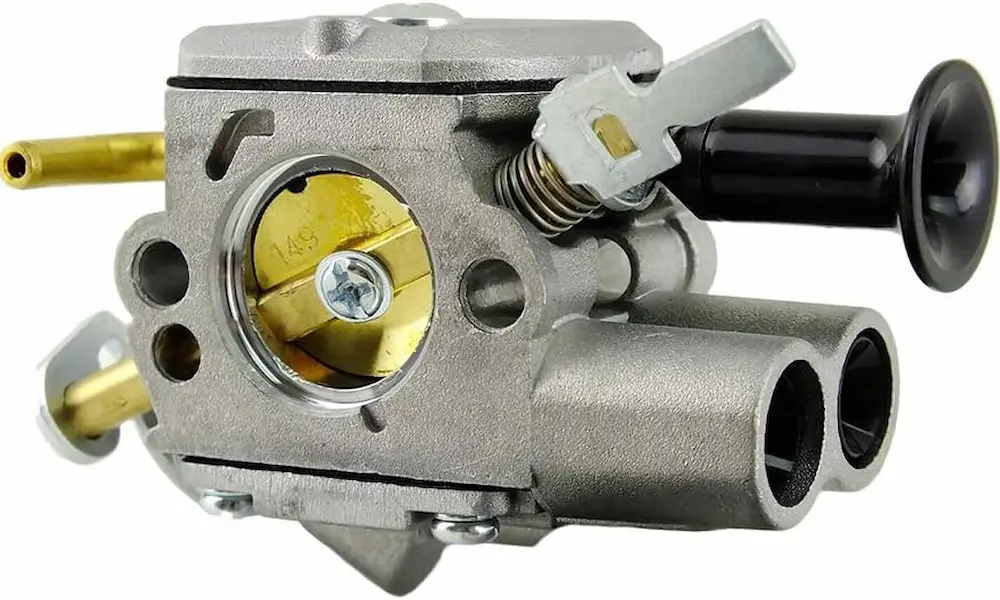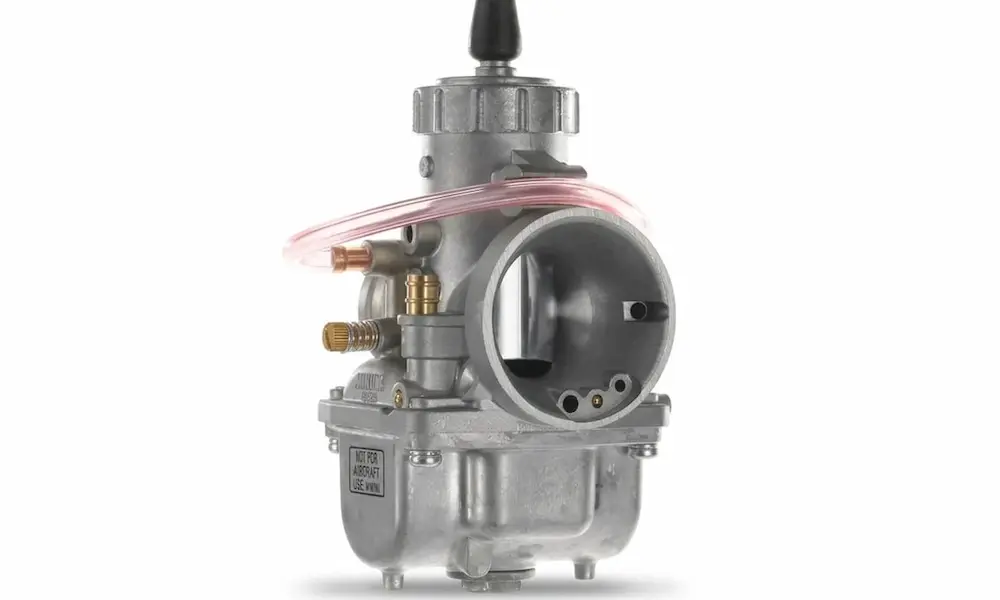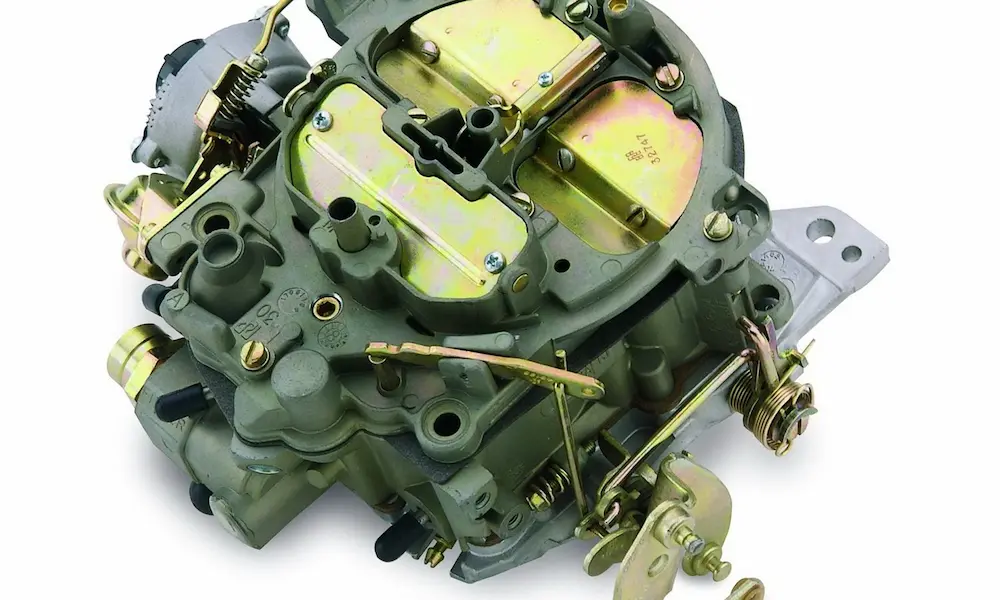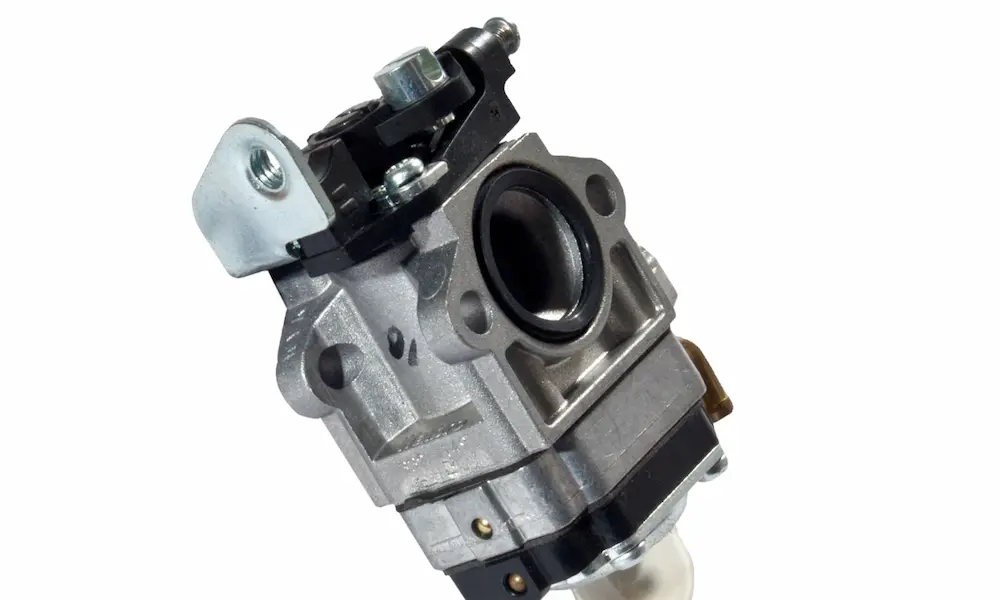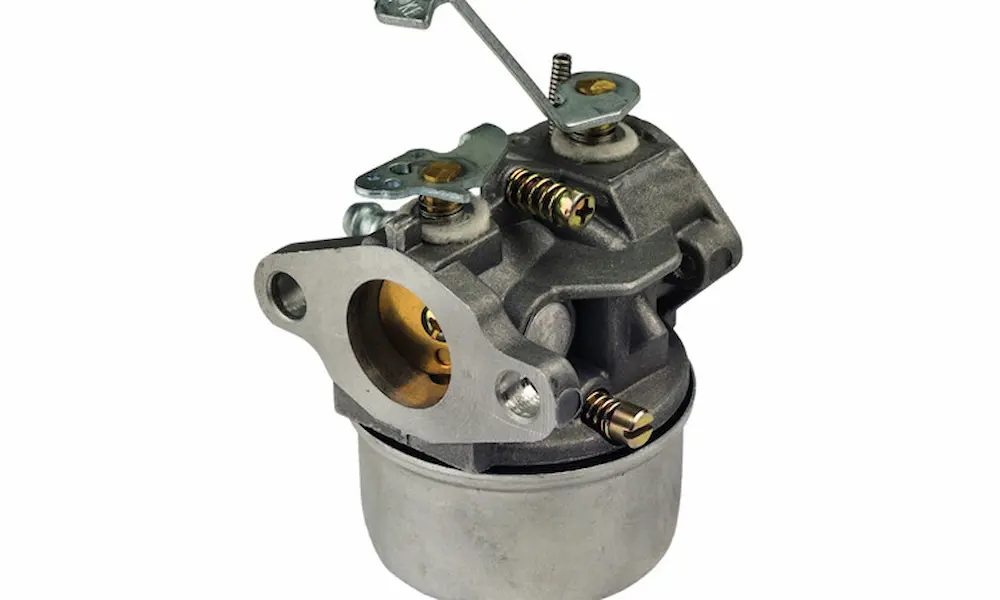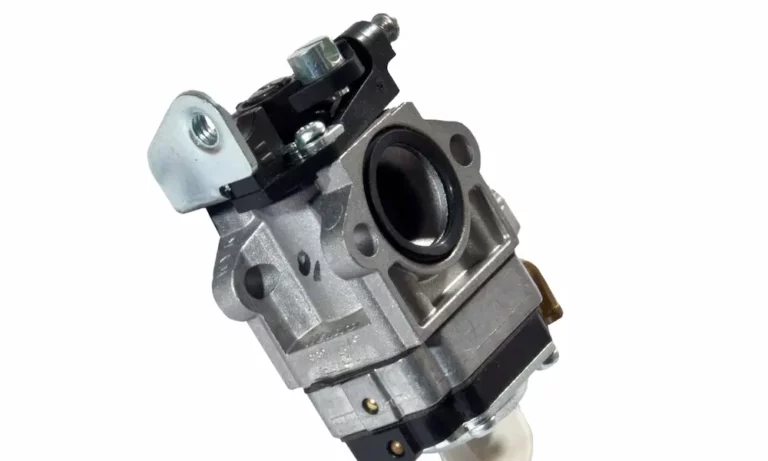
Your chainsaw bogs the second you touch the throttle. Your trimmer idles fine until it doesn’t. Nine times out of ten, the culprit sits right there under the air filter. A Walbro carburetor rebuild sounds like a job for a shop, but it’s really just patience, clean hands, and a few cheap parts. Work through this guide and you’ll have that engine screaming again — or at least idling like it means it.
Why Walbro Uses a Diaphragm Instead of a Float Bowl
A standard four-cycle engine leans on gravity. Fuel drops into a float bowl, the bowl stays full, and the engine sips from it. That works great when the engine stays upright.
Portable equipment never stays upright. Chainsaws, brush cutters, leaf blowers, and paramotors all run sideways or upside down. So Walbro swapped the float bowl for a sealed metering chamber with a flexible diaphragm, and replaced gravity feed with a built-in pump driven by crankcase pressure.
Two results follow from that design:
- The carb works in any orientation.
- The carb holds a precise air-to-fuel ratio — about 14.6 pounds of air to one pound of gasoline — across wildly different loads, speeds, and altitudes.
Air rushing through the venturi creates a low-pressure zone that pulls fuel out of the metering chamber through the main nozzle. Everything else in the carb exists to keep that chamber at the right level. Which is why a rebuild lives or dies on two subsystems: the pump and the metering side.
How the Fuel Pump Actually Moves Fuel
There’s no electric pump and no camshaft lobe here. Your engine’s crankcase does the work.
As the piston rises, the crankcase below it pulls a vacuum. That pulse travels up an impulse channel — either a tiny drilled passage through the manifold flange or a rubber impulse line — and reaches the carb. The vacuum yanks the pump diaphragm up, which grows the pump chamber volume and drops its pressure. That suction opens the inlet check valve and pulls fuel from the tank, through the in-tank filter, and into the pump chamber.
The piston comes down, the crankcase pressurizes, and the pulse reverses. The diaphragm pushes down, compresses the fuel, slams the inlet check valve shut, and forces the outlet check valve open. Fuel gets driven into the internal passages toward the metering chamber.
That cycle repeats dozens to hundreds of times per second. Fuel delivery never depends on gravity.
Impulse Channel Integrity
Here’s where a lot of rebuilds quietly fail. On engines with an internal impulse port, the mounting gasket between the carb and the manifold has a small hole that must line up exactly with the impulse passage. Flip that gasket or shift it a millimeter and you partly or fully block the signal. The pump goes limp.
You’ll see the symptom clearly: the engine fires on primer fuel, then leans out and dies, or refuses to rev past idle. Southwest Airsports has a solid write-up on carburetor gasket misalignment that shows how easy this trap is to fall into.
Two tricks prevent it. Put a microscopic dab of RTV on the gasket to tack it to the manifold before assembly. Or slide a drill bit matching the impulse port diameter through both the manifold and gasket holes as a temporary alignment dowel while you torque the mounting bolts.
External impulse lines fail differently. Heat and petroleum distillates harden the rubber until it cracks or collapses under vacuum. A leaking impulse line vents crankcase pressure to atmosphere and kills the pump outright.
Inside the Metering System
Fuel that makes it past the inlet needle lands in the metering chamber — the carb’s replacement for a float bowl. One side of that chamber is sealed by the metering diaphragm. The dry side of the diaphragm breathes ambient air through a small vent in the cover plate.
The system runs on a delicate balance of spring tension and pressure differential:
- At rest, the metering spring pushes the metering lever up, holding the inlet needle seated and shutting off fuel.
- When the engine runs, venturi vacuum pulls on the idle, transition, and high-speed ports, dropping pressure inside the chamber.
- Atmospheric pressure now pushes the metering diaphragm inward, depressing the lever.
- The lever lifts the inlet needle off its seat, letting pressurized fuel refill the chamber.
- As fuel volume normalizes, vacuum drops, the spring re-seats the needle, and the cycle repeats.
This modulation happens continuously, matching fuel supply to real-time demand. The metering spring is tiny. It is also the single most important tuning component in the carb — remember that when we get to pop-off pressure.
Ethanol Changed What’s Inside Your Carb
US pump gas now carries up to 10% ethanol, plus octane boosters like MTBE. Ethanol is a solvent. It attacks nitrile rubber, leaving it stiff, swollen, brittle, or gone.
Walbro adapted. The inlet needle tip is now often red viton instead of plain rubber. Modern metering and pump diaphragms come in woven fiberglass coated with advanced polymers, or rigid black acetate. The official Walbro diaphragm service manual documents these material generations, and rebuild kits sometimes include several diaphragm versions so you can match your casting’s era.
Translation: if you rebuild with a kit from the 1990s sitting on a shelf, don’t expect it to survive a season of ethanol.
Prep Work That Saves You an Hour of Cursing
Set up before you touch a screw.
Cover your bench with a clean white towel. Parts like inlet needles, metering springs, and fulcrum pins are absurdly small, and a white textured surface keeps them from rolling into the void and makes brass and steel pop visually. Ventilate the space and kill every flame, spark, and pilot light — aerosol solvent plus atomized gasoline is a real hazard. Wear eye protection.
When you pull the carb off the engine, label every hose. Most units have a fuel supply line, often a return line on purge-equipped models, and sometimes an external impulse line. Swap supply and return, or misroute the impulse, and you get either a no-start or a fuel leak.
Teardown: One Side at a Time
Isolate the pump side from the metering side so your parts stay organized.
Pump Side
Remove the central screw or the four perimeter screws holding the pump cover, then lift the cover. The pump diaphragm and gasket may be glued on by years of heat and varnish. Peel them gently — gouging the aluminum casting is a permanent mistake. Pegasus Racing’s Walbro WB-3A rebuild instructions walk the sequence well.
Underneath sits the inlet filter screen, recessed deep in the casting. Fish it out with a hooked dental pick catching the rigid outer lip — never pierce the mesh. A punctured screen lets debris through, and that debris will eventually hold the inlet needle open and flood your engine.
Metering Side
Flip the carb and remove the four screws holding the larger metering cover. Then slow down. On many models, the center plate of the metering diaphragm has a slotted pin hooked into the forked end of the metering lever. Pull straight up and you’ll bend that lever, wrecking the fuel curve. Slide the diaphragm sideways to unhook the pin first.
Now you can see the lever, pivot pin, spring, and needle. Loosen — don’t necessarily remove — the screw clamping the pivot pin, cover the lever with a finger, and slide the pin out. That compressed spring holds real energy and will launch parts across the room. Lift the lever and spring out, then pull the inlet needle from its brass seat. Handle the metering spring like it’s made of glass. Stretch it or crush it and you’ve changed the carb’s pop-off pressure.
Mixture Needles and Limiter Caps
Modern US-market carbs hide the high- and low-speed needles under red or black plastic limiter caps, mandated by the EPA and CARB to keep tuning inside emission limits. At high altitude or on a worn engine, that limited range often isn’t enough, so deep service means removing them.
Rotate each cap until its locking tabs line up with the relief notches cast into the body, then pull it free using a hooked dental pick or a coarse drywall screw threaded into the cap center. Don’t strip the brass needle splines.
With the caps off, turn each needle clockwise until it lightly seats, counting turns and fractions, and write it down. Seating too hard scores the soft brass orifice and ruins the carb body. Back the needles out fully, then inspect their tips under magnification — any grooving, flattening, or stepping means replace them. Pull the tiny brass washer and rubber O-ring from the high-speed port, since those rubber bits will melt during cleaning.
Cleaning: Why Ultrasonic Beats Spray Cans
A rebuild is only as good as the cleaning. Decades of evaporated gas leave varnish, shellac, and carbon packed into passages you can’t see.
Aerosol cleaner is convenient but forceful. Blast it full-tilt into the wrong passage and you can deform the main nozzle check valve or the pump’s internal flapper valves. Manual brushing also can’t reach the blind-drilled capillary passages inside the casting.
Ultrasonic cleaning solves that. Piezoelectric transducers vibrate a stainless tank at roughly 40 kHz, creating alternating high- and low-pressure cycles in the fluid. Millions of microscopic bubbles form and then collapse violently — a phenomenon called cavitation. Those implosions act like tiny scrubbing brushes, lifting contamination from every surface, including intersecting drilled holes and blind cavities. iUltrasonic explains the mechanics in plain terms if you want the deeper version.
Two rules matter for safety and results:
- Never put flammable carb spray or volatile petroleum solvent in a standard ultrasonic tank. Heat plus rapid vaporization equals an explosion hazard unless you’re running an explosion-proof industrial unit.
- Use a water-based, biodegradable alkaline cleaner formulated with surfactants that dissolve organic varnish without pitting aluminum, zinc, or brass. Baron Blakeslee covers why carb cleaner doesn’t belong in an ultrasonic tank.
Degas fresh solution first. Run the tank a few minutes before adding parts so dissolved air escapes — trapped air cushions the ultrasonic energy and kills cavitation efficiency. Tovatech’s ultrasonic carburetor cleaning FAQ covers setup questions you’ll hit on day one. Then run a 20–40 minute heated cycle. Rinse with fresh water, and dry completely with moisture-free compressed air.
Deep Repairs That Fix Persistent Problems
New gaskets won’t cure everything.
Restoring the Inlet Needle Seat
If a fresh viton needle won’t hold pressure, the brass seat is dirty. Never touch it with a steel bit, scraper, or wire brush — scoring that soft brass permanently ends the carb’s ability to seal.
The bench trick: cut the sharp tip off a bamboo skewer to make a blunt flat end matching the seat diameter, chuck it in a rotary tool, add a microscopic dab of fine metal polish, and spin it in the seat for about ten seconds. Heat and friction make the bamboo conform to the seat’s exact angle while the polish lifts oxidation and varnish without changing the geometry. Flush with solvent afterward. This rescues carburetors that would otherwise hit the trash.
Welch Plugs
Welch plugs are small domed discs pressed into the body to seal the idle and transition galleries. Debris collects under them and starves the engine at low speed.
To pull one, use a 3 mm (or 7/64″) bit in a pin vise and turn it by hand into the plug’s dead center. The instant it breaks through, stop pushing. Then lever the plug sideways with a pin punch and pop it out. Flush the exposed cavity and all the idle holes with solvent and air.
Installing the new plug: seat it flat, dome facing out, then flatten the dome with a flat-faced punch slightly smaller than the plug. Flattening drives the edges outward into a tight interference fit. Many techs finish with a hairline ring of clear nail polish around the perimeter — a durable, fuel-resistant seal against micro-leaks. Southwest Airsports has detailed Welch plug removal and installation steps.
Main Nozzle Check Valve
Sitting in the venturi throat, this valve is one-directional: fuel flows out at wide-open throttle, but air can’t flow backward into the metering chamber at idle. When its flapper fails, air gets sucked backward during closed-throttle operation, wrecking the vacuum signal. Symptoms include erratic running, stalling at idle, a dangerous lean hesitation on acceleration, and raw fuel dripping from the throat when you let off the throttle.
Test it with a piece of soft rubber tubing pressed over the high-speed needle orifice. Alternating pressure and suction should give you a distinct popping as the disc opens and seals. If it’s seized open or the membrane is destroyed — often by someone blasting compressed air into it — you’ll need to press the old assembly out and press a new one in square.
Which Rebuild Kit Do You Actually Need?
Walbro sells two tiers. Picking wrong wastes money or leaves you short.
| Kit Type | What’s Inside | When to Use It |
|---|---|---|
| D / DG series (diaphragm and gasket) | Pump diaphragm, metering diaphragm, mounting gaskets — flexible parts only | Clean carb with age-hardened rubber and no mechanical wear |
| K series (complete overhaul) | Everything above, plus inlet needle, metering lever, metering spring, fulcrum pin, Welch plugs, and fuel screens | Heavy varnish, mechanical wear, unknown service history |
Anything that’s sat for years with old fuel gets a K-kit. No exceptions. Read the Walbro FAQ when you’re matching kit numbers to your model.
Reassembly: The Two Rules That Decide Everything
Stacking Order
This is the most common — and most destructive — reassembly error. The two sides stack in opposite orders.
Pump side: diaphragm flat against the bare casting first, then the thicker gasket, then the cover. The pump diaphragm’s flapper valves must lie flush against the machined inlet and outlet ports to seal. Put the gasket against the casting and you’ve created a gap. The pump produces no pressure and fuel just sloshes around in the chamber.
Metering side: thick gasket against the bare casting first, then the metering diaphragm, then the cover. That gasket is a depth spacer — it sets the diaphragm’s resting height above the lever. Get this backwards and the diaphragm sits too deep, pressing the lever down permanently and holding the inlet needle open. Result: raw fuel pouring through the carb, out the exhaust, and into the cylinder. Southwest Airsports shows the correct diaphragm and gasket fitting for the WG and WB series.
Metering Lever Height
Ask any small engine tech and they’ll tell you this is the most critical adjustment in the carb. The lever is the physical link between the diaphragm and the inlet needle.
Set it too high and the diaphragm hits it early and holds the needle open too long — rich mixture, heavy smoke, sluggish acceleration, flooding. Set it too low and the diaphragm has to stretch further to make contact, delaying needle opening and leaning the mixture. A lean two-cycle engine runs brutally hot without enough lubricating oil, which leads to piston scoring and seizure.
Use a proper gauge — Walbro 500-13 or the equivalent 500-528 — laid flat across the metering chamber. Each cutout on the gauge maps to a specific model family like WA, WT, HDA, or WJ. With the right cutout, the lever tip should just barely touch the gauge’s bottom surface. Walbro’s metering lever setting guide spells out the spec per family.
To adjust, never push down on the lever tip while it rests on the needle — you’ll crush the viton tip and score the seat. Hold the lever base near the pivot with one small screwdriver and gently bend the opposite end with a second tool.
Pop-Off Pressure: The Test That Tells You Everything
Once it’s back together, verify it before it goes anywhere near the engine. Hook a hand-operated pressure pump to the fuel inlet, submerge the carb in clear water, and pressurize to about 10 PSI. A good carb holds that pressure indefinitely. Bubbles tell you exactly where the failure is:
- From the venturi throat → inlet needle isn’t sealing
- From the metering cover vent → perforated or wrong-side-up metering diaphragm
- From the impulse port → ruptured or inverted pump diaphragm
Then keep pumping and watch for the pop-off — the pressure at which the needle is forced open and the gauge drops.
| Pop-Off Reading | What You’ll Feel | Fix |
|---|---|---|
| 10–15 PSI | Stable idle, crisp acceleration at any altitude | Nothing — it’s ready |
| Under 10 PSI | Runs rich, bogs on acceleration, floods when tilted | Stretch the metering spring evenly or fit a heavier one |
| Over 20 PSI | Runs lean, hesitates off idle, starves at wide-open throttle | Compress the spring slightly or fit a lighter one; check for corrosion |
That number comes almost entirely from the metering spring’s length and stiffness. Nail it and your carb becomes immune to barometric swings, weather changes, and altitude shifts.
A Quick Word on WYL Rotary Barrel Carbs
Most Walbro models — WA, WT, HDA — use a flat butterfly disc to meter air. The WYL series uses a rotating cylindrical barrel instead, common on compact commercial trimmers and blowers where throttle response is linear and space is tight.
The WYL has an inner idle needle running down the barrel’s center axis, epoxied in place at the factory to control fuel delivery across the whole throttle curve. Leave it alone. Breaking that seal destroys the calibration. Idle tuning happens through an external black screw or a concealed port under a white plastic plug on top of the barrel. Pull the plug, insert a 2.5 mm flathead, turn clockwise to peak lean idle, then back out counterclockwise until the idle smooths out. Replace the cap. Full details live in the Walbro WYL series service manual.
WYL carbs also run a real purge system — the primer bulb. Pressing it pushes trapped air out through an umbrella check valve and back to the tank. Releasing it pulls fresh fuel through the pump check valves, past the inlet needle, flooding the metering chamber and the bulb. That’s why these units start on one or two pulls.
Final Thoughts
A Walbro carburetor rebuild is not a gasket swap. It’s pneumatic logic, fluid dynamics, and calibration stacked into something the size of a deck of cards.
Respect the stacking order. Clean with cavitation instead of brute force. Polish that brass seat instead of scraping it. Set the lever height with a real gauge. Test the seal with pressure before you bolt anything back on. Do those things and a carb most shops would replace will run like it just left the factory — even on today’s ethanol-heavy fuel. Grab a K-kit, clear your bench, and take your time. Your saw will thank you.