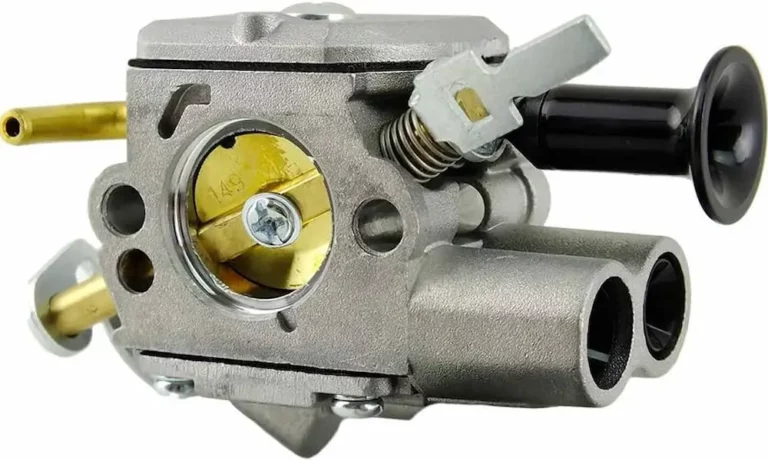
Is your Stihl chainsaw bogging, stalling, or running rough? Nine times out of ten, the carburetor needs adjusting. This guide walks you through every screw, every setting, and every trick — from factory baselines to limiter cap removal. Stick around to the end, because the troubleshooting table alone could save you a costly trip to the dealer.
What the Three Carburetor Screws Actually Do
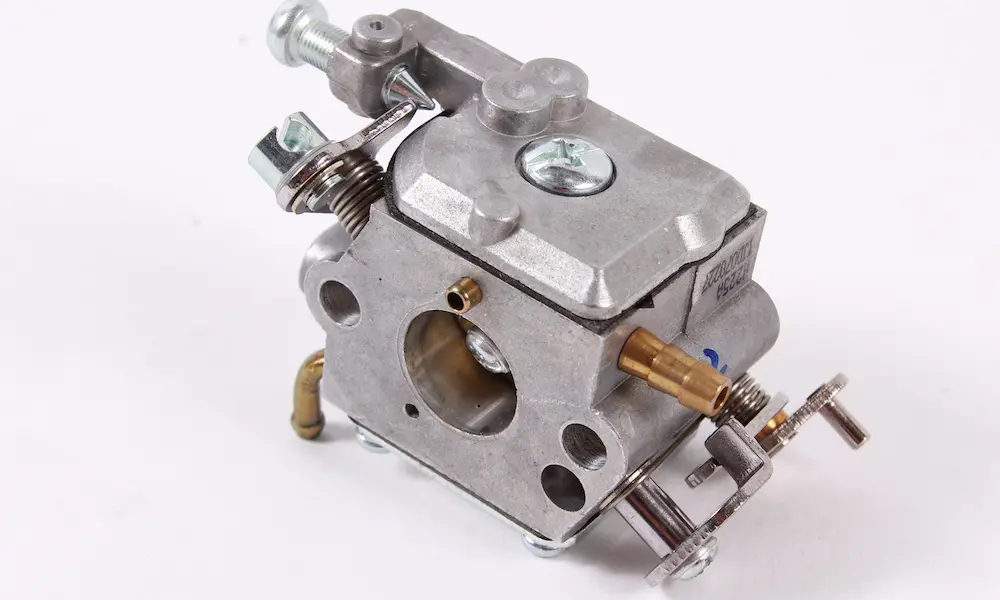
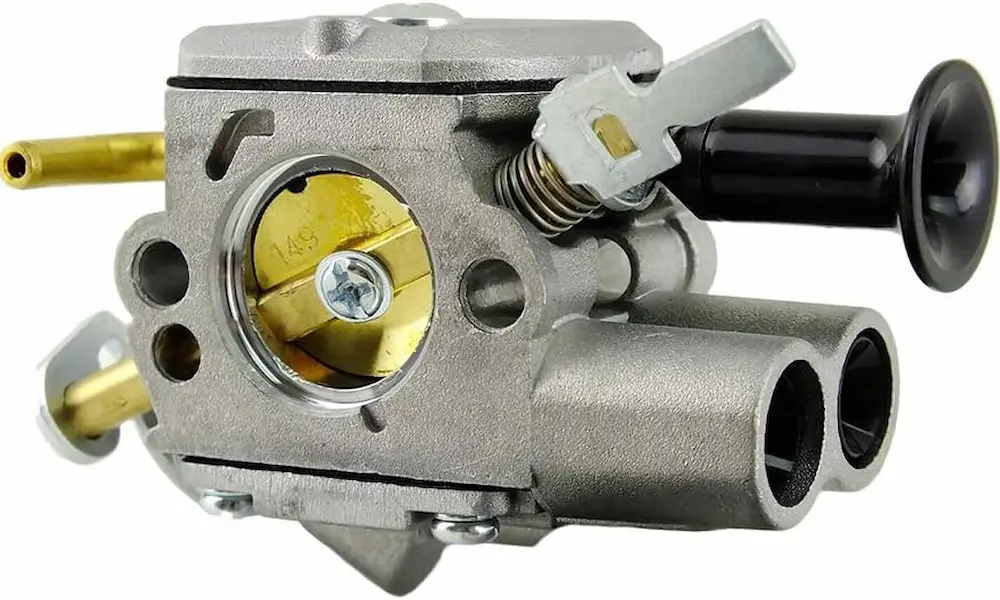
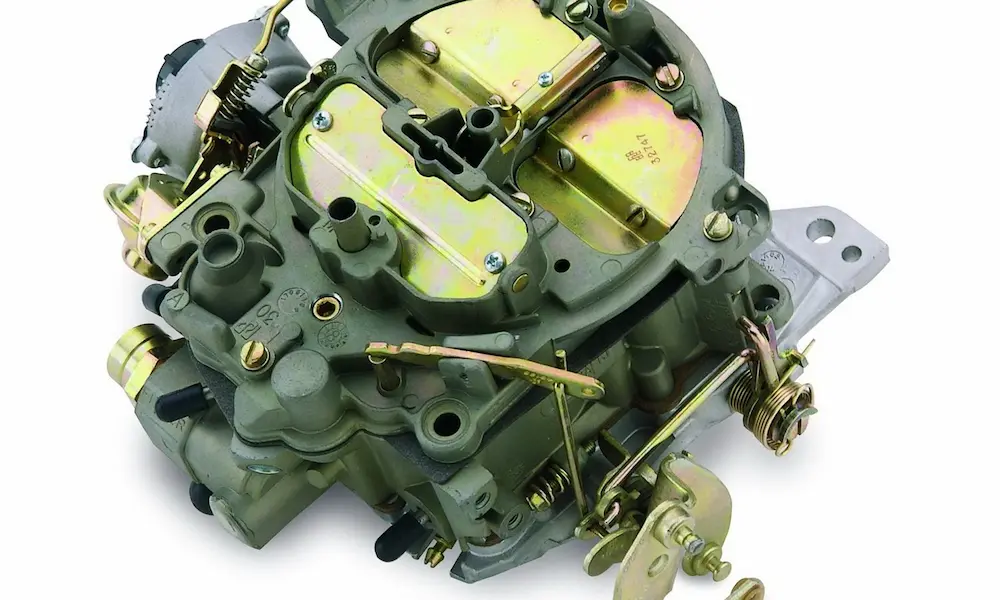
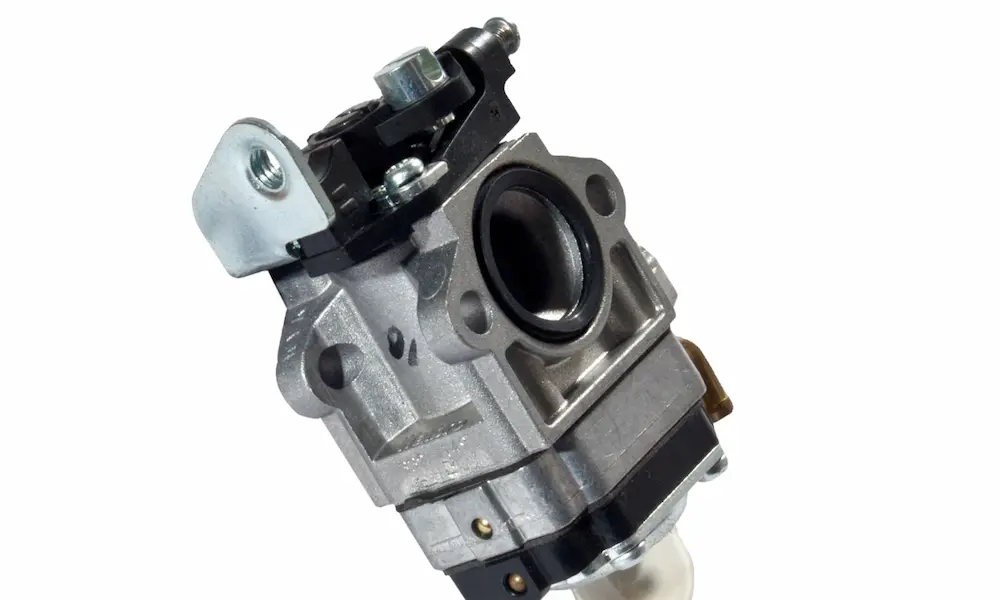
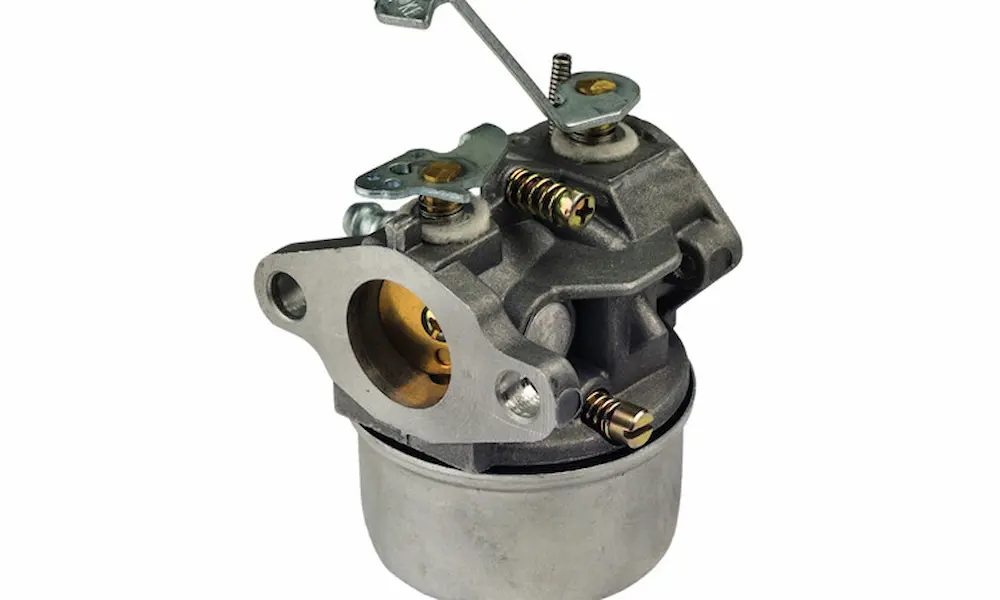
Before you touch anything, you need to know what you’re adjusting. Your Stihl chainsaw carburetor has three screws, and each one controls something specific.
| Screw Label | What It Controls | Turning Clockwise | Turning Counterclockwise |
|---|---|---|---|
| LA | Idle speed (throttle butterfly position) | Raises idle speed | Lowers idle speed |
| L | Low-speed fuel mixture | Leaner (less fuel) | Richer (more fuel) |
| H | High-speed fuel mixture | Leaner, higher RPM | Richer, lower RPM |
Here’s why this matters: a two-stroke engine like your Stihl uses fuel to lubricate its internal components — the crankshaft, connecting rod, and cylinder walls all depend on the oil mixed into the fuel. Run the engine too lean, and you’re starving it of lubrication while temperatures spike. That leads to piston scoring, bearing failure, and a seized engine. Run it too rich, and you get sluggish throttle response, heavy carbon buildup, and a massive loss of power.
Getting the Stihl chainsaw carburetor adjustment right isn’t just about performance — it protects the engine from destroying itself.
Do These Checks Before You Adjust Anything
Adjusting a carburetor on a sick engine guarantees a bad tune. Run through these checks first.
Air filter: Pull the cover and inspect the element. Wash paper filters in warm, soapy water. Clean wire mesh elements with fresh fuel. A clogged air filter artificially richens the mixture. If you tune the carb with a dirty filter installed, the engine will run dangerously lean once you clean it.
Spark arrestor: Remove the screen from the muffler and scrub off carbon with a wire brush. Heavy buildup restricts exhaust flow and stops the engine from reaching its rated RPM.
Fuel quality: Drain anything older than 60 days. Stale fuel forms gum deposits that clog the carburetor jets. Fill the tank over halfway with fresh 89-octane fuel mixed with quality two-stroke oil like Stihl Ultra HP.
Engine temperature: Always warm the engine up before adjusting. Cold engines need a richer mixture. Tune a cold engine, and it’ll run too rich once it reaches operating temperature.
Safety position: Set the saw on flat ground with the bar pointing away from anything solid. The chain may spin during parts of the adjustment. Keep the bar clear.
Don’t Flood the Engine on Startup
Pull the starter rope a maximum of three times on full choke. The moment the engine fires, move the Master Control Lever to the half-choke position. Repeated pulls on full choke flood the combustion chamber with raw fuel.
If you smell strong gasoline or see fuel dripping from the muffler, the engine is flooded. Let it sit for 20 to 30 minutes with the choke off and the throttle lock engaged before trying again. For storage longer than 30 days, drain the fuel system completely to prevent ethanol damage.
Factory Baseline Settings by Stihl Model
If someone’s already cranked the screws to unknown positions, return them to the factory baseline before starting the engine. With the engine off, turn both the H and L screws clockwise until they just barely touch their seats — don’t force them or you’ll distort the brass needles. Then back them out counterclockwise to the baseline for your model.
| Model | H Screw Baseline | L Screw Baseline | Max RPM (No Load) |
|---|---|---|---|
| MS 170 / MS 180 | Fixed jet — no adjustment | Fixed jet — no adjustment | Non-adjustable |
| MS 250 | 3/4 turn out | 1 turn out | 13,000 RPM |
| MS 271 / MS 291 | 1-1/2 turns out | 1 turn out | 13,000 RPM |
| MS 440 / MS 460 | 1 turn out | 1 turn out | 13,500 RPM |
| MS 660 | 1 turn out | 1 turn out | 13,000 RPM |
| MS 880 | 1 turn out | 1 turn out | 11,500 RPM |
These baselines give you a safe, slightly rich starting point that protects the engine during the initial warm-up run.
How to Adjust the Low-Speed Mixture (L Screw)
Start the engine and let it reach normal operating temperature. Use the LA screw to bring the idle speed down to roughly 2,700 RPM — or just until the cutting chain sits completely still.
Now turn the L screw slowly clockwise. The engine speed will climb, then surge or stumble as it leans out. Note that position. Turn the L screw slowly counterclockwise past your starting point. The engine will peak in speed, then begin to run rough and load up. Note that position too.
Turn the L screw back to the midpoint between those two limits — that’s peak idle speed. From there, turn the L screw counterclockwise an extra one-eighth to one-quarter of a turn. This slight extra richness prevents the engine from bogging when you squeeze the throttle.
The Tilt Test
This quick check confirms your low-speed setting is stable. Let the saw idle on flat ground for 30 seconds. Pick it up and tip the bar straight down. If the engine keeps running smoothly, the L screw setting is correct. If it stumbles or stalls, the mixture is too rich — turn the L screw clockwise a small amount to correct it.
How to Adjust the High-Speed Mixture (H Screw)
Hold the throttle wide open for no more than five to eight seconds at a time. Over-revving under no load damages the engine fast.
With a tachometer: Turn the H screw until the engine hits the manufacturer’s specified maximum RPM for your model.
Without a tachometer: Turn the H screw counterclockwise until the engine begins to “four-cycle” at wide-open throttle — that’s a slightly fluttery, irregular sound that tells you the mixture is safely rich. This is your acoustic tuning target.
If the H screw goes too far clockwise, the engine screams with a clean, high-pitched whine. That sound means it’s running dangerously lean with almost no internal lubrication. Back off immediately. Once the saw enters a cut under full load, the four-cycling should clean up into a smooth, powerful two-stroke sound.
Limiter Caps and Emissions Regulations
The EPA and CARB regulate exhaust emissions from small engines like your Stihl. You can read the specific nonroad emission standards on the USDA Forest Service site. To enforce compliance, Stihl fits plastic or metal limiter caps over the H and L screws that physically block full rotation. Under federal rules, dealers can’t legally sell carburetor adjustment tools to consumers for removing these caps.
Removing plastic limiter caps: Remove the side filter housing cover with a Torx T20 screwdriver. Use the official Stihl limiter cap tool (Part 5910 890 4500) or pliers to pull the cap off the needle. Trim the indexing tab with a razor blade, then press the cap back on to allow full rotation.
Modern aluminum limiters (post-2011 saws like the MS 231, MS 251, MS 462): Insert a 2mm Allen key through the center of the limiter cap to engage the brass needle directly. Turn counterclockwise to slip past the internal plastic splines and reset the adjustment range to a richer baseline.
MS 170 and MS 180 fixed-jet carbs: These use a C1Q series carburetor with no H or L screws at all. To make them adjustable, you can swap the bottom half of the C1Q carburetor with the bottom section of a compatible WT series carburetor, then drill small access holes in the plastic housing to reach the newly active screws.
M-Tronic Saws: How Electronic Fuel Management Works
Professional Stihl models with the M-Tronic system replace the H and L screws with a microprocessor and an electromagnetic solenoid valve. The solenoid handles fuel directly, which means debris can clog it and cause the engine to bog or run lean. The fix is replacing the older black solenoid with the upgraded white solenoid valve (Part 0000 120 5104) and fitting an orange mesh fuel filter (Part 0000 350 3518) for finer filtration.
After any fuel system work, you must recalibrate the M-Tronic module.
| M-Tronic Version | How to Identify It | Calibration Procedure |
|---|---|---|
| Version 2.0 or lower | No version marking on CE label or handguard | Engage chain brake → set lever to Cold Start → start engine → idle in Cold Start for 90 seconds without touching the throttle → switch off |
| Version 2.1 or higher | CE label shows “M2.1”, “M3.0” or higher | Engage chain brake → set lever to Cold Start → start and idle 30–45 seconds → disengage brake → hold wide-open throttle for 30 seconds → release when RPM drops → switch off |
During the M-Tronic 2.1 wide-open throttle phase, you’ll hear the engine speed fluctuate and climb sharply as the module maps the fuel curve, then drop. That drop is the signal that calibration is complete.
Stihl Chainsaw Carburetor Troubleshooting Guide
Use this table to match what you’re hearing and seeing to the actual mechanical cause.
| Symptom | Most Likely Cause | Fix |
|---|---|---|
| Bogs immediately on acceleration | Lean L setting, clogged fuel filter, or disconnected impulse line | Turn L counterclockwise 1/8 turn; replace fuel filter; check and reconnect the impulse line |
| Idles fine but stalls under full throttle load | Clogged fuel filter or lean H setting | Turn H counterclockwise; replace fuel lines and fuel filter |
| Runs briefly then dies; hissing when you open the fuel cap | Clogged tank breather valve | Clean or replace the breather valve |
| Rough idle, black spark plug, heavy smoke | Over-rich L setting | Turn L clockwise until idle drops; back off 1/4 turn; readjust LA |
| Chain spins at idle with trigger released | LA set too high, or broken clutch spring | Turn LA counterclockwise until chain stops; inspect clutch springs |
Two mechanical details are worth knowing here. The carburetor’s fuel pump diaphragm runs entirely on pressure pulses from the engine crankcase, delivered through a small rubber impulse line. If that hose cracks or pops off, the carb can’t pump fuel and the engine starves the moment you apply throttle. Check it if nothing else explains your bogging.
The tank breather valve works as a one-way air inlet. As fuel drains from the tank, air must replace it. A clogged breather creates a vacuum inside the tank that slowly starves the engine, causing it to lose power and die after a few minutes of running — even if the carburetor itself is perfectly tuned.