Is your weed eater bogging down, refusing to idle, or stalling mid-job? A weed eater carburetor adjustment could be all it takes to fix it. This guide walks you through every step — from diagnosis to final tuning — so you can get back to cutting without calling a repair shop.
What Those Three Screws Actually Do
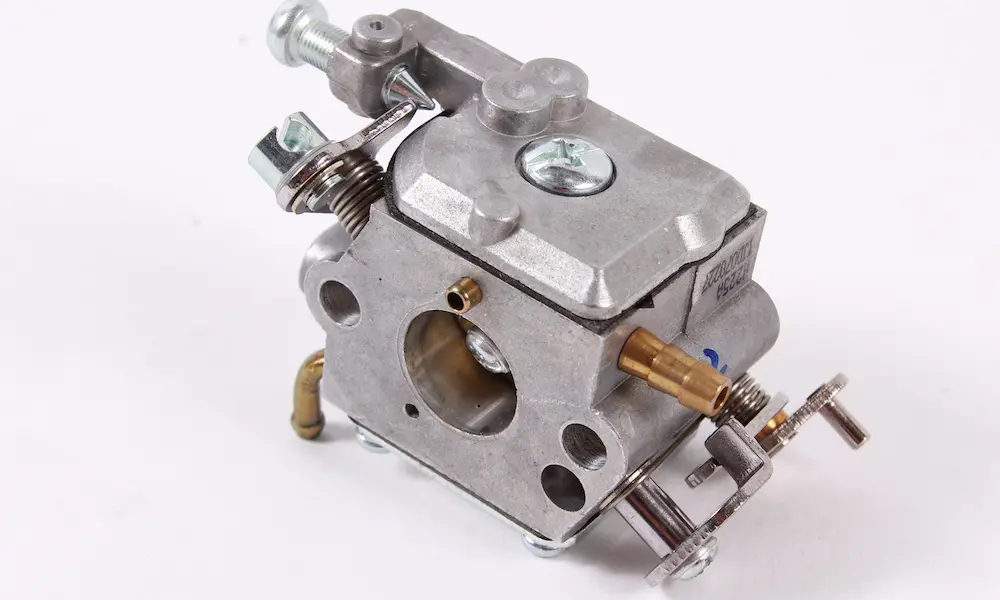
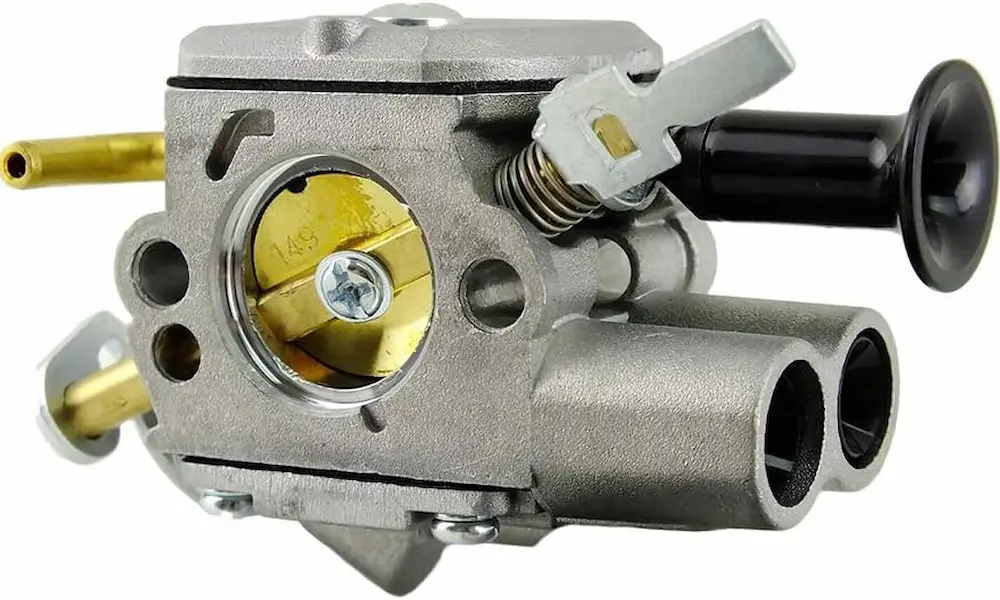
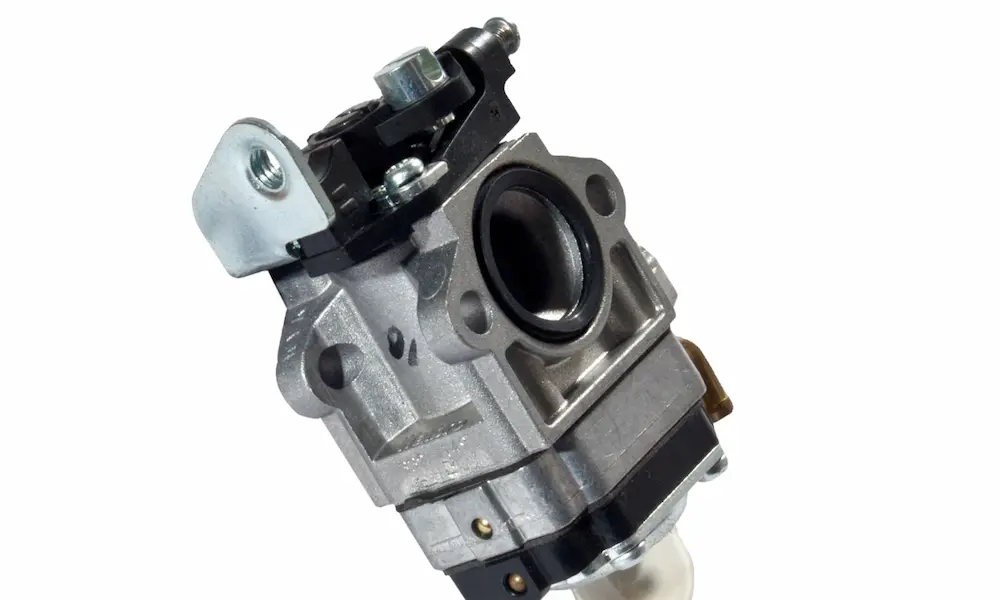
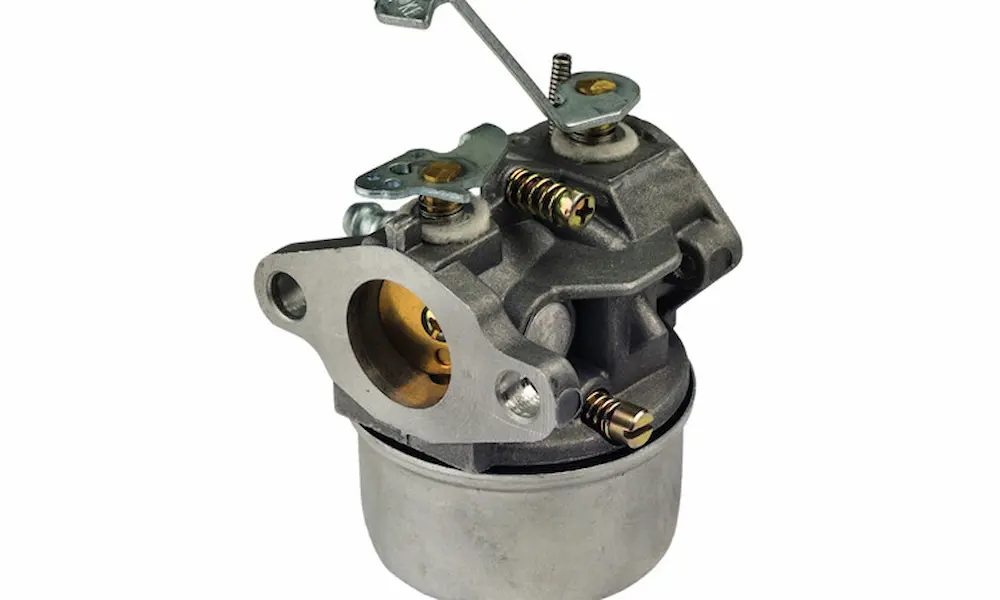
Your trimmer’s carburetor has three adjustment screws. Each one controls a different part of how the engine runs. Get one wrong, and the whole thing falls apart.
Here’s a quick breakdown:
| Screw | What It Controls | Turning Clockwise | Turning Counterclockwise |
|---|---|---|---|
| L (Low-Speed) | Fuel at idle and during acceleration | Leans the mixture | Enriches the mixture |
| H (High-Speed) | Fuel at full throttle | Leans the mixture | Enriches the mixture |
| T / LA / TAS (Idle Speed) | Mechanical throttle stop position | Increases idle RPM | Decreases idle RPM |
The L screw governs your idle smoothness and throttle response. The H screw controls max cutting power. The T screw just sets where the throttle rests — it doesn’t touch fuel delivery at all.
If the mixture runs too lean (too much air, not enough fuel), your engine overheats fast. In two-stroke engines, fuel carries the oil that lubricates the engine internals. Too lean means those parts run dry. That leads to scoring, seizing, and an expensive paperweight.
Running rich (too much fuel) is the lesser evil. Power drops, black smoke appears, and the spark plug carbons up — but at least the engine survives.
You Probably Need a Special Tool First
Here’s where most DIYers get stuck. Modern carburetors don’t use standard screwdriver heads. The EPA requires manufacturers to restrict fuel adjustments, so they use recessed screws with proprietary profiles you can’t reach with a regular flathead.
Try forcing it with the wrong tool and you’ll strip the soft brass tip. At that point, you’re buying a new carburetor.
Here are the tool profiles you’ll likely encounter:
| Tool Profile | Brands It Fits |
|---|---|
| 21-Teeth Spline | Husqvarna, Echo, Ryobi, Stihl, Craftsman, Weed Eater, Toro |
| 7-Teeth Spline | Select Craftsman, Poulan, Husqvarna commercial |
| Single D | Craftsman, Toro, Homelite, Poulan, Ryobi |
| Double D | Echo, Homelite, Poulan, Husqvarna, Ryobi |
| Pac-Man | Stihl, Husqvarna, Echo, Ryobi, Homelite, Craftsman, Weed Eater |
| 4mm Hex | Stihl and Husqvarna commercial blowers and edgers |
A dedicated carburetor adjustment driver set costs under $15 and includes every profile you’ll need. It’s not optional — it’s the whole game.
Before You Touch the Carb: Check These First
Adjusting the carburetor on a broken engine won’t fix anything. It’ll just mask the real problem until something expensive breaks.
Fresh Fuel Is Non-Negotiable
Pump gasoline contains up to 10% ethanol. Ethanol pulls moisture from the air, causing phase separation and sticky varnish deposits inside your carburetor passages in as little as 30 days.
Use fresh, regular unleaded with a minimum 89 octane rating (87 is acceptable in a pinch). Never use E85. Mix it correctly:
- Pour half the gas into a clean safety container.
- Add the correct two-stroke oil — typically a 50:1 or 32:1 ratio depending on your engine.
- Seal it, shake it well.
- Add the remaining gas and shake again before filling the tank.
Check the Spark Plug
Pull the spark plug and read it. Wet, black deposits mean you’re running rich or the ignition is failing. Chalky white or grey means dangerously lean. Carbon-coated electrodes? Clean them with light sandpaper or replace the plug.
Gap the electrodes to between 0.020 and 0.030 inches using a wire feeler gauge. Wrong gap means weak spark, and a weak spark will mimic carburetor problems all day long.
Check Compression
If starting is hard or power is weak, do a compression test. Normal compression for a two-stroke utility engine runs between 100 and 120 psi. Hold the throttle wide open and pull the starter rope for an accurate reading.
Below 100 psi means worn rings, a scored cylinder, or failed crankcase seals. No carburetor adjustment fixes that.
Clean or Remove the Air Filter
A dirty air filter chokes airflow and makes the engine run rich. If you tune the carb with a dirty filter installed, the engine will run dangerously lean once you swap in a clean one.
Pro tip: Remove the filter entirely during the tuning phase. Just make sure you reinstall the carburetor mounting nuts to keep it sealed against the intake manifold — you don’t want an air leak skewing your readings.
Also remove the trimmer head before you start. It removes load variation and prevents the cutting line from spinning while you’re working near a running engine.
Setting the Baseline Starting Point
If your screws are completely lost — maybe you replaced the carb or someone else tinkered with it — here’s how to reset to a reliable starting baseline:
- Gently turn both the L and H screws clockwise until they lightly seat. Don’t force them — you’ll crush the needle tips.
- Turn the H screw back counterclockwise exactly 1.5 turns.
- Turn the L screw back counterclockwise 1.25 to 1.5 turns.
- Turn the T (idle) screw clockwise 0.5 to 1 full turn from where it first contacts the linkage.
- Start the engine and let it stabilize for one minute.
The Step-by-Step Weed Eater Carburetor Adjustment Sequence
Work through these steps in order. Don’t skip ahead.
Step 1: Dial In the Low-Speed (L) Screw
With the engine idling:
- Turn the L screw clockwise in 1/8-turn increments. Engine speed rises.
- Keep going until the engine speed peaks, then starts to stumble from fuel starvation.
- Now turn the L screw counterclockwise. Speed rises again, peaks, then drops as it goes too rich.
- Set the L screw right in the middle — slightly to the rich side of that peak. This keeps idle stable and gives the engine enough fuel cushion for acceleration.
Step 2: Test the Throttle Transition
Snap the throttle from idle to wide-open. Watch what happens:
- Hesitates, bogs, or stalls? Too lean on the transition. Turn the L screw counterclockwise 1/16 of a turn and test again.
- Sluggish response, black smoke, or muffled sound? Too rich. Turn the L screw clockwise 1/16 of a turn and test again.
Keep testing until the engine snaps cleanly from idle to full speed with no hesitation.
Step 3: Tune the High-Speed (H) Screw
Hold the throttle wide open:
- Turn the H screw clockwise slowly. RPM climbs and the exhaust note sharpens.
- Stop the moment you hit peak RPM. Don’t leave it there — running at peak speed under no load overheats the cylinder fast.
- Turn the H screw counterclockwise slightly until you hear a faint flutter or “four-cycling” sound in the exhaust.
- Leave it there. That slight richness means when you hit heavy grass and load the engine, it naturally leans to its maximum power range instead of going lean and seizing.
Step 4: Set the Idle Speed (T Screw)
Release the throttle and watch the trimmer shaft:
- Head still spinning at idle? The clutch is engaging — idle speed is too high. Turn the T screw counterclockwise until the head stops.
- Engine stumbling or stalling? Turn the T screw clockwise in 1/8-turn increments until it idles smoothly.
Target idle speed is between 2,800 and 3,200 RPM — steady, clean, and well below clutch engagement speed.
Symptoms That Aren’t Actually Carburetor Problems
Adjusting the carb to compensate for a different mechanical failure makes things worse, not better. Here’s what to look for before blaming the carburetor:
| Symptom | Real Cause | Fix |
|---|---|---|
| Runs 20–30 seconds, then stalls — restarts when you crack the gas cap | Clogged fuel tank vent | Replace the fuel cap or internal duckbill check valve |
| Muffled, sluggish power loss at full throttle | Carbon-clogged spark arrestor screen | Remove the muffler screen, scrub or burn off the carbon buildup |
| Bogs on acceleration with air bubbles in fuel lines | Cracked fuel lines or degraded intake gasket | Replace hardened lines and carburetor mounting gaskets |
| Only runs with choke fully closed | Severe internal jet blockage from varnish | Disassemble, clean with carb solvent, or replace the carburetor |
| Fuel flooding into the air filter housing | Stuck inlet needle valve or torn metering diaphragm | Install a carburetor rebuild kit |
| Stalls under load despite correct L and H settings | Grass wrapped around the trimmer head spindle | Clear all vegetation from the spindle and verify it spins freely |
| Lean runaway that no screw adjustment can fix | Worn crankshaft seals leaking air into the crankcase | Crankcase pressure test and seal replacement |
One symptom worth calling out specifically: if your engine stalls after running fine for 20–30 seconds, and it immediately restarts after you crack open the gas cap, stop adjusting the carb. That’s a venting issue. The fuel pump creates vacuum inside a sealed tank, and if the vent is blocked, it starves the carb of fuel. A new fuel cap or duckbill valve costs a few dollars and takes five minutes.
One Last Thing Worth Knowing
Altitude and temperature affect your tune more than most people realize. At high elevations, thinner air means less oxygen per cubic foot, so the same fuel delivery that ran perfectly at sea level will now run rich. Cold, dense winter air has the opposite effect — a summer tune will run lean in cold weather.
If you move between climates or seasons, expect to revisit your L and H settings. It’s not a sign something’s wrong. It’s just physics.