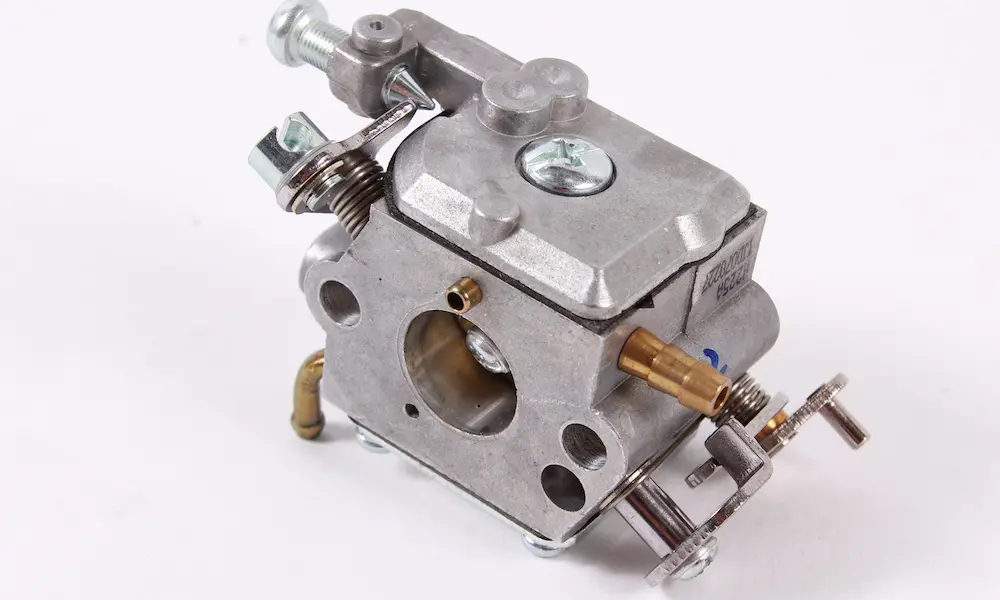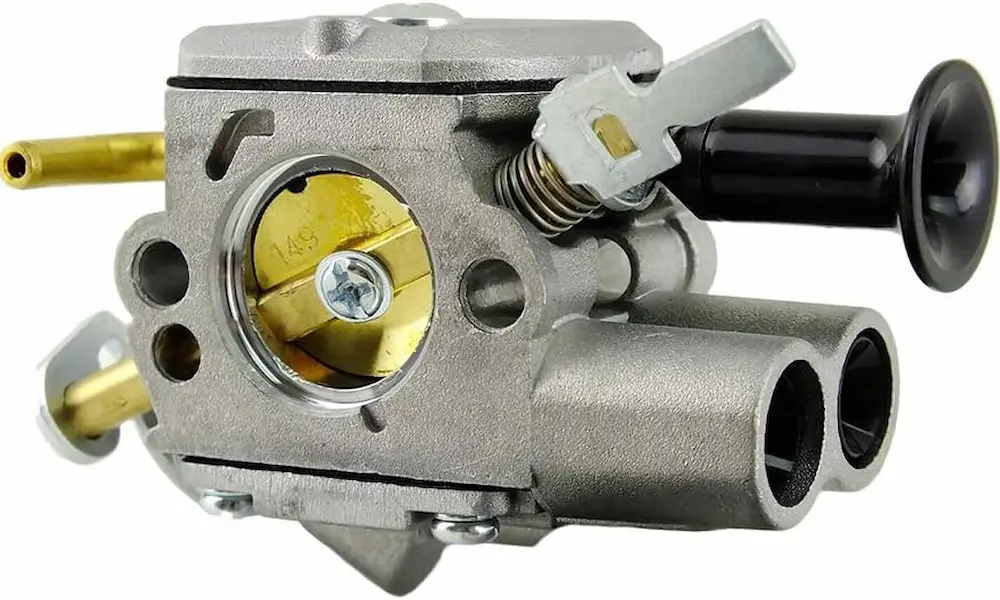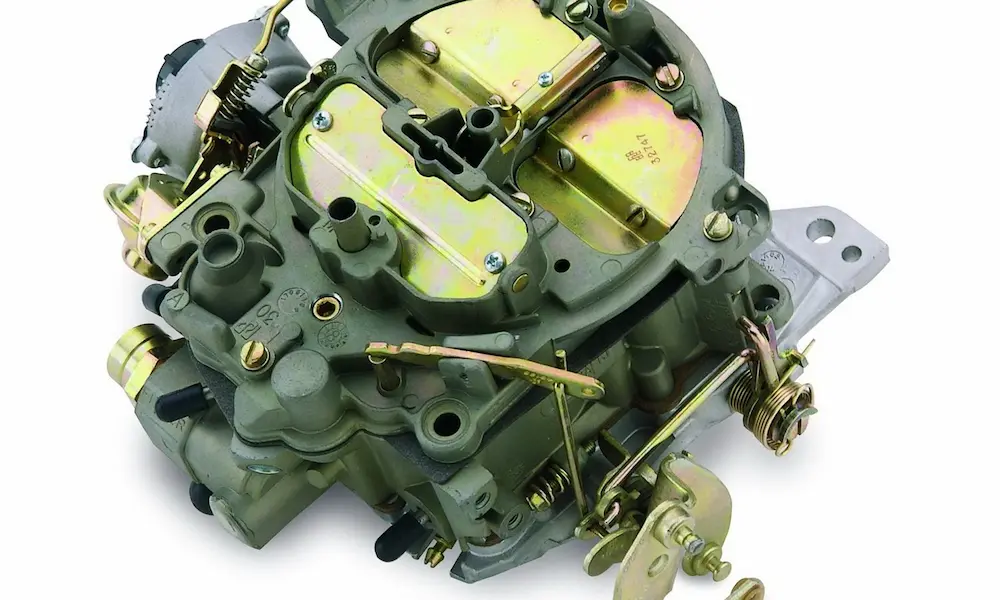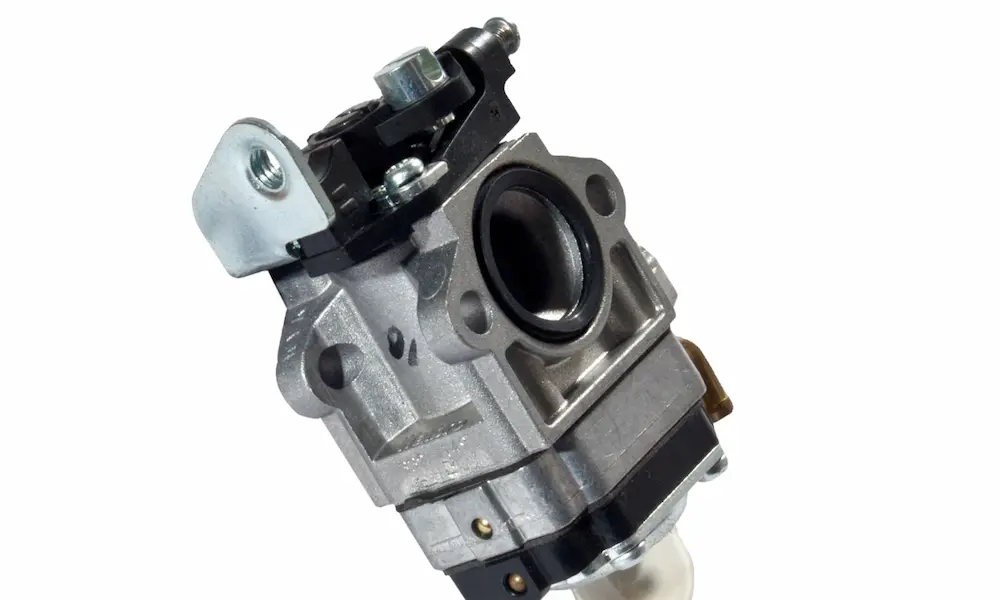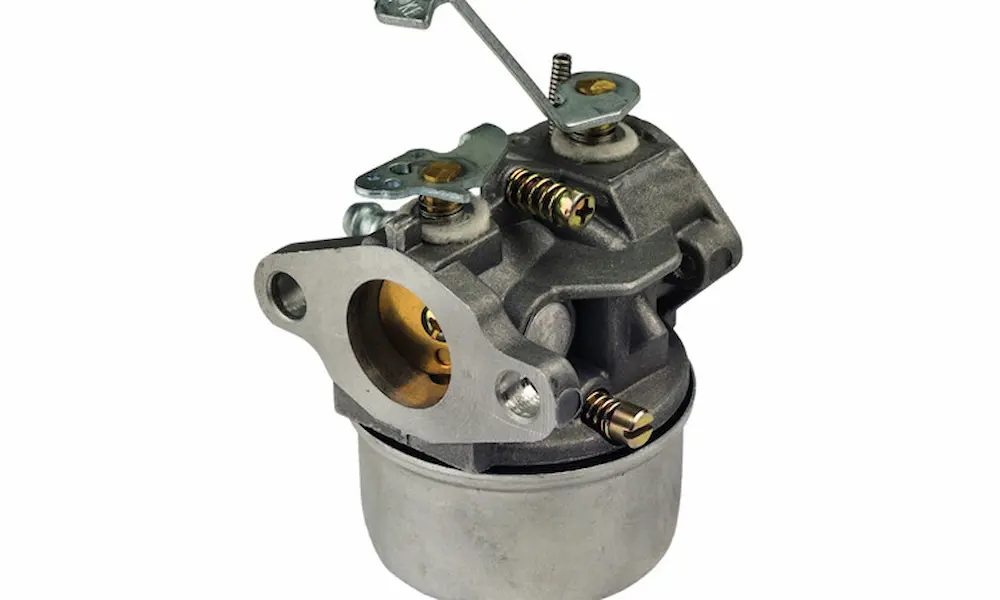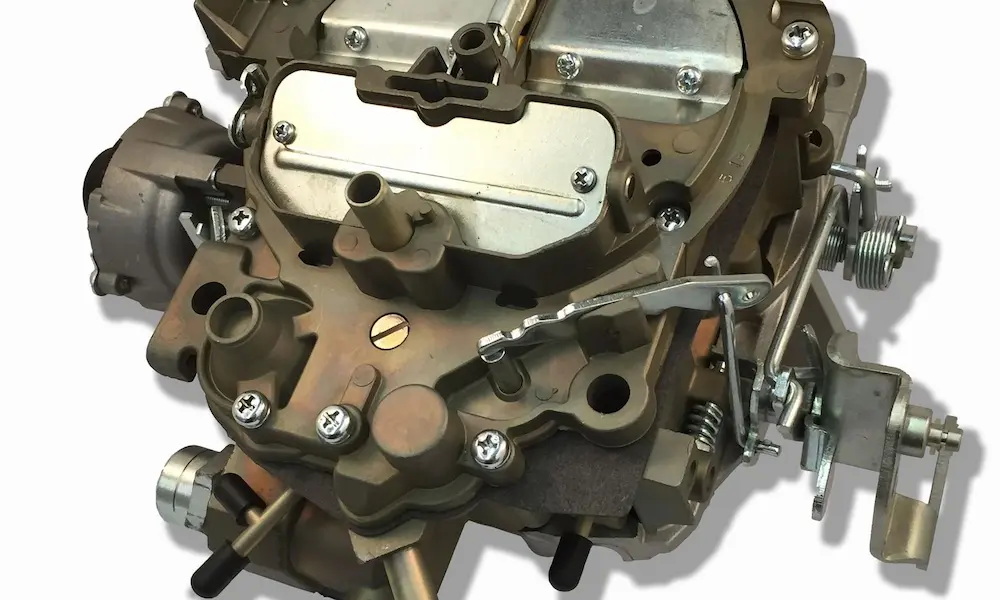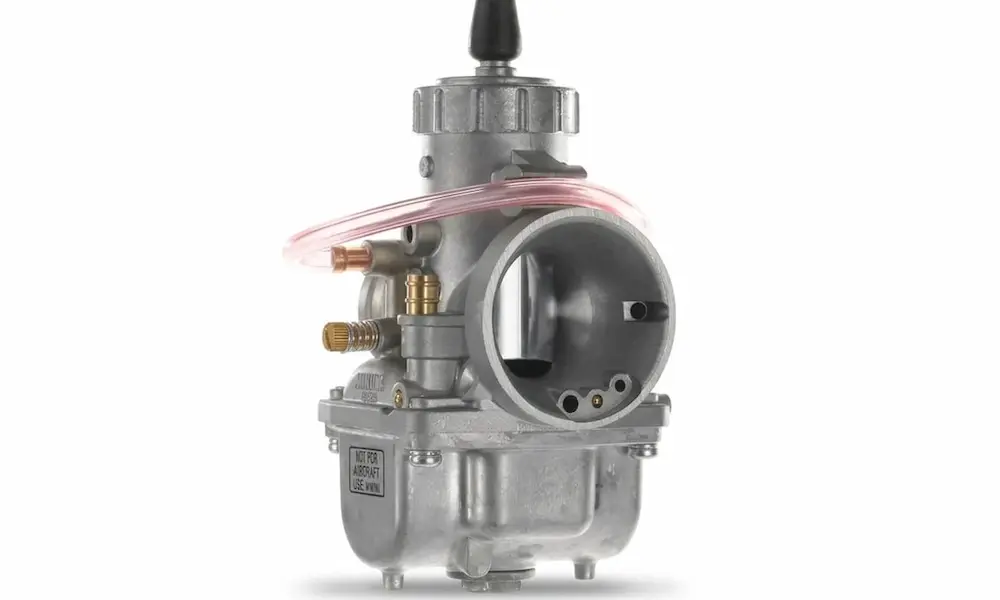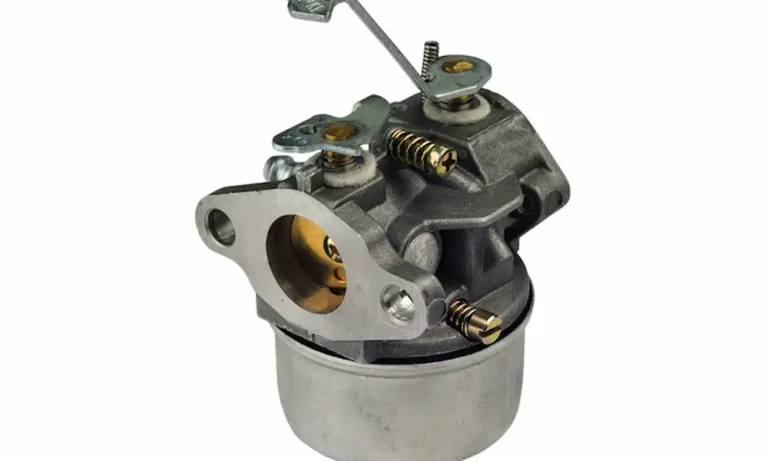
Your lawn mower cranks but won’t start. Or it starts, then dies. Sound familiar? A dirty carburetor is the most common reason this happens — and cleaning it yourself is easier than you think. This guide walks you through every step, from diagnosis to reassembly, so you can skip the repair shop bill and get back to mowing.
First, Make Sure It’s Actually the Carburetor
Before you tear anything apart, confirm the carburetor is the real problem. Many no-start issues get blamed on the carb when the spark plug or ignition coil is actually at fault.
Here’s a quick test. Remove the spark plug, spray a small burst of starting fluid directly into the cylinder head, reinstall the plug, and pull the cord. If the engine fires for a few seconds then dies, your ignition system works fine. The problem is fuel starvation — almost certainly a dirty carburetor.
If the engine doesn’t fire at all on starting fluid, check the spark plug and ignition coil first.
Also check your fuel flow. Clamp the fuel line, disconnect it from the carb inlet, and release the clamp over a container. Fuel should flow freely from gravity. If it doesn’t, you’ve got a clogged fuel filter or blocked tank vent — not a carburetor problem.
Why Carburetors Get Dirty in the First Place
Old fuel is the number one culprit. Most U.S. gasoline contains up to 10% ethanol, which absorbs moisture from the air over time. That moisture triggers phase separation — water and ethanol sink to the bottom of the fuel bowl while the remaining hydrocarbons turn into a sticky varnish.
That varnish coats and clogs the tiny brass jets inside the carburetor. Once those jets get blocked, the engine runs too lean (not enough fuel), causing surging, rough idling, stalling under load, or a hard no-start.
The fix? Clean the carb — and use fuel stabilizer or non-ethanol gas going forward.
Tools and Supplies You’ll Need
Don’t wing it with the wrong tools. Stripped brass jets are a frustrating setback.
| Tool or Supply | What It’s For |
|---|---|
| Socket set (1/4-inch drive) and wrenches | Removing the air filter housing and carb mounting bolts |
| Needle-nose pliers and dental picks | Pulling hinge pins, disconnecting spring linkages |
| Micro-wire jet brushes or torch tip cleaners | Clearing varnish from jets and emulsion tubes |
| Aerosol carburetor/choke cleaner | Dissolving deposits from passages and surfaces |
| Berryman Chem-Dip or similar solvent bath | Deep soaking heavily varnished metal parts |
| OEM rebuild kit (gaskets, needle valve, O-rings) | Replacing worn seals during reassembly |
| Nitrile gloves, safety glasses, vapor respirator | Protecting yourself from toxic petroleum solvents |
One critical note on parts: always buy OEM gaskets and jets, not cheap aftermarket kits. Reddit users working on Yard-Man mowers have learned this the hard way — aftermarket rubber compounds often fail quickly with ethanol fuels.
Safety Before You Touch Anything
Safety isn’t optional here. Follow these steps every time.
- Let the engine cool completely before touching it
- Disconnect the spark plug wire and tuck it away from the terminal
- On riding mowers with electric starters, disconnect the battery — black (negative) cable first, then red (positive)
- If you need to tilt a walk-behind mower, tilt it backward on the rear wheels only. Tilting it sideways lets oil migrate into the combustion chamber
- Before tilting, remove the fuel cap, place a clean plastic bag over the tank opening, then screw the cap back on. This stops fuel from leaking through the cap vent
How to Remove the Carburetor
Take photos before you disconnect anything. Seriously. You’ll thank yourself during reassembly.
- Remove the air filter cover, filter element, and unscrew the air filter housing from the carb studs
- Disconnect any crankcase breather tubes attached to the housing
- Clamp the rubber fuel line using hose clamp pliers
- Slide the spring clamp back, pull the fuel line off the carb inlet nipple, and catch any dripping fuel
- Slide the carburetor off its mounting studs slowly
- Photograph the throttle linkage, governor rod, and choke linkage from multiple angles
- Rotate the carb body upward to unhook the metal linkage rods and return springs without bending them
How to Disassemble and Inspect the Carburetor
Set the carb on a clean workbench. Spray the outside with aerosol carb cleaner and wipe it down before opening it up — you don’t want dirt contaminating the internal passages.
Teardown sequence:
- Unthread the fuel bowl bolt (or fuel shut-off solenoid) from the base of the bowl
- Pull the fuel bowl off and drain any remaining fuel
- Inspect the bowl interior for pitting or corrosion. If the metal is corroded or pitted, replace the carb entirely — cleaning won’t stop flaking metal from reclogging the jets
- Remove and inspect the rubber bowl gasket or O-ring. If it’s flat, brittle, or cracked, replace it
- Slide out the float hinge pin with needle-nose pliers
- Lift out the float assembly carefully, watching for the tiny fuel inlet needle valve clipped to the float arm
- Use a flat-head screwdriver (matching the slot width exactly) to unthread the brass main jet from the central tower
- Push the brass emulsion tube upward out of the tower into the carb throat
- Locate the idle/pilot jet — on many EPA-regulated engines it’s on top, hidden under a plastic limiter cap. Use a dental pick to pop the cap off, then unthread the jet with a small flat-head screwdriver
How to Clean a Carburetor for a Lawn Mower — The Core Steps
This is where the actual cleaning happens.
Chemical Soaking
Remove all rubber, plastic, and electrical components first — strong solvents will destroy them. Place only the metal parts (carb body, main jet, pilot jet, emulsion tube) into a Berryman Chem-Dip basket and soak for 15 to 60 minutes.
For heavily neglected carburetors, an ultrasonic cleaner with hot water and degreasing detergent works even better. No ultrasonic cleaner? Boiling the metal parts in water for 15 minutes works surprisingly well to loosen stubborn scale.
Clearing the Jets
Chemical soaking alone won’t always clear hardened deposits from tiny orifices. After soaking, use micro-wire jet brushes or welder’s torch tip cleaners to manually clear the main jet, idle jet, and the small holes along the emulsion tube.
Don’t use steel drill bits or sewing needles. They’ll scratch or enlarge the soft brass orifices, throwing off fuel calibration permanently.
Clean the brass needle seat with a solvent-soaked cotton swab. Then spray aerosol carb cleaner through every port and confirm it exits the correct passage inside the carb throat. Blow everything dry with compressed air at no more than 30 PSI.
Honda GCV Series — Extra Steps Required
If you’re working on a Honda GCV160, GCV170, or GCV200, pay attention here. These carbs have factory thread-locking compound on the pilot screw, and if you try to remove the plastic limiter cap carelessly, the brass screw can snap at its narrow neck.
According to the Honda GCV carburetor check sheet, you should use the Honda Carburetor Cleaning Kit with a 0.3mm needle for the pilot jet and a 0.5mm needle for the main jet. If the pilot screw stub breaks off, slide a tight-fitting rubber tube over it and turn counterclockwise to extract it. Install a new pilot screw and secure a new limiter cap with Loctite 638.
How to Test the Fuel Shut-Off Solenoid
Riding mowers with Kohler Command or Courage engines use an electromagnetic fuel shut-off solenoid threaded into the fuel bowl base. If this solenoid’s plunger seizes with varnish, fuel can’t reach the main jet and the engine won’t start.
Testing it takes two minutes:
- Unthread the solenoid from the fuel bowl
- Connect the positive terminal of a 9-volt or 12-volt battery to the solenoid’s connector pin
- Touch the negative terminal to the solenoid’s metal body
- A working solenoid clicks immediately and retracts its plunger
- No movement? The solenoid is bad — replace it
Automatic Choke Problems? Here’s What to Check
Modern Honda and Briggs & Stratton engines use automatic choke systems instead of a manual choke lever. A thermowax actuator near the cylinder head controls a bimetallic spring that opens and closes the choke plate based on engine temperature.
When everything works, the choke closes when cold (for easy starting) and fully opens within 2-3 minutes as the engine warms up. When it fails, you’ll see two symptoms:
- Hard cold starts — choke plate sticking open when it should be closed
- Black smoke and stalling when hot — choke plate stuck partially closed after warm-up
The fix is straightforward: clean the pivot linkages, verify the thermowax actuator pin fully retracts when cold, and scrape any dried thermal paste out of the actuator mounting pocket. This Reddit thread on auto-choke issues walks through common scenarios real owners have faced.
Reassembly and Reinstallation
Put it back together in this order:
- Insert the emulsion tube into the central tower, then thread in the brass main jet snugly (don’t overtighten)
- Check the rubber tip of the fuel needle valve for grooves or wear — a worn needle causes fuel overflow and a flooded engine
- Hook the needle valve onto the float bracket, lower both into position, and slide the hinge pin through the stanchions
- Seat the bowl gasket in its groove. Orient an asymmetric bowl so the deeper pocket aligns with the float’s travel arc
- Secure the fuel bowl bolt without over-tightening — aluminum threads strip easily
Get the gasket stack right. The mounting interface between the carb and the intake port uses paper gaskets plus a plastic or composite thermal insulator block. Install these in the exact manufacturer-specified order and orientation. A backwards insulator block blocks vacuum channels and causes unmetered air leaks, leading to constant surging. DoItYourself forum members troubleshooting Honda GCV160 surging found this was the cause of their problem after installing a new carb.
Slide the carb onto the mounting studs, reconnect the throttle and choke linkages exactly as your photos show, and reattach the fuel line. For electric-start machines, reconnect the battery red-positive first, then black-negative.
Fill up with fresh fuel — ideally non-ethanol or stabilized gasoline — and start the engine.
Troubleshooting Quick-Reference
| Symptom | Most Likely Cause | Fix |
|---|---|---|
| Won’t start, spark plug is dry | Solenoid stuck closed or main jet blocked | Test solenoid; clean or replace the main jet |
| Engine surges or hunts at idle | Blocked pilot jet or backwards gasket spacer | Clean pilot jet with 0.3mm needle; check gasket orientation |
| Heavy black smoke | Clogged air filter or leaking needle valve | Replace air filter; inspect and replace needle valve |
| Runs only with choke on | Completely blocked main jet or vacuum leak | Full carb disassembly, solvent soak, replace gaskets |
| Hard to start when cold | Auto-choke plate sticking open | Clean choke linkages; clear thermowax actuator pocket |
Learning how to clean a carburetor for a lawn mower is one of the most useful small engine skills you can have. Most cleaning jobs take under two hours, cost less than $20 in supplies, and fix the problem completely. Now grab your tools and get it done.