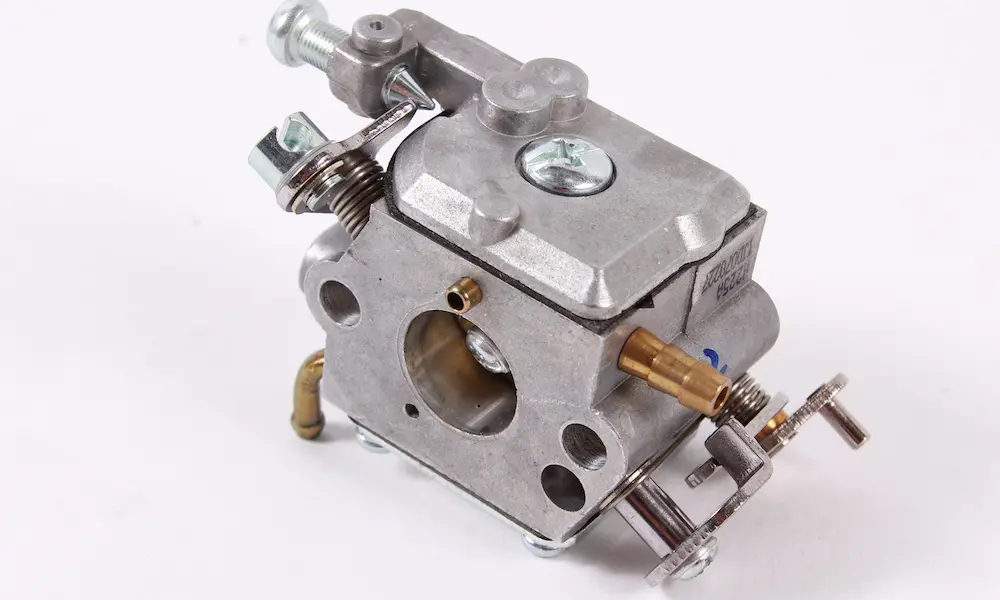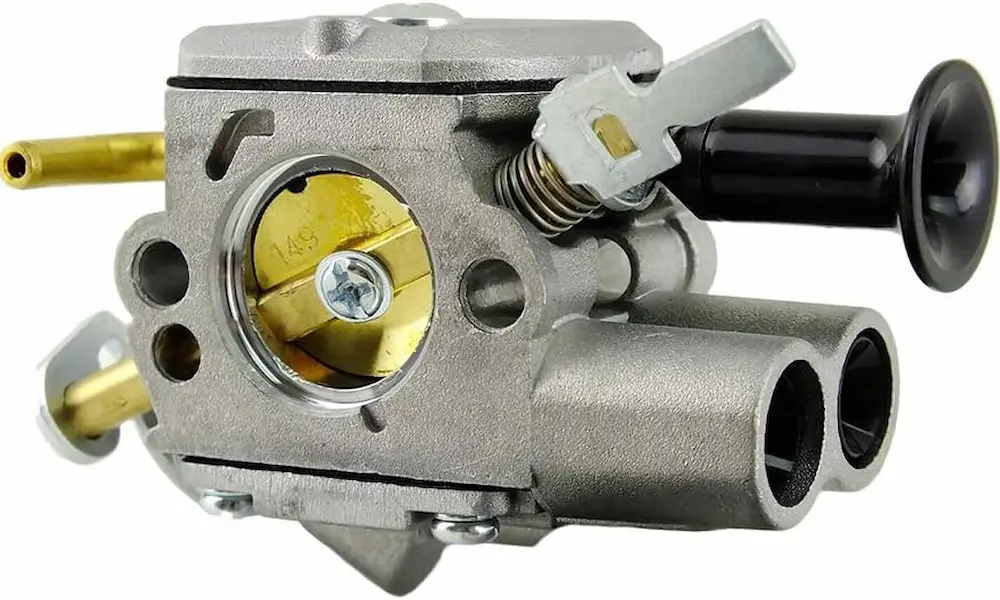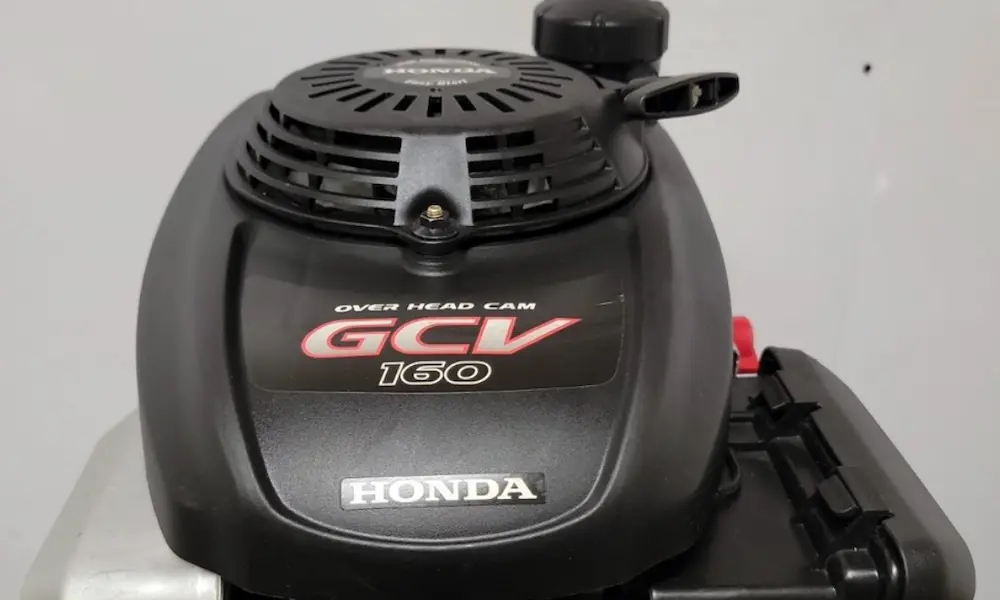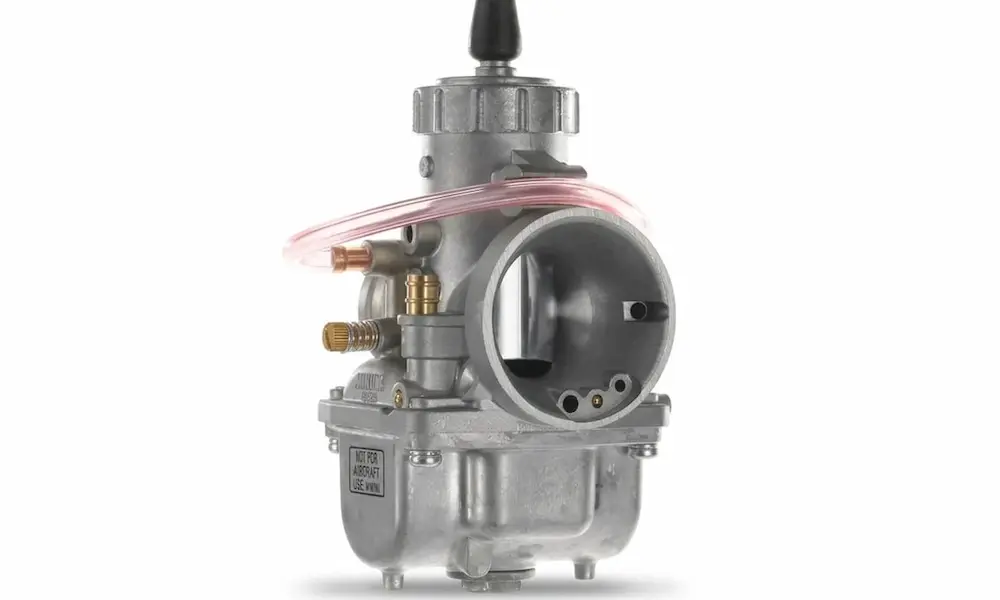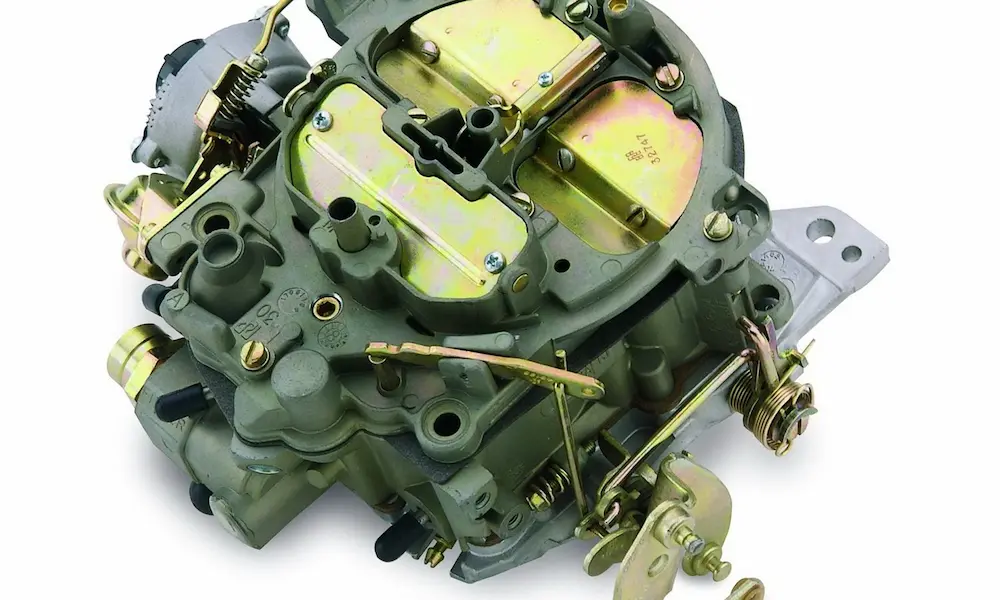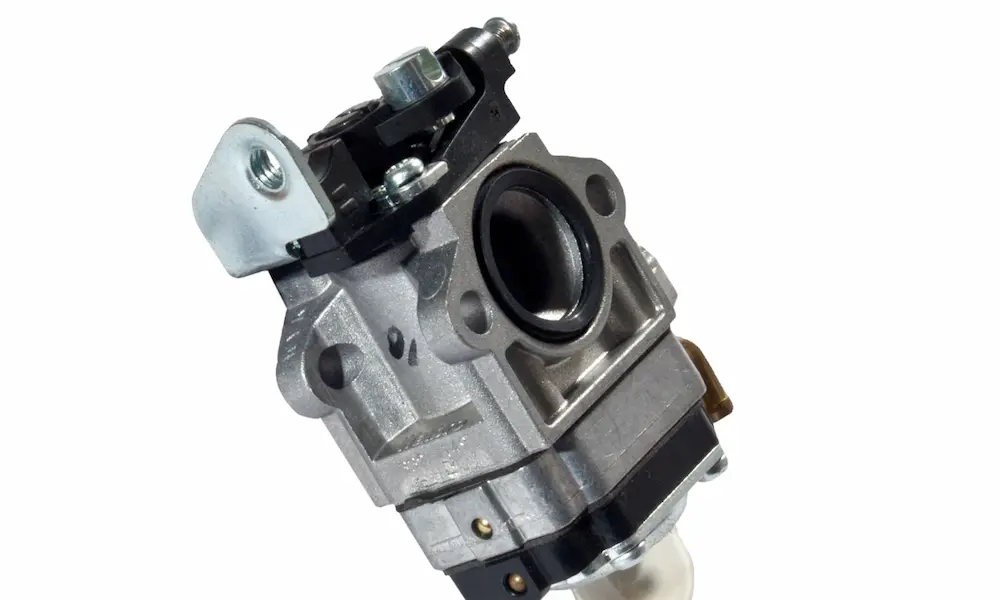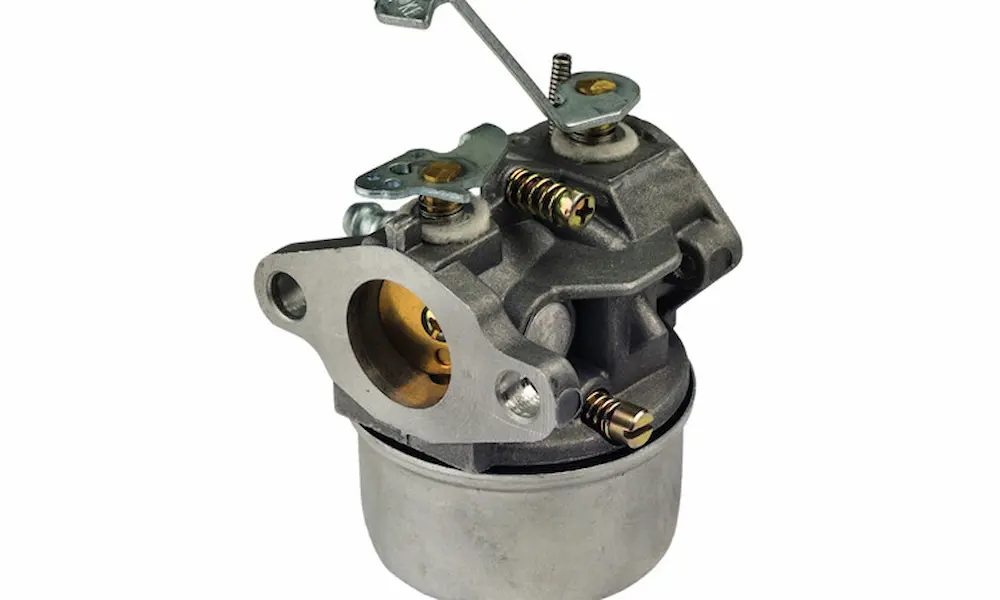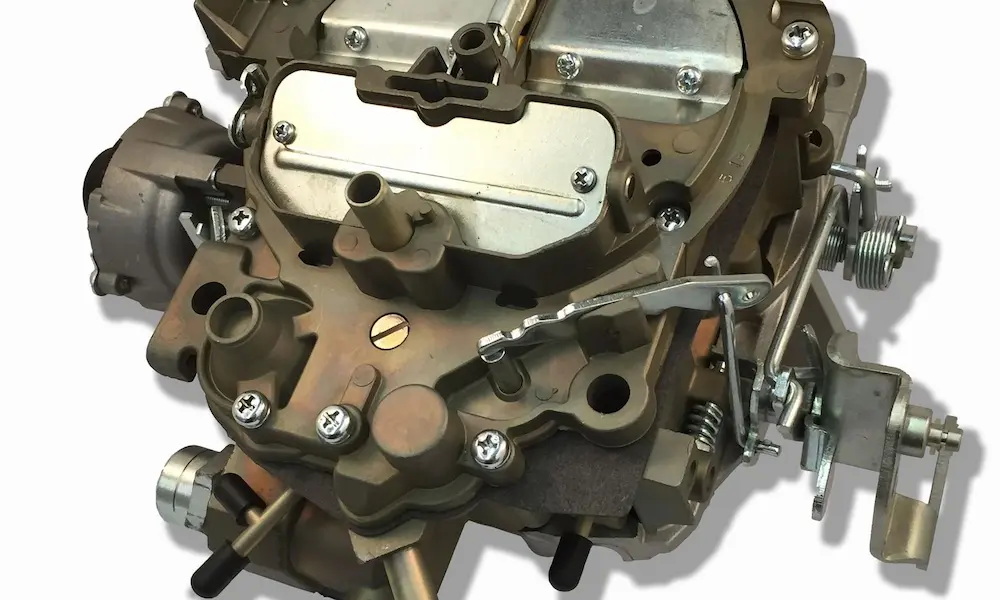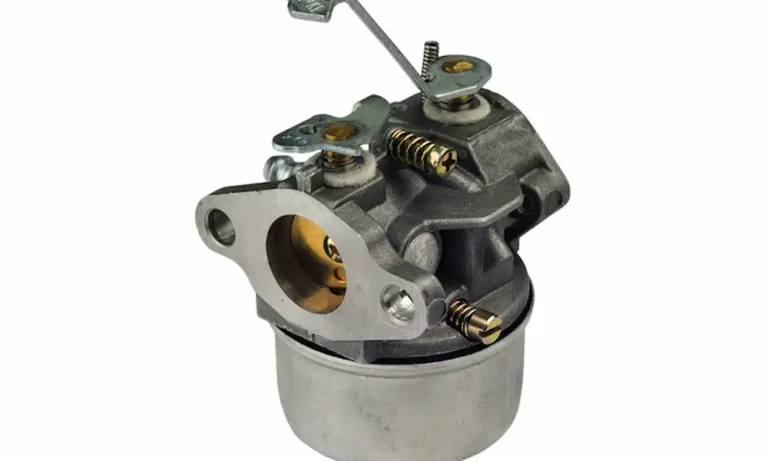
Staring at a carburetor with a mystery number stamped on it? You’re probably trying to order the right rebuild kit without guessing. This guide walks you through exactly how Nikki carburetor identification works — from finding the stamp to decoding it, cross-referencing OEM numbers, and spotting a fake. Stick around, because getting this wrong costs you time and money.
Where to Find the Identification Markings
Before you decode anything, you need to find the number. Nikki carburetors don’t put their stamps in the same spot every time. The location depends on the engine manufacturer and when the unit was built.
Top Air Horn and Upper Casting
The most common spot is the top surface of the carburetor body or along the upper air horn flange. The number is stamped directly into the metal. The catch? Dust, carbon buildup, and oxidation love to hide it. Grab a soft brass brush and a mild solvent, and clean the surface gently before you try to read anything.
Mounting Flange Edge
On Kohler and Kawasaki industrial engines, check the edge of the mounting flange. The stamp here represents the exact assembly spec for that engine family. It’s a factory reference number, and it usually means you’ll be ordering a complete kit rather than individual pieces.
Side Body on Marine Units
Marine Nikki carburetors — like the 6050 and 6100 series used on 15-horsepower outboards — carry their identification codes stamped or etched on the side of the main body. Genuine units also feature a raised “Nikki” logo cast into the body, typically on the side opposite the fuel inlet.
Here’s how Nikki stacks up against other common carburetor brands when it comes to finding identification markings:
| Carburetor Brand | Primary ID Location | Marking Type | Common Code Format |
|---|---|---|---|
| Nikki | Top air horn, flange edge, or body side | Stamped or raised casting | 10-digit hyphenated or 6-digit numeric |
| Holley | Front face of choke housing | Stamped “List” number | 4–5 digits + suffix |
| Carter | Metal tag under bowl screw or flange edge | Stamped tag or flange stamp | 4-digit number + “S” |
| Rochester | Side of main fuel bowl | Vertical roll stamp | 7–8 digits starting with 70 or 17 |
| Zenith | Top of float bowl cover or riveted disc | Stamped or round metal disc | 4–5 digits + letter |
Decoding the Nikki Alphanumeric Part Number
Once you’ve found the number, you need to know what it means. Nikki uses standardized alphanumeric sequences to tell you the design family, physical size, calibration, and revision history of the carburetor.
The Standard Ten-Digit Hyphenated Format
Legacy, industrial, and automotive Nikki carburetors use a ten-character format. Think sequences like 1540-13-600C or 16010-14900. Here’s what each block means:
- Prefix block (first 4–5 characters): Identifies the carburetor series, barrel count, and venturi dimensions
- Middle block (2 characters): Represents the OEM specification code — the partner brand and engine family
- Suffix block (remaining characters): Pinpoints the jetting calibration, choke mechanism type, and engineering revisions. Suffix letters signal running updates to the internal calibration
Short-Code Formats for Small Engines
Modern power equipment simplifies things. You’ll often see a six-digit numeric code like 698945 or a distinct alphanumeric code like 8930N-A31 stamped on the body. These cross-reference directly to the engine builder’s parts catalog.
Use this table to match common Nikki carburetor numbers to the correct rebuild kits and float assemblies:
| Nikki Carburetor Number | Rebuild Kit | Float |
|---|---|---|
| 1540-13-600C | K7049 | K7049 |
| 1570-13-200 | K4086 | K4086 |
| 16010-14902 | K7049 | K7049 |
| 1668-13-200D | K4086 | K4086 |
| 215282-A71 | K7045 | K7045 |
| 8239-13-600B | K7046 | K7046 |
| 8303-13-600 | K7045 | K7045 |
| HE01-13-600 | K7046 | K7046 |
| HEC1-13-600 | K7045 | K7045 |
Matching rebuild kit to code ensures the needle seat, jets, and gaskets all align with the factory spec.
OEM Cross-Referencing: The Step Most People Skip
Engine manufacturers frequently assign their own part numbers to Nikki carburetors. The number on the carburetor body doesn’t always match what you find in a parts catalog. That’s where cross-referencing saves you.
The Briggs & Stratton Model-Type-Code System
For any Briggs-powered machine, the carburetor identification runs through the engine’s stamped Model, Type, and Code numbers. Find these on the blower housing, muffler heat shield, or overhead valve rocker cover.
- Model number: Defines displacement, cylinder configuration, and basic design
- Type number: Specifies the exact build spec — this tells you which carburetor the factory installed
- Code number: Represents the manufacturing date. For example, code 99011556 means the engine was built on January 15, 1999, at plant 56
That date matters more than most people realize. Manufacturers frequently switch carburetor suppliers mid-production run. A parts list might show a Nikki carburetor before a certain code date, then a Walbro or Ruixing unit afterward. If you skip the code number check and order by model alone, you can easily end up with the wrong carb.
John Deere, Onan, and Common Cross-Reference Numbers
John Deere lawn tractors often run engines built by Briggs & Stratton or Onan. Cross-referencing maps the Nikki body stamp to both the engine maker’s service number and the dealer’s stocking number. Here’s a quick reference for popular platforms:
| Equipment / Engine Model | Nikki Body Stamp | Engine Maker Part # | John Deere Part # |
|---|---|---|---|
| John Deere D130 / LA145 | 795969-02410 | 795969 | MIA11461 / MIA11790 |
| Briggs & Stratton Intek V-Twin | 698494 / 6209 | 698494 | MIA11461 |
| Onan Twin-Cylinder P218 / P220 | 146-0479 | 146-6100 | HE146-0479 |
| Kawasaki FJ400D Utility Engine | 15004-1051 | 15004-1051 | AM15004-1051 |
| Briggs & Stratton Vanguard V-Twin | 808180 | 808180 | LG808180 |
Genuine Nikki vs. Aftermarket Clones
Low-cost clone carburetors flood the market. They look similar, but they don’t perform the same way. Imprecise casting tolerances, uncalibrated jets, and cheap rubber compounds cause engine surging, hard starting, and fuel leaks.
How to Spot a Genuine Unit
A real Nikki carburetor features the brand name “Nikki” in crisp, raised lettering cast into the side of the body. You’ll also see visible quality control paint marks on critical fasteners and distinct assembly-line stamps. Aftermarket clones either carry no external branding or show generic markings — look for “JB” stamped inside the float bowl as a red flag.
The Fuel Cut-Off Solenoid Trap
Original Nikki carburetors on older machines often shipped without an electric anti-backfire solenoid. The float bowl on these units is a flat aluminum plate with no solenoid port. Many aftermarket clones include a fuel cut-off solenoid as standard. If you install one of these on an engine without the right wiring harness, the solenoid plunger blocks fuel flow. You’ll need to either wire it to a switched power source or physically disable the plunger.
Internal Jets and Emulsion Cartridges
Inside a genuine Nikki small engine carburetor, you’ll find a removable molded plastic fuel transfer cartridge — the emulsion insert — secured under a complex gasket. The jets inside are color-coded: brass for primary, silver for secondary. Clone carburetors use uncalibrated, unmarked jets and lower-grade plastic that warps when exposed to ethanol-blend fuels. That’s a direct path to a rich-running or flooding engine.
Bowl Fastener Count
Genuine Nikki carburetors secure the float bowl with two Phillips-head screws. Walbro-style carburetors use a single center bolt that doubles as the main jet housing. Many experienced technicians choose to retrofit troublesome Nikki units with a Walbro-style or Ruixing-style replacement — like the Ruixing 594601 — specifically because it eliminates the multi-piece plastic cartridge and the spider-web gasket assembly that causes sealing failures.
Choosing the Right Float Bowl Gasket: 698781 vs. 695426
This is where a lot of DIY repairs go sideways. Nikki uses two completely different sealing methods for the float bowl interface. Installing the wrong gasket causes immediate fuel leaks or lets fuel siphon directly into the engine intake — which dilutes the crankcase oil and creates serious engine damage.
Style A — Gasket 698781: Grooved Nylon Transfer Tube
The carburetor body has a flat, smooth aluminum sealing surface. The sealing grooves are molded into a separate white or black nylon fuel transfer tube. This design needs gasket 698781, which includes a separate fuel inlet sealing ring that seats into those nylon grooves.
Style B — Gasket 695426: Grooved Metal Body Casting
In older Nikki designs, the sealing channel is machined directly into the aluminum carburetor body. This design needs gasket 695426. Because the channel is built into the metal, there’s no separate loose sealing ring with this style.
| Parameter | Style A — Gasket 698781 | Style B — Gasket 695426 |
|---|---|---|
| Sealing channel location | Molded into nylon transfer tube | Cast into aluminum carburetor body |
| Separate sealing ring needed | Yes | No |
| Typical application | Modern V-Twin engines (Briggs Intek) | Legacy single-cylinder utility engines |
| Material | Smooth, contoured rubber | Flat, channeled paper or rubber |
Check the body before you order. If the sealing surface is smooth and flat, you need 698781. If it has a machined groove, you need 695426.
Bench Rebuilding: What You Need to Know
Read the Symptoms First
Before you pull the carburetor, the symptoms tell you what’s wrong inside. Don’t skip this step.
| Engine Symptom | Root Cause | First Diagnostic Step |
|---|---|---|
| Hard starting or no start | Restricted fuel delivery or clogged pilot jet | Check fuel flow; inspect inlet needle valve |
| Surging or hunting | Lean mixture from clogged main jet | Clean brass and silver jets in the plastic cartridge |
| Black smoke from exhaust | Flooding float bowl | Inspect float for liquid intrusion; test needle seal |
| Fuel dripping from base | Stuck needle valve or deteriorated bowl gasket | Check needle tip for wear; confirm correct gasket style |
| Stalls right after starting | Clogged idle circuit or blocked transfer tube | Blow out internal micro-passages with compressed air |
Disassembly and Cleaning
Set up a clean metal cookie sheet on your workbench to catch small needles, clips, and jets. Photograph every linkage, spring, and governor rod before you disconnect anything. You’ll thank yourself on reassembly.
Before removing the idle needle, turn it inward gently until it lightly seats — count every turn and write it down. This is your baseline position for reinstallation.
Soak the metal castings in a cleaner like Simple Green for exactly two hours. Don’t go longer. Extended soaking damages the aluminum and zinc alloys and destroys plastic bushings. Never soak the solenoid, rubber seals, diaphragms, or the plastic float — they’ll swell and fail immediately.
After soaking, rinse everything thoroughly with hot water. Then blow every internal passage and orifice out with compressed air. Pay close attention to the small low-speed and pilot passages — even a tiny piece of debris plugs them. Don’t use steel wire or drill bits to clear jets. That enlarges the orifice and permanently throws off the factory fuel calibration.
Reassemble with a genuine rebuild kit matched to your specific carburetor number. Torque mounting fasteners evenly to spec — uneven tightening warps the flange and causes air leaks that no amount of adjustment will fix.