Your check engine light’s on, your heater’s blowing cold air, and your temperature gauge is acting strange. A failed thermostat might be the culprit — and ignoring it costs way more than the fix. This guide walks you through everything you need to know about 6.7 Cummins thermostat replacement, from diagnosing failure to bleeding the system correctly.
Why the Thermostat Matters More Than You Think
Most people treat the thermostat like a simple on/off valve for cabin heat. It’s not.
On the 6.7 Cummins, the thermostat is the gatekeeper for your entire emissions system, your engine oil integrity, and your DPF’s survival. The factory spec is exactly 190°F. Drift below that, and a chain reaction starts — one that can turn a $30 part into a $5,000 repair bill.
Here’s the short version of what happens when the thermostat fails open:
- Engine runs too cold
- DPF can’t complete active regeneration
- Unburned fuel washes past the piston rings
- Engine oil gets diluted with diesel
- Bearings wear out fast
That’s not a scare tactic. That’s exactly what the research shows happens with chronic overcooling on diesel engines.
How the 6.7 Cummins Thermostat Actually Works
The thermostat sits at the coolant outlet on the cylinder head, right under the upper radiator hose. Inside the unit, a wax pellet sealed in a copper cup does all the work.
When coolant heats up, the wax melts and expands. That expansion pushes a steel piston outward, which opens the valve and sends hot coolant to the radiator. When the coolant cools down — say, on a cold highway run — the wax contracts, the spring closes the valve, and heat stays in the block.
This constant open-and-close cycle keeps your engine sitting at that 190°F sweet spot where combustion efficiency, emissions compliance, and lubrication all work together properly.
The Jiggle Pin: Small Part, Huge Consequences
There’s a tiny metal pin on the outer flange of the thermostat called the jiggle pin. It bleeds trapped air out of the engine block while the main valve stays closed.
You must install it at exactly 12 o’clock — the highest vertical point in the housing.
If you rotate it sideways or flip the thermostat upside down, air gets permanently trapped under the housing. Trapped air insulates the metal instead of letting coolant absorb heat. The result? Localized boiling, thermal shock, and a cracked cylinder head.
Don’t rush the orientation step. It’s the single most important moment in the entire job.
Signs Your 6.7 Cummins Thermostat Is Failing
Thermostats fail in two ways: stuck closed (rare but catastrophic) or stuck open (common and sneaky).
Stuck closed symptoms:
- Temperature gauge spikes rapidly
- Coolant boiling in the expansion tank
- White steam from the engine bay
- Engine goes into power derate mode
Shut the engine off immediately if this happens. A stuck-closed thermostat can warp the cylinder head within minutes.
Stuck open symptoms:
- Heater blows lukewarm or cold air
- Engine takes forever to warm up
- P0128 code stored (Coolant Temperature Below Thermostat Regulating Temperature)
- Temperature gauge fluctuates on the highway
The stuck-open failure is far more common on the 6.7 Cummins — and the one most people ignore because the truck still drives.
What P0128 Actually Means for Your Wallet
The P0128 diagnostic code tells you the coolant isn’t reaching its target temperature fast enough. The ECM monitors coolant temp against a time-to-temperature algorithm. When it fails that test, the check engine light comes on.
Driving with an active P0128 isn’t just annoying — it’s expensive. Here’s why:
When the engine runs too cold, exhaust temps drop below the 600–800°F threshold the Diesel Oxidation Catalyst needs to ignite during active regen. The ECM keeps trying to regen. Raw fuel keeps getting injected. The regeneration keeps failing. That unburned fuel washes down the cylinder walls and into your oil pan.
Diesel fuel is a solvent, not a lubricant. Once it dilutes your engine oil, your bearings, cam lobes, and high-pressure fuel pump start wearing at an accelerated rate. Fix the thermostat before this cycle begins.
OEM vs. Aftermarket: Don’t Get This Wrong
This is where a lot of DIYers make an expensive mistake. The aftermarket is full of cheap thermostats, including ones marketed as “fail-safe.” Avoid them.
Fail-safe thermostats lock permanently open after a single over-temperature event. That sounds protective, but it guarantees your engine will run chronically cold from that point forward — triggering P0128, killing DPF regens, and diluting your oil indefinitely.
Standard aftermarket units aren’t much better. Many use inferior wax pellet formulations and weak return springs, causing the temperature gauge to swing back and forth as the thermostat hunts for equilibrium.
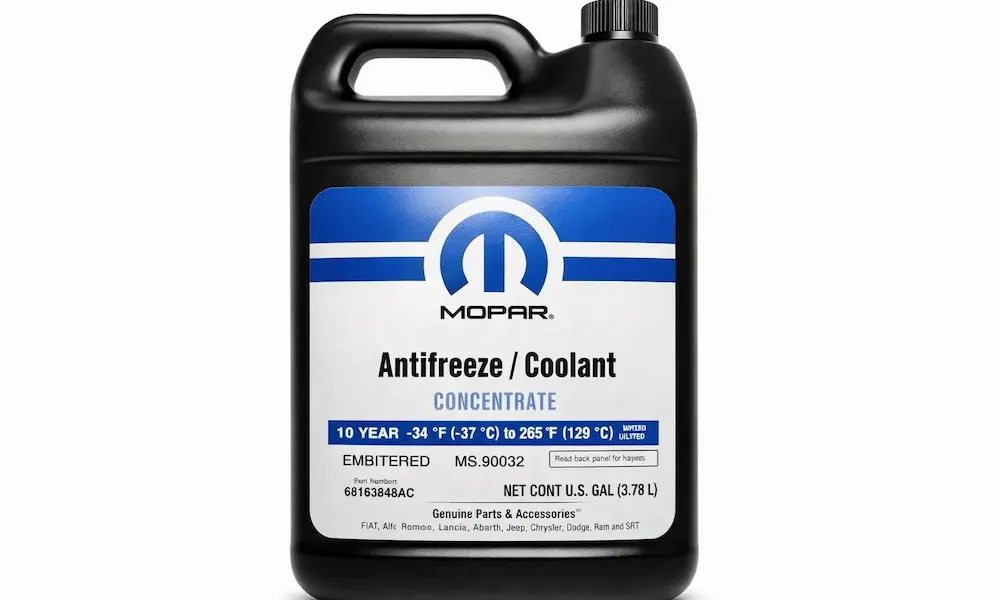
Use genuine OEM parts only:
| Part Source | Part Number | Notes |
|---|---|---|
| Mopar (current) | 68534176AA | Supersedes 68005464AB and 68005464AA |
| Cummins | 5627589 / 5292712 | Identical spec, comes with rubber seal |
Both include the correct sealing gasket. You don’t need RTV silicone.
Tools You’ll Need Before You Start
Gather everything before you crack open the engine bay. You don’t want to be running to the parts store mid-job with coolant draining.
Required tools:
- 5-gallon drain pan
- 3/8″ ratchet with extensions
- Metric sockets: 8mm, 10mm, 12mm
- SAE socket: 7/16″
- Flathead screwdriver and small pry bar
- Hex keys (Allen wrenches) for the bleeder port
- Calibrated torque wrench (inch-pounds and foot-pounds)
- Penetrating oil for the plastic petcock
- Airlift vacuum coolant refill tool (highly recommended)
- Air compressor capable of 90 PSI
The Airlift tool isn’t mandatory, but professional diesel techs use it for a reason — it guarantees a completely air-free fill. More on that below.
Step-by-Step 6.7 Cummins Thermostat Replacement
Step 1: Cool the Engine Completely
Don’t skip this. The cooling system runs at 15–16 PSI. Opening a hot radiator cap releases scalding coolant and steam instantly. Wait until the engine is fully at ambient temperature.
Disconnect the negative battery terminal to prevent the electric cooling fan from engaging while your hands are near the belts.
Step 2: Drain the Coolant
Position your drain pan under the driver’s side bottom corner of the radiator. The petcock is there — and it’s plastic. Treat it gently.
Apply penetrating oil if it’s stiff. Turn it counterclockwise by hand. If you force it with pliers, it’ll snap. A Dorman 61134 petcock is a cheap replacement if it breaks, but avoiding the break saves time.
Crack the upper radiator cap slightly to break the vapor lock and let fluid drain smoothly. You only need to remove 1–2 gallons — enough to drop the level below the thermostat housing. Then hand-tighten the petcock closed.
Step 3: Remove the Engine Shroud
Pull the oil dipstick out of the tube temporarily — it’ll interfere with shroud removal. Use an 8mm socket to remove the bolts on the decorative acoustic plastic shroud covering the valve cover. Set it aside safely. Reinsert the dipstick immediately.
Step 4: Remove the EGR Crossover Tube
The EGR crossover tube runs across the top of the engine and blocks direct access to the thermostat housing. You have to remove it.
Here’s the sequence:
- Unlatch both v-band spring clips at each end of the tube
- Disconnect any electrical sensor connectors along the tube
- Use a long extension and 8mm or 7/16″ socket to remove the hidden bracket bolt underneath the tube
- Pull the tube away from the engine
Stuff clean shop rags into the exposed intake and exhaust ports immediately. You don’t want a bolt falling in there.
Step 5: Remove the Thermostat Housing
With the EGR tube out, the housing is fully exposed. Unplug the coolant temperature sensor connector. Disconnect the exhaust pressure sensor tube. Remove the heat shield bolted above the housing.
Use a 10mm or 12mm socket (varies by model year) to remove the three housing bolts. Lift the housing upward. If the upper radiator hose is still attached, flex the housing to the side — you may not need to disconnect it.
Step 6: Remove and Inspect the Old Thermostat
The thermostat rests in a machined bore in the cylinder head. Use a flathead screwdriver to gently pry it out. The rubber gasket often bonds to the cast iron over time.
Inspect the old unit. Look for a valve stuck open, a torn seal, or obvious corrosion. Now scrape the mating surface on the cylinder head completely clean. Any residue left on this surface will cause an external coolant leak the moment you pressurize the system.
Step 7: Install the New Thermostat
Confirm the new OEM thermostat has its rubber sealing ring in place. Lower it into the cylinder head bore. Now rotate it until the jiggle pin sits at exactly 12 o’clock — the absolute highest point.
This step determines whether your cooling system bleeds itself correctly or traps an air pocket that cracks your head. Don’t guess. Double-check.
Place the housing back over the thermostat. Hand-thread all three bolts first — never use a ratchet to start them in cast iron. Torque all three bolts to 18 ft-lbs (216 in-lbs). No more.
Reassemble in reverse: heat shield, pressure sensor tube, electrical connector, EGR crossover tube with bracket bolt and both v-band clips, engine shroud, oil dipstick.
Refilling the Cooling System: The Right Way
This step is where most DIY jobs go wrong. The 6.7 Cummins has a large, complex cooling circuit. Simply pouring coolant in from the top guarantees trapped air pockets.
Method A: Vacuum Purge (Recommended)
The Airlift vacuum tool creates negative pressure inside the entire system before you add any fluid.
Here’s how it works:
- Seal the rubber cone adapter into the radiator filler neck
- Connect your 90 PSI air line to the tool
- Open the air valve — the venturi inside creates a vacuum
- Watch the gauge climb to 24–26 inches of mercury
- The radiator hoses will visibly collapse flat — that’s normal
- Close the air valve and wait 30 seconds — if the gauge holds, the system is sealed
- Submerge the fluid intake hose in premixed 50/50 HOAT coolant
- Open the intake valve — vacuum siphons coolant through the entire system instantly
- When the gauge returns to zero, the system is full with zero air pockets
Method B: Manual Bleed
If you don’t have an Airlift tool, use the factory bleeder port on the exhaust cooler housing or near the thermostat housing.
- Crack the hex plug open with an Allen key
- Pour premixed coolant slowly into the radiator neck
- Wait for solid, bubble-free coolant to stream out of the bleeder port
- Tighten the plug immediately
- Top off the radiator and overflow reservoir
- Start the engine, max out the heater, idle until the upper hose gets hot
- Shut off, let it cool, top off the reservoir
Expect small air bubbles to work out over your next few drive cycles.
Torque Specs and Part Numbers at a Glance
| Component | Spec / Part Number | Notes |
|---|---|---|
| Thermostat housing bolts | 18 ft-lbs (216 in-lbs) | Don’t overtighten — housing cracks |
| Water pump bolts | 18 ft-lbs (216 in-lbs) | Uniform tightening sequence required |
| Coolant temperature sensor | 37 ft-lbs | Minimal thread sealant only |
| Water inlet connection | 32 ft-lbs | Clean mating surface first |
| Mopar thermostat | 68534176AA | Current supersession; includes gasket |
| Cummins thermostat | 5627589 / 5292712 | Same spec as Mopar unit |
| Radiator petcock (replacement) | Dorman 61134 | Plastic; handle with care |
| Vacuum fill target | 24–26 in/Hg | Required for Airlift tool |
Should You Add a Coolant Bypass Kit?
If you’re towing heavy loads regularly, running a modified engine, or have high mileage on your truck, consider a rear coolant bypass kit from Fleece Performance Engineering or WCFab.
The inline-six design creates a thermal stagnation zone at cylinders five and six. The water pump pushes coolant from front to back, but the coolant tends to short-circuit near the front exit — leaving the rear of the block running hotter than the front. Under heavy towing, this causes localized boiling and pressure spikes that blow out the factory freeze plugs.
A bypass kit extracts stagnant coolant from the rear of the block and routes it directly back to the cooling circuit via a secondary temperature-actuated thermostat. It keeps all six cylinders at the same temperature and protects the rear head gasket from uneven thermal stress.
For daily drivers and light use? Not essential. For towing, hot climates, or modified trucks? Worth every penny.