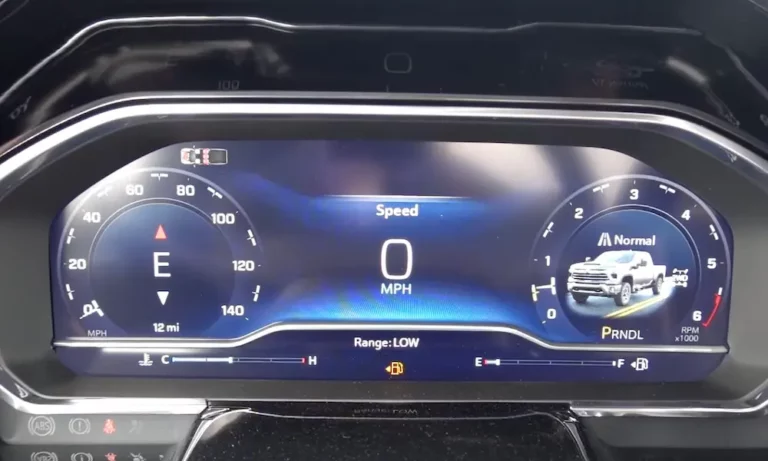
Ever glanced down at your dashboard only to realize you have no idea how much fuel you have left? A broken gas gauge in your Chevy can turn a simple drive into a stressful guessing game. Whether your gauge is stuck on empty, frozen at full, or bouncing around like it’s having a seizure, you’re about to discover why it’s happening and how to fix it.
Common Reasons Your Chevy Gas Gauge Is Failing
Faulty Fuel Sending Unit
The fuel sending unit is the most likely culprit behind your gas gauge troubles. This component sits in your fuel tank and works like a messenger between your actual fuel level and what your dashboard displays.
Here’s how it works: a float rides on top of your fuel, connected to a metal arm that moves a variable resistor. As your fuel level changes, so does the electrical resistance, which your gauge reads as different fuel levels. When this unit fails, your gauge readings go haywire.
Signs of a failing sending unit include:
- Gauge reading empty when you just filled up
- Gauge stuck on full when you know you’re running low
- Erratic needle movement as you drive
In many Chevy models, especially GMT800 series trucks, these sending units are notorious troublemakers after years of service. The contacts can appear burnt or corroded from years of fuel submersion, making them unable to transmit accurate readings.
Wiring and Circuit Problems
The electrical pathway from your tank to your dashboard is another common failure point. The fuel level data travels along a specific wire (often purple and white in Chevy trucks) through your vehicle’s Engine Control Module (ECM) and finally to your instrument cluster.
Any break, corrosion, or short circuit along this path can disrupt the signal. The symptoms often look like:
- Gauge suddenly dropping to empty while driving
- Gauge reading full all the time
- Needle jumping unexpectedly over bumps
These issues are particularly common in older Chevys where vibration, heat cycles, and general aging have degraded the wiring insulation and connections.
Fuse and Grounding Issues
Sometimes the simplest explanation is the right one. A blown fuse can completely disable your fuel gauge circuit. Similarly, poor grounding can cause erratic gauge behavior or total failure.
Ground connections are especially susceptible to corrosion and loosening over time. The instrument cluster in Chevy trucks relies on a solid ground connection, often via a clip that attaches to the dash structure behind the cluster.
| Component | Typical Symptoms When Failed | Difficulty to Fix |
|---|---|---|
| Fuel Sending Unit | Stuck gauge, inaccurate readings | Moderate-Difficult |
| Wiring/Circuits | Erratic readings, intermittent function | Moderate |
| Fuse | No gauge function at all | Easy |
| Ground Connection | Erratic readings, affects multiple gauges | Easy-Moderate |
How to Diagnose Your Chevy’s Gas Gauge Problem
Quick Checks First
Start with the simplest tests:
- Check the fuse for the fuel gauge system. A blown fuse means no power reaches the gauge.
- Look at other gauges in your instrument cluster. If they’re also acting up, you likely have a broader electrical issue.
- Watch the gauge during key cycles. If the needle moves at all during startup, the gauge itself might still be mechanically sound.
For newer Chevys with computer systems, try a quick reset—disconnect the positive battery cable for about 10 seconds, or push and hold the button on the turn signal lever for around 10 seconds. These quick resets sometimes clear electronic glitches and restore normal operation.
Testing the Fuel Sending Unit
To properly check if your sending unit is the problem, you’ll need a multimeter to measure resistance values.
Most Chevy sending units should show varying resistance between approximately 0 ohms (full tank) and 90 ohms (empty tank). However, accessing the sending unit typically requires dropping the fuel tank or finding a service panel, making this a more involved job.
When examining the sending unit:
- Look for obvious damage to the float arm
- Check for corroded electrical contacts
- Test the resistance by moving the float arm through its range while measuring with a multimeter
Examining Electrical Connections
Tracing the electrical path requires patience but can save you from unnecessary parts replacement:
- Start at the sending unit connection and follow the wiring toward the dash.
- Use a multimeter to test for voltage and continuity at various points.
- Pay special attention to connectors and junction points—these are hotspots for corrosion.
- Check the connection at the instrument cluster itself for damage or looseness.
In a properly functioning system, you should measure approximately 2.5 volts at the ECM for a half-full tank, with voltage increasing as the tank empties.
How to Fix Your Chevy Gas Gauge
Replacing the Fuel Sending Unit
When the sending unit is the problem, replacement is typically the most effective solution. In modern Chevy trucks, the sending unit is often part of the complete fuel pump assembly, meaning you’ll need to replace the entire unit.
The replacement process involves:
- Relieving fuel system pressure
- Dropping the fuel tank
- Removing the old assembly
- Installing the new unit with fresh gaskets and seals
Quality matters with replacement parts—avoid extremely cheap options as they often fail prematurely. For example, a 2006 Silverado owner should choose a reputable fuel pump assembly from established parts retailers rather than bargain-bin alternatives.
While this repair can be handled by a skilled DIY mechanic, the bulk of the fuel tank and the hazards of working with gasoline make it challenging. Always follow proper safety precautions, including working in a well-ventilated area and disconnecting the battery before starting.
Fixing Electrical Issues
Addressing wiring and circuit problems might involve:
- Repairing damaged sections of the wiring harness
- Replacing corroded connectors
- Fixing ground points
When making repairs, use appropriate automotive-grade wire and connectors, and apply dielectric grease to connections to prevent future corrosion.
For ground issues, thoroughly clean the connection point with a wire brush or sandpaper before reattaching. Pay special attention to the instrument cluster ground clip in older Chevy trucks—this small connection is critical for proper gauge function.
System Reset Procedures
For newer Chevy trucks with computerized systems, electronic resets can sometimes resolve gauge issues:
- Disconnect the positive battery terminal for approximately 10 seconds to force an ECM reset.
- For vehicles with an instrument panel cluster reset function, press and hold the button on the end of the turn signal lever for about 10 seconds.
After performing a reset, drive your vehicle through at least one fuel cycle—from full to near empty—to allow the system to recalibrate fully. Modern fuel gauge systems have adaptive learning functions that improve accuracy over time.
Preventing Future Gas Gauge Problems
To avoid finding yourself stranded with an unpredictable fuel gauge:
- Address early warning signs promptly—like occasional gauge fluctuations or inconsistent readings
- Keep an eye on your trip odometer as a backup fuel tracking method
- Consider treating fuel system components during regular maintenance
- For older Chevys, periodically check ground connections and clean as needed
- If replacing the sending unit, choose quality parts from reputable suppliers