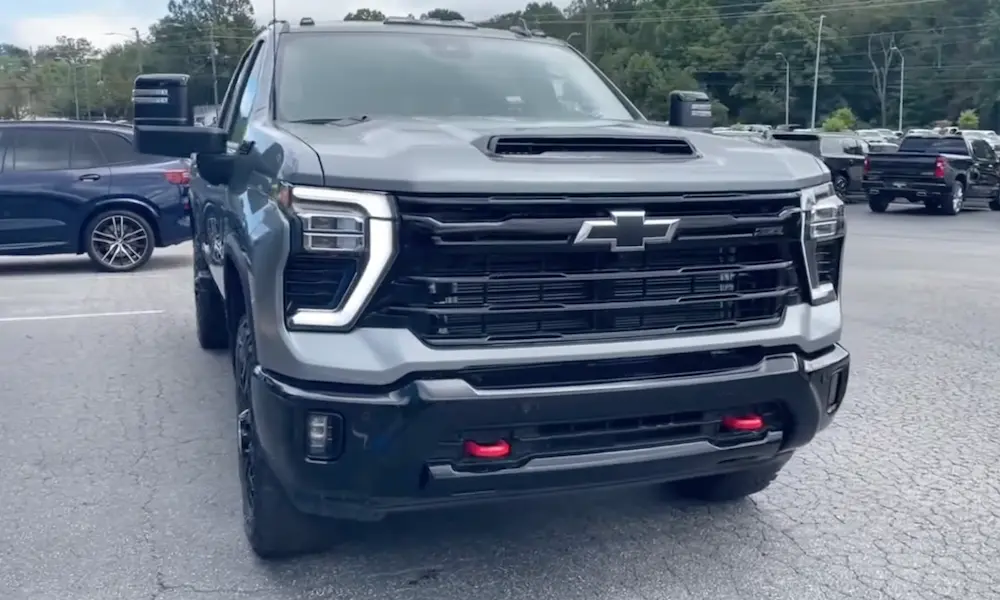
The Chevy Silverado starter is located underneath the passenger side of the engine. If you’re experiencing trouble starting your truck, pinpointing this location is your first step in resolving the issue. This guide will take you through everything you need to know about accessing and replacing the starter efficiently. Stick around, and you’ll find useful tips to ensure your Silverado starts smoothly again.
Preparation for Starter Location and Replacement
When preparing to locate and replace the starter in your Chevy Silverado, it’s essential to prioritize safety and have the right tools on hand. Proper preparation ensures a smooth process and protects you from potential hazards during the repair.
Safety Measures
Safety should be your top priority when working on your vehicle. Begin by disconnecting the negative battery terminal to prevent any electrical mishaps. This simple step will keep you safe from electrical shocks.
Always use sturdy jack stands to support your truck after lifting it with a jack. Never rely solely on the jack itself, as it can fail without warning, leading to dangerous situations. Securely position the stands under a stable part of the frame.
Before starting, put on safety goggles and gloves to protect yourself from debris and sharp objects. Keep a fire extinguisher nearby in case of emergencies. It’s always better to be prepared for any situation that might arise when working on your vehicle.
Tools Required
Ensure you have all necessary tools ready before beginning the starter replacement. You’ll need a socket set to remove and install the mounting bolts. A wrench set will also be useful for various tasks, such as loosening the negative battery cable.
A floor jack is essential for elevating your Silverado, while the aforementioned jack stands provide stability. Having a ratchet and an extension bar will help you reach tight spaces under the truck.
Don’t forget other helpful items like a flashlight or work light to improve visibility, especially when working in dark or cramped areas. With these tools at your disposal, you’ll be well-equipped for the job.
Locating the Starter
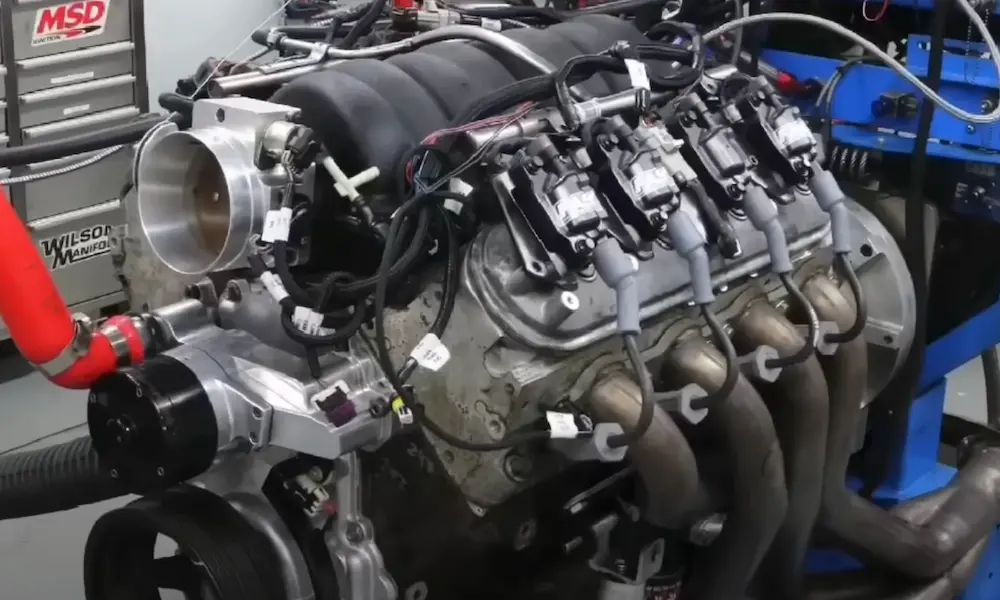
When you’re working on your Chevy Silverado, finding the starter is your first step. It is a crucial component in the engine’s starting system, helping your truck to turn over and start. Typically, the starter is located on the lower side of the engine, close to the transmission.
Look beneath your truck to locate the starter. If your Silverado has an automatic transmission, you might find the starter on the passenger side. This positioning can vary slightly depending on the engine model and year, but it’s generally toward the rear of the engine block.
To make it easier to find, look for a small cylindrical part with electrical connections. This piece is bolted to the engine and may have a metal shield around it for protection. Be sure to check that your battery is disconnected before touching the starter to avoid any electrical hazards.
Removing the Starter
To successfully remove the starter from your Chevy Silverado, you’ll follow steps that ensure a smooth process. You’ll start with disconnecting the battery, followed by detaching the wiring, and finally unbolting the starter from its mount.
Disconnecting the Battery
Before you do anything else, make sure you disconnect the battery to keep yourself safe. Start by locating the negative battery terminal; this is usually marked with a minus (-) sign.
Take a wrench or socket and loosen the nut on the negative terminal. Once it’s loose, gently pull the negative battery cable away and set it aside. This prevents any accidental electrical connections while you’re working on the starter.
It’s a small step, but it’s important to avoid any electrical hazards.
Detaching the Starter Wiring
After ensuring the battery is safely disconnected, you’ll move on to the wiring attached to the starter. The starter typically has several wires connected to it, and these need to be detached carefully.
Look for a wiring harness connected to the starter. You’ll likely find a couple of bolts or clips holding it in place. Use your tools to remove these fasteners.
Once the fasteners are off, carefully pull the wires away from the starter. Keep the wires secure and out of the work area to avoid tangling or damage.
Unbolting the Starter
With the wiring out of the way, it’s time to remove the starter itself. Find the mounting bolts that secure the starter to the engine block. There may be two or three of them, depending on your Silverado model.
Use your wrench or ratchet to carefully unbolt these screws. It might take some effort, as they’re usually on tightly. Keep a hand on the starter as you remove the last bolt to prevent it from dropping suddenly.
Once unbolted, gently slide the starter away from its position. Now you can access it for replacement or further work.
Installing the New Starter
When putting in a new starter for your Chevy Silverado, it’s important to make sure you have the right part and tools. You’ll need to place the starter correctly, handle the wiring carefully, and fasten the mounting bolts securely. Attention to detail will help ensure the vehicle runs smoothly afterward.
Positioning the New Starter
First, you need to carefully position the new starter in the appropriate spot on the engine block. Align it with the holes where the mounting bolts will go. This step is crucial because a misaligned starter can lead to problems when starting the engine.
Make sure there’s enough space around the starter to comfortably reach the other components. Having clear access helps with the wiring and bolting later on. Double-check that the starter is snug against the engine block before moving on.
Be mindful of any heat shields that need to be placed on the new starter. These protect the starter from engine heat. Using the right replacement starter is also important to ensure a proper fit.
Reattaching the Wiring
With the starter in position, the next step is to reconnect all the wires. Begin with the power cable and ensure it’s firmly connected to the starter. Loose connections can lead to starting issues or electrical problems.
After that, attach the solenoid cable, making sure it’s not too tight or too loose. Cables should have a little slack to prevent wear over time. It’s helpful to give the cables a gentle tug to make sure they’re secure.
Double-check all connections for tightness. If the cables seem worn or damaged, consider replacing them during this step to avoid future issues with your battery or starter.
Securing the Mounting Bolts
Finally, it’s time to secure the starter with the mounting bolts. Begin by threading the bolts by hand to make sure they go in straight. Cross-threading can damage the bolt holes and make removal difficult.
Once the bolts are hand-tight, use a wrench to secure them firmly. Aim for a snug fit, but avoid over-tightening, which can strip the threads.
Remember to reconnect the negative terminal on your battery after all bolts are in place. This ensures the electrical system is fully operational. With the starter securely mounted, you’re ready to test and enjoy your vehicle’s smooth startup.
Post-Installation Checklist
After installing the starter in your Chevy Silverado, it’s important to ensure everything is working smoothly. Focus on reconnecting the battery and testing the ignition system to make sure your vehicle starts without issues.
Battery Connection
Once the starter is in place, your first task is reconnecting the battery. Begin by attaching the negative cable, making sure it’s secure and free of corrosion. A loose connection can disrupt the starter’s performance and lead to starting problems. Use a wire brush if you see any corrosion around the terminal. It’s also a good idea to check the positive cable for wear or damage.
Proper connection ensures your battery delivers full power to the starter. Keep all connections tight, and ensure the cables are not frayed. A stable connection is crucial for the starter to function properly each time you turn the key.
Testing the Ignition
Testing the ignition is the next step. Turn the key in the ignition to start your engine. Listen for strange noises or hesitation. A smooth start indicates successful installation. If the engine struggles or there’s an unusual sound, double-check the starter installation and battery connections.
You might also want to observe the dashboard for any warning lights or error messages. If issues persist, consider seeking professional advice. It’s essential to verify that the ignition turns over effortlessly, confirming the starter and battery connection are functioning as expected, offering you peace of mind every time you start your vehicle.

