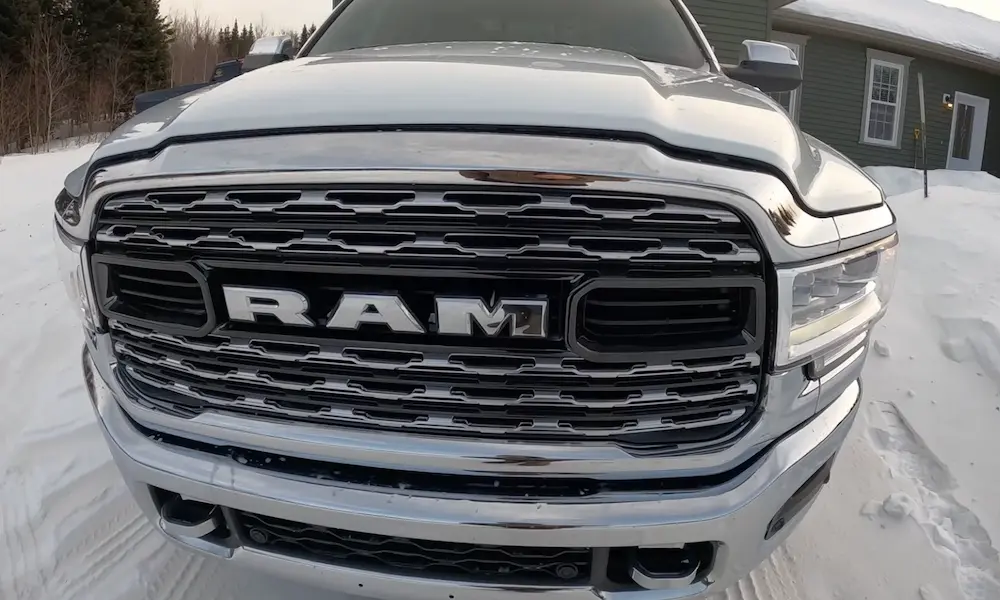
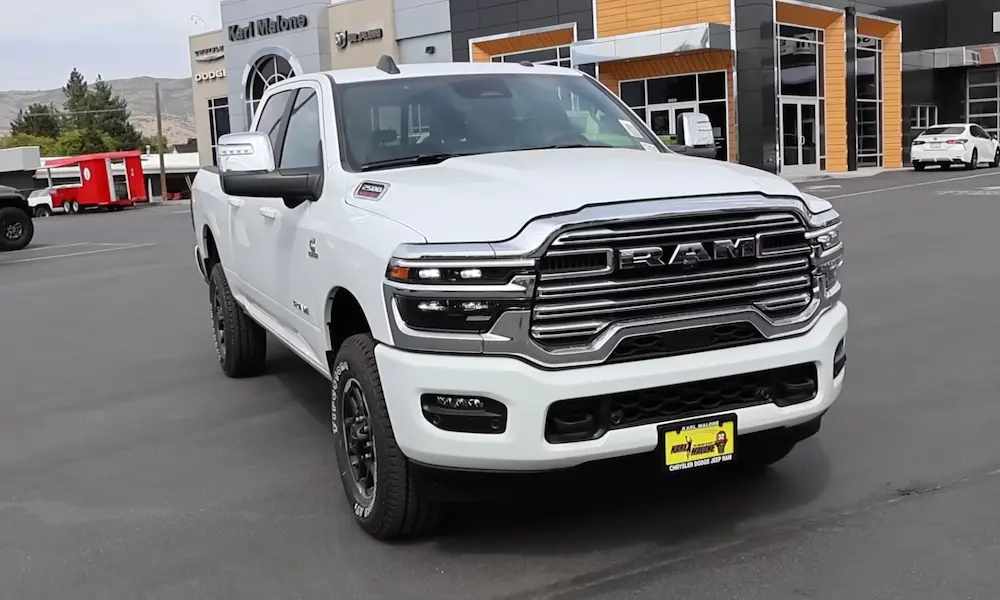
Your Dodge Durango is overheating, blowing cold air, or throwing a P0128 code — and you suspect the thermostat. You’re probably right. This guide walks you through everything: symptoms, diagnosis, step-by-step replacement for both the 3.6L V6 and 5.7L Hemi V8, and how to bleed the system correctly. Read to the end — the bleeding process is where most DIYers go wrong.
What Does the Thermostat Actually Do?
The thermostat is a simple valve that controls coolant flow between your engine and radiator. When your engine is cold, it stays closed to help the engine warm up fast. Once the coolant hits around 203°F, a wax pellet inside the thermostat melts, expands, and pushes the valve open — letting hot coolant flow to the radiator.
This isn’t just about temperature. A properly working thermostat helps your engine:
- Switch from rich “cold start” fuel delivery to precise, fuel-efficient closed-loop operation
- Keep engine oil at the right viscosity to reduce internal wear
- Deliver actual heat to your cabin through the heater core
When the thermostat fails, none of that works properly.
How to Tell Your Thermostat Has Failed
Thermostats fail in two ways: stuck open or stuck closed. Each tells a different story on your dashboard.
Stuck Open — Running Too Cold
A stuck-open thermostat keeps coolant flowing to the radiator constantly, even when the engine is cold. Symptoms include:
- Temperature gauge stuck near the cold mark, even after 20+ minutes of driving
- Poor cabin heat — air blowing lukewarm or cold
- Check Engine Light with a P0128 code (coolant temp below thermostat regulating temperature)
- Worse fuel economy — your ECU keeps enriching the fuel mix trying to warm things up
If you’re seeing a P0128 code, a stuck-open thermostat is almost always the culprit.
Stuck Closed — Overheating Fast
This one’s an emergency. A stuck-closed thermostat traps coolant inside the engine with nowhere to go. The temperature gauge spikes into the red zone fast. You’ll see steam under the hood, blown hoses, or a geyser from the radiator cap.
If your Durango overheats like this, shut it off immediately and don’t drive it. Continuing to drive will warp your cylinder heads or destroy the engine entirely.
Failure Modes at a Glance
| Failure Mode | Temperature Gauge | Cabin Heat | Check Engine Light |
|---|---|---|---|
| Stuck Open | Cold / Below midpoint | Weak or none | Yes — P0128 |
| Stuck Closed | Spikes into red zone | Initially normal, then fails | Yes — overtemp codes |
| Housing Leak (3.6L) | May fluctuate | Reduced | Possibly |
The 3.6L Pentastar’s Plastic Problem
If you own a Durango with the 3.6L Pentastar V6, here’s something you need to know: the factory thermostat housing is plastic. And it cracks.
Chrysler used glass-reinforced plastic to save weight and cut manufacturing costs. The problem? That plastic goes through brutal thermal cycles — freezing cold overnight, then 200°F+ during the day. Over time, it becomes brittle, warps at the mounting flange, and develops hairline cracks that let coolant seep out.
This is one of the most widely documented failures on the Pentastar engine across all Chrysler, Dodge, and Jeep platforms.
The Fix: Upgrade to Aluminum
When you do your Dodge Durango thermostat replacement on the 3.6L, skip the plastic replacement and go straight to an aluminum thermostat housing from Dorman. It’s a direct fit, won’t crack or warp, and permanently solves the plastic failure problem. The price difference is minimal — the peace of mind isn’t.
What It Costs to Replace the Thermostat
Here’s the honest breakdown of what you’re looking at:
| Repair Method | Labor Cost | Parts Cost | Total |
|---|---|---|---|
| Dealership / Shop | $109–$160 | $403–$408 | $512–$568 |
| DIY with OEM Plastic | $0 | $60–$80 | $60–$80 |
| DIY with Aluminum Upgrade | $0 | $70–$90 | $70–$90 |
The average annual repair cost for a Dodge Durango is around $675. A dealer thermostat job nearly wipes out that entire budget in one shot. DIY keeps the cost well under $100 and actually improves on the factory design.
Tools and Materials You’ll Need
Don’t start without these:
Tools:
- Metric socket set (10mm and 13mm most common)
- 3/8″ drive ratchet with short extension
- Constant-tension hose clamp pliers (don’t skip this — regular pliers will damage the hose)
- Inch-pound torque wrench for the 3.6L
- Foot-pound torque wrench for the 5.7L Hemi
- Large drain pan
- Spill-free coolant funnel kit
- Non-abrasive plastic scraper
- Shop towels
Materials:
- Aluminum thermostat housing assembly (3.6L) or OEM thermostat (5.7L)
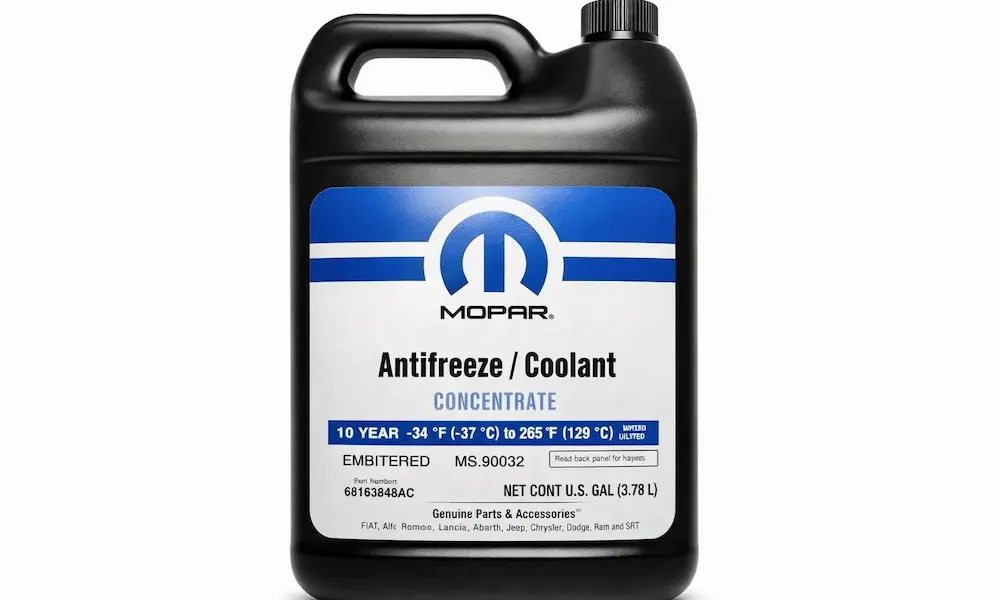
- 50/50 pre-diluted Organic Acid Technology (OAT) coolant — orange or purple depending on model year
On the coolant: don’t mix OAT with old-style green silicate coolant. The two react and form a thick sludge that clogs your radiator and destroys the water pump. Use OAT only, every time.
Torque Specs — Get These Right
Over-tightening the plastic Pentastar housing cracks it instantly. Under-tightening causes leaks. Use a torque wrench, not your best guess.
| Engine | Component | Torque (ft-lbs) | Torque (in-lbs) |
|---|---|---|---|
| 3.6L Pentastar V6 | Thermostat Housing Bolts | 9 ft-lbs | 108 in-lbs |
| 3.6L Pentastar V6 | Coolant Crossover Pipe | 8 ft-lbs | 96 in-lbs |
| 5.7L Hemi V8 | Thermostat Housing Bolts | 18 ft-lbs | 216 in-lbs |
| 5.7L Hemi V8 | Water Pump Bolts | 18 ft-lbs | 216 in-lbs |
If you remove a wheel to access splash shields during this job, torque lug nuts to 110 ft-lbs (2011–2018) or 130 ft-lbs (2019+) when you reinstall.
Step-by-Step: 3.6L Pentastar Thermostat Replacement
Follow this complete replacement walkthrough for a smooth job:
1. Let the engine cool completely. Never open a hot cooling system. You’ll get scalded.
2. Remove the engine cover. Pull upward firmly to pop the rubber grommets.
3. Remove the air intake snorkel. Loosen both band clamps, unplug the intake air temperature sensor, and pull the tube free.
4. Drain the coolant. Position your catch pan under the lower radiator petcock. Open it and remove the radiator cap to speed up drainage. Let it drain until the level drops below the thermostat housing.
5. Remove the upper radiator hose. Use your hose clamp pliers to slide the spring clamp back about 3 inches. Twist the hose gently to break the heat bond, then pull it free.
6. Remove the two 10mm housing bolts. Extract them carefully with your ratchet and extension.
7. Pull the housing off. The thermostat is integrated into the housing on the Pentastar — it all comes out as one unit.
8. Clean the mating surface. Use your plastic scraper and a solvent-soaked rag to remove every bit of old gasket, scale, and debris from the engine block surface. This step determines whether your new housing leaks.
9. Seat the new O-ring. Make sure the rubber seal sits flat in the groove with no twists or folds.
10. Install the new housing. Thread both 10mm bolts in by hand first. Then torque them alternately to 108 in-lbs (9 ft-lbs). Stop there — don’t go further.
11. Reattach the hose and clamp. Slide the clamp back to its original position past the housing lip.
12. Reinstall the intake snorkel and reconnect the sensor.
13. Close the petcock.
Now move on to bleeding the system.
Step-by-Step: 5.7L Hemi V8 Thermostat Replacement
The Hemi thermostat procedure is similar but with a few key differences:
1. Cool the engine completely.
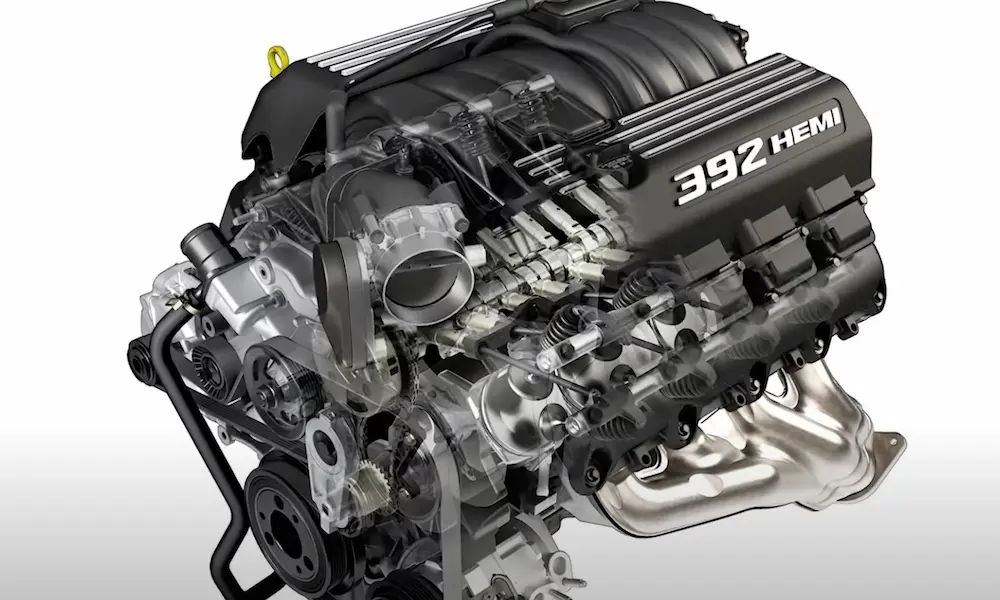
2. Remove the engine cover and intake ducting to access the water pump area at the lower front of the engine.
3. Drain coolant below the level of the lower-mounted thermostat housing.
4. Remove the upper radiator hose from the thermostat housing using hose clamp pliers.
5. Remove the two housing bolts. Expect a rush of trapped coolant when the housing comes off.
6. Extract the thermostat from the machined recess in the water pump casting. It sits separately from the housing on the Hemi.
7. Clean the water pump mating surface thoroughly.
8. Install the new thermostat. Place the jiggle valve (the small bleeder pin) at the 12 o’clock position. This is critical for bleeding — if it’s not at the top, air won’t escape.
9. Place the new rubber gasket around the thermostat, then set the metal housing over it.
10. Thread bolts in by hand, then torque to 18 ft-lbs.
11. Reattach the hose, clamp, and all intake components.
Bleeding the Cooling System (Don’t Skip This)
This is where Dodge Durango thermostat replacements go sideways. Air pockets in the cooling system cause overheating even after a perfect install. Follow this carefully.
Bleeding the 3.6L Pentastar
The Pentastar has a bleeder screw on the thermostat housing or coolant crossover pipe — use it.
- Attach the spill-free funnel to the radiator filler neck
- Open the bleeder screw 1–2 turns
- Pour in your 50/50 OAT coolant slowly
- Watch for air to hiss out of the bleeder
- When a steady stream of coolant (no bubbles) flows from the bleeder, tighten it immediately
- Start the engine and set the heater to max heat and max fan speed
- Watch the funnel level drop when the thermostat opens at 203°F — add coolant quickly to prevent air from entering
- Once the cooling fans kick on and your cabin blows hot air, the system is bled
- Remove the funnel, install the radiator cap, and top off the overflow reservoir
Bleeding the 5.7L Hemi
The Hemi doesn’t have an easy bleeder screw. Use this method instead:
- Attach the spill-free funnel and fill with OAT coolant
- Start the engine with the heater on max heat and max fan
- Periodically squeeze the upper radiator hose to dislodge trapped air bubbles
- Watch for bubbles to surface in the funnel when the thermostat opens
- Keep the funnel topped up so air can’t get sucked back in
- Run through two or three complete heat cycles until no more bubbles appear and cabin heat is consistent
- Cap the system and check fluid levels cold the next morning
Frequently Asked Questions
Can a bad thermostat kill your A/C?
Yes. If the engine overheats due to a stuck-closed thermostat, the ECU shuts off the A/C compressor automatically. It’s doing you a favor — removing that load from the engine and stopping the condenser from adding more heat in front of an already overwhelmed radiator.
What happens if you ignore a P0128 code long-term?
The ECU locks into open-loop fueling, constantly running rich. Over time, excess fuel washes oil off the cylinder walls, accelerates piston ring wear, and dumps unburned hydrocarbons into the exhaust. Those hydrocarbons ignite inside your catalytic converters and destroy the precious metal honeycomb inside — an extremely expensive fix.
Can a bad thermostat overheat your transmission too?
Absolutely. The Durango’s transmission cooler sits inside or right next to the radiator. If the engine coolant boils and the radiator can’t shed heat, the transmission fluid can’t cool down either. The result is degraded transmission fluid, slipping clutch packs, and eventual transmission failure right alongside your engine.
What’s the jiggle valve on the thermostat for?
It’s a tiny check ball in the thermostat flange that lets trapped air bypass the closed valve during bleeding. When the engine runs and the water pump pushes fluid against it, the ball seals shut. Always install it at the 12 o’clock position — if it’s not at the top, air can’t escape and you’ll never fully bleed the system.
How long does a Dodge Durango thermostat replacement take for a DIYer?
Budget 2–3 hours for your first time, including bleeding. The mechanical removal and installation takes about an hour. The bleeding process requires patience through multiple heat cycles — don’t rush it.