Popping the doors off your Jeep Wrangler is one of those things that sounds intimidating the first time. It’s not. With the right tools and a clear process, you’ll have them off in under 20 minutes. This guide covers every generation — TJ, JK, and JL — plus the stuff nobody warns you about, like seized hinges, cowl dings, and mirror laws. Read to the end before you start wrenching.
What You Need Before You Start
You don’t need a full mechanic’s toolbox. But you do need the right bits.
Jeep uses Torx-head bolts on nearly everything modular, including the doors. The most important bit is the T50 Torx, which handles the hinge pins on every generation. The JL also needs a T40 Torx for the door catch. Older TJ models sometimes use a 13mm wrench instead.
This Torx kit from Desert Fox Offroad covers TJ through JL and the Gladiator. It’s worth having on hand.
Grab these before you start:
- T50 Torx bit (all generations, hinge pins)
- T40 Torx bit (JL door catch; JK hardtop)
- T30 Torx bit (soft top hardware)
- 13mm wrench (TJ and older CJ hinge nuts)
- Trim removal tool (JL kick panel)
Good news for JL owners: Jeep built a dedicated hardware storage bin under the rear cargo floor with labeled holes for every bolt you remove. You won’t lose a thing.
How to Remove Jeep Wrangler Doors on a JK (2007–2017)
The JK was the first generation to go four-door mainstream with the Unlimited. More doors means more steps, but the process is the same on all four.
Before anything else, lower your windows completely. This protects the glass and lowers the door’s center of gravity, making it easier to handle. It’s a small step that prevents big headaches.
Step-by-Step: JK Door Removal
| Step | Action | Detail |
|---|---|---|
| 1 | Lower windows | Protects glass; improves grip |
| 2 | Unplug harness | Slide the red locking tab up, press the center button, pull the connector down |
| 3 | Remove limiting strap | Open the door slightly to release tension, then lift the nylon loop off the body hook |
| 4 | Remove hinge nuts | Use T50 Torx on the underside of both exterior hinges |
| 5 | Lift door off | Pull straight up at a 90-degree angle from the body |
Front door harness tip: The connector hides near the kick panel in the footwell. Look for the red tab — slide it up to unlock, then pull. Rear door harness (JKU): Access it through the rectangular plastic cover on the B-pillar. Same red-tab logic applies.
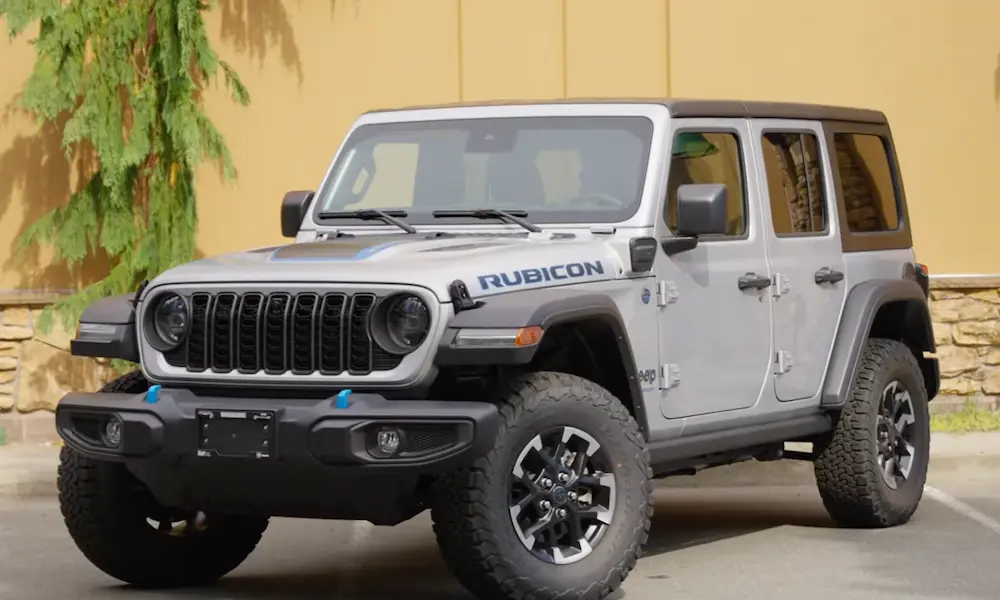
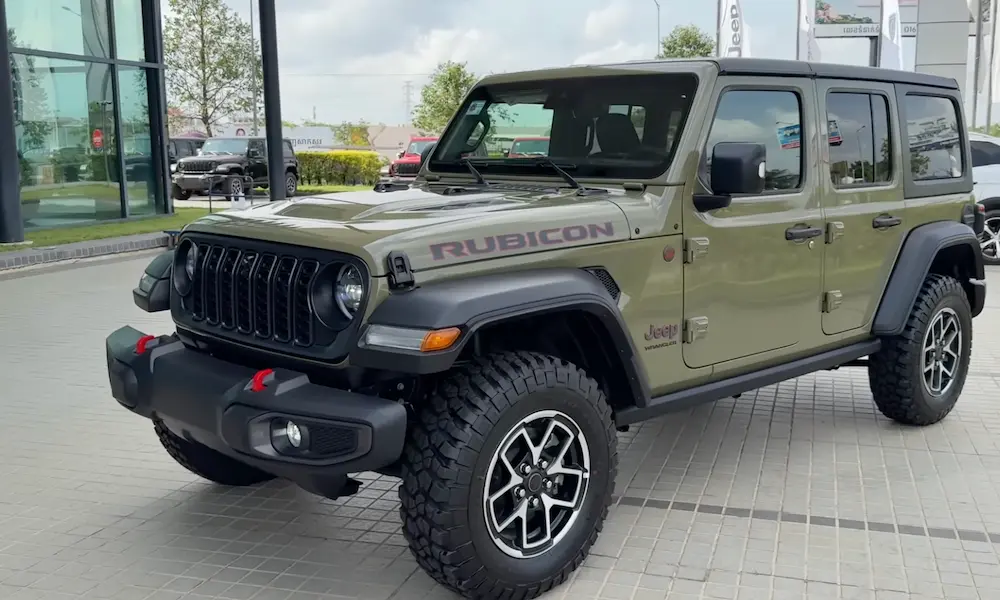
How to Remove Jeep Wrangler Doors on a JL (2018–Present)
The JL added aluminum construction, a lever-actuated harness connector, and a door catch bolt. It sounds more complicated than it is. You’re adding exactly two steps to the JK process.
JL front doors weigh about 47 lbs and rear doors about 34 lbs — lighter than the JK’s steel counterparts. The JL also added a “grab groove” on the interior door panel, which is exactly what it sounds like: a built-in handhold for lifting.
Step-by-Step: JL Door Removal
| Step | Action | Detail |
|---|---|---|
| 1 | Lower windows | Always first |
| 2 | Remove kick panel | Use a trim tool to pop the panel near the footwell |
| 3 | Disconnect harness | Slide the red tab down, rotate the white lever up — the plug ejects itself |
| 4 | Remove door catch bolt | T40 Torx, one bolt on the door jamb |
| 5 | Remove hinge bolts | T50 Torx on the underside of both hinges |
| 6 | Lift using grab groove | Pull straight up |
One JL quirk worth knowing: The hinge pins are different lengths. The top pin is longer than the bottom. When you reinstall the door, align the top pin first. It acts as a guide and makes lining up the lower hinge dramatically easier.
Rear doors on the JLU use a simpler push-tab connector at the bottom of the B-pillar. No lever required.
Door Weights by Generation (So You Know What You’re Lifting)
| Generation | Years | Material | Front Door | Rear Door |
|---|---|---|---|---|
| TJ | 1997–2006 | Steel | 48 lbs | N/A |
| JK | 2007–2017 | Steel | 62 lbs | 44 lbs |
| JL | 2018–Present | Aluminum | 47 lbs | 34 lbs |
Those JK front doors are heavy. If you’re working alone, use your legs and keep the door close to your body when you lift.
Seized Hinges: What to Do When the Door Won’t Budge
This is the part nobody talks about until it happens to them. If your Wrangler lives in a salty or humid climate, galvanic corrosion can fuse the steel hinge pins to the aluminum hinge knuckles. You’ll see white, powdery buildup around the joints and feel stiff resistance when the door opens.
Don’t yank sideways. You’ll bend the door skin.
Try this instead:
- Spray penetrating oil (WD-40 works) on all hinge joints
- Let it soak for 15–20 minutes
- Place a block of wood under the door’s bottom edge
- Use a floor jack to slowly apply upward pressure while a helper gently swings the door
The long-term fix is Delrin bushings. These are engineering-grade plastic sleeves that replace the factory metal liners. Delrin doesn’t react with steel or aluminum, so corrosion stops being an issue. Installation involves punching out the old liners, cleaning the bore, and pressing in the new sleeves.
After that, a layer of marine-grade grease keeps the pins sliding freely season after season.
Best Lubricants for Jeep Door Hinges
| Lubricant | Best For |
|---|---|
| Marine grease | Coastal or snowy regions — best salt resistance |
| White lithium grease | Temperate, dry climates |
| Copper anti-seize | High-friction metal contact points |
| Dry graphite | Desert environments — won’t attract dust |
| Penetrating oil | One-time use only, freeing stuck doors |
Don’t Get a Cowl Ding
A cowl ding is a dent on the body panel between the hood and the door hinges. It happens when the limiting strap is disconnected and the door swings open too far, driving the mirror straight into the cowl.
It’s surprisingly easy to do, and that panel is thin-gauge sheet metal. One strong gust of wind while the strap’s already off and you’ve got an expensive problem.
How to avoid it:
- Park on flat ground before removing doors
- Keep one hand on the door at all times once the strap is disconnected
- Install cowl armor — plastic or metal covers that adhere to the cowl area and absorb impact
If you already have a cowl ding, Paintless Dent Repair (PDR) is your best option. A tech uses metal rods to massage the dent out from underneath without touching the paint. It’s cheaper than a body shop and keeps your factory finish intact.
Mirror Laws: What You Must Know Before Driving Doorless
Driving without doors is legal in all 50 states. The doors aren’t considered structural safety components in this vehicle class. But since your mirrors bolt to the doors, removing the doors removes your mirrors — and that’s where you can get cited.
Mirror laws vary significantly by state. Check yours before hitting the road.
| Mirror Requirement | States | What’s Required |
|---|---|---|
| Single mirror | AL, FL, IL, MS, MT, NM, OR, TX, UT, WI | One mirror with 200 ft rear view |
| Dual mirrors | AZ, CA, CO, NH, OK, RI, WA | Two mirrors, usually left + center |
| Triple mirrors | OH | Left, right, and center |
| Placement-specific | NY, MD, KY, KS | Left-side and interior center |
| Size or year-based | MO, MI, NV | Varies by vehicle age or weight class |
Your two main mirror options when doorless:
- Hinge-mounted mirrors — drop into the empty hinge pins, cheap and easy, but tend to vibrate and whistle at highway speeds
- A-pillar mounted brackets — bolt to the windshield frame, far more stable, and you can leave them on even when the doors go back on
A-pillar brackets are worth the extra cost if you remove your doors regularly. OnAllCylinders breaks down why mirror relocation brackets matter and what to look for.
Storing Your Doors Without Wrecking Them
Doors leaned carelessly against a garage wall will chip at the corners and scratch the paint. Glass left facing outward will get cracked. It’s worth doing storage right.
Three main options:
- Storage bags — padded nylon bags protect the door skin and keep dust off; great if you transport doors in the vehicle
- Wall-mounted hangers — use the factory hinge to hang doors vertically; saves floor space, needs to mount into wall studs
- Rolling carts — padded cradles on locking casters; ideal for four-door owners juggling multiple panels
Whatever you use, store doors somewhere dry and cool. Heat and humidity degrade the rubber weatherstripping and corrode the electrical connectors. And before you set a door against any surface, place a folded moving blanket or a pool noodle along the bottom edge. The door’s weight concentrates right there, and chips happen fast.
Quadratec’s door storage section covers bags, hangers, and carts if you want to browse options.
Tips for Driving Doorless
Going doors-off for the first time is genuinely fun. It’s also a little different than regular driving. A few things to keep in mind:
- Secure your stuff. Loose papers, floor mats, and anything lightweight will exit the vehicle at speed. Use clipped-down floor mats and lock valuables in the center console.
- Wear sunscreen. Wind feels refreshing for the first hour. UV damage doesn’t.
- Lock the storage areas. The center console and rear well have independent locks — use them. Your interior is completely open.
- Pets need a barrier. If your dog rides with you, tube doors or cargo nets keep them inside the vehicle where they belong.
- Wear your seatbelt. This is obvious, but with the doors off, side-impact protection drops. A seatbelt is doing more work than usual.
2-Door vs. 4-Door: Does It Change the Process?
Not much, but the logistics are different.
| Metric | 2-Door | 4-Door (Unlimited) |
|---|---|---|
| Turning radius | 34.6 ft | 40.8 ft |
| Wheelbase | ~96 inches | ~118 inches |
| Total doors to remove | 2 | 4 |
| Rear seat access | Contortion required | Direct door access |
| Front door weight | Heavier, longer profile | Slightly lighter |
Two-door doors are physically longer and heavier than the front doors on a four-door model. Solo removal is doable but takes more care. On the Unlimited, many owners only remove the front two doors and leave the rears on for passengers and pets — it’s a valid choice and pretty common in the community.
Electrical Quirks: Dome Lights and the Door Ajar Warning
TJ owners: When you remove the doors, the plunger-style door switches stay in the “open” position, which means your dome lights stay on and drain the battery. The fix is pulling Fuse 4 (usually behind the glove box). You’ll still control lights manually from the dashboard switch.
JK and JL owners: The onboard computer recognizes when the harnesses are disconnected. The dome light turns off on its own within about 30–60 seconds, and the “door ajar” warning won’t trigger on the dash in most factory configs.
If the brief flash of lights when you start the ignition bothers you, you can pull the relevant fuse or install aftermarket spring clips that hold the door plungers in the depressed position.