If your Husqvarna 128LD trimmer is bogging down, stalling, or refusing to idle right, the carburetor is probably the culprit. Good news: you don’t need a mechanic’s shop to fix it. This guide walks you through the whole process, from the tools you need to the exact screw turns that get your trimmer running smooth again. Stick with it, and you’ll save yourself a trip to the dealer.
Why Your 128LD Even Needs Carb Adjustments
Your 128LD runs on a 28cc two-stroke engine that hits 7,200 RPM at full throttle. It doesn’t have valves like your car does. Instead, it relies on pressure pulses inside the crankcase to pull fuel and air into the engine. That job falls entirely on the carburetor.
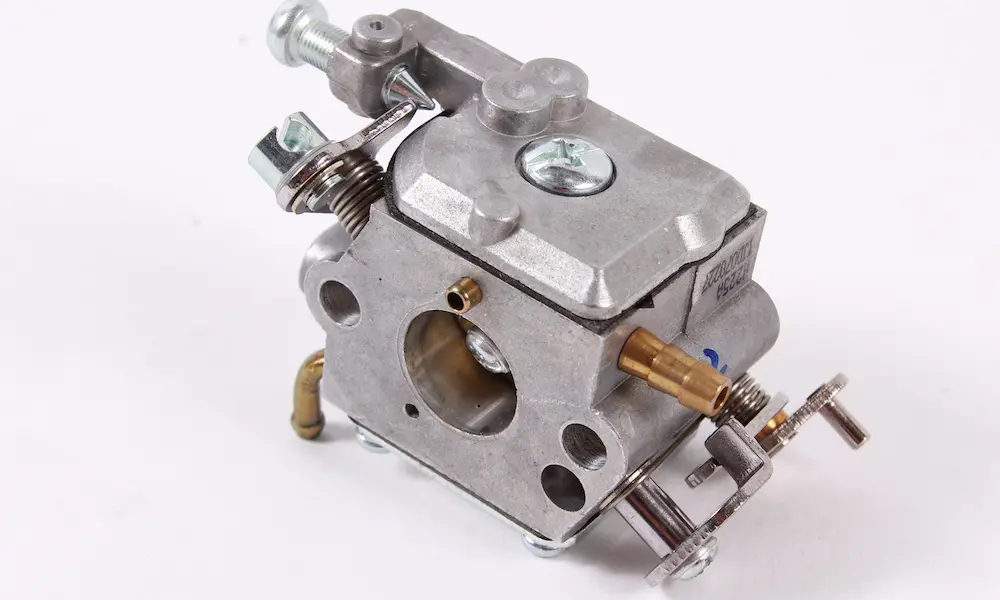
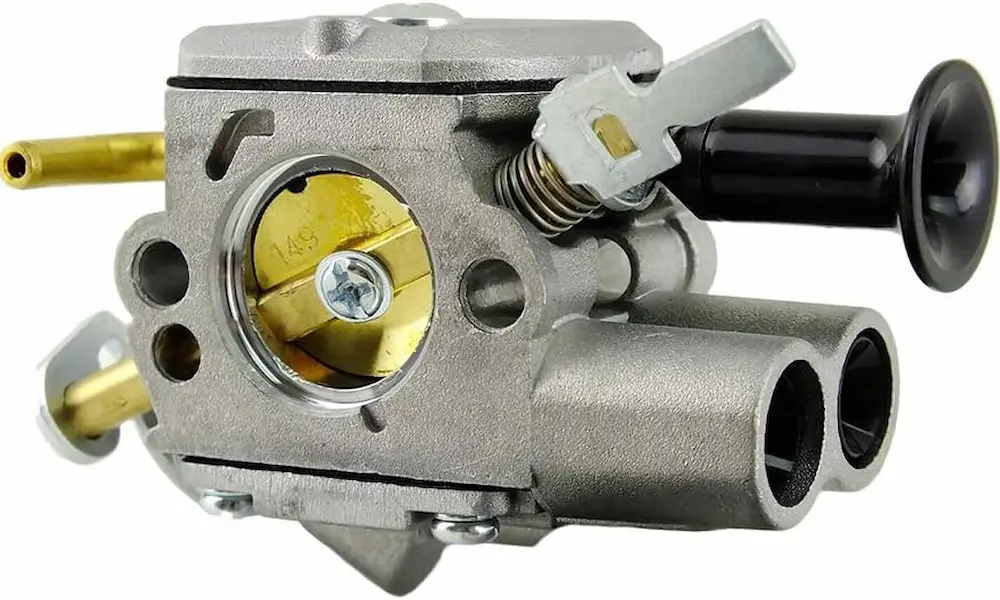
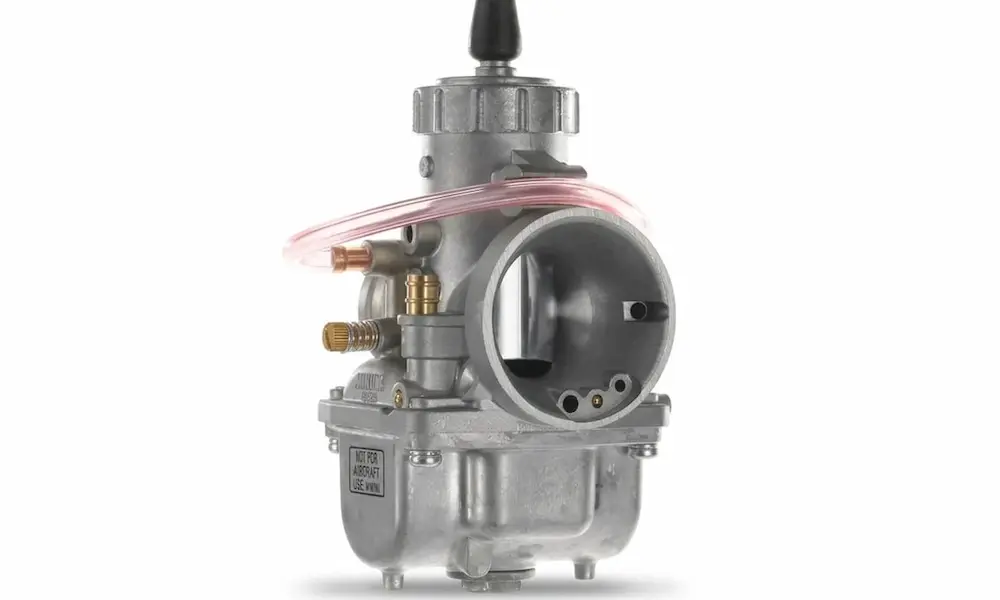
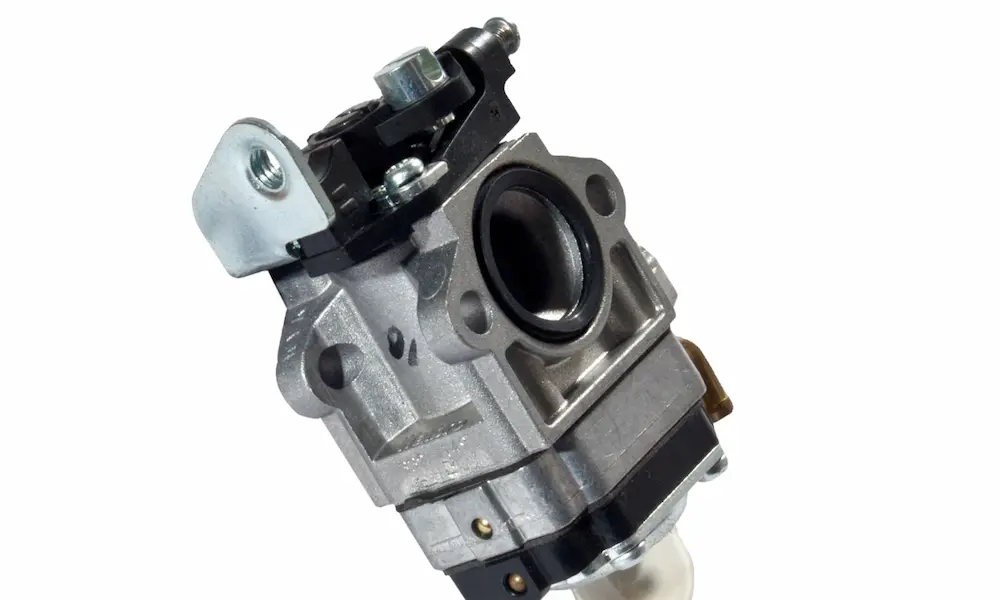
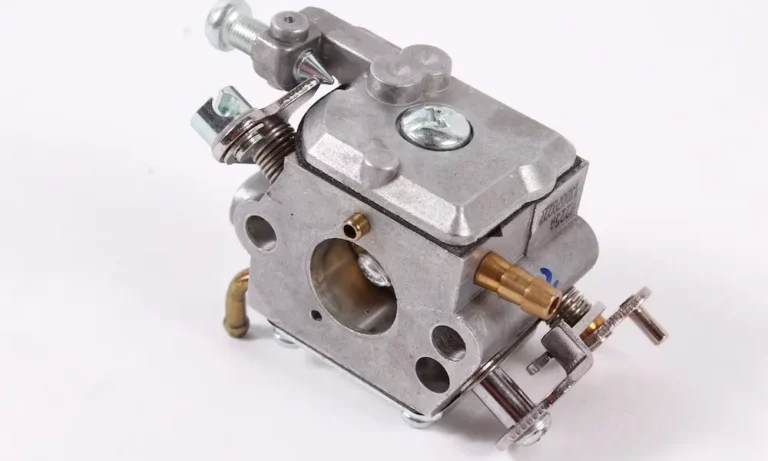
Most 128LD units use a Zama C1Q-W40A or C1Q-W38 carburetor. These are diaphragm-style carbs, built specifically for equipment that gets tilted, flipped, and angled constantly. A float-bowl carb (like the one in your car) would flood instantly if you turned it upside down. The diaphragm design doesn’t have that problem.
Inside, a flexible diaphragm reacts to crankcase pressure pulses, pulling fuel through a tiny mesh strainer and into a metering chamber. From there, fuel flows out through three separate circuits:
- Low-speed (L): feeds fuel at idle and during throttle transition
- High-speed (H): controls fuel at full throttle
- Idle speed (T): a mechanical stop, not a fuel screw — it just limits how far the throttle valve closes
Get any of these out of whack, and you’ll notice it fast: stalling, bogging, smoking, or a trimmer that just won’t rev.
Check These Things Before You Adjust Anything
Here’s the truth nobody tells you: a carburetor adjustment won’t fix a problem caused by something else. If your air filter’s clogged or your muffler’s packed with carbon, no amount of screw-turning will help. Run through this checklist first.
Air Filter
A dirty air filter starves the engine of oxygen. That makes the fuel mixture artificially rich, causing smoke and sluggish performance. Pull the filter, clean it or swap it out, and make sure the cover seats fully before you do anything else.
Spark Arrestor and Muffler
Two-stroke engines are picky about exhaust flow. The spark arrestor screen inside the muffler traps carbon over time, and eventually it clogs completely. A blocked arrestor mimics carburetor problems almost perfectly — no power, no revs, constant bogging. Pull the muffler cover, scrub the screen with a wire brush, and check the exhaust port for buildup too.
Fuel Cap Vent
Your fuel tank cap has a one-way valve that lets air in as fuel gets used up. If that valve clogs, a vacuum forms inside the tank and eventually starves the carburetor. The tell-tale sign: the engine runs great for about a minute, then dies for no obvious reason.
To test it, loosen the cap the second it stalls. If it restarts and runs fine again, your vent is clogged. Husqvarna has a step-by-step fix for a clogged fuel tank vent worth checking out.
Throttle Lockout and Trigger
Make sure the throttle trigger and its lockout spring back freely every time you let go. If they’re sticky, the carb’s butterfly valve won’t return to idle, and you’ll never get an accurate tune.
The Tool You Actually Need
Husqvarna doesn’t use regular screws on the mixture adjusters. Federal emissions rules require manufacturers to limit easy access to these settings, so the 128LD uses small splined screws instead of a standard slot or Phillips head.
You’ll need a specific tool to turn them:
| Tool Feature | Spec |
|---|---|
| OEM Part Number | 530035560 |
| Drive Type | 21-tooth splined socket |
| Outer Diameter | 7/32 inch |
| Inner Diameter | 5/32 inch |
| Handle Length | 3.0 inches |
| Shaft Length | 3.125 inches |
This tool costs under $15 online and works on most Husqvarna, Zama-equipped small engines. Don’t try to force a flathead screwdriver in there — you’ll strip the splines and make things worse.
Step-by-Step Husqvarna 128LD Carburetor Adjustment
Fuel up with a fresh 50:1 mix (2.6 oz of two-stroke oil per gallon of gas) before starting. Old fuel throws off every adjustment you make, so don’t skip this.
Step 1: Set the Baseline
If the carb’s been replaced, rebuilt, or someone’s already messed with the screws, start here. Gently turn the L and H screws clockwise until they just barely seat. Don’t force them — the needle tips are soft and easy to damage.
Then back them out to these starting points:
| Screw | Starting Position |
|---|---|
| Low-Speed (L) | 1.5 full turns counterclockwise |
| High-Speed (H) | 1.0 full turn counterclockwise |
This gets enough fuel flowing for the engine to start and warm up. Let it idle for about a minute before moving on.
Step 2: Tune the Low-Speed Screw
The low-speed circuit controls idle and that split-second when you first squeeze the trigger.
With the engine idling, slowly turn the L screw clockwise. The engine speed should climb as the mixture leans out, then drop off once it gets too lean. Note that point.
Now reverse and go counterclockwise. Speed should climb again, peak, then drop as the mixture gets too rich (you’ll hear it get sluggish and see smoke).
Set the screw right between those two drop-off points, leaning slightly toward richer — about 1/16 of a turn counterclockwise from the peak. If the trimmer dies or gasps when you squeeze the trigger fast, it’s too lean. Enrich it slightly.
Step 3: Tune the High-Speed Screw
This one’s important — it protects your engine from overheating at full throttle. If you have a tachometer, use it. You want the engine capped around 7,200 RPM, never higher.
Hold the throttle wide open. Turn the H screw clockwise slowly. You’ll hear the pitch rise into a steady, high whine — that’s dangerously lean and needs to be avoided.
Turn it back counterclockwise until the engine starts to sputter or flutter slightly at full throttle with no load. Mechanics call this “four-stroking.” That’s actually what you want when the trimmer’s spinning free in the air.
Here’s the real test: push the trimmer head into thick grass. It should smooth out into a clean, steady hum under load. If it stays weak or bogs down hard in grass, you leaned it out too much.
Step 4: Set the Idle Speed
Last step. Start the engine and let go of the trigger completely.
- Cutting head spinning at idle? Idle’s too high. Turn the T screw counterclockwise until it stops completely.
- Engine dying or stumbling at idle? Idle’s too low. Turn T clockwise until it runs smooth.
The sweet spot: engine idles steady, cutting head stays completely still. If you can’t find that balance, something else is wrong — usually a worn clutch spring or an air leak, not the carburetor itself.
Confirm Your Tune With a Spark Plug Check
Your spark plug tells you exactly how your fuel mixture is burning. This is the easiest way to double-check your adjustment without guessing.
The 128LD takes an NGK CMR7H spark plug, gapped to 0.028 inches. Run the trimmer hard under load for a couple minutes, kill the engine instantly (don’t let it idle down), then pull the plug and look.
| What You See | What It Means | What to Do |
|---|---|---|
| Tan or light brown | Perfect mixture | Nothing — you nailed it |
| Dry black soot | Running rich | Check air filter, lean out H and L screws slightly |
| Wet black oil | Too much oil or weak spark | Verify 50:1 mix, check ignition coil |
| White or blistered | Dangerously lean | Stop immediately, richen the H screw, check for air leaks |
A light grey ash is normal with synthetic oils — don’t confuse that with a lean condition unless the electrode looks pitted or melted.
Altitude and Temperature Throw Off Your Tune
Here’s something most people don’t think about: your carburetor doesn’t automatically adjust for weather or elevation. It’s a purely mechanical device.
Move to higher elevation, and the thinner air means your old settings run too rich. You’ll need to lean out the screws slightly. Go the other way — from mountains down to sea level — and the denser air makes your high-altitude tune dangerously lean. That’s actually the riskier scenario since it can seize your engine.
Cold winter air is denser than hot summer air too. It’s not as drastic as an altitude change, but if you notice the trimmer running a little rough after a big seasonal shift, a tiny quarter-turn adjustment on the L or H screw usually sorts it out.
Fuel Quality Isn’t Optional
Ethanol-blended gas is genuinely bad news for small two-stroke engines. It eats away at the rubber diaphragms inside your Zama carburetor and pulls in moisture that causes corrosion.
Husqvarna cares about this enough to tie it to your warranty. Buy their branded two-stroke oil or premixed fuel, and you can extend your warranty coverage up to five years. Even if you skip the branded fuel, always use ethanol-free gas if you can find it, and mix fresh 50:1 fuel every time. Old, separated fuel is one of the fastest ways to wreck a carburetor.
When the Carb Itself Needs Work, Not Just Adjustment
Sometimes turning screws won’t fix things because the diaphragms inside have hardened or the metering lever is out of spec. If you’ve done everything above and the trimmer still won’t hold a tune, the carburetor likely needs a rebuild.
The critical measurement here is the metering lever height — it needs to sit between 1.7mm and 2.0mm below the carburetor body. Get this wrong during a rebuild, and the engine either floods or starves no matter how you set the screws. Zama’s own carburetor service documentation covers this in detail if you want to go that deep.
Final Thoughts
A Husqvarna 128LD carburetor adjustment isn’t complicated once you know the sequence: check the basics first, set your baseline, tune low then high, dial in the idle, and confirm everything with a spark plug check. Most running issues come down to a dirty filter, clogged muffler, or bad fuel — not some mysterious carb problem.
Take your time with the screws. Small turns make big differences. And once you’ve got it tuned right, feed it good fuel and it’ll keep running strong for seasons to come.