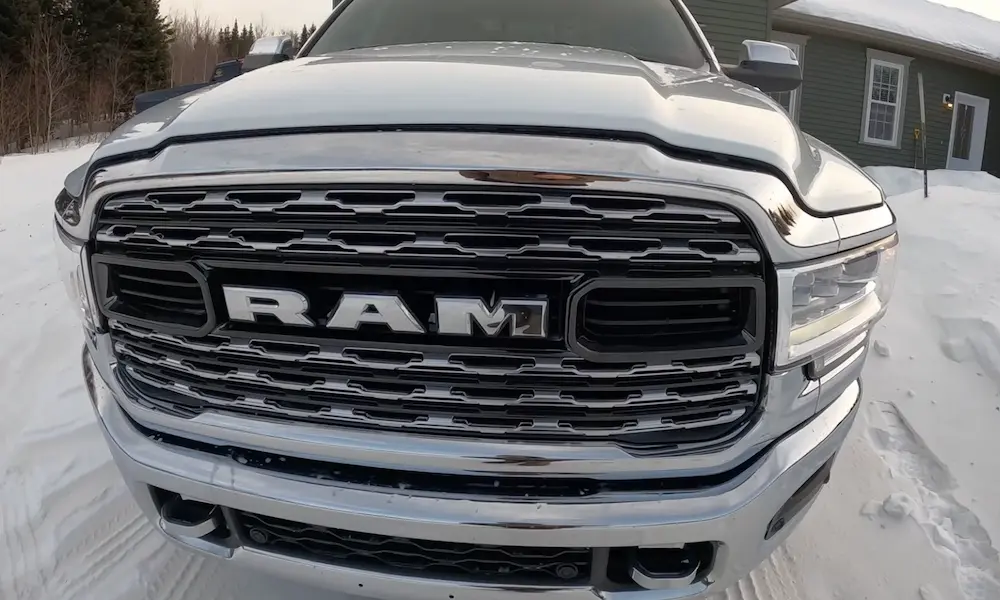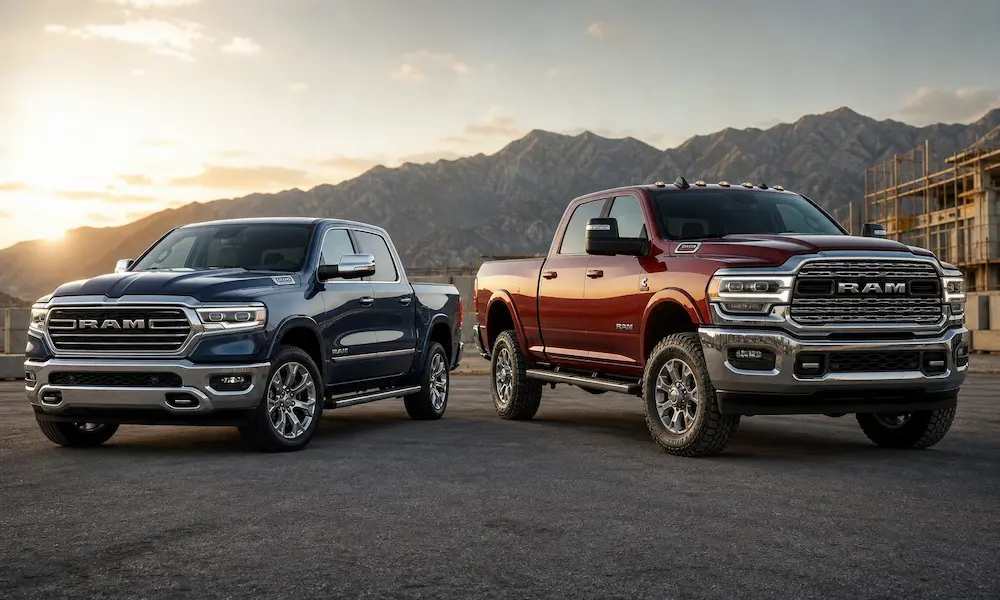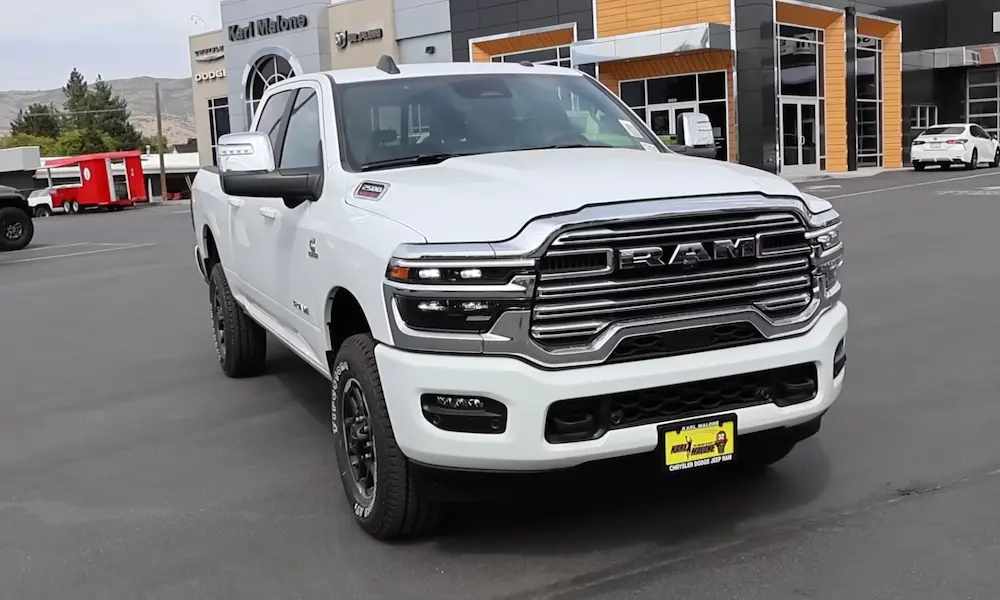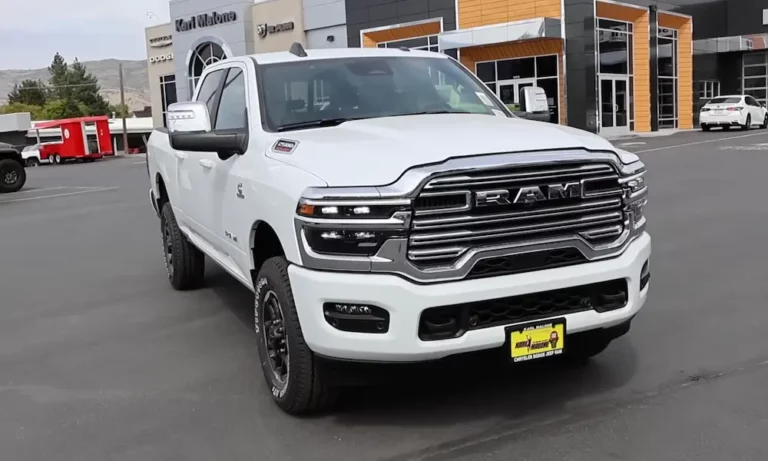
Got a Ram 2500 and want to make sure your wheels stay exactly where they belong? This guide covers every torque spec from 1994 to today, the hardware traps that catch even experienced techs, and why one documentation mistake triggered a recall affecting over 500,000 trucks. Read to the end — the re-torque step alone could save your wheels.
What’s the Ram 2500 Lug Nut Torque Spec?
Here’s the short answer most people need:
- 2014 to present, cone-seat (SRW): 130 ft-lbs (176 N-m)
- 2014 to present, flanged-seat (DRW): 140 ft-lbs
- 2011 to 2013, cone-seat (SRW): 130–135 ft-lbs
- 2011 to 2013, flanged (DRW): 145–148 ft-lbs
- 1994 to 2010 (SRW): 135 ft-lbs (range: 120–150)
But the full picture is more nuanced. Your year, trim, and wheel configuration all change what’s correct. Use the table below to find your exact spec.
| Year Range | Setup | Torque Spec | Thread Standard |
|---|---|---|---|
| 1994–2010 | SRW, cone seat | 135 ft-lbs (120–150 range) | 9/16-18 imperial |
| 2004 anomaly | Base/ST trims | 155 ft-lbs | 9/16-18 imperial |
| 2011–2013 | SRW, cone seat | 130–135 ft-lbs | M14 x 1.5 metric |
| 2011–2013 | DRW, flanged | 145–148 ft-lbs | M14 x 1.5 metric |
| 2014–present | SRW, cone seat | 130 ft-lbs | M14 x 1.5 metric |
| 2014–present | SRW/DRW, flanged | 140 ft-lbs | M14 x 1.5 metric |
You can cross-reference specs directly against the official Mopar torque documentation for your model year.
Why Torque Specs Actually Matter
Torque isn’t just a number on a chart. When you tighten a lug nut, the stud stretches slightly. That microscopic stretch creates constant clamping force — it acts like a stiff spring pulling the wheel tight against the hub.
Too little torque? The stud doesn’t stretch enough. The wheel shifts. The stud holes wallow out. Studs snap.
Too much torque? The stud stretches past its elastic limit and permanently deforms. It thins out, loses tension, and eventually fails under load — often with no visible warning.
Both failures carry serious consequences on a truck that hauls heavy payloads and pulls big trailers.
Imperial vs. Metric: The Thread Mix-Up That Destroys Hubs
Ram 2500 trucks switched from imperial to metric studs around 2011. Here’s the dangerous part: the two sizes look nearly identical.
- Imperial (1994–2010): 9/16 inch = 14.3mm diameter, 18 TPI
- Metric (2011–present): M14 x 1.5mm
A metric nut will spin freely onto an imperial stud for the first couple of turns. Then it cuts a destructive new thread path. Force it with an impact wrench and you destroy the stud and can crack the hub flange. The stud can’t be repaired — it has to be pressed out and replaced.
Always use a thread pitch gauge on any unfamiliar stud before mounting hardware.
Cone Seat vs. Flanged Seat: Know the Difference
The geometry of the nut-to-wheel interface determines how clamping force distributes across the wheel face.
| Seat Type | How It Works | Where It’s Used |
|---|---|---|
| Conical (acorn), 60° taper | Self-centers the wheel as you tighten | Most SRW applications |
| Flanged (flat), wide base | Spreads load across a wide surface area | DRW center-piloted setups |
DRW trucks use hub-piloted mounting — the hub’s center bore carries the truck’s weight, while the flanged nuts provide clamping force. These fasteners often use two-piece assemblies with a captive washer. Keep that washer interface clean. Dirt or binding there gives you a false torque reading, which means the wheel isn’t actually clamped to spec.
Using a ball-seat nut on a cone-seat wheel, or any other geometry mismatch, concentrates clamping force on a sharp edge instead of a broad face. That loosens under load.
The Swollen Lug Nut Problem
Factory Ram 2500 lug nuts are two-piece construction: a solid steel core with a thin chrome-plated cap crimped on top. That crimped seam is not sealed. Road salt, water, and de-icer creep in. The steel core rusts. Rust takes up more physical volume than the original metal, so it pushes outward and swells the cap.
The factory socket size for modern Ram 2500 trucks is 22mm. A swollen cap can expand to 22.5mm or 23mm. Your socket won’t fit.
If you force a larger socket over a deformed cap, it rounds the corners off. Now you’ve got a stripped nut that takes hours to extract — or a call to a tow truck if it happens roadside.
Impact guns accelerate this problem significantly. The hammering force of an impact batters the thin cap corners even before corrosion does serious damage.
The fix: Replace factory two-piece fasteners with solid, cold-forged one-piece aftermarket nuts. They can’t swell. They grip cleanly. It’s a small investment that eliminates a very frustrating failure mode.
The 500,000-Truck Recall: What Over-Torquing Actually Costs
Between 2014 and 2018, Ram 2500, 3500, 4500, and 5500 trucks equipped with dual rear wheels were affected by a serious documentation error. Owner’s manuals and service manuals contained incorrect, inflated torque specifications for flanged wheel fasteners.
Techs followed the published specs. They unknowingly over-torqued the studs. The studs yielded. The trucks were driven. The weakened studs failed under lateral and vertical load. The result was wheel separation at highway speed.
The recall ultimately covered an estimated 510,000 to over 600,000 vehicles. The fix required inspecting every affected stud and replacing any hardware showing signs of plastic deformation.
The lesson is straightforward: a published number in the wrong service manual — combined with strict adherence to it — created a catastrophic safety event at massive scale. Always verify specs against the current manufacturer source.
How to Install Wheel Fasteners Correctly
Clean Everything First
Wire-brush the hub face, center bore, and the wheel’s rear mounting pad. Remove all rust scale before the wheel goes on.
Here’s why this matters: if you torque down over a layer of rust, the wrench reads 130 ft-lbs and you think you’re done. As you drive, the rust pulverizes and escapes from between the wheel and hub. A gap forms. Stud tension collapses. The wheel is now loose.
Also: never apply grease, anti-seize, or any lubricant to wheel studs. Torque specs are calculated for dry threads. Lubricant reduces friction and causes a 130 ft-lb pull to generate far more linear tension than engineered — enough to yield the stud on the spot.
Use the Star Pattern
The Ram 2500 uses an eight-lug hub. Tighten in a crisscross star pattern — start at the top, move directly to the bottom, then alternate sides going around.
This distributes clamping load evenly. Tightening in a circle lets the wheel cock to one side as you go, which warps brake rotors and creates uneven tension across the studs.
After completing the star pattern, run a second pass in the same order. The first tightening of adjacent nuts can relax previously torqued ones.
Use a Calibrated Torque Wrench for Final Tightening
Impact guns are fine for removal. They’re not acceptable for final torque.
Torque sticks (torsion bar limiters for impact guns) are unreliable. Their accuracy depends on air pressure or battery charge. Don’t trust them for final tightening on a heavy-duty truck.
Use a click-style, split-beam, or digital torque wrench calibrated to the correct range. Pull to your spec — 130 or 140 ft-lbs depending on your setup — and stop there.
Re-Torque After 25–50 Miles
This step gets skipped constantly. Don’t skip it.
After installation, the wheel settles under thermal cycling and road vibration. Metal compresses microscopically against the fasteners. Tension drops slightly. After your first 25 to 50 miles of driving, pull the truck over and re-check every nut in the same star pattern.
This matters even more if you’re towing. A fifth-wheel trailer puts extreme dynamic load directly into the rear axles. Loose studs under that load don’t stay loose for long before they fail.
What Happens When You Get It Wrong
Under-torquing: The wheel shifts back and forth against the studs. The stud holes elongate from circular to oval — the wheel is destroyed. The studs experience sheer stress and snap. Watch for dark streaks of dirt or rust radiating from the center cap area; that’s pulverized metal escaping from a loose connection.
Over-torquing: Studs thin out past their yield point. Damage is completely invisible until failure. Aluminum wheels can crack at the lug seats. Cast iron rotors warp from uneven clamping pressure, causing steering wheel shake and brake pedal pulsation under hard stops. Rotor replacement adds significantly to repair costs.
Both directions lead to expensive repairs or dangerous road failures. The correct spec range is narrow for a reason.
Frequently Asked Questions
Do wheel spacers change the torque requirements?
Yes. A bolt-on spacer creates a second clamping plane. You torque the spacer to the factory hub at 130–140 ft-lbs. Then you torque the wheel to the spacer’s extended studs at the same value. The hidden complication: the spacer-to-hub fasteners are inaccessible once the wheel is on, so you can’t re-check them without removing the wheel completely. Extended studs also need at least eight full threads of engagement — less than that and pull-out resistance drops sharply under heavy loads.
Does cold weather affect torque retention?
Yes. Aluminum wheels and steel studs expand and contract at different rates. If you torque a wheel inside a warm shop and then drive into sub-zero temperatures, the aluminum contracts faster than the steel. That difference in contraction can reduce effective clamping force — similar to a nut backing off slightly. Do your mandatory 50-mile re-torque in the actual outdoor temperature the truck will operate in.
What’s the difference between hub-centric and lug-centric mounting?
Hub-centric: the center bore of the wheel matches the hub’s center lip exactly. The hub carries the truck’s weight. The lug nuts provide clamping force only. DRW Ram 2500 trucks use this design.
Lug-centric: the cone-seat nuts center the wheel and carry the load. When aftermarket wheels have oversized center bores, the setup becomes accidentally lug-centric — putting sheer stress directly on the studs. Install hub-centric rings to fill the gap before torquing.
Do powder-coated aftermarket wheels need special preparation?
Yes. Thick powder coat baked into the lug seats and the rear mounting pad creates a compressible layer between metal surfaces. You torque to 130 ft-lbs, heat and pressure compress the coating during driving, the coating fractures or flows away, and the clamping force drops toward zero. Strip all heavy paint and powder coat from the conical lug seats and the rear hub mounting pad down to bare metal before installation.