A Honda Ridgeline oil change sounds simple — until you grab the wrong oil, skip the crush washer, or drench your CV boot in used motor oil. This guide covers everything: the right fluids, exact torque specs, filter tips, and how to reset your Maintenance Minder. Stick around — the subframe contamination section alone could save you an expensive repair.
First, Know Which Engine You Have
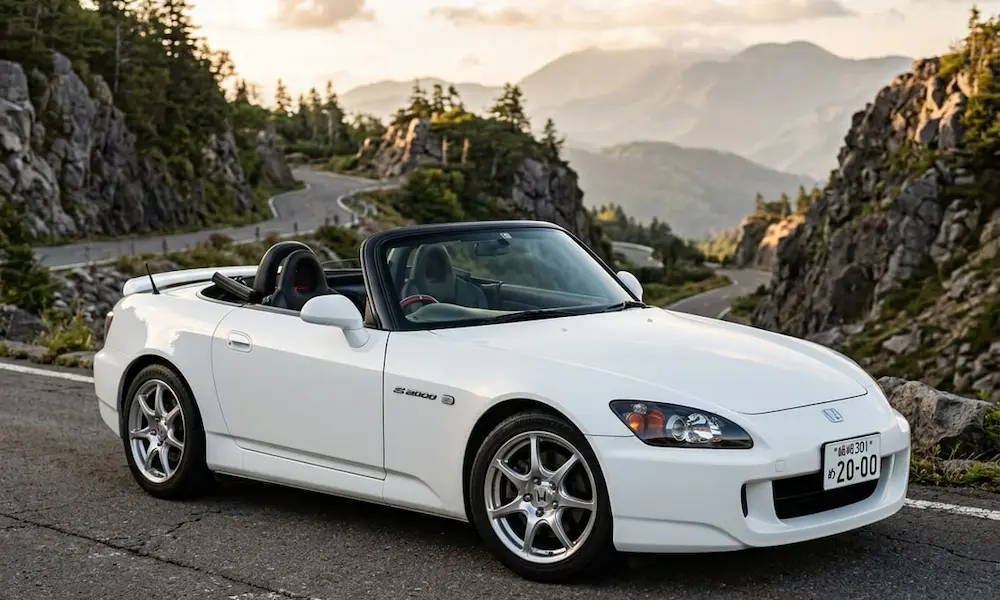
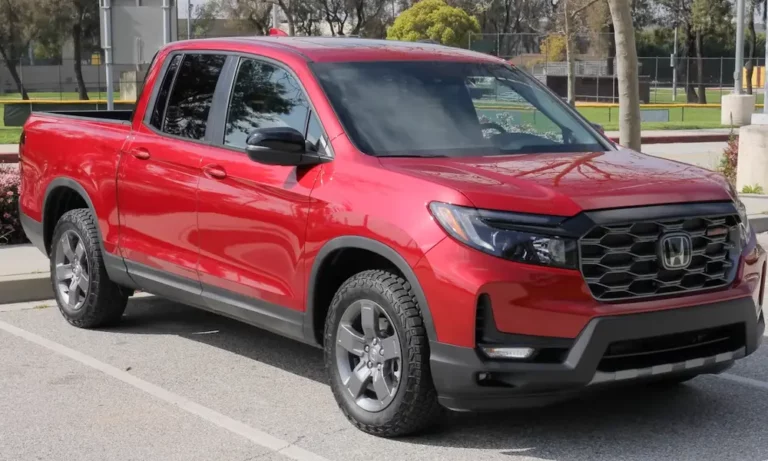
The Ridgeline came in two distinct generations, and they’re not the same under the hood.
- First-gen (2006–2014): Powered by the J35A9 engine — a 3.5L V6 with variable valve timing. Uses 5W-20 oil.
- Second-gen (2017–present): Runs the J35Y6 engine — same displacement, but adds direct injection, higher compression, and cylinder deactivation. Uses 0W-20 oil.
The J35Y6 runs hotter and places more stress on the oil, which is why it needs a lower-viscosity, full-synthetic formulation. That 0W-20 reaches the valvetrain and VCM solenoids faster on cold starts.
Honda Ridgeline Oil Capacity and Key Specs
Don’t guess on volumes or torque. Here’s what the factory specifies:
| Spec | First-Gen (2006–2014) | Second-Gen (2017–Present) |
|---|---|---|
| Engine Code | J35A9 | J35Y6 |
| Oil Viscosity | 5W-20 | 0W-20 |
| Capacity (with filter) | 4.5 quarts | 5.7 quarts |
| Capacity (without filter) | 4.2 quarts | 5.4 quarts |
| Drain Plug Torque | 29 ft-lbs | 29 ft-lbs |
| Drain Plug Thread Size | 14mm | 14mm |
| Crush Washer | 14mm aluminum | 14mm aluminum |
The second-gen holds 5.7 quarts for a reason. The larger oil volume helps dissipate heat during towing and slows additive breakdown caused by the higher blow-by pressures that come with direct injection.
Choosing the Right Oil Filter
Both generations use the same OEM filter: Honda Part 15400-PLM-A02. It’s a cellulose and synthetic blend filter with a silicone anti-drainback valve and a factory-matched bypass pressure.
Here’s how it stacks up against the popular aftermarket options:
| Filter | Media | Key Feature |
|---|---|---|
| Honda OEM (15400-PLM-A02) | Cellulose/synthetic blend | Factory-matched bypass pressure, silicone anti-drainback valve |
| WIX XP (57356XP) | 100% synthetic fiber | Wire-backed media, high shear resistance — bypass opens at 8–11 PSI |
| Bosch Premium (3323) | Synthetic-enhanced blend | Heavy-gauge steel casing, high-flow stainless center tube |
| STP Extended Life (S7317XL) | Synthetic-enhanced cellulose | Rated for up to 10,000-mile intervals |
| Premium Guard (PG4612) | Standard cellulose | Budget pick, meets OEM specs for flow and bypass pressure |
The Bypass Valve Trade-Off You Should Know About
Every spin-on filter has a spring-loaded bypass valve. It opens when oil pressure across the filter media gets too high — like during a cold start with thick oil, or when the filter is loaded with contaminants.
The factory bypass spec is 12–14 PSI. A filter that opens earlier (like the WIX at 8–11 PSI) delivers oil faster in freezing temps but lets unfiltered oil through more often during hard acceleration. A filter with a higher bypass setting filters more aggressively but risks brief oil starvation in sub-zero cold starts.
For most Ridgeline owners driving in moderate climates, the OEM filter hits the right balance.
The Crush Washer: Small Part, Big Consequences
The Ridgeline has a cast aluminum oil pan. That’s lighter and better for heat transfer than steel — but aluminum strips easily if you overtighten the drain plug.
The seal isn’t created by torque alone. It’s created by the 14mm aluminum crush washer (Part 94109-14000) deforming under 29 ft-lbs of clamping force. That deformation fills in the microscopic surface irregularities between the steel bolt and the aluminum pan, creating a leak-free seal.
Here’s the problem with reusing old washers: after one installation, the aluminum work-hardens. It won’t deform again properly. Techs who reuse old washers often end up with a slow seep — and then overtighten to stop it. That overtightening strips the pan threads. A new oil pan isn’t cheap.
Always install a fresh crush washer. At under $2 each, it’s not worth skipping.
The Subframe Contamination Problem (And How to Fix It)
This is the part most guides skip — and it matters.
On both generations, the oil filter mounts horizontally on the passenger side of the engine block. When you unthread it, residual oil runs straight down onto the front subframe, the passenger-side CV axle, and the rubber CV boot.
Over time, that petroleum runoff degrades the rubber. The boots swell, crack, and fail early. Oil also pools in the hollow subframe, traps moisture, and causes corrosion — plus it drips on your driveway for days afterward.
Honda actually made deflector tools for this exact problem:
- Gold Deflector (VSB02C000034): For the first-gen Ridgeline (2006–2014). Magnetic mount, channels runoff into your drain pan.
- Purple Deflector (VSB02C000052): For the second-gen (2017–present). Curved profile with extended walls. Anodized purple so you don’t forget to remove it.
Don’t have those tools? Here are three DIY workarounds:
- Heavy-duty aluminum foil: Shape it into a trough under the filter and redirect the flow into your drain pan.
- Plastic bottle method: Cut a clean plastic bottle in half, place it under the filter, and unthread the filter directly into it.
- Ziplock bag technique: Slide a quart-sized bag over the filter after you loosen it, then unthread inside the bag.
One thing you should not do: trim the plastic wheel well liner for easier filter access. That liner protects your serpentine belt, pulleys, and the filter itself from road water, salt, and debris. Cutting it creates real problems.
Step-by-Step Honda Ridgeline Oil Change
1. Warm the Engine and Get Set Up
Run the engine for a few minutes to warm the oil. Warm oil drains faster and carries more contaminants out with it. Park on a level surface, set the parking brake, and chock the rear tires.
Lift the front with ramps or a floor jack and secure it on jack stands at the factory frame points. Alternatively, turn the front wheels hard right for wheel-well access to the filter without lifting.
2. Drain the Old Oil
Place a drain pan with at least 6-quart capacity under the oil pan. Use a 17mm wrench to loosen the drain plug counterclockwise, then spin it out by hand so it doesn’t drop in. Let the oil drain completely.
Once it slows to a drip, pull off the old crush washer and wipe the plug threads and pan surface clean. Slide a fresh 14mm aluminum washer (Part 94109-14000) onto the plug, thread it in by hand, and torque to 29 ft-lbs.
3. Replace the Oil Filter
Move the drain pan under the filter. Mount your deflector tool (or position your foil trough). Use a filter wrench to break the filter loose, then spin it off by hand.
Check that the old rubber O-ring gasket came off with the filter — if it’s still stuck on the engine block, peel it off. A double-gasket condition will cause an immediate catastrophic leak.
Wipe the mounting flange clean. Dab fresh oil on the gasket of the new OEM filter (15400-PLM-A02). Thread it on by hand until the gasket seats, then tighten it ¾ to 1 full turn more. No wrenches — overtightening deforms the gasket.
Remove your deflector and spray the surrounding suspension with brake cleaner to remove any oil residue.
4. Refill, Start, and Verify
Remove the valve cover oil fill cap and pour in the correct amount through a clean funnel:
- First-gen (J35A9): 4.5 quarts of 5W-20
- Second-gen (J35Y6): 5.7 quarts of 0W-20
Reinstall the cap, start the engine, and watch for the oil pressure warning light to go out immediately. Let it idle 2–3 minutes while you inspect the drain plug and filter for leaks.
Shut the engine off, wait 5 minutes, pull the dipstick, wipe it, reinsert it fully, and check again. The oil level should sit at the top of the crosshatch zone.
Understanding the Honda Maintenance Minder
The Ridgeline doesn’t run on a simple mileage timer. The Honda Maintenance Minder system calculates oil life using software that tracks engine RPM, load, temperature, trip length, and idle time.
Under normal highway driving, it typically triggers a service reminder around 7,500 miles. Under severe conditions — short cold-weather trips, heavy towing, lots of idling — it can call for a change as early as 5,000 miles.
| Oil Life % | Dashboard Message | What to Do |
|---|---|---|
| 15% | Maintenance Due Soon | Start scheduling your service |
| 5% | Maintenance Due Now | Book it immediately |
| 0% | Maintenance Past Due | Past due — get it done today |
There’s also a calendar override: if 12 months pass without a Maintenance Minder trigger, change the oil anyway. Moisture and chemical breakdown happen with time, not just miles.
Maintenance Minder Codes Decoded
The system shows letter codes (A or B) plus number sub-codes (1–7). Here’s what they mean:
- Code A: Oil change + basic inspection
- Code B: Oil + filter change + full brake, steering, and fluid inspection
| Sub-Code | Service Required | Approximate Interval |
|---|---|---|
| 1 | Tire rotation | 7,500–10,000 miles |
| 2 | Air filter, cabin filter, drive belt | 15,000 miles |
| 3 | Transmission + transfer case fluid | 50,000–75,000 miles |
| 4 | Spark plugs, timing belt, water pump, valve clearance | 60,000–100,000 miles |
| 5 | Coolant flush | 45,000 miles |
| 6 | Rear differential fluid (AWD) | 15,000–30,000 miles |
| 7 | Brake fluid flush | Every 3 years |
How to Reset the Maintenance Minder
First-Gen (2006–2014): Dashboard Buttons
- Turn the ignition to ON (II) without starting.
- Press Select until “Engine Oil Life” appears.
- Hold Reset for 10 seconds — the display starts flashing.
- Press Select to change the flashing option from “No” to “Yes.”
- Hold Reset for 5 more seconds. Oil life returns to 100%.
- Turn ignition off.
Second-Gen (2017–Present): Steering Wheel Controls
- Press Engine Start/Stop twice without touching the brake (power mode ON).
- Press the “i” (Information) button until “Engine Oil Life” appears.
- Hold the Reset/Enter button for 10–15 seconds.
- Use arrow buttons to highlight Reset.
- Press Reset/Enter to confirm. Display confirms reset at 100%.
Second-Gen (2017–Present): Touchscreen
- Set power mode to ON.
- Press Home on the infotainment unit.
- Tap Settings → Vehicle → Maintenance Info.
- Tap Reset, then select All Due Items.
- Confirm by tapping Reset. Done.
AWD Drivetrain Fluids: Don’t Mix These Up
If your Ridgeline has AWD, your Maintenance Minder Sub-Code 3 or Sub-Code 6 will call for drivetrain fluid service. Use the wrong fluid and you’ll damage the rear differential’s multi-plate clutch packs.
The transfer case on both generations uses GL-5 gear oil (75W-90 or 80W-90). Drain/fill plugs torque to 33 ft-lbs on first-gen and 32 ft-lbs on second-gen.
The rear differential is where it gets critical:
- First-gen (2006–2014): Uses the VTM-4 system. Requires Genuine Honda VTM-4 Differential Fluid (Part 08200-9003). No aftermarket substitutes are certified.
- Second-gen (2017–present): Uses the iVTM-4 system. Requires Honda Dual Pump Fluid II (DPSF-II).
Swapping these two fluids between generations causes clutch slip, overheating, and eventual mechanical failure. Check your generation before you order.