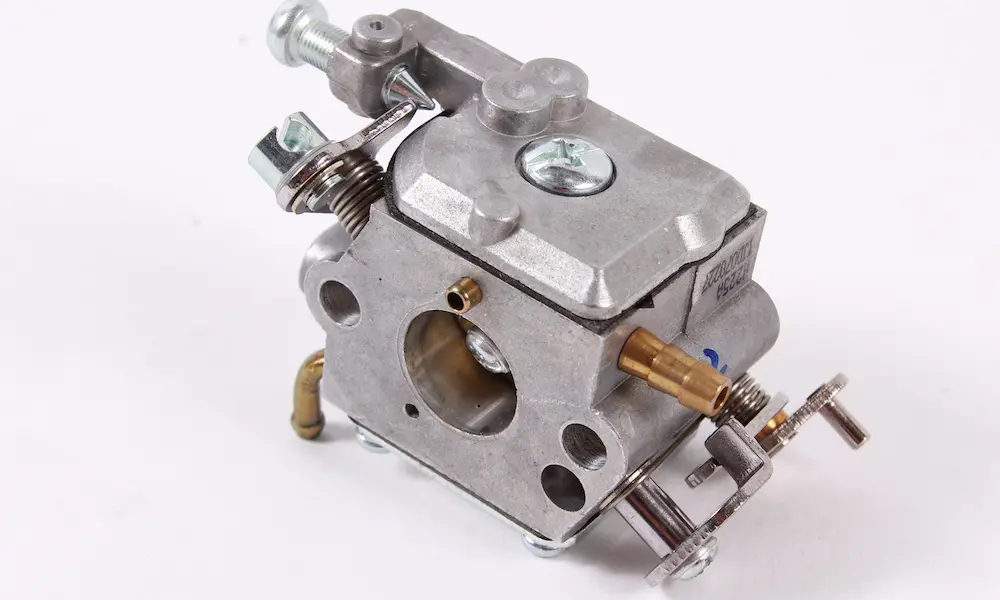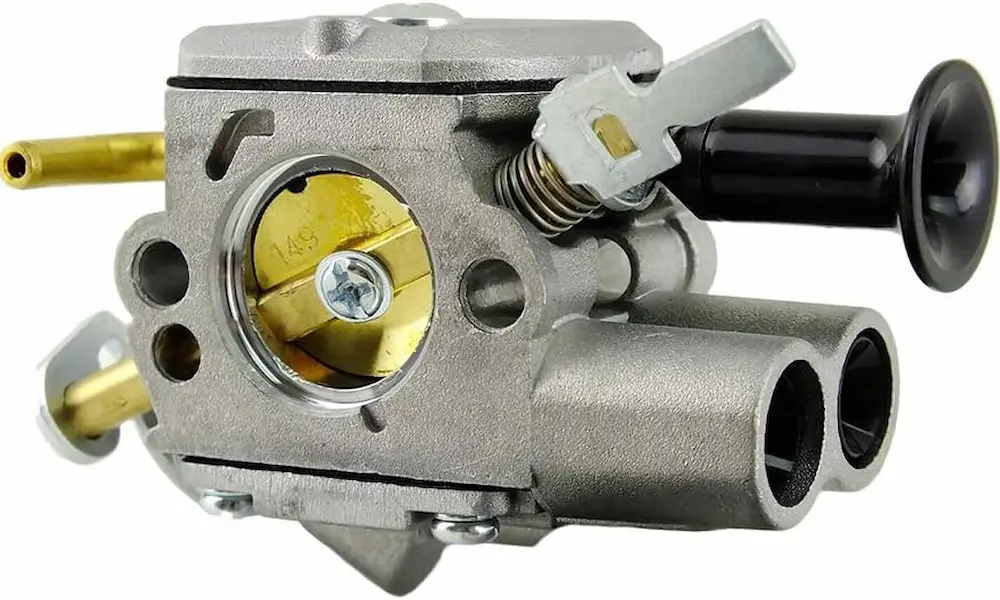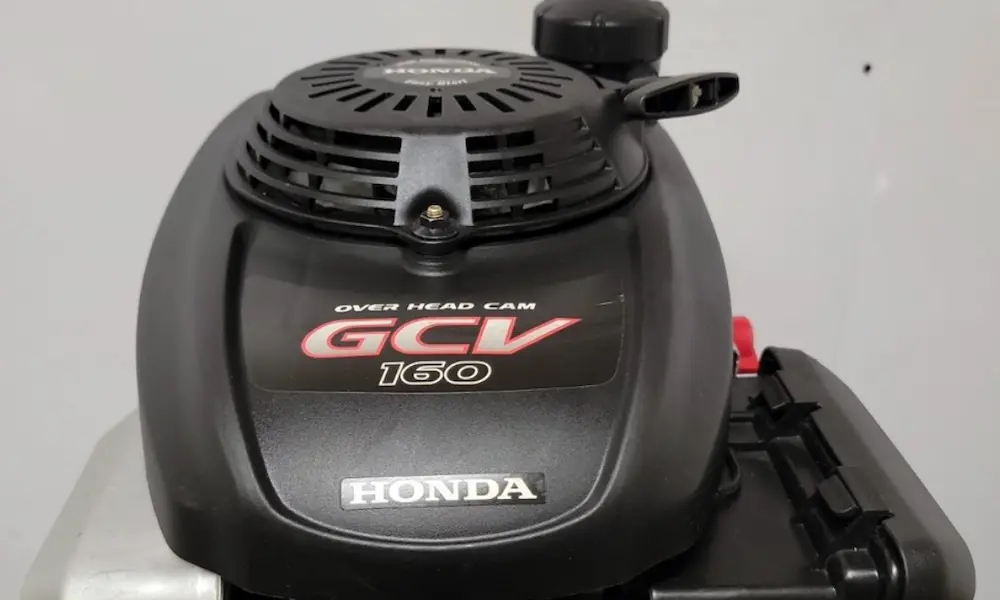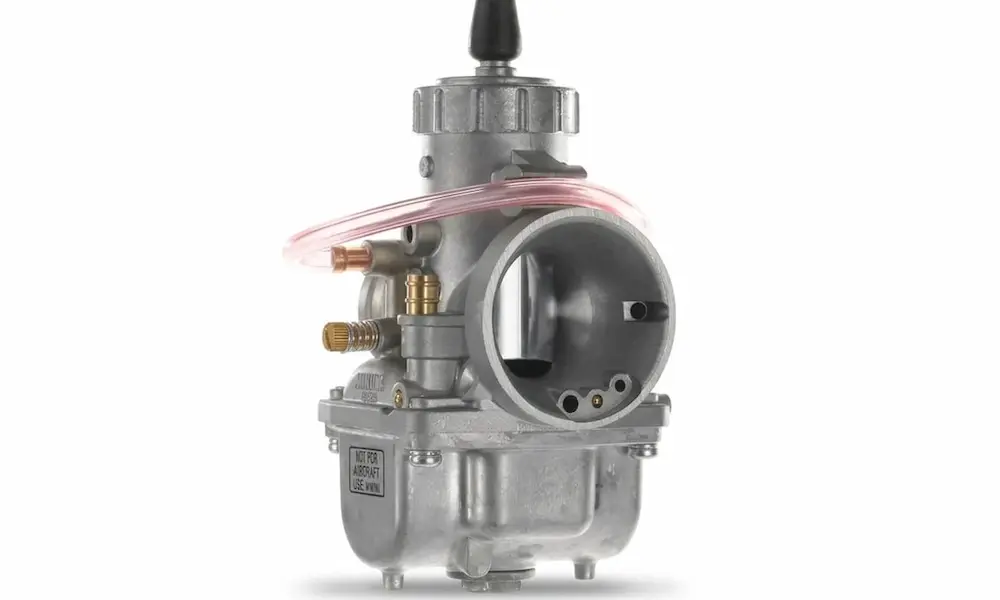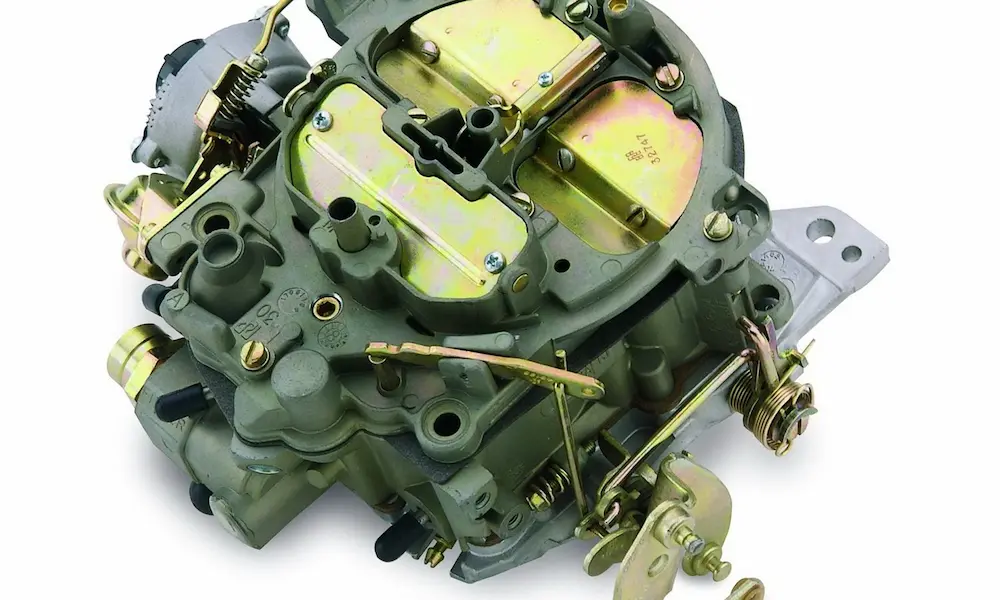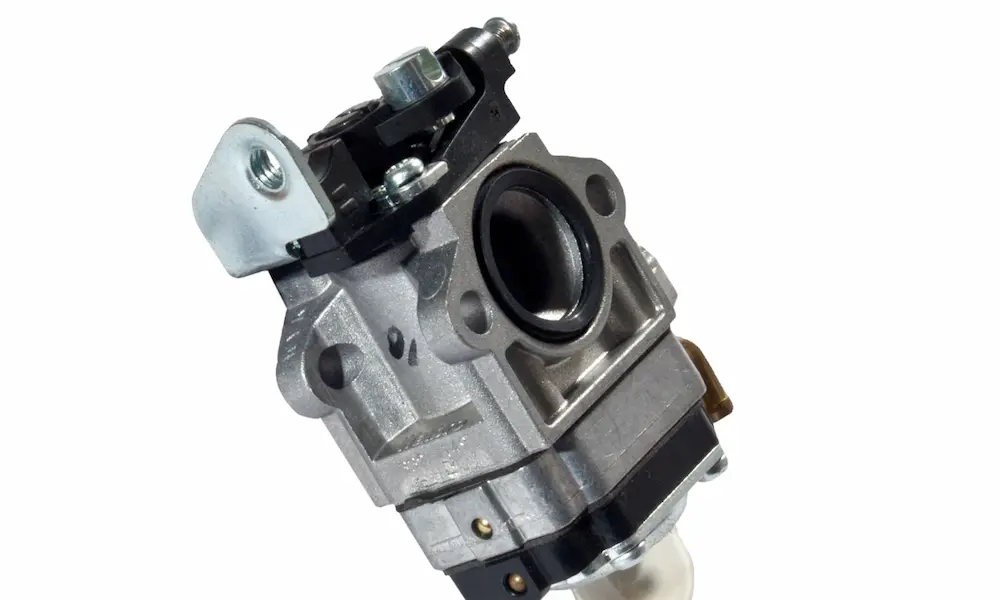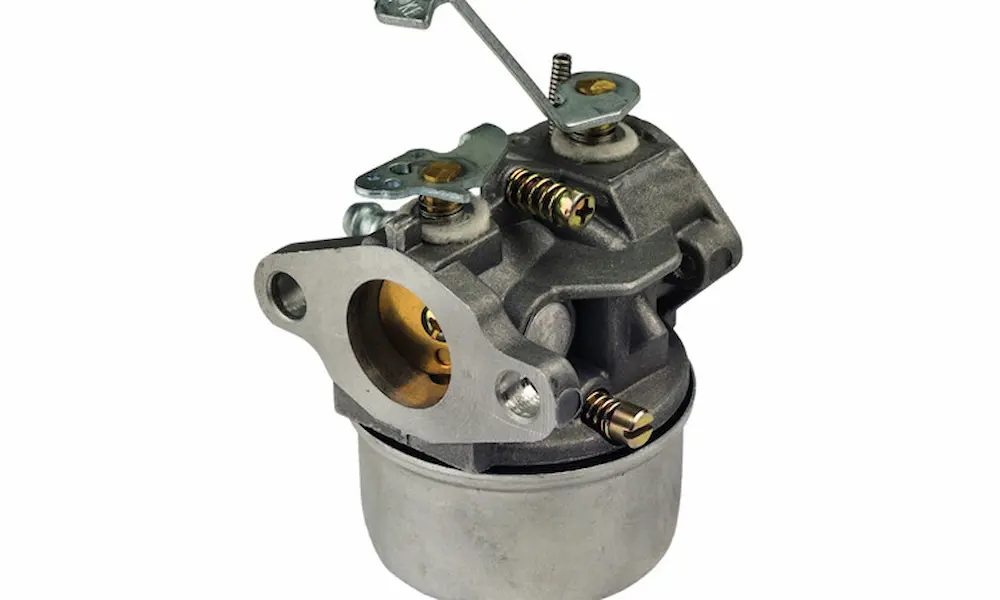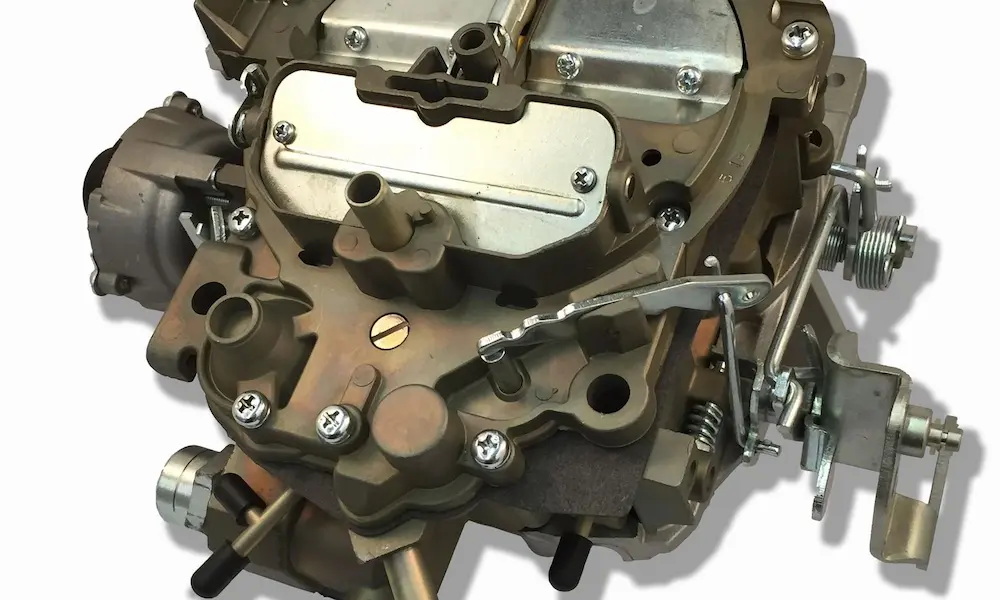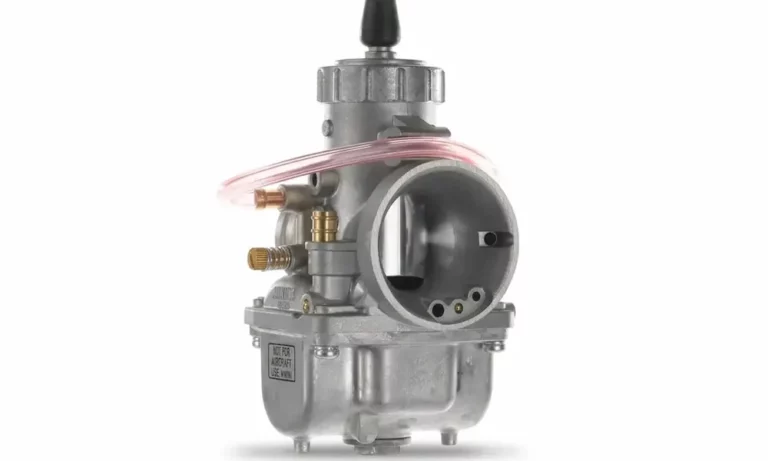
Your engine sputters, stalls, or drinks fuel like it’s at an all-you-can-eat buffet. Nine times out of ten, a dirty carburetor is the culprit. This guide walks you through exactly how to clean a carburetor — from a quick on-engine spray to a full bench teardown — so your engine runs the way it should. Stick around, because the details here genuinely matter.
Why Your Carburetor Gets Dirty in the First Place
Gasoline doesn’t age gracefully. Modern fuel — especially ethanol blends — starts breaking down within 30 days. The volatile compounds evaporate, leaving behind a sticky, lacquer-like residue called varnish inside your carburetor’s tiny passageways.
Those passageways are machined to tolerances measured in thousandths of an inch. Even a thin film of varnish throws off the fuel-to-air ratio completely. This kind of buildup is the leading cause of small engine failures after seasonal storage.
Classic symptoms of a fouled carburetor:
- Rough, erratic idling
- Hesitation or stumbling on acceleration
- Engine stalls for no clear reason
- Black smoke from the exhaust (too much fuel)
- Hard starting after sitting unused
If your carburetor or fuel tank smells sharp and acrid — like old turpentine — that’s varnish. Smell is a guaranteed sign the fuel has fully oxidized. Don’t ignore it.
Safety First: What You Must Know Before You Start
Carburetor cleaners are serious chemicals. They contain toluene, acetone, methanol, and chlorinated compounds. These aren’t products you want to treat casually.
Personal protective equipment you need:
- Thick nitrile or butyl rubber gloves — standard latex gloves dissolve on contact with these solvents
- Full safety goggles or a face shield — aerosol spray ricochets unpredictably off blind holes
- NIOSH-approved organic vapor respirator — if you’re working in a tight space
The vapors from carburetor cleaners are heavier than air. They pool along the floor and creep toward ignition sources. A water heater pilot light 20 feet away can ignite them. Keep your workspace cross-ventilated and keep a Class B or C fire extinguisher within arm’s reach.
Compressed air safety matters too. According to Oregon OSHA, compressed air used for cleaning must stay below 30 PSI at the nozzle. Use a safety air gun with side relief ports — these vent pressure automatically if the tip gets blocked.
Disposing of Spent Chemicals Properly
Don’t pour used solvent, old gasoline, or contaminated fuel down a drain or onto the ground. Local codes strictly prohibit it, and the EPA regulates these materials as hazardous waste.
Any aerosol can with remaining pressure or liquid is classified as Universal Waste. Toss it in regular trash and you’ve created a potential explosive device in a dumpster — not ideal.
Collect all spent solvents in sealed, original containers. Take them to your local Household Hazardous Waste facility. Most facilities accept up to 10 gallons or 125 pounds per visit. Transport containers in a truck bed or well-ventilated trunk — never in the passenger compartment.
Tools and Supplies You’ll Need
Set up a clean, well-lit workbench before you touch anything. Cover it with light-colored shop towels so you can spot tiny brass jets before they disappear into the floor.
| Tool Category | What You Need | What It’s For |
|---|---|---|
| Extraction Hardware | Flathead & JIS screwdrivers, metric socket set, open-end wrenches | Removing the carb from the intake manifold and float bowl screws |
| Precision Disassembly | Needle-nose pliers, jet extraction drivers, picks | Pulling the float pin, jets, and O-rings without scoring aluminum |
| Cleaning Agents | Aerosol carb cleaner (CRC, Gumout), chemical dip, penetrating oil | Dissolving varnish, clearing jets, freeing stuck linkages |
| Abrasives | Soft brass wire brush, copper wire strands, plastic scraper | Scrubbing castings, clearing jets without enlarging the orifice |
| Waste Control | Oil catch pan, sealed containers, chemical-resistant funnel | Capturing drained fuel and storing spent solvents safely |
For plastic carburetors or units with non-removable plastic parts, skip the caustic solvents entirely. Simple Green Pro HD mixed at a 1:3 ratio with water breaks down varnish and grease without attacking plastic polymers or aluminum.
Method 1: On-Engine Cleaning (Quick Fix for Mild Buildup)
This method works well for light gunk, sticky throttle plates, and minor idle issues. It won’t fix clogged internal jets or a varnished float bowl — but it’s a great first step.
Here’s how to do it:
- Park on a level surface. Turn the engine completely off. Let everything cool down.
- Remove the air filter housing to expose the carburetor throat.
- Inspect the throttle plate and choke valve for black carbon and sticky residue.
- Start the engine and let it reach a steady idle.
- Using an aerosol carburetor cleaner with a precision straw, spray short bursts directly into the open throat.
- As the engine stumbles, manually rev it slightly to keep it running. The vacuum pulls the solvent through the passageways.
- Direct short bursts at throttle plate pivot points, the choke linkage, and visible idle ports.
- Once the throat looks clean and the engine idles smoothly, shut it off.
- Apply a final quick exterior flush to clear loosened residue — don’t oversaturate. It can wash away lubrication on moving joints or degrade nearby wiring.
- Reinstall the air filter housing.
If the engine still hesitates or surges after this, you’ve confirmed the internal jets are clogged. Time for a full teardown.
Method 2: Full Removal and Bench Teardown
When varnish has hardened deep inside the carb’s fuel circuits, you need to pull the whole unit and clean it properly. This is how to clean a carburetor the right way.
Removing the Carburetor
Take photos of everything before you disconnect a single hose. Seriously — We recommend shooting multiple angles of vacuum hose routing, throttle cables, and linkage positions. You’ll thank yourself during reassembly.
- Disconnect throttle cables, choke linkages, vacuum hoses, and fuel lines.
- Remove the mounting bolts securing the carb to the intake manifold.
- Gently wiggle the carburetor free.
- Immediately stuff a clean rag or stretched nitrile glove into the open intake manifold. Dirt, debris, or dropped hardware falling into the cylinder head causes serious engine damage.
- Drain the float bowl using the drain screw into a catch pan. No drain screw? Manually cycle the throttle repeatedly to pump fuel out.
If you’re working on a multi-carb setup (like an inline-four motorcycle), only disassemble one carburetor at a time. The assembled neighboring unit serves as your reference model. Mixing up jets from different cylinders causes one to run rich while another runs dangerously lean.
Disassembling the Carburetor
Clean the exterior with a brass brush and aerosol spray first. You don’t want road grime falling into the internals during teardown.
Follow this sequence:
- Remove the float bowl. Unscrew the perimeter screws or central bolt. If it’s stuck, tap it gently with a screwdriver handle — never pry with the steel tip. Gouging the aluminum creates a permanent fuel leak.
- Extract the float. Slide out the pivot pin with needle-nose pliers. The float needle valve comes with it. Inspect the needle’s tip under bright light. A wear groove or torn rubber means it needs replacing — a bad needle valve floods engines endlessly.
- Remove the jets. Use a hollow-ground screwdriver that perfectly fits the jet slot. A standard tapered screwdriver cams out easily and shears the soft brass slot. Before removing idle mixture screws, gently turn them clockwise until they lightly bottom out, counting every rotation. Write it down. Overtightening even slightly fractures the delicate tapered tip and ruins the aluminum seat.
- Fish out the O-rings, washers, and springs from the idle screw holes with a bent wire or dental pick.
The Cardinal Rule: Separate All Non-Metal Parts
Before any chemical cleaning starts, remove every rubber O-ring, plastic float, paper gasket, nylon linkage, and vacuum diaphragm. Set them aside in a safe location.
Carburetor cleaner dissolves rubber and plastic instantly. Missing even one piece sends you back to the parts store.
Deep Cleaning the Components
Chemical Dip or Ultrasonic Bath
For metal parts with heavy varnish, aerosol spray alone won’t cut it. Submerge stripped metal components in Berryman Chem-Dip or a similar concentrated dip for 15 to 30 minutes.
Ultrasonic cleaners are even better. High-frequency sound waves create microscopic cavitation bubbles that blast varnish out of blind holes and internal passages that brushes and sprays can’t reach.
Clearing Clogged Jets Without Destroying Them
This is where most DIY mechanics make a costly mistake. Never use steel wire, safety pins, or drill bits on brass jets. Steel is harder than brass. One pass scores the walls, permanently enlarges the orifice, and ruins the engine’s fuel calibration.
Use materials softer than brass:
- Strands of soft copper wire stripped from heavy-gauge electrical cable
- Purpose-made soft brass cleaning wires
Work the wire through slowly and patiently. For jets clogged with calcium or heavy oxidation, try this proven technique from vintage motorcycle forums: boil the brass parts in a solution of three ounces of white vinegar per cup of distilled water for 20 to 30 minutes. Rinse immediately with fresh water to neutralize the acid.
Another option: hold the jet with needle-nose pliers and apply a brief propane torch flame. The heat vaporizes organic gum, reducing it to dry ash that blows out with compressed air.
A jet is clean when you hold it up to a strong light and see a perfectly round, unobstructed circle of light through it.
Flushing Internal Passageways
Use an aerosol carb cleaner with a straw pressed firmly against each port. Spray solvent through one port and watch for it to exit from its corresponding downstream port. If fluid backs up or doesn’t exit where expected, the internal passage is still blocked. Repeat the chemical soak and follow with low-pressure compressed air.
Wear eye protection during this step without exception. Solvent ricochets off internal blind corners unpredictably.
Don’t forget the emulsion tubes — the brass cylinders above the main jet with dozens of tiny cross-drilled holes along their length. These holes blend air into the fuel before it even reaches the venturi. They clog easily with ethanol-induced corrosion. Extract the tube and clear every single hole with a soft brass wire.
Prepping the Mating Surfaces
Old gaskets leave behind hardened material chemically welded to the aluminum. Removing it correctly is critical — the surface must be perfectly flat to seal properly.
Don’t use rotary abrasive wheels or Scotch-Brite discs on these surfaces. They grind away aluminum unevenly and shed grit that migrates into oil galleys and cylinders, acting as grinding paste.
Do this instead:
- Soak the old gasket material with a dedicated chemical gasket remover or penetrating oil.
- Use a plastic scraper to peel away the bulk of the material safely.
- For remaining thin layers, hold a sharp razor blade at a very low, acute angle. Use light, deliberate strokes — never dig the corners in.
- Lap the surface on a flat sharpening stone or a piece of plate glass with ultra-fine sandpaper, lubricated with WD-40. Work in smooth figure-eight motions.
- Wash the surfaces with brake parts cleaner to remove all oil, grit, and residue. Vacuum the surrounding area.
Reassembly and Calibration
Install all new gaskets, O-rings, and seals from a carburetor rebuild kit. Old seals create immediate vacuum leaks and fuel seepage.
Setting float height is non-negotiable. Use a dial caliper to measure the vertical distance from the gasket surface to the highest point of the float, with the carburetor tilted so the float tang just barely touches the needle valve without depressing its internal spring. Compare your measurement against the manufacturer’s specification. If it’s off, bend the metal tang incrementally with needle-nose pliers until it’s correct.
- Float set too low → engine starves of fuel at high speed
- Float set too high → fuel overflows into cylinders, potential hydrostatic lock
Reinstall idle mixture screws to the exact rotation count you recorded earlier. No notes? Back the screw out 1.5 turns from lightly seated as a universal starting baseline.
Remount the carburetor, reconnect all hoses and linkages per your pre-teardown photos, and apply a single drop of medium-strength blue threadlocker (Permatex) to the mounting bolts. Open the fuel supply, and inspect every fitting for seepage before starting the engine.
Once the engine warms up, fine-tune the idle mixture screw: turn it inward until the engine stumbles lean, then outward until it stumbles rich. Set it exactly halfway between the two points. That’s your perfect stoichiometric idle.