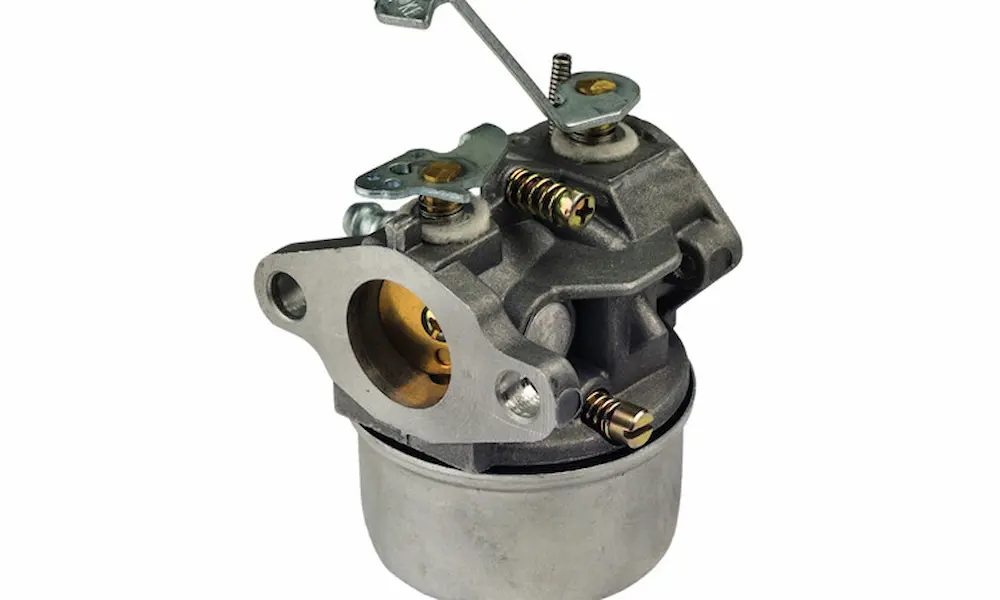
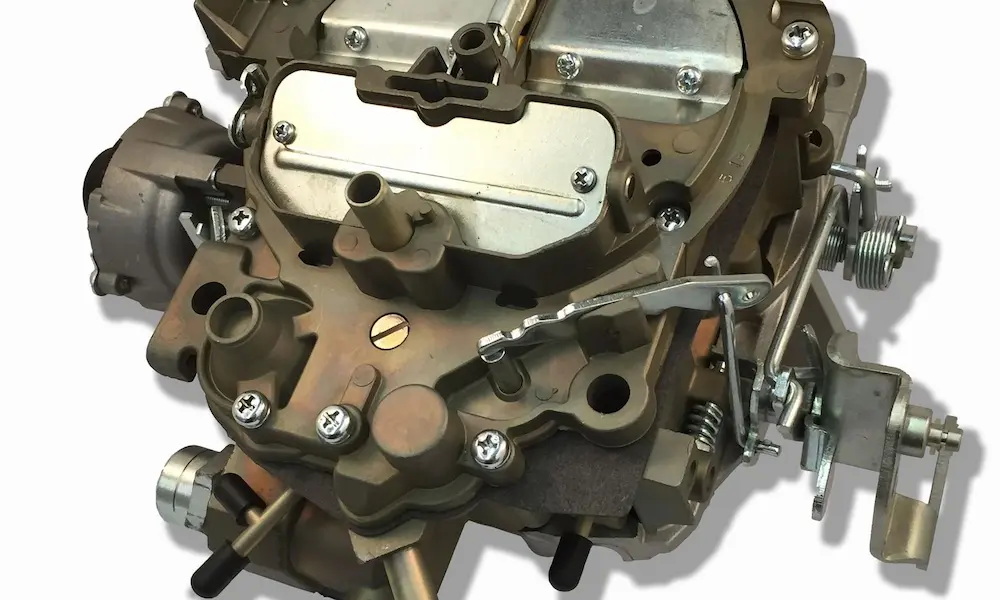
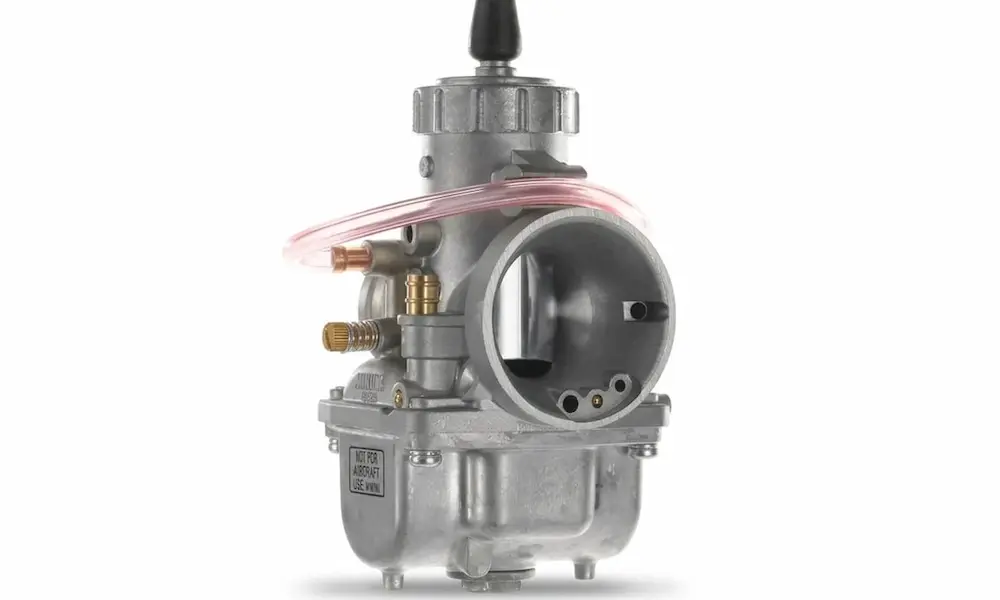
Is your mower sputtering, surging, or refusing to start? A dirty carburetor is almost always the culprit. This guide walks you through exactly how to clean it — safely, correctly, and without wrecking anything. Stick around to the end, because the preventative tips alone could save you a costly repair bill.
Why Your Lawn Mower Carburetor Gets Dirty in the First Place
Your carburetor’s job is simple: mix air and fuel in the right ratio so the engine fires reliably. But that job gets complicated fast, thanks to modern fuel.
Most gasoline sold at US pumps contains up to 10% ethanol. Ethanol actively attracts moisture from the air — especially in vented fuel tanks sitting in a warm garage. Once enough water builds up, the ethanol and water separate from the gasoline and sink straight to the bottom of your float bowl. That layer is corrosive, non-combustible, and devastating for aluminum and brass components.
On top of that, fuel starts oxidizing and degrading in as little as 30 days. The lighter, combustible parts of gasoline evaporate first, leaving behind a sticky, resinous gunk — the industry calls it varnish. That varnish coats the tiny jets inside your carburetor and blocks fuel flow. The pilot jet, which has the smallest opening in the whole system, clogs first.
Result? Surging, hard starts, rough idling, or a mower that won’t fire at all.
Diagnosing the Problem Before You Touch Anything
Don’t pull the carburetor apart blindly. Your engine’s behavior tells you exactly what’s wrong.
Symptom Cheat Sheet
| Observable Symptom | What It Means | Likely Component |
|---|---|---|
| Won’t start at all | No fuel delivery or severe flooding | Clogged main jet or stuck needle valve |
| Starts on choke, dies when opened | Extreme lean condition | Partially blocked main jet or emulsion tube |
| Rhythmic surging or “hunting” | Lean fuel triggering the governor | Blocked pilot or idle jet |
| Black smoke, rich running | Too much fuel, not enough air | Restricted air filter or stuck choke |
| Fuel leaking into the oil | Needle valve not sealing | Stuck-open needle valve or debris in seat |
Why That Surging Sound Isn’t the Governor’s Fault
This one trips up a lot of people. When your engine surges rhythmically — rev, almost stall, rev, almost stall — it feels like a governor problem. It’s almost never the governor.
Here’s what’s actually happening: a partially clogged pilot jet starves the engine of fuel. RPMs drop. The governor detects the drop and yanks the throttle wide open. That sudden airflow temporarily pulls enough fuel past the restriction to fire — RPMs spike. The governor closes the throttle again. The clogged jet starves the engine again. Repeat endlessly.
Clean the pilot jet and the surging stops.
The Hidden Danger: Fuel in Your Oil
A failed needle valve lets fuel bypass the float bowl and trickle past the intake valve straight into the crankcase. Gasoline strips the protective oil film off your cylinder walls. Running the engine in that condition destroys bearings and scores the cylinder. If enough fuel collects in the cylinder, the engine hydro-locks — pulling the starter cord can snap the connecting rod.
Check your oil before every job. If it smells like gasoline or sits above the full mark, stop. Don’t run that engine. Fix the carburetor first.
What You Need Before You Start
Safety Gear (Non-Negotiable)
- Chemical-resistant gloves
- Safety glasses
- A well-ventilated outdoor workspace
- No open flames nearby
Tools
- Flathead and Phillips screwdrivers (correctly sized — you’ll strip soft brass jets with the wrong one)
- Socket wrench set
- Needle-nose pliers
- Pick or awl
- Torch tip cleaner wire set — these flexible, graduated wires clear jets without enlarging them
- Compressed air
- Clean shop towels
- Camera or phone for photos before disassembly
Cleaning Supplies
- Aerosol carburetor cleaner (CRC Clean-R-Carb, Gumout, or Berryman B-12)
- Carburetor rebuild kit (jets, gaskets, needle valve) — buy one before you start
One firm rule: never use a drill bit or paperclip to clear a jet. Brass is soft. Enlarging the main jet even slightly causes a rich condition you can’t adjust away. Use torch tip cleaner wire only.
Lawn Mower Carburetor Cleaning: Step-by-Step
Step 1 — Safety First, Every Time
Let the engine cool for 15–20 minutes. Then disconnect the spark plug wire and move it away from the terminal. This one step prevents the engine from accidentally cycling while you’re working. If your mower has electric start, disconnect the battery too.
Step 2 — Try the Quick Clean First
If your engine runs but idles rough or hesitates slightly, start here before pulling anything apart.
- Remove the air filter housing. Inspect the filter — a clogged filter restricts oxygen flow and mimics a rich running condition. Tap out paper filters or replace them. Wash foam filters with warm soapy water, dry completely, and lightly oil before reinstalling.
- Reconnect the spark plug wire and start the engine.
- While it idles, spray short bursts of aerosol carburetor cleaner directly into the carburetor throat. The engine vacuum pulls the solvent through the passages and dissolves minor varnish deposits.
- Don’t flood it — use controlled bursts. Let the engine ingest and burn the cleaner between applications.
- Reinstall the air filter and test under load.
If that doesn’t resolve the problem, move to the full teardown.
Step 3 — Remove the Carburetor
Take photos of everything before you disconnect a single linkage. Governor springs and throttle linkages must return to their exact original positions.
- Pinch or clamp the fuel line, then detach it. Capture any spilled fuel in a container.
- Using needle-nose pliers, carefully unhook the throttle and choke linkage springs. Reference your photos constantly.
- Remove the mounting bolts with a socket wrench and slide the carburetor off the engine studs.
Step 4 — Disassemble the Carburetor
Work on a clean, light-colored shop towel. Small parts disappear fast on a dark surface.
- Remove the float bowl — unscrew the bolt at the base. Note what the fuel inside looks like. Rust flakes, a milky layer, or brown sludge confirms fuel contamination.
- Extract the float and needle valve — push the pivot pin out sideways with an awl. Lift the float and needle valve away together. Check the rubber tip of the needle; if it has a visible indentation ring or feels brittle, replace it. It won’t seal properly.
- Remove the main jet — use a correctly sized flathead screwdriver. The jet is soft brass. Don’t rush, don’t force it. Above the jet, push the emulsion tube downward from the throat side using a small hex key.
Step 5 — Clean Everything
This is where lawn mower carburetor cleaning actually happens.
- Spray aerosol carburetor cleaner through every passage and orifice in the metal carburetor body. Use the thin red straw. Focus on the main jet passage, the emulsion tube holes, and the pilot jet.
- If a jet stays blocked, insert the correct gauge torch tip cleaner wire. Rotate it gently. You’re pushing varnish out — not scraping the walls.
- Once clear, you should see daylight through the passage.
- Blast compressed air through every passage. This evaporates remaining solvent and confirms the passages are open. If air meets resistance, repeat the solvent and wire treatment.
- For the needle valve seat, use the smooth shank end of a correctly sized drill bit — rotate it gently by hand against the seat walls only. Don’t touch the tapered sealing surface at the bottom.
Note on rubber and plastic parts: aerosol carburetor cleaner destroys rubber seals, O-rings, and plastic housings. Remove all non-metal components before heavy chemical application. Briggs & Stratton plastic carburetors are especially sensitive to aggressive solvents.
Step 6 — Reassemble and Reinstall
Replace all gaskets with new ones from your rebuild kit. A failed intake manifold gasket lets unmetered air into the engine and perfectly mimics a clogged pilot jet. Don’t reuse old gaskets — it’s not worth the confusion.
Reinstall components in reverse order. Reference your photos for every spring and linkage. Reattach the fuel line, reconnect the spark plug wire, refuel, and start the engine. A correctly cleaned carburetor idles smoothly, accelerates cleanly, and doesn’t surge.
Brand-Specific Quirks Worth Knowing
Briggs & Stratton
Certain Quantum series engines hide secondary jets under small brass caps that aren’t obvious during a standard teardown. Miss those hidden jets and the surging continues even after a full clean.
Honda GCV and GX Series
Honda carburetors have tamper-proof limiter caps on idle mixture screws to meet EPA emissions rules. If the pilot screw needs removal for deep cleaning, Honda’s technical documentation requires breaking the cap, extracting the screw, cleaning, then installing a brand-new screw set to factory spec and securing a new limiter cap with Loctite 638. Don’t skip that step — it’s a legal emissions requirement.
Nikki Carburetors on Riding Mowers
Nikki float bowls use multi-piece designs with internal O-rings that must align perfectly during reassembly. Misalign the sediment bowl and the float binds against the wall, the needle valve stays open, and fuel floods straight into the crankcase. Always buy a full OEM or aftermarket rebuild kit for these units.
Stop It From Happening Again
Reactive maintenance — only cleaning the carburetor after it fails — costs more time and money than prevention.
Use a Fuel Stabilizer Every Time
Add a fuel stabilizer to every tank, not just at the end of the season. Ethanol Shield and STA-BIL 360 Protection specifically address ethanol’s water absorption and phase separation problems. Sea Foam doubles as both an active cleaner during the season and a moderate stabilizer for shorter storage periods.
For winter storage of six months or more, STA-BIL Storage forms a stronger protective film and keeps fuel viable for up to 24 months.
For Long-Term Storage: Drain Everything
Many professional technicians skip stabilizers entirely for multi-season storage and instead drain the fuel system completely. Run the engine until it stalls from fuel starvation. No fuel left in the carburetor means no varnish can form — period. This approach keeps the brass components in a dry, uncontaminated state indefinitely.
Install an Inline Fuel Shutoff Valve
A cheap inline shutoff valve physically blocks fuel from reaching the carburetor when the mower sits unused. Briggs & Stratton recommends this fix specifically to prevent fuel from leaking past a worn needle valve and diluting your crankcase oil. It’s a five-dollar part that prevents a potentially engine-killing problem.
Change Your Air Filter on Schedule
Paper filters need replacing every season or every 300 hours — whichever comes first. A restricted filter forces the carburetor to compensate with a richer mixture, fouling the plug and accelerating varnish buildup in the jets.
Clean air, treated fuel, and a fresh fuel shutoff valve. That’s genuinely all it takes to keep your carburetor out of trouble for years.