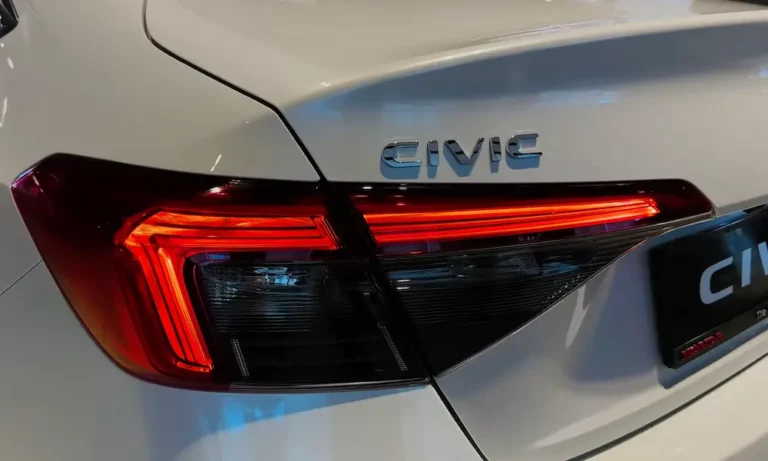
Ever noticed your Honda Civic’s brake lights glowing even when you’re not touching the brake pedal? You’re facing one of the most common issues that plague Civic owners across multiple generations. Not only is this annoying, but it can leave you stranded with a dead battery if not addressed quickly.
Let’s dive into why your Honda Civic brake lights won’t turn off, how to diagnose the problem yourself, and the simple fixes that could save you a trip to the mechanic.
Why Honda Civic Brake Lights Stay On
If you’ve noticed your brake lights remaining illuminated even when your foot is nowhere near the pedal, two primary culprits are likely responsible:
Missing Brake Pedal Stop Pad
The most common reason your Honda Civic brake lights stay on is a missing or deteriorated brake pedal stop pad. This small rubber or plastic piece sits in a hole on the brake pedal arm and creates contact with the brake light switch when you release the pedal. When this tiny component breaks down or falls out completely, the switch stays in the “on” position, keeping your brake lights illuminated 24/7.
These stop pads typically last 10-15 years before failing, which explains why this issue affects Civics from the 1990s through the 2020s. Many owners don’t even realize the part exists until it causes problems!
Faulty Brake Light Switch
The second most common cause is a malfunctioning brake light switch. Located behind the brake pedal assembly, this electrical component can fail internally or get stuck in the closed position. When this happens, it continuously sends signals that the brakes are being applied, even when they’re not.
The Hidden Dangers of Continuous Brake Lights
When your brake lights refuse to turn off, several serious problems can develop quickly:
Battery Drain
Your brake lights draw approximately 4 amps of power. That might not sound like much, but it’s enough to completely drain a healthy battery within 8-12 hours when left on continuously. Many Civic owners discover this problem the hard way when they find their car won’t start the next morning.
Transmission Problems
If you have an automatic transmission, you might find yourself unable to shift out of park. That’s because the shift interlock system depends on signals from the brake light switch to operate correctly.
Cruise Control Issues
Your cruise control system relies on accurate signals from your brake switch. When the switch is stuck in the “on” position, the cruise control thinks you’re constantly braking and refuses to engage.
Overheating Components
Brake light bulbs aren’t designed for continuous operation. Extended illumination can cause them to become extremely hot, potentially damaging the light assemblies or surrounding components.
How to Diagnose the Problem Yourself
Before spending money on repairs, take a few minutes to diagnose the issue:
Check the Floor
First, look around your brake pedal area for small plastic pieces that may have fallen to the floor. These are typically fragments of the deteriorated brake pedal stop pad. Finding these bits confirms your suspicion that the stop pad is the culprit.
Inspect the Brake Switch Area
Get down on your knees and look underneath your dashboard near the brake pedal. You’ll see a switch with a plunger that should be pressed in when the brake pedal is released. If there’s a gap between the pedal and switch because nothing is pushing the pedal against the switch, you’ve found your problem.
Check the Fuse
Locate the stop/horn fuse (typically 15-amp) in your fuse box. A blown fuse could indicate electrical problems, possibly from overheated brake light bulbs.
Simple DIY Fixes Anyone Can Do
The good news? This problem typically has a straightforward, inexpensive fix that most car owners can handle themselves in under 5 minutes with no special tools.
Replacing the Brake Pedal Stop Pad
The proper fix involves installing a new brake pedal stop pad:
- Purchase a replacement pad (options below)
- Push the brake pedal down slightly
- Snap the new pad into the hole on the pedal arm
- Release the pedal and verify the brake lights turn off
Replacement Options:
| Type | Cost | Pros | Cons |
|---|---|---|---|
| OEM Honda Part | $4-5 | Perfect fit, long-lasting | Requires dealer visit |
| Dorman Aftermarket | $5-10 (2-pack) | Readily available at auto parts stores | Slightly different design |
| Universal Replacement | $3-8 | Available online | May need trimming to fit |
Emergency Temporary Fixes
If you need a temporary solution while waiting for the proper part, try one of these creative fixes recommended by mechanics:
The Bolt Method
Install a 10-13mm bolt with lock washer through the pedal hole, with the bolt head facing the driver. This creates the proper spacing to activate the switch.
The Penny Stack
Superglue 3 pennies together for proper thickness and attach to the pedal contact point. The copper coins provide just enough height to trigger the switch.
Body Panel Clips
Use small plastic body panel clips as a temporary stopper. These clips are designed to withstand pressure and can work in a pinch.
Replacing the Brake Light Switch
If the stop pad isn’t the issue, you may need to replace the brake light switch:
- Locate the switch above the brake pedal
- Disconnect the electrical connector
- Unscrew or unclip the old switch
- Install the new switch
- Reconnect the electrical connector
- Test to ensure brake lights work properly
Emergency Workaround (Not for Driving)
If you need to prevent battery drain until you can fix the problem properly, you can temporarily disconnect the brake light switch connector. But NEVER DRIVE with this disconnected, as you’ll have no brake lights to warn drivers behind you when you’re stopping!
Professional Repair Costs
If you prefer professional help, here’s what you can expect to pay:
| Service | Parts Cost | Labor Cost | Total Cost |
|---|---|---|---|
| Brake Pedal Stop Pad Replacement | $4-10 | $0-50 | $4-60 |
| Brake Light Switch Replacement | $20-50 | $50-140 | $70-190 |
Most shops will charge a minimum labor fee even for the simple stop pad replacement, though some might do it for free during other service work.
Prevention Tips for Honda Owners
To avoid finding yourself with continuously illuminated brake lights:
Regular Inspections
Make it a habit to visually inspect your brake pedal stop pad during routine maintenance. This small component typically fails after 10-15 years of regular use.
Buy a Spare
Since the part is so inexpensive, consider purchasing a spare to keep in your glove compartment. The small investment could save you from being stranded with a dead battery.
Check After Dashboard Work
If you’ve recently had work done that involved removing parts from under the dashboard, double-check that the brake light switch and stop pad are properly positioned. Sometimes these components get knocked out of place during other repairs.
Use Quality Parts
While aftermarket solutions work in a pinch, OEM Honda parts provide the best long-term reliability for this critical component.
Why This Problem Affects So Many Honda Civics
This issue is incredibly common across multiple generations of Honda Civics due to the consistent design of the brake pedal assembly. The good news is that Honda’s design makes the fix straightforward once you know what to look for.
The brake pedal stop pad design has remained largely unchanged from the 1990s through the 2020s, which is why owners of both vintage and newer Civics experience this same problem. It’s simply a wear item that eventually needs replacement.
Your Honda Civic’s continuously illuminated brake lights are almost always caused by a tiny part that costs less than a cup of coffee. With the information above, you can diagnose and fix this common problem quickly, saving your battery, your money, and your sanity.
Remember to address this issue immediately if you notice it—continuous operation will kill most batteries within 8-12 hours, potentially leaving you stranded when you least expect it.